Top Causes of Fuse Box Draw and Long-Term Fixes
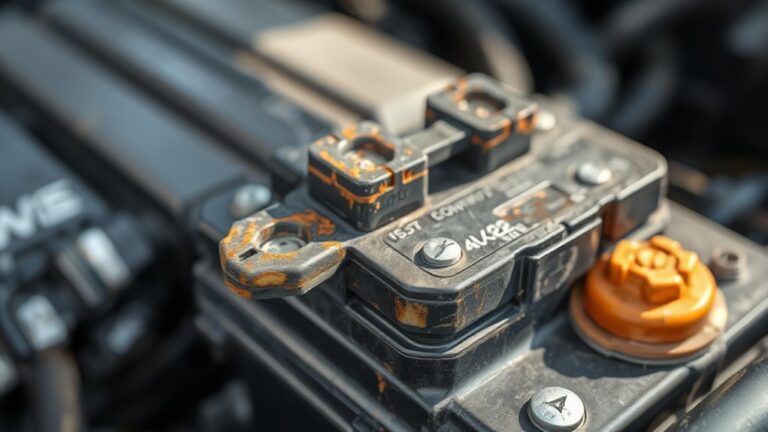
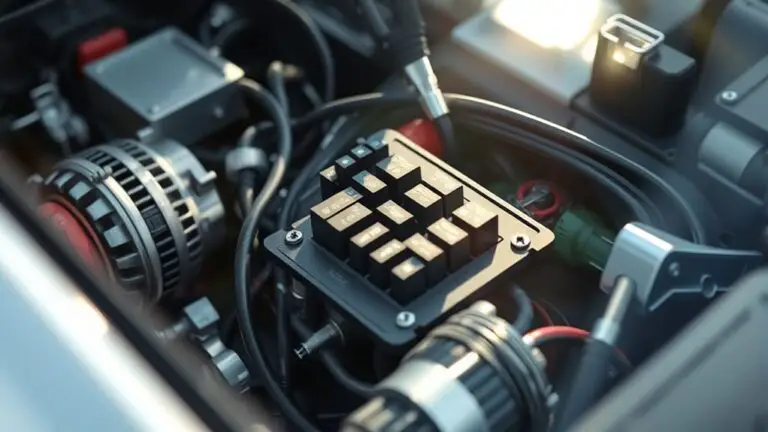
Common causes of fuse box draws include overloads from high-draw devices, short circuits, and ground faults, plus aging components and faulty or sticking breakers. You’ll want to map each circuit, label breakers, and monitor loads with wattmeters or smart plugs. Address loose connections and overheated outlets, replace aging parts, and plan for panel upgrades when…