DIY Minor Paint Repairs to Cover Wind Noise at Speed
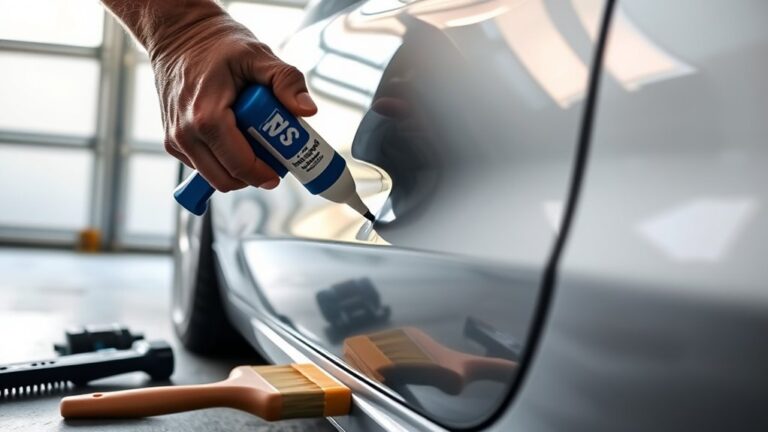
To cut wind noise at speed, start by inspecting door and window seals for gaps, tears, or compression loss, especially at weather interfaces. Clean the affected area with a mild detergent, then prep tiny scratches and chips: lightly sand (400–800 grit), fill with appropriate putty or sealant, and apply a compatible clear layer. Seal trim…