DIY: Cleaning Fuel Filter Housing to Restore Performance
You’ll restore performance by cleaning or replacing the fuel filter housing, reseating seals, inspecting lines, and testing for leaks and steady fuel flow. Start by safely shutting off power and relieving pressure, then locate the metallic housing and detach supply and return lines. Clean or replace the filter element, inspect o-rings, and lubricate seals with clean fuel. Reassemble tightly, test for leaks, and verify smooth idle and consistent pressure. If issues persist, you can uncover more precise steps and tips.
What Causes Clogged Fuel Filter Housings

Clogged fuel filter housings usually result from contaminants in the fuel or gradual buildup over time. You’ll identify the core causes by tracing what enters the line and what stays behind. Fuel contamination sources include water, dirt, rust, and sediments from ill‑maintained storage, aging pumps, or degraded additives. Over time, micro‑debris accumulates at the filter’s inlet and traps particulates, restricting flow. Poor maintenance accelerates this process: infrequent fuel changes, neglecting tank seals, or skipping supplier quality checks allow contaminants to slip through. You may notice rough idle, reduced acceleration, or stalling as symptoms proceed from restricted fuel delivery. Consistently sourcing clean fuel, using proper filters, and confirming compatibility with your system helps prevent recurrence. Build a habit of inspecting fuel quality, verifying seals, and scheduling regular maintenance intervals. With discipline, you minimize clogs, protect injectors, and keep your system ready for reliable, free‑flowing performance.
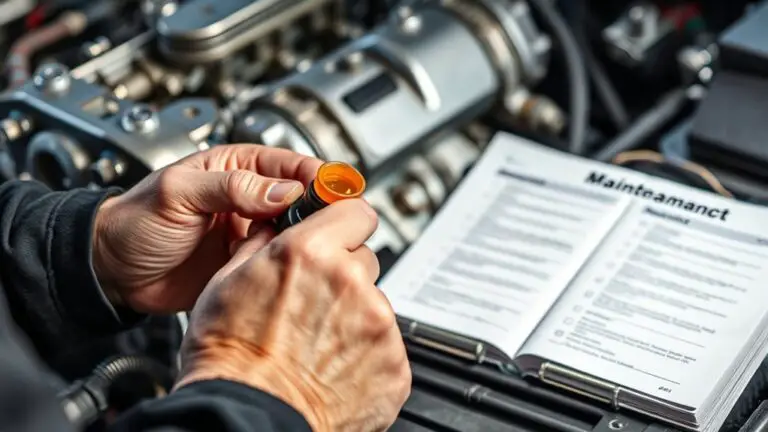
Tools and Safety Precautions
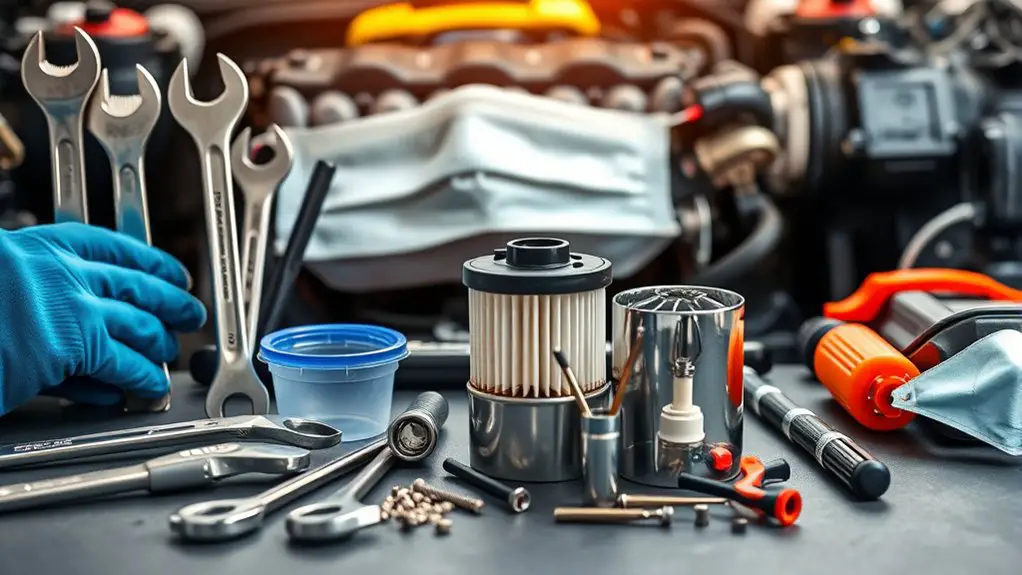
Before you start, gather the right tools and set up a safe workspace; doing so minimizes spills and injuries. You’ll need essential tools such as a socket set, screwdrivers, pliers, a torque wrench, and a drain pan. Have a clean rag, a magnet on a stick, and a flashlight for visibility. Keep spare seals, gloves, and a shop towel handy. Safety gear is non‑negotiable: impact- and chemical-resistant gloves, eye protection, and a respirator or mask if fumes are present. Disconnect power sources and relieve any pressure in the system before you touch anything. Work on a stable surface with good lighting, and lay down a drop cloth or mats to control spills. Use a labeled container for old fuel and a second container for any cleaning solvent. Clean as you go, document part orientations, and avoid rushed moves to prevent accidents. Plan each step, double‑check fittings, and finish with a quick, controlled test run.
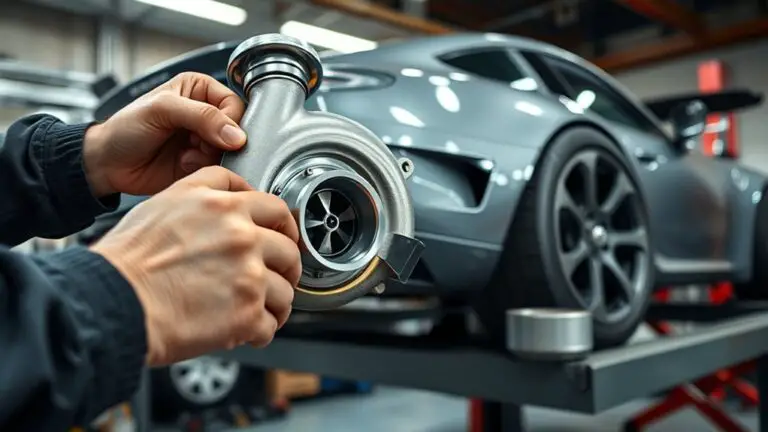
Locating and Removing the Fuel Filter Housing
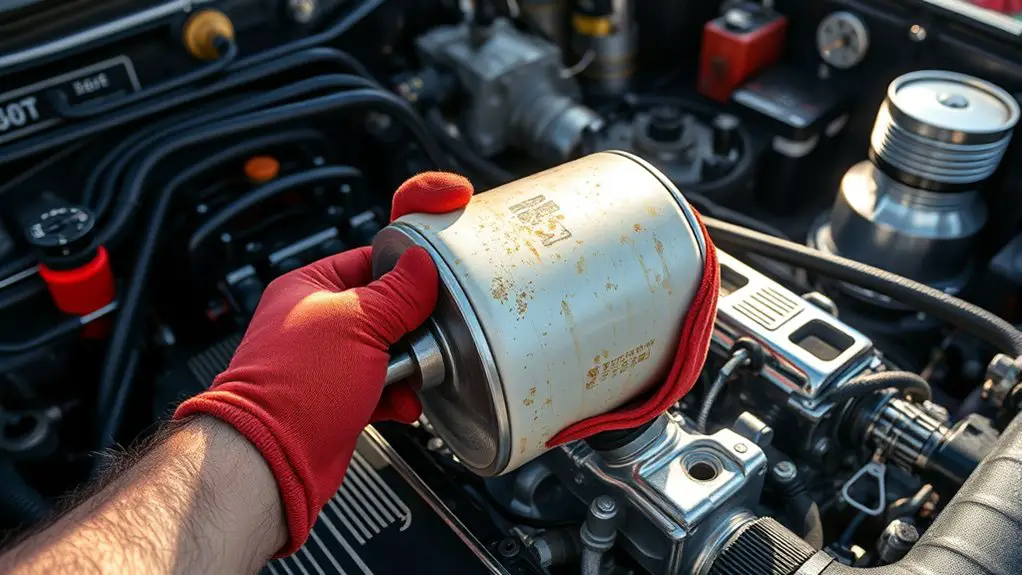
Locating the fuel filter housing starts with a careful inspection of the engine bay. You’ll identify the housing by its metallic body, connected lines, and a clamp or bracket securing it to the intake or firewall. Before touching anything, confirm you’re in a safe, powered-off state and clear of hot surfaces. Trace the fuel lines to the housing to understand the path you’ll follow for removal. Use minimal force; loosen clamps with the proper tool, and note the line orientation for reassembly. The goal is a clean, straightforward lift of the housing without disturbing adjacent components. When you’re ready, separate the supply and return lines, cap open ports, and prepare a catch basin for residual fuel.
| Step | Action |
|---|---|
| 1 | Locate the fuel filter housing. |
| 2 | Check fittings, loose clamps, and orientation. |
| 3 | Remove housing with lines detached. |
fuel filter location, housing removal.
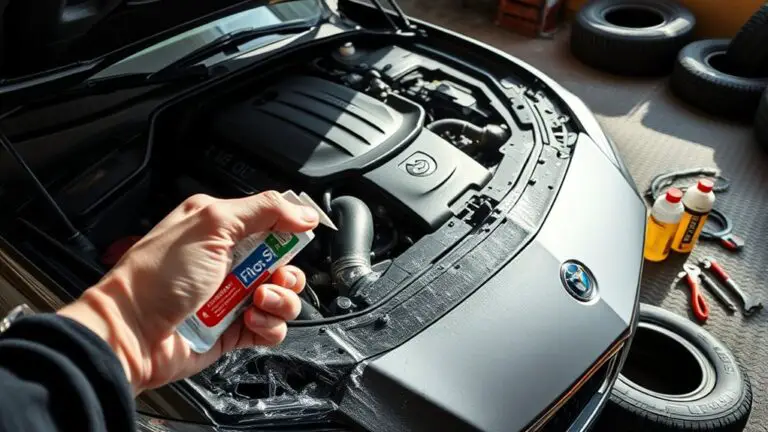
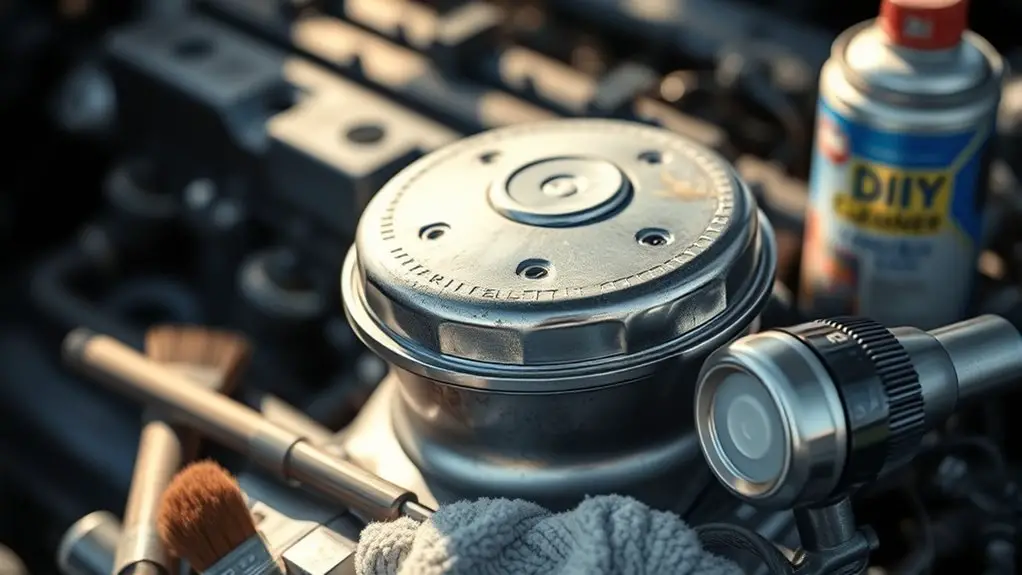
Cleaning or Replacing the Filter and Reassembly
Once you’ve accessed the filter, inspect the element for signs of wear or damage, and decide whether cleaning is sufficient or if replacement is necessary. If you’re reusing the filter, perform careful cleaning with the appropriate solvent and a soft brush, avoiding abrasive scrubbing that could degrade seals. Replace o-rings or gasket material if any wear is evident, and lubricate with clean fuel to guarantee a proper seal during reassembly. Conduct a thorough housing inspection for cracks, corrosion, or edge deformities that could compromise pressure containment. When replacing, seat the new filter firmly, but avoid over-tightening that can damage threads. Reassemble the housing, making sure the protective caps and clamps engage fully. Verify that all fasteners are snug and aligned, then reinstall the assembly in the system, observing no leaks. Document filter maintenance intervals and any findings from the housing inspection for future servicing and performance monitoring.
Testing the System and Final Checks
To begin testing, restore the system to its normal operating state and verify that all connections are secure, clamps engaged, and protective caps removed. You’ll iterate the process methodically, checking for leaks at every seal and coupling before starting. Power up and observe fuel flow indications, listening for unusual noises or vibration. Run a short idle and then a controlled RPM increase to confirm consistent pressure and steady delivery to the rail. Use a diagnostic scanner or built‑in system diagnostics to pull live data, recording fuel pressure, intake vacuum, and injector response. Compare readings to the manufacturer’s specifications and established performance metrics for your model. If readings drift, halt, recheck fittings, lines, and the housing seal. Document results, noting any deviations and corrective actions taken. Finish with a final pressure hold test, verify no drips, and confirm stable engine behavior under load.
Frequently Asked Questions
How Often Should I Perform This Cleaning DIY?
You should perform this cleaning every 6 months as part of your cleaning schedule. If you drive in dusty or harsh conditions, increase to every 3 months. Track maintenance frequency in a log and set reminders. Inspect for residue or fuel leaks during each session, and reseat seals firmly. This procedural cadence keeps performance consistent and your system free of clogging. Adapt the schedule as needed, but don’t skip routine maintenance.
Will Cleaning Affect Fuel Economy Long-Term?
Cleaning can improve fuel efficiency in the long run if you do it correctly and regularly. Think of your fuel path as a clean, gliding river; debris disrupts flow and wastes energy. As you perform maintenance benefits, you’ll often see steadier idle and a smoother pull. The long-term effect depends on soil buildup and driving, but in practical terms, consistent cleaning supports fuel efficiency and reliable operation, especially for high-mileage projects.
Can I Reuse a Burned-Out or Damaged Fuel Filter?
No, you shouldn’t reuse a burned-out or damaged fuel filter. It’s clogged, compromised, and can fail, risking engine damage. Check fuel filter lifespan guidance and replace rather than reuse. Consider replacement considerations like correct part number, compatibility, and filtration rating. After installing a new filter, monitor for abnormal pressure or reduced performance. This keeps your system clean, prevents contaminants, and preserves fuel delivery. You’ll maintain reliability while enjoying the freedom to wrench with confidence.
What Are Signs of Hidden Fuel Line Clogging?
Yes, hidden fuel line clogging often lurks behind gradual power loss, hard starting, and intermittent stalling. You’ll notice reduced fuel pressure and uneven acceleration as telltale clogging symptoms. Start by verifying fuel pressure spec, inspect lines for pinhole leaks, and feel for unusual squawks or restraint under load. If pressure drops when you demand more torque, you’ve likely got a hidden clog. Maintain safe procedure, verify with gauges, and replace compromised sections promptly.
Is Engine Warranty Void if I Do This Myself?
Short answer: yes, it can affect warranty, depending on your warranty terms and how the repair was done. If you DIY, the manufacturer may view improper procedures as voiding coverage under warranty implications; some plans require certified techs for certain components. You’ll still be responsible for proof of proper procedure. Before you start, review the fine print, document steps, and weigh DIY repairs against potential coverage loss and peace of mind.