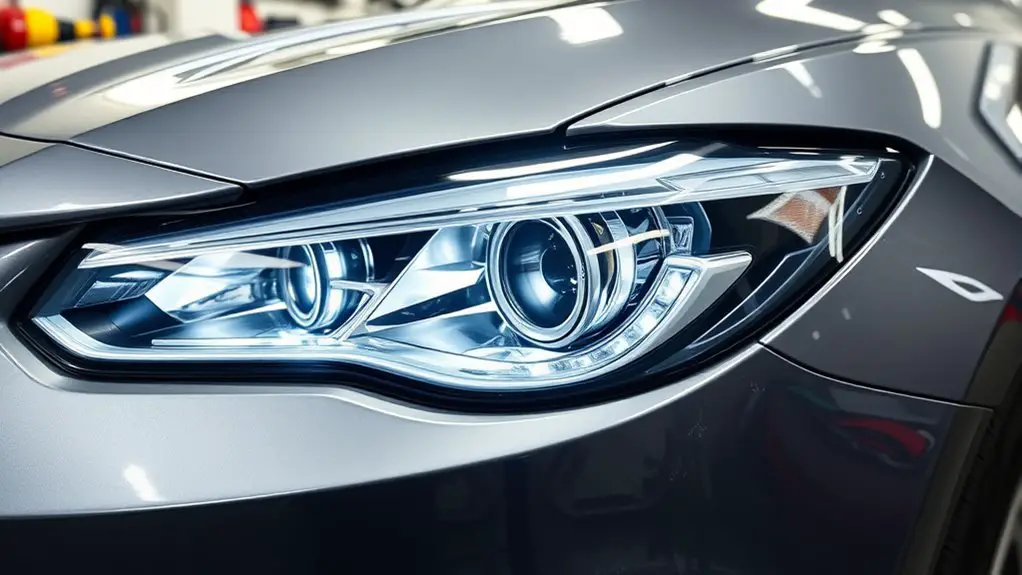
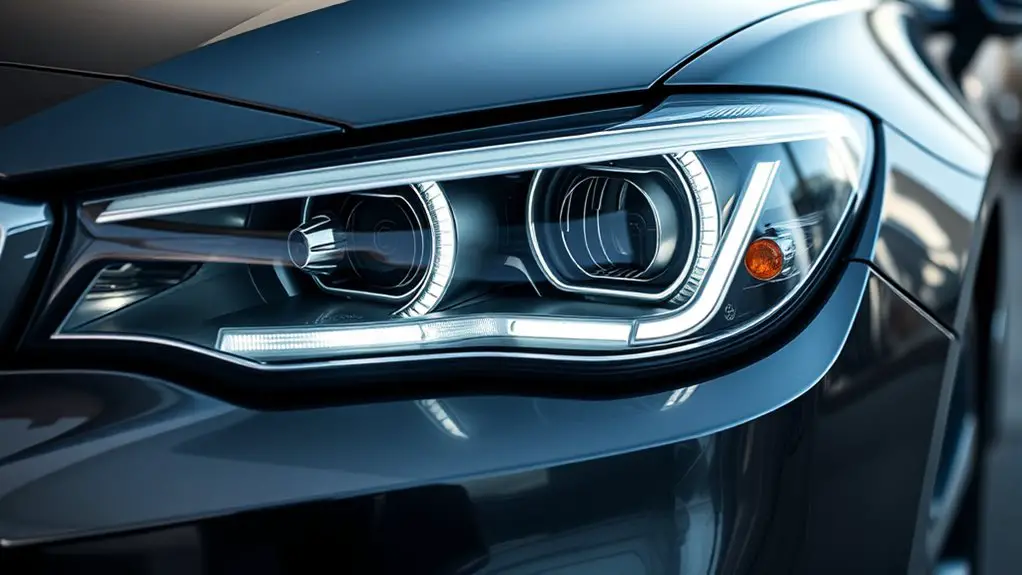
Common Fitment Poor Finish After Bodywork for LED Headlights and How to Overcome Them
Common fitment issues after bodywork for LED headlights show up as gaps, misalignment, moisture intrusion, and paint chipping. Start with proper mounting and alignment on a flat surface, then check bezel gaps and use precise shims or minor trimming as allowed. Seal joints with compatible sealant, test for leaks, and guarantee venting paths stay clear. Route wiring away from heat and secure connectors. Prep the surface, apply coats evenly, and monitor for distortion. More tips await if you keep exploring.
Improper Mounting and Alignment
Improper mounting and alignment are common culprits behind LED headlight issues. You approach the task with intent: a solid plan, measured steps, and verifiable results. Begin by inspecting the mounting surface for flatness, then verify posts, brackets, and fasteners engage securely without fatigue or play. Use manufacturer-recommended mounting techniques to avoid strain on adapters or housings, and keep connectors clean to prevent intermittent power loss.
Next, address alignment. With the vehicle on level ground, note the low beam projection and adjust only within the designed range. Follow precise tolerances; slight misalignment creates glare and reduced road visibility. If your kit includes alignment shims or adjustable collars, install them per instructions, then recheck beam height and left-right symmetry. Document each tweak to prevent repeat work. Test in a controlled dark area, then road-test in familiar routes to confirm stable, consistent output. Maintain these practices as a routine, ensuring reliability, safety, and the freedom to upgrade without compromise.
Gaps and Bezel Misfit
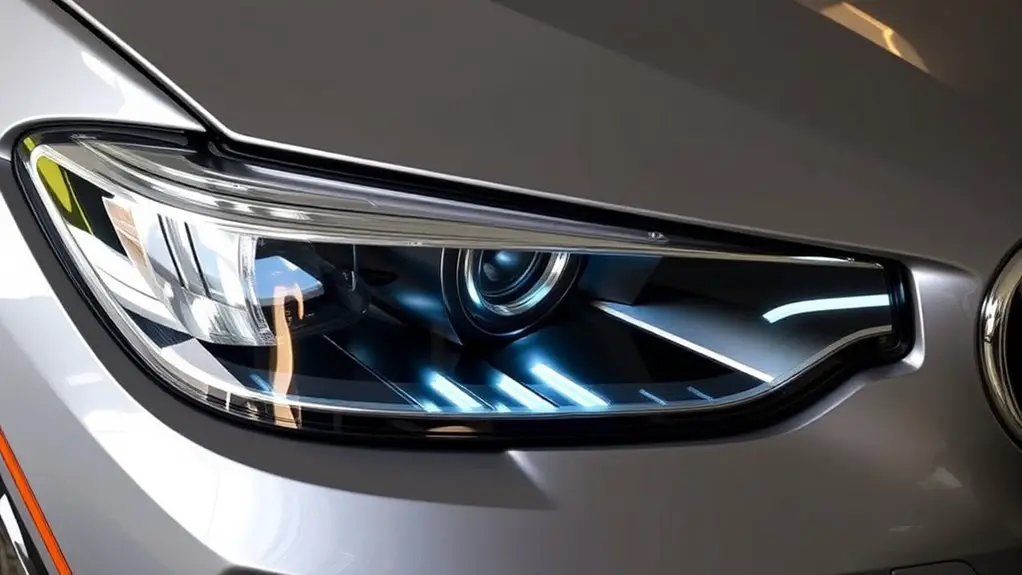
Gaps between parts and bezel misfit can affect both aesthetics and seal integrity, so start by measuring edge tolerances before final mounting. Check bezel alignment across the entire housing and note any gaps that exceed manufacturer specs. Use this assessment to prioritize which components to adjust or replace for a clean, uniform fit.
Gaps Between Parts
If you notice mismatched seams or a visible space between components, you’re likely dealing with gaps and bezel misfit. In this situation, approach the install like a blueprint: inspect every edge, confirm panel gaps, and test fit before securing. Identify whether gaps come from the headlight housing, bezel, or body mounting points, then plan targeted corrections. Use precise shim placement or minor trimming only where manufacturer guidelines allow. Document your fitment issues and compare against OEM tolerances to avoid overfastening. When tightening, apply even pressure to prevent warping or new gaps. Apply consistent sealant or weather stripping only where specified; otherwise, it can trap moisture or create glare. Mastery comes from deliberate, stepwise installation techniques and careful verification at each stage.
Bezel Alignment Tips
To align the bezel properly, start with a clean, dry surface and verify the bezel’s mounting points match the headlight housing. You’ll address spacing before tightening any fasteners. Inspect gaps at all corners and compare with factory references; small deviations equal obvious misfit. Use a matte flashlight to reveal high/low spots and adjust only where you see binding or edge lift. For bezel adjustments, begin with gentle shims at the mounting tabs if allowed, then recheck symmetry side-to-side. Apply consistent torque to fasteners in a crisscross pattern, avoiding over-tightening that can warp the bezel. Document alignment techniques you use, so future work remains repeatable. Maintain a methodical approach, verify fit under load, and finalize with a test fit on the vehicle.
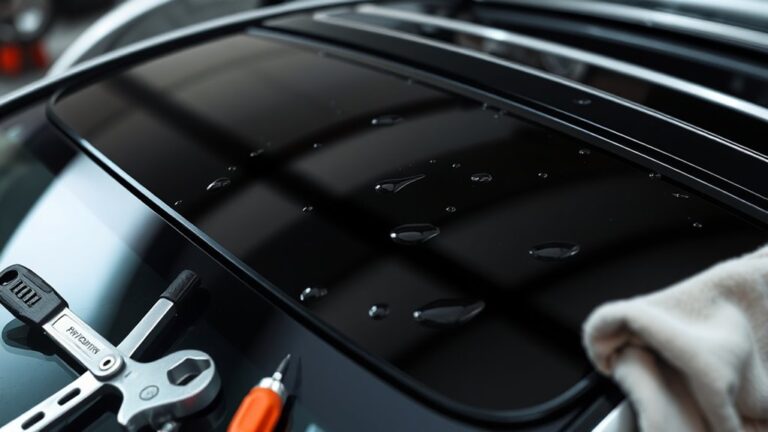
Sealant and Moisture Issues
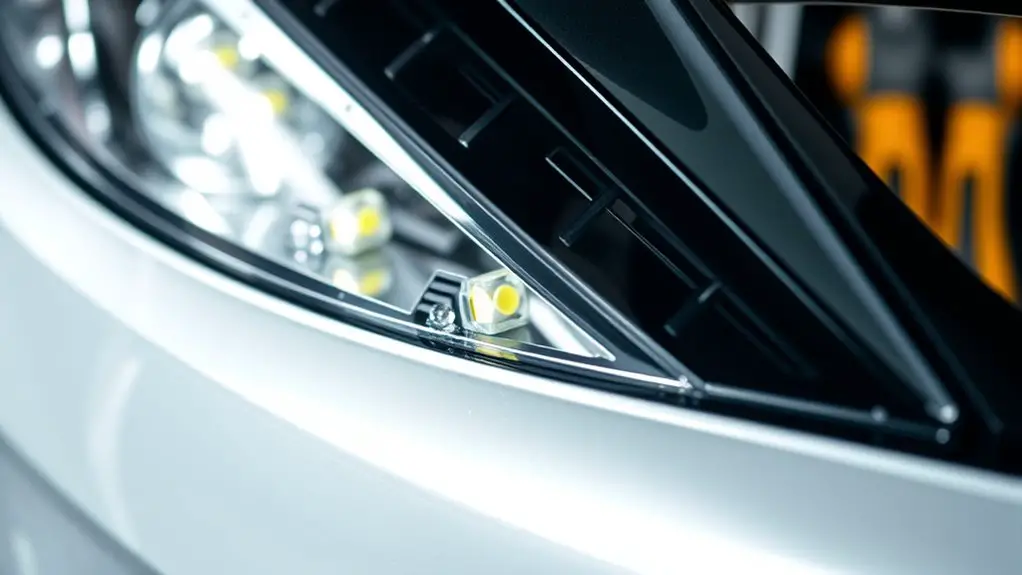
Sealant plays an essential role in keeping LED headlight assemblies moisture‑free, and failures here are a common source of fogging and shortened longevity. You’ll inspect joints for gaps, then choose a compatible automotive sealant and apply a consistent bead around the perimeter. Clean surfaces to a dry, dust‑free finish before you start, and tack the area with isopropyl alcohol if needed. During sealant application, maintain steady pressure and a uniform line, avoiding air entrapment. Tool with a compatible scrapper or finger wrapped in tape to smooth the bead, then cure per product instructions, typically without exposure to moisture. After curing, test for leaks by gently introducing airflow and observing for any misting. Document every step to guarantee repeatability on future jobs. Moisture control isn’t a one‑and‑done task; recheck seals after service or impact events. Invest in quality material and proper technique to sustain long‑term light output and reliability.
Heat Management and Venting
Effective heat management starts with understanding how LED headlights generate and shed heat, so you can pick solutions that keep output consistent. Consider practical heat dissipation tips and venting optimization methods to maintain safe temps without sacrificing fit or performance. We’ll review concrete steps to measure, adjust, and verify effective cooling in your setup.
Heat Dissipation Tips
Good heat management keeps LED headlights reliable, so start with a clear venting plan and steady airflow. You’ll optimize heat dissipation by pairing a solid heat sink with clean thermal paste application, then monitor temps under load. Confirm vents align with natural flow, avoid obstructions, and keep ducts free of debris. Use a heat sink with a low thermal resistance and attach it firmly to maximize contact. Reapply fresh thermal paste where contact is uncertain, then test with a simple heat test: observe temps after five minutes of steady operation. Maintain a calm workflow, documenting any deviations.
| Factor | Action |
|---|---|
| Heat sink quality | Choose low resistance, tight contact |
| Thermal paste | Apply a thin, even layer |
Venting Optimization Methods
Ventilation is the backbone of heat management for LED headlights, so plan vents and airflow first, then align components for steady cooling. You’ll optimize venting by mapping pressure paths and tailoring openings to expected heat loads. Start with a conservative vent count, then test airflow; adjust sizes to balance intake and exhaust without creating turbulence hotspots. Use simple seals to prevent recirculation and minimize dust ingress, while preserving accessibility for maintenance. Track airflow dynamics with a smoke test or inexpensive anemometer, then iterate. Consider channeling hot air away from sensitive electronics and toward cooler exterior areas. Document vent locations and keep venting solutions modular so future upgrades remain straightforward. Prioritize predictable cooling, repeatable results, and a clean, quiet install.
Wiring and Electrical Reliability
Wiring and electrical reliability is the backbone of LED headlight performance, so start by verifying that the harness and connectors are clean, dry, and free of corrosion. You’ll gain confidence when you establish solid wiring integrity early, then you can chase performance rather than troubleshooting symptoms. Inspect every connector for match-fit pins and secure locking wedges; loose housings invite flicker and intermittent failure. Route wires away from heat sources, sharp edges, and moving suspension components to minimize wear and fatigue. Use high-quality electrical tape or heat shrink for protection, not silicone sealant that can migrate into contacts. Apply dielectric grease to fuse blocks only if recommended by the harness manufacturer, then test continuity with a multimeter before powering up. Document any repairs or reterminations so future work remains precise. Prioritize clean ground points and verify battery and relay behavior under load, because consistent electrical connections equal reliable illumination and safer night driving.
Surface Prep and Paint Chipping
Surface prep sets the foundation for durable LED headlight finishes, so start by removing loose paint and debris from the housing and surrounding areas. You’ll create a clean canvas that resists future chipping and peeling. Inspect for surface imperfections that could trap moisture or create uneven texture. If you see rust, lightly abrade with a fine-grit pad and treat with a compatible rust inhibitor before smoothing. Mask adjacent plastics and seals to prevent paint migration. Use a dedicated plastic adhesion promoter on the bezel and any exposed metal, then apply a primer compatible with LED headlight fabrics and coatings. Keep sessions short and controlled to avoid heat distortion. Sand between coats with even pressure, making certain of uniform coverage. Clean between steps to maintain paint adhesion and prevent contaminant transfer. Finish with a thin, even topcoat and allow full cure. This disciplined prep minimizes chipping and guarantees long-lasting, clean aesthetics.
Tracking and Fluctuating Performance Tests
Tracking and fluctuating performance tests build on the prepared surface by evaluating how the LED headlight finish holds up under real-world conditions. You’ll set up repeatable scenarios that mirror driving, weather, and vibration. Start with controlled illumination checks, logging luminous output, color shift, and flicker tendencies over time. Then introduce thermal cycling to assess orange-peel changes and adhesion under stress, recording rise-and-fall patterns in brightness. Track environmental variables such as temperature, humidity, and road surface roughness, noting any delta between initial and subsequent readings. Use performance monitoring to collect quantitative data: luminance stability, spectral consistency, and surface gloss variation after each test cycle. Conduct a consistency analysis across multiple samples to determine if finishes converge or diverge under identical loads. Document anomalies and link them to material or process deviations. Conclude with a concise risk assessment and actionable steps to maintain durable, reliable finishes.
Frequently Asked Questions
How Can I Verify Proper LED Headlight Alignment After Install?
You verify proper LED headlight alignment by checking cutoffs with your alignment tools and confirming even beam pattern on a wall. Start with headlight adjustment to center and level, then project onto a vertical screen at specified distance. Inspect for a sharp, horizontal cutoff and no glare in oncoming lanes. Repeat on both sides, readjust as needed, and recheck. Use your alignment tools to document settings and maintain consistent, freedom-driven performance.
What Causes Bezel Gaps to Reappear After Mounting?
Bezel gaps reappear after mounting because mounting surface preparation wasn’t thorough and bezel adjustment techniques weren’t reapplied after components settled. You’ll want to recheck fasteners, clean the mounting area, and reseal where needed. Confirm the surface is flat, dry, and free of debris before re-tightening. Use precise bezel adjustment techniques to bring the fit flush, then secure alignment. After mounting, verify with a test fit and monitor gaps as temperatures shift.
Will Sealant Degrade Under UV Exposure Over Time?
Sealant lifespan can be affected by UV exposure, but quality UV resistance varies. In practice, expect most automotive sealants to degrade slowly under prolonged sun, yet many are formulated to resist it. You’ll want high UV resistance, proper application, and regular inspection. If you’re outdoors a lot, factor in panel temperature and movement. In short: choose UV-rated sealant, apply evenly, and monitor for cracking or hardening as you plan for long-term reliability.
Do Aftermarket Housings Affect Headlight Heat Management?
Yes, aftermarket housings can affect headlight heat management. You’ll want to evaluate aftermarket quality and housing materials for thermal performance, ventilation, and seal integrity. Poor quality options may trap heat, raising temps. Choose housings with proven heat sinks, reflective coatings, and proper venting. Confirm the assembly tolerances fit your projector and bulb type, and monitor temps after installation. If in doubt, rely on tested, reputable brands and verify with measured heat data.
How to Diagnose Intermittent Electrical Failures in LED Headlights?
To diagnose intermittent electrical failures in LED headlights, you start by diagnosing flickering and testing connections. Check the battery and alternator for voltage dips, then inspect harnesses for corrosion, loose pins, or damaged insulation. Wiggle connectors gently while watching for flicker to localize faults. Test each ground and positive feed with a multimeter, and verify control module signals. Replace faulty connectors, repair damaged wires, and secure all components to prevent future intermittents.