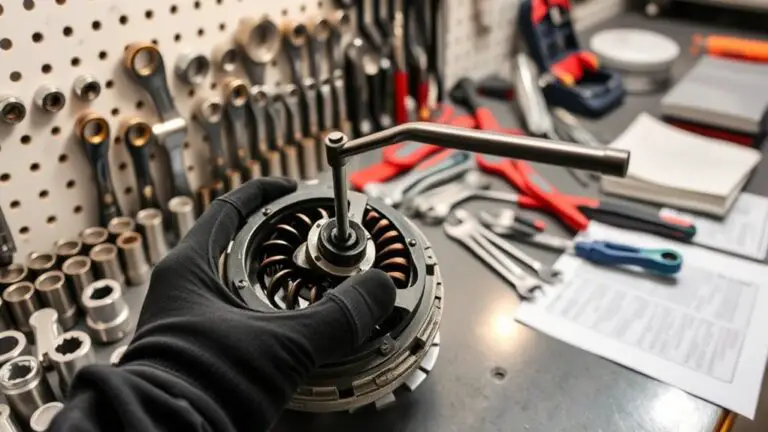
Common Mistakes When Installing Power Steering Pump
Common Mistake: Skipping proper belt alignment. You must verify pulleys and belt path, clean contacts, and adjust tension so the belt runs true. Avoid misalignment that causes premature wear or pump failure. Common Mistake: failing to prime the pump. Fill the unit with the correct fluid and crank until you see steady flow to prevent dry running. Common Mistake: not bleeding air. Cycle from lock to lock with the engine running until bubbles stop. If you keep at it, you’ll uncover more steps to master.
Common Mistake: Skipping Proper Belt Alignment
Skipping proper belt alignment can lead to premature wear or failure of the power steering pump. You’ll verify alignment before final assembly, because precision here prevents uneven stress and noise. Begin with clean pulleys and a straight belt path, then compare the belt’s centerlines to the crank and accessory pulleys. If misaligned, adjust the tensioner or mounting bracket until the belt sits square without wobbles. Record measured alignment as a reference for future service. Next, establish correct belt tension per manufacturer specs; excessive tension adds load, while insufficient tension allows slip. Use a calibrated tension gauge or follow the defined deflection method for your setup. Gather installation tools—wrenchs, a torque wrench, and a belt tension gauge—and keep them within reach during the procedure. Recheck alignment after final fastener torques are applied, and rotate the pump by hand to confirm smooth operation without binding. Document results for maintenance logs and proceed to test under operational load.
Common Mistake: Failing to Prime the Power Steering Pump
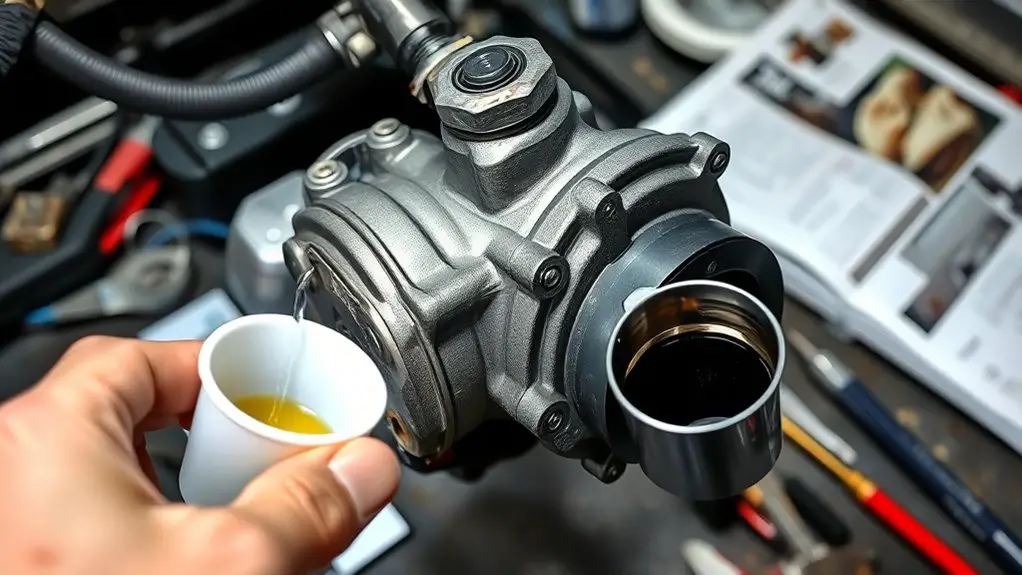
Priming the power steering pump is essential to prevent dry running and internal damage; neglecting this step can cause cavitation and accelerated wear. When you install, you must verify that the pump is filled with correct fluid before coupling it to the system. Keep the reservoir at or near full during initial rotation, and crank the engine to circulate fluid without load until you observe a steady flow at the outlet. Avoid rough priming methods; use the specified specification fluid and follow the manufacturer’s sequence for bleeding-free priming. This step directly affects pump performance because air pockets impede flow and create cavitation stresses that degrade components over time. Pay attention to installation timing: complete hose connections and clamps first, then prime, and finally operate at idle to confirm steady pressure. Document the procedure, noting any deviations from the standard sequence, so future maintenance remains predictable and effective. Freedom in your work comes from disciplined, repeatable priming.
Common Mistake: Not Bleeding Air From the System
Air trapped in the system can cause erratic steering and pump noise, so you must address it before finalizing installation. Follow the Air Ented Bleed Steps and Bleed Procedure Guidelines exactly, performing each step in sequence to remove all air pockets. Use System Air Removal Tips to verify flow and confirm that the fluid is free of air before test operation.
Air Ented Bleed Steps
Bleeding air from the power steering system is essential to prevent steering stiffness and pump cavitation. You’ll perform an air ented bleed by locating the high-point vent, loosening the cap, and slowly cycling the steering from lock to lock with the engine running. Watch for a steady flow of fluid with no air pockets; if bubbles persist, repeat with the reservoir capped loosely to vent any trapped air. Use firm, controlled turns and maintain consistency to avoid aeration. Prioritize air purge techniques that minimize dialog with the pump belt and reservoir. Once fluid runs clear and free of bubbles, tighten fittings, recheck level, and run the engine another minute. This maintains pump performance and reduces future TO bleed faults.
Bleed Procedure Guidelines
To guarantee the power steering system is free of air, follow a deliberate bleed procedure: start with the engine off, then open the high-point vent to relief any residual pressure, cap the reservoir loosely if you need to purge trapped bubbles, and cycle the steering from lock to lock with the engine running. This bleed technique targets air removal at the pump inlet and the rack, ensuring smooth engagement. After initial cycles, recheck levels and top off with the specified fluid, re-vent, and repeat until a steady, bubble-free return is observed. Avoid aggressive turning while the reservoir is capped; DO NOT exceed top level. Document any streaks of foam or intermittence, as these indicate lingering air or improper hose routing. Precision and patience yield reliable performance.
System Air Removal Tips
If air has entered the system, address it before proceeding with any adjustments, because residual air can cause intermittent steering effort. Begin by ensuring the engine is off and the reservoir is at proper level. With the cap removed, cycle the steering from lock to lock to agitate fluid and push air toward the reservoir. Monitor for an air pocket forming in the reservoir; when visible, top off to maintain system pressure without overfilling. Recheck power steering fluid temperature and flow as you bleed. If symptoms persist, loosen the bleed screw slightly to release trapped air, then retighten. Keep steady pressure on the pump during operation to prevent new air ingress. Confirm stable system pressure and smooth steering before finalizing installation.
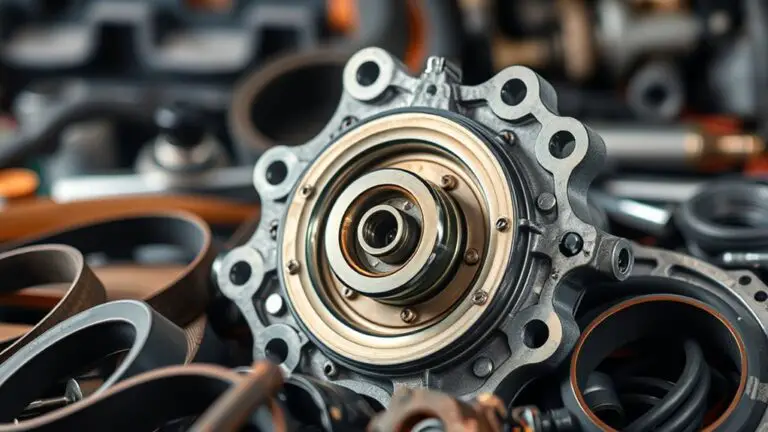
Common Mistake: Incorrect Pump Orientation or Mounting
Incorrect pump orientation or mounting can lead to improper belt alignment, premature wear, and pump failure. You’re aiming for reliable timing and smooth operation, so verify straight routing and secure fasteners before startup. Begin with pump positioning, ensuring the pump face aligns squarely to the pulley and power steering belt. Check that mounting brackets sit flush against the engine block, free of cracks, and that all bolts are torqued to spec. Use the manufacturer’s shim or spacer recommendations if provided, and center the pulley within the belt path to avoid misalignment later. Inspect mounting techniques for symmetry: equal gap around the bracket, consistent bolt tension, and no side-to-side play. Avoid overtightening, which can strain housings and seals. Recheck after any slight engine movement and prior to fluid fill. Document your orientation and torque values for future service. Correct mounting saves tears, reduces noise, and preserves pump life.
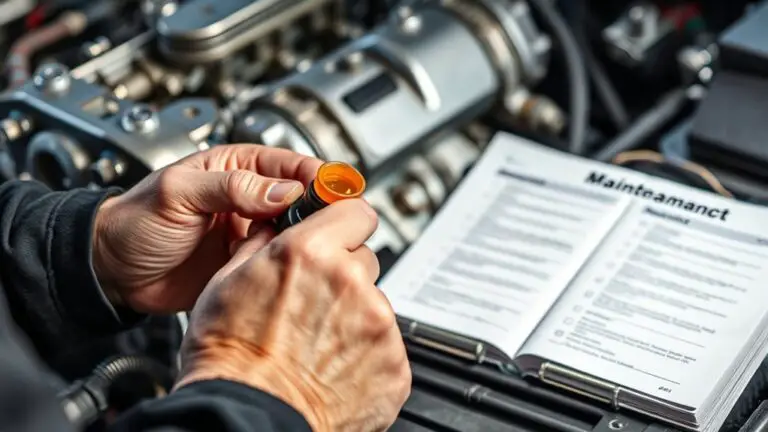
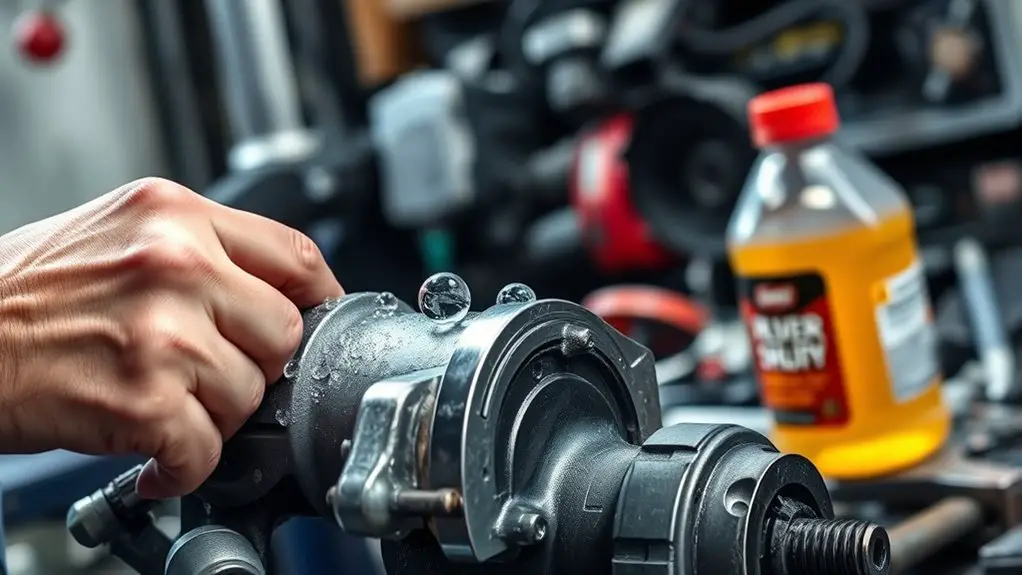
Common Mistake: Using the Wrong Fluid Type or Not Checking Levels
Using the wrong coolant or hydraulic fluid can cause component wear and seal damage, so verify the exact specification before filling. Check fluid level after initial fill and with the engine cold, then top up to the recommended range per the service manual. Guarantee you confirm fluid type and maintain accurate level readings to support reliable pump operation.
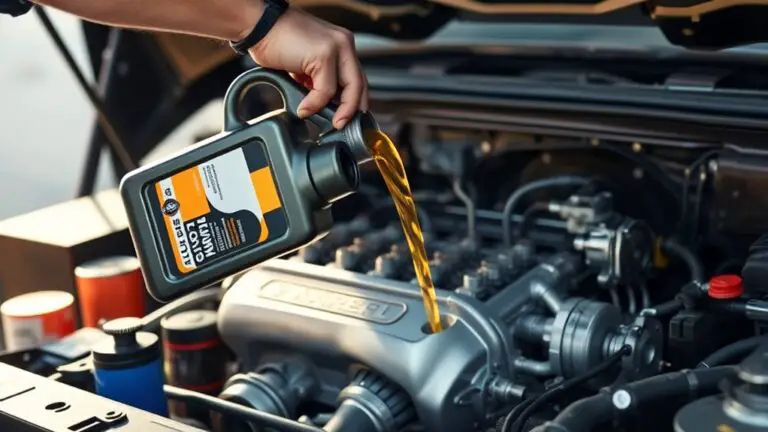
Fluid Type Accuracy
Choosing the correct power steering fluid is essential, as the wrong type or unverified levels can cause pump wear and reduced steering performance. You’ll want precise fluid type to avoid harmful chemical reactions and inconsistent lubrication. Pay attention to viscosity and compatibility at operating temperature, not just label claims. Using incompatible fluid can degrade seals, impair pump flow, and shorten service life.
- Confirm fluid compatibility with your system markings and manufacturer specs
- Check viscosity considerations for ambient and operating temperatures
- Verify correct grade and brand, and record level after initial fill
Procedure guide:
Select fluid per spec, match viscosity to climate, and monitor levels after startup. Maintain a lean, consistent routine to preserve performance and freedom of maintenance.
Level Verification Grip
You’ll verify fluid level and type before any test run, because misreading the reservoir or using the wrong fluid can mask issues and accelerate wear. You perform level checks first, then confirm the go-to fluid matches spec. If visuals are unclear, wipe the cap, recheck, and note temperature effects. During grip, ascertain the pressure side is within tolerance and the reservoir breathes freely. Any discrepancy prompts immediate correction before system load.
| Step | Action | Outcome |
|---|---|---|
| 1 | Inspect fluid type | Correct fluid, clear color |
| 2 | Check level | Within marked range |
| 3 | Observe grip | Stable, no surge or slip |
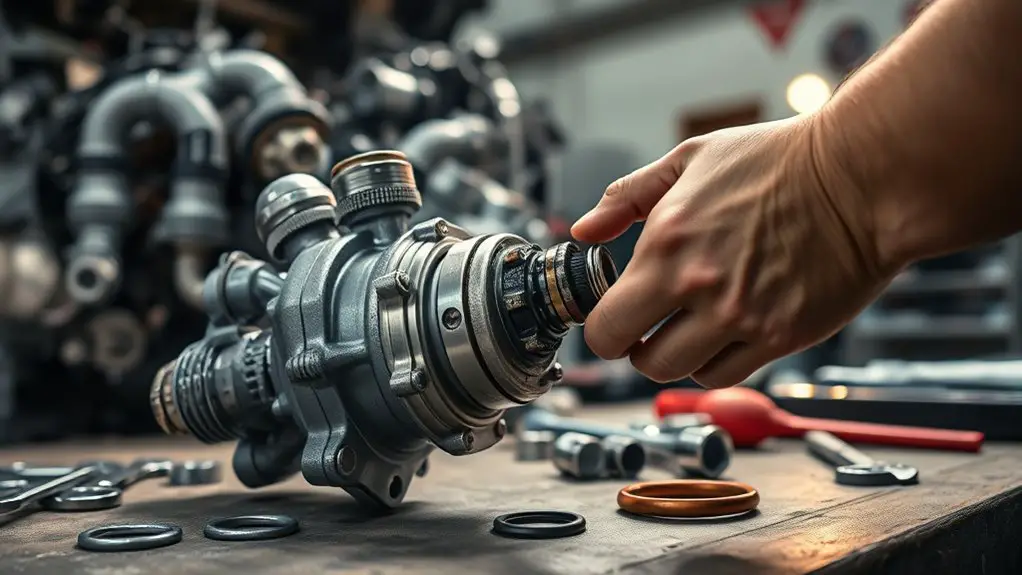
Common Mistake: Loosening or Reusing Faulty Hoses and Fittings
Loosened or reused hoses and fittings are a common failure point when installing a power steering pump, and they can lead to leaks, loss of steering assist, or air intrusion. You should treat every hose and fitting as a critical seal, not a disposable component. Perform a dedicated hoses inspection before you install and after your test run, noting any crust, swelling, cracks, or softness. If a hose shows doubt, replace it rather than reusing it; compromised hoses are a persistent vulnerability. For fittings, perform fittings replacement only with new seals and proper torque to spec. Improper seating or cross-threading creates air entrapment and pressure loss, undermining system performance.
- Inspect every hose end and barb for damage; replace if uncertain
- Swap all fittings with new parts and fresh seals to spec
- Verify clean mating surfaces and torque to recommended values
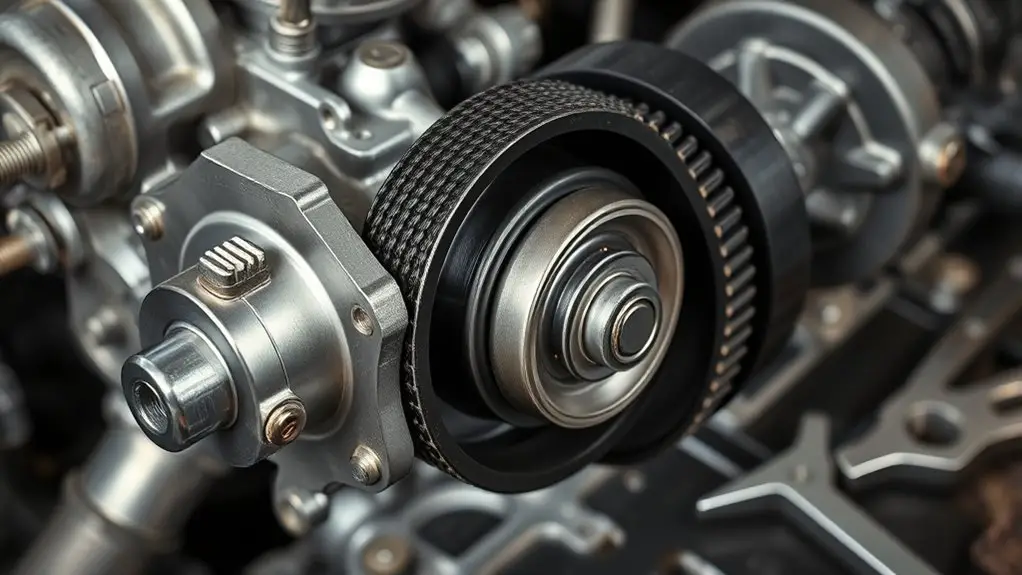
Common Mistake: Over-Torquing Bolts and Misaligning Pulleys
Over-torquing bolts and misaligning pulleys is a common failure point when installing a power steering pump. You tighten fasteners beyond specification, creating thread damage or substrate cracking, which can lead to leaks, pump fatigue, or component seizure. Follow the torque spec exactly, using a calibrated torque wrench and the proper fastener sequence for your mounting flange. If you’re using thread sealant, apply only where specified and avoid over-application that can disguise loosening later. For pulley alignment, verify vertical and axial alignment with a straightedge or alignment tool before final tightening. Ascertain the pulley spins freely with no bind and that belt tracking sits centered on the pulleys. Record bolt torque values and any adjustments you make for future maintenance. Re-check torque after a short run and after the system reaches operating temperature. Precision in torque and alignment preserves pump life and preserves your freedom to troubleshoot on your terms.
Common Mistake: Inadequate Leak Diagnosis and Verification After Install
After installation, inadequate leak diagnosis and verification can hide early failures. You’ll tighten, connect, and bleed, then assume success—don’t. You must confirm every potential leak source and verify system integrity with pressure testing before moving on.
After installation, don’t assume success—confirm every leak source with pressure testing before moving on.
- Identify leak sources by inspecting fittings, hoses, pump seal, and reservoir connections under loaded conditions
- Perform pressure testing within the vehicle’s service limits, then monitor for steady pressure and no drop over a defined window
- Validate return flow and reservoir return line, ensuring no air pockets or foam that signal improper bleeding or misrouting
Follow a repeatable checklist: seat all clamps, torque to spec, and re-check after operating for a short drive. Document readings, time stamps, and any deviations. If a leak appears, isolate the circuit, re-tighten or replace suspect components, and retest. In this field, precision matters—absence of leaks isn’t proven until pressures hold and steady.
Frequently Asked Questions
How to Identify a Marginal Power Steering Belt Tension?
A marginal power steering belt tension shows slight slip under load, or a faint squeal during cold starts. You should test by applying thumb pressure to the belt midway between pulleys; if you can push it more than about 1/4 inch (6 mm) with moderate effort, tension adjustment is needed. Verify belt wear is minimal, and recheck after tightening. Maintain proper alignment to avoid uneven wear and repeat the test until the belt remains firm under load.
Can Pump Priming Be Done Without Engine Running?
Yes, pump priming cannot be done safely without engine running in most systems. You must crank the engine to establish oil pressure and circulate lubrication before any pump priming attempt. With the engine operation underway, use a wrench to spin the pump slightly, observe for steady pressure, and guarantee no air pockets remain. Do not run the system without ignition until you confirm proper pressure, privacy, and stabile alignment of components.
How Long to Bleed Air After Installation?
Bleeding air after installation typically takes 2–5 minutes of steady cranking with the engine at idle, plus a short idle run to complete air bleeding techniques. You should watch for consistent, smooth pump feel and no foaming in the reservoir. Check fluid level, top up if needed, and recheck for bubbles. Confirm installation timing follows the service manual, then repeat bleeding steps if noise or stiffness persists.
What Signs Indicate Incorrect Pump Orientation?
If you notice pump alignment off, you’ll see steering stiffness or binding as you turn, and abnormal vibration. Misorientation can cause belt noise and pulleys not tracking. Check that the pump housing faces the correct orientation and the inlet/outlet ports align with hoses. Steering noise may spike under load with misaligned pulleys. Recheck fasteners, mounting surface, and bracket clearance until you confirm proper pump alignment before refilling and bleeding.
How to Verify No Leaks After a Test Drive?
After a test drive, you verify no leaks by performing a systematic leak detection scan and fluid inspection. Start engine, idle, and inspect all hose connections and the pump fittings for drips or seepage. Check the power steering reservoir level and look for bubbles indicating air. Turn steering lock-to-lock, recheck for leaks, top off fluid to spec, and monitor for changes over the next few drives. If you notice moisture, re-tighten junctions and repeat leak detection.