Common Mistakes When Repairing Valve Cover Gasket That Lead to Poor Fuel Economy
When repairing a valve cover gasket, common mistakes can hinder engine performance and fuel economy. Ignoring signs of wear, failing to clean the gasket surface, and using incompatible gasket materials can lead to leaks. Additionally, over-tightening or under-tightening bolts may damage the gasket and cause oil seepage. Neglecting to replace other seals, skipping torque specifications, and assuming all valve covers are identical can further complicate repairs. Understanding these pitfalls can enhance your repair outcomes and overall efficiency.
Ignoring Signs of Wear and Tear
Although it might be tempting to overlook minor signs of wear and tear on your valve cover gasket, doing so can lead to significant issues down the line. These wear indicators, such as small leaks or slight cracking, shouldn’t be dismissed. If you ignore them, you risk oil leakage, which can compromise engine performance and lead to costly repairs.
Incorporating a thorough maintenance schedule into your vehicle care routine is essential. Regularly inspect your gasket for any signs of deterioration. This proactive approach allows you to catch potential problems before they escalate, ensuring your engine operates efficiently.
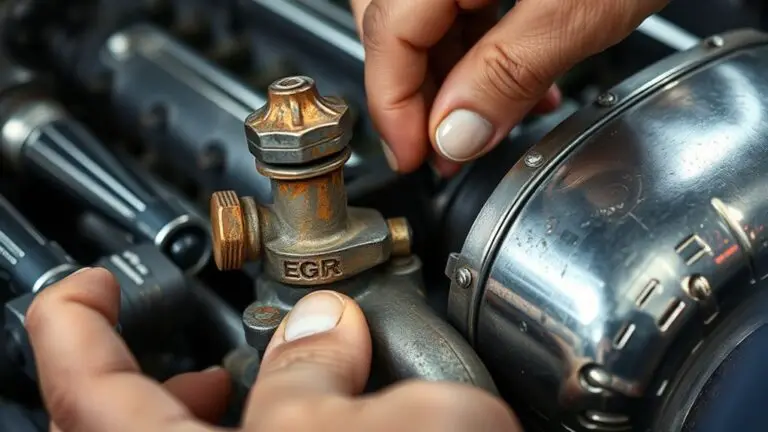
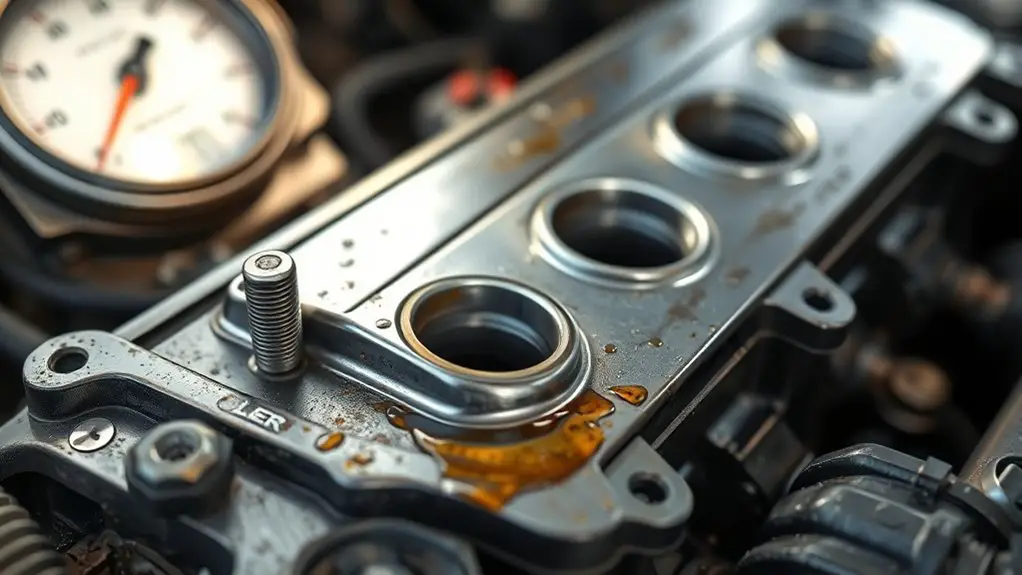
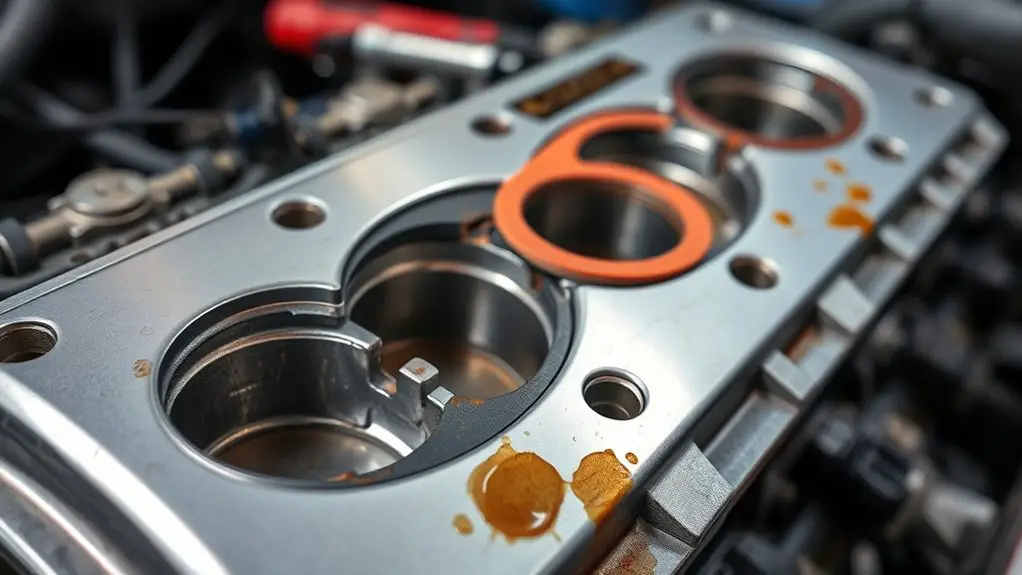
Failing to Clean the Gasket Surface
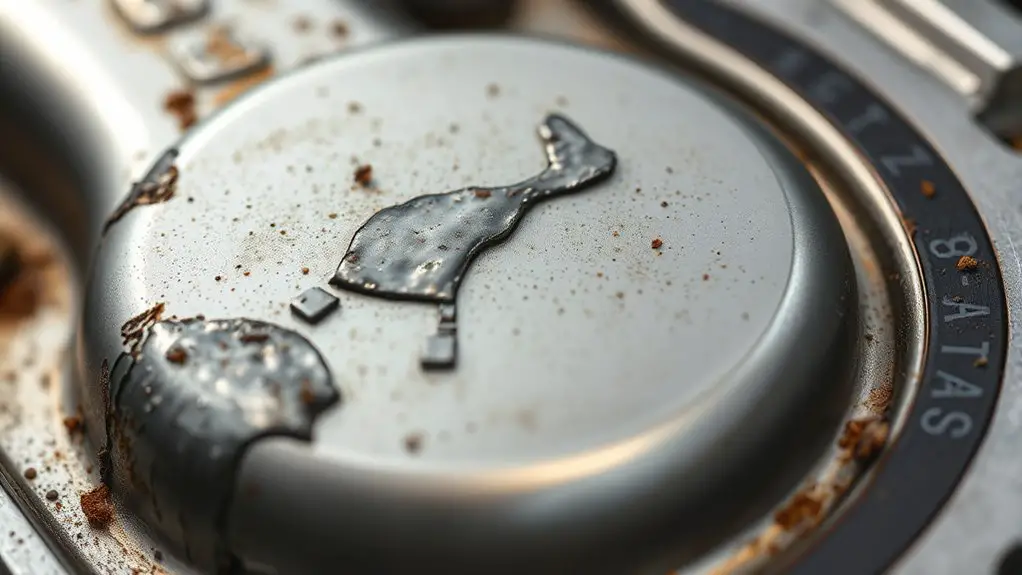
Ignoring signs of wear and tear on your valve cover gasket can lead to further complications if you’re not careful about the installation process. One common mistake is failing to properly clean the gasket surface before installation. Gasket surface preparation is important; any residue or old material can prevent the new gasket from sealing effectively. This can result in leaks, which not only compromise engine performance but can also diminish fuel economy.
To guarantee a proper seal, use appropriate cleaning solvents to remove any oil, dirt, or old gasket material. A clean surface allows the new gasket to adhere securely, preventing leaks that can cause your engine to work harder, thereby consuming more fuel. Take the time to perform this step thoroughly. It might seem tedious, but investing in proper gasket surface preparation pays off in the long run, enhancing your vehicle’s performance and efficiency.
Using the Wrong Type of Gasket Material
When replacing a valve cover gasket, it’s essential to choose a material compatible with your engine type to guarantee a proper seal. Using subpar materials can lead to premature failure, causing leaks and potential engine damage. Always prioritize high-quality gasket materials designed specifically for your vehicle’s requirements.
Compatibility With Engine Type
Using the correct gasket material is essential for ensuring compatibility with your engine type, as mismatched materials can lead to leaks and premature failure. Each engine has specific requirements regarding gasket design and material properties. For instance, high-performance engines may need gaskets made from advanced materials like silicone or rubber composites, while older engines might require traditional cork or paper gaskets. If you use the wrong gasket material, it can compromise the seal, resulting in oil leaks and reduced engine efficiency. This not only affects performance but can also lead to poor fuel economy. Always consult your vehicle’s specifications to guarantee that the gasket material aligns with your engine compatibility for best results.
Quality of Materials Used
Selecting the right gasket material goes beyond just compatibility; the quality of materials used plays a significant role in the effectiveness of the valve cover gasket. If you choose a gasket made from subpar materials, you risk compromising material durability and gasket performance. Inferior materials can degrade quickly, leading to leaks that negatively impact engine efficiency and fuel economy. Opt for high-quality materials, like silicone or rubber composites, which offer better resistance to heat and oil. These choices guarantee a tighter seal and extend the lifespan of the gasket. Remember, investing in the right gasket material isn’t just about immediate fixes; it’s about maintaining the overall health of your engine and enjoying long-term savings at the pump.
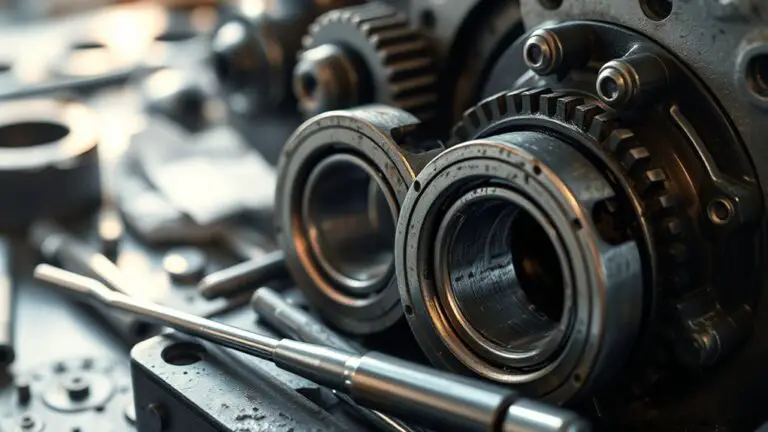
Over-Tightening or Under-Tightening Bolts
When repairing a valve cover gasket, it’s essential to adhere to the specified torque settings for the bolts. Over-tightening can lead to gasket compression beyond its limits, resulting in leaks, while under-tightening may allow oil seepage due to insufficient pressure. Recognizing the symptoms of improper tightening, such as oil leaks or warped covers, can save you from costly repairs down the line.
Torque Specifications Importance
Proper torque specifications are critical for guaranteeing a reliable seal on your valve cover gasket; if you either over-tighten or under-tighten the bolts, you risk creating significant issues. Over-tightening can warp the valve cover or gasket, leading to leaks, while under-tightening may cause insufficient compression, allowing oil to escape. To avoid these pitfalls, always use the correct torque tools and adhere to the specified torque sequence outlined in your vehicle’s manual. This guarantees that the force is distributed evenly across the gasket. Remember, achieving the right torque not only prevents leaks but also contributes to peak engine performance, ultimately enhancing fuel economy. So, take the time to set your torque settings correctly—you’ll thank yourself later.
Gasket Compression Effects
Gasket compression plays a crucial role in the effectiveness of your valve cover gasket seal; if bolts are over-tightened, you risk crushing the gasket, which can lead to premature failure and leaks. This detrimental effect compromises gasket durability and can create unwanted gaps, causing oil to escape and affecting engine performance. Conversely, under-tightening bolts can lead to insufficient compression, preventing the gasket from sealing properly. To guarantee ideal performance, conduct compression testing after installation; this checks for proper sealing and identifies potential issues early. Remember, achieving the right torque specification is essential for maintaining the integrity of your valve cover gasket, ultimately safeguarding your engine’s efficiency and performance. Make certain to strike the perfect balance for long-lasting results.
Symptoms of Improper Tightening
Improperly tightening the valve cover bolts can lead to a range of symptoms that signal potential issues. If you over-tighten, you might notice oil leaks due to gasket deformation or cracking. Under-tightening can cause oil seepage as well, resulting in low oil levels and potential engine damage. Pay attention to symptom identification; if you hear unusual noises, it could indicate a loose cover. Additionally, check for increased engine temperature or poor fuel economy—both could stem from improper sealing. Employing correct tightening techniques is vital; use a torque wrench to guarantee specifications are met. Remember, maintaining proper bolt tension not only prolongs gasket life but also enhances engine performance, keeping your vehicle running smoothly.
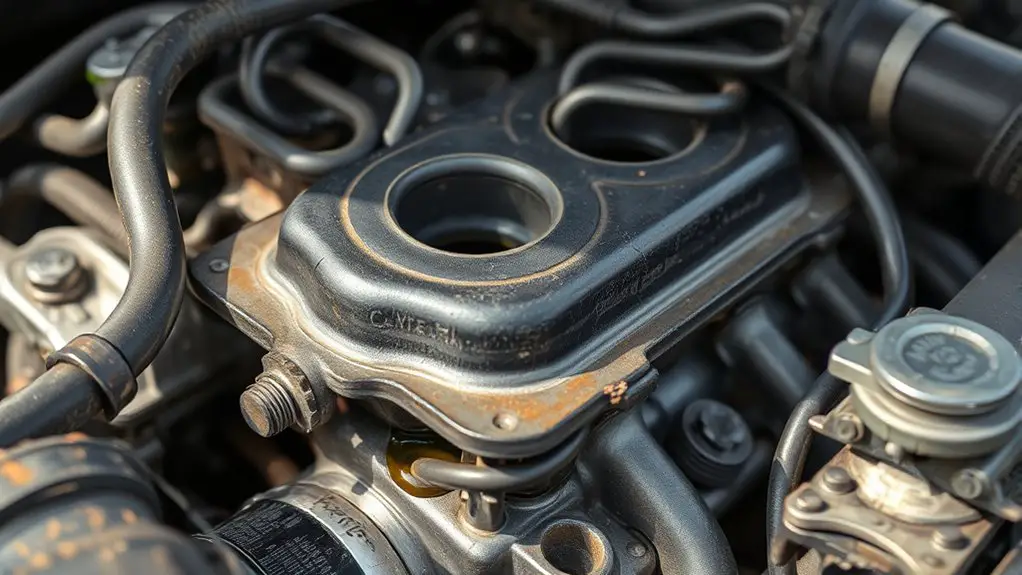
Neglecting to Replace Other Seals and Gaskets
When tackling a valve cover gasket replacement, many DIY enthusiasts overlook the importance of addressing other seals and gaskets in the engine. Failing to replace these components can lead to significant issues, including leaks and reduced gasket longevity. Each seal and gasket plays a vital role in maintaining system integrity and guaranteeing seal compatibility across the engine. If older seals are left in place, they may degrade, compromising the effectiveness of your new valve cover gasket.
Additionally, the presence of worn or damaged gaskets can lead to increased pressure and temperature fluctuations, ultimately affecting engine performance and fuel economy. It’s imperative to replace all related components to create a reliable barrier against oil and coolant leaks. By taking the extra step to confirm seal compatibility and replace all necessary gaskets, you’ll enhance your engine’s efficiency and longevity, allowing you the freedom to enjoy your vehicle without constant worry.
Skipping Torque Specifications
One critical aspect of valve cover gasket installation that’s often overlooked is adhering to the specified torque settings. When you skip these specifications, you risk uneven pressure on the gasket, which can lead to leaks and ultimately poor fuel economy. Using a torque wrench is essential for achieving the correct tightness; it guarantees the bolts are neither too loose nor too tight. If you don’t apply the proper torque, you might damage the valve cover or the gasket itself, which could result in costly repairs down the line. Furthermore, make sure your torque wrench is properly calibrated before use; an uncalibrated tool can give inaccurate readings, compounding the problem. Remember, achieving the right torque isn’t just about following instructions—it’s about guaranteeing the longevity and performance of your engine. Don’t sacrifice efficiency; pay attention to these details for a smoother, more economical drive.
Assuming All Valve Covers Are the Same
While it might seem convenient to treat all valve covers as interchangeable, doing so can lead to significant issues during installation. Each vehicle model has specific valve cover differences that affect fit and function. If you use the wrong valve cover, you might not align properly with the engine block, which can lead to leaks and poor sealing.
Moreover, gasket variations are equally critical. Different valve covers often require specific gaskets tailored to their design. If you assume one gasket fits all, you risk improper sealing, which can cause oil leaks and negatively impact your engine’s performance, ultimately resulting in poor fuel economy.
Always verify the compatibility of the valve cover and gasket for your particular engine. Taking the time to understand these differences guarantees a reliable installation, keeps your engine running efficiently, and helps you maintain that sense of freedom on the road.
Frequently Asked Questions
How Often Should Valve Cover Gaskets Be Inspected?
“An ounce of prevention is worth a pound of cure.” You should inspect your valve cover gaskets every 30,000 to 50,000 miles, depending on your vehicle’s maintenance schedule and gasket lifespan. Regular checks can help you catch leaks or wear before they lead to more significant issues. Keeping an eye on this component can save you from costly repairs down the road and give you peace of mind while enjoying the freedom of the road.
Can a Faulty Valve Cover Gasket Cause Engine Overheating?
Yes, a faulty valve cover gasket can cause engine overheating. When the gasket fails, it can lead to oil leaks, reducing lubrication and causing friction within the engine. This friction can greatly impact engine performance, leading to overheating. Additionally, poor-quality gasket materials may not withstand high temperatures, exacerbating the issue. Regular inspections and timely replacements are essential to maintain ideal engine function and prevent overheating due to gasket failure.
What Are the Signs of a Failing Valve Cover Gasket?
You’ll notice signs of a failing valve cover gasket if you see leaking oil around the engine or the oil cap. Another indicator is engine misfire, which can occur due to oil seeping into the spark plug wells. Additionally, you might experience a burning oil smell, reduced engine performance, or increased oil consumption. Addressing these issues promptly can prevent more severe engine damage and maintain your vehicle’s efficiency.
Is It Necessary to Use a Specific Torque Wrench for Installation?
Yes, it’s necessary to use a specific torque wrench for installation. Following the manufacturer’s torque specifications guarantees even pressure, preventing leaks and gasket failure. Make sure to use proper installation techniques, like tightening in a crisscross pattern to distribute force evenly. This approach minimizes the risk of over-tightening, which can warp the valve cover. Using the right tools gives you the freedom to achieve a reliable and efficient repair.
Can I Reuse the Old Gasket if It’s Not Damaged?
You can reuse the old gasket if it’s not damaged, but it’s risky. Gasket longevity can be compromised due to wear or old sealant residue. During installation, guarantee you clean the surfaces thoroughly and use proper techniques to avoid leaks. If you choose to reuse it, check for cracks or deformities. However, for peak performance and peace of mind, investing in a new gasket is often the best choice.