Cost and Time to Repair Rack and Pinion Yourself Vs at Shop
DIY can save money if you have the right skills, tools, and a solid safety plan, but you’ll pay more in time and risk if you’re missing torque specs, alignment data, or proper jack supports. A shop offers certified parts, proven torque specs, and faster completion, though at higher upfront cost. Expect labor by the hour, plus potential extra for corrosion or hydraulic lines. Curious how to weigh options step by step? You’ll find more concrete guidance ahead.
Initial Assessment: When DIY Makes Sense
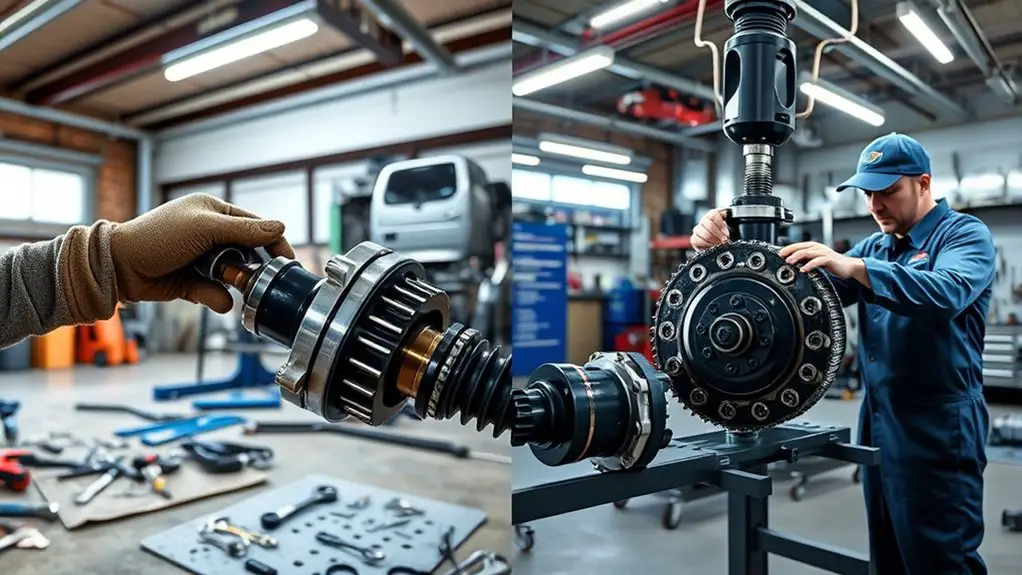
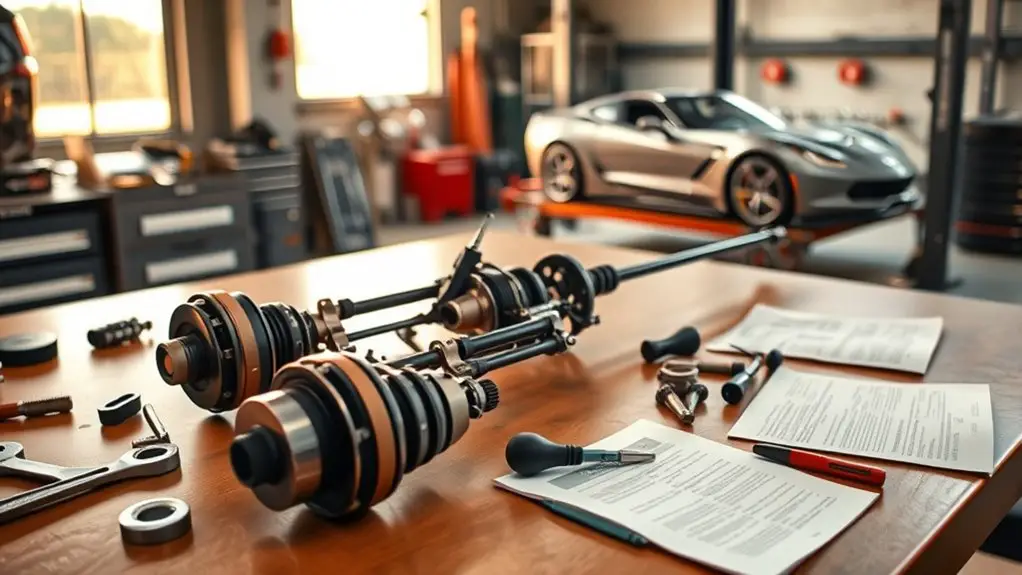
When determining whether to tackle a rack and pinion repair yourself, start with a clear assessment of your skills, tools, and the job’s safety risks. You’ll perform a knowledge assessment to map what you already know about steering systems, hydraulic lines, and tire alignment. Then you’ll do a skill evaluation to compare your hands-on experience with the required tasks: diagnostics, component removal, seal replacement, and reassembly. Be honest about torque specs, bolt patterns, and the risk of fluid exposure. Confirm you have a clean workspace, adequate lighting, and a means to safely lift and support the vehicle. Consider access to proper PPE, a service manual, and the correct replacement parts. If gaps appear in critical areas, defer to professional service or schedule targeted practice on nonfunctional components. When you can articulate both capability and limits, you gain freedom to choose a path that prioritizes safety, reliability, and time efficiency.
Part Costs: Aftermarket Vs OEM Options
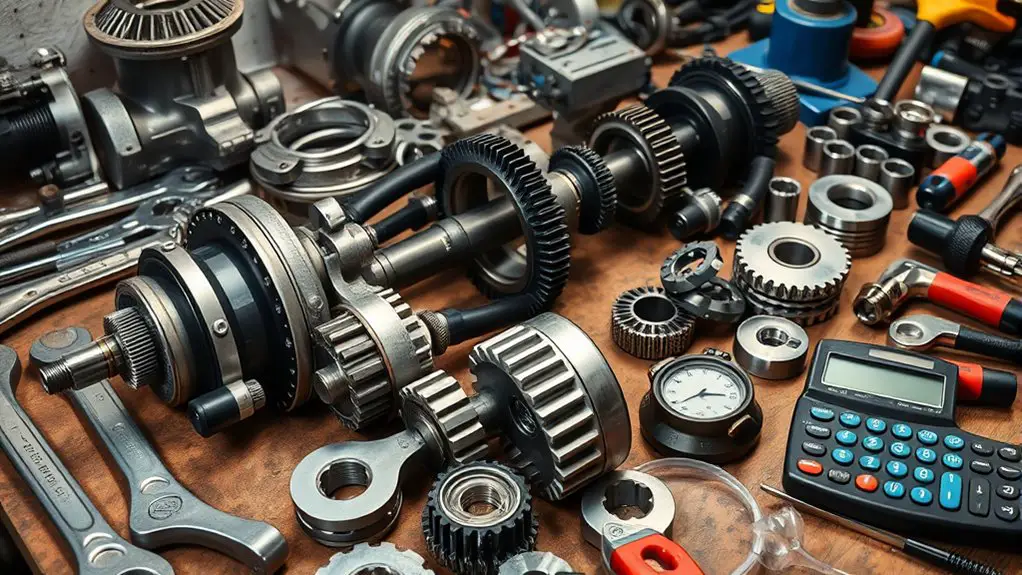
Part costs for rack and pinion repairs hinge on a clear choice between aftermarket and OEM components, with price often tied to risk, performance, and longevity. You’ll weigh upfront price against longterm reliability, not just sticker shock. Aftermarket pricing can be attractive, offering competitive options that fit varied budgets, yet variability exists—quality, fit, and durability may shift by supplier. OEM benefits typically include exact specifications, proven compatibility, and factory-tested performance, but at a premium that reflects engineering and warranty support. In practice, you’re balancing certainty versus cost, acknowledging that some aftermarket parts replicate essential specs while others diverge in metallurgy or seals. Safety-critical steering demands meticulous inspection and documentation; verify any aftermarket part carries credible certification and a robust return policy. If you pursue OEM, expect traceable lineage and consistent performance. Always check compatibility with your vehicle’s VIN, and document substitutions for future service records.
Tools and Equipment: What You’ll Need
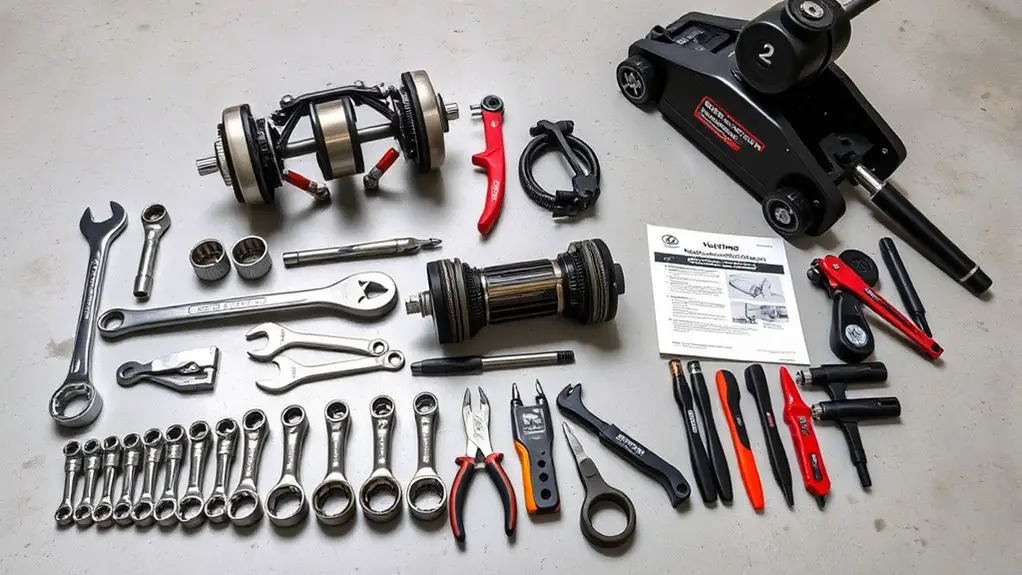
To tackle rack and pinion repair efficiently, you’ll need a focused set of tools and equipment that match the job’s scope.
Tools and equipment list for a precise, safe job:
- Socket set with metric and SAE sizes
- Torque wrench for accurate fastener spec adherence
- Breaker bar and short-handled ratchets to break stubborn joints
- Impact or utility pry bar for seismic resistance without damage
- Jack stands, wheel chocks, and a lining/ramps setup for secure access
Additional safety and quality items:
- Specialty rack and pinion puller or alignment tools as required
- Penetrating oil, anti-seize, and cleanup rags
- Multimeter or diagnostic scan tool if you’re checking sensors
Tips for freedom-minded mechanics:
- Verify tool fit before application to avoid slippage
- Mark fastener sizes and torque specs for reassembly
- Clean work area; maintain fluid containment to prevent slips
Labor Time and Shop Rates: Estimating the Job
Labor time for rack and pinion repair hinges on the job’s scope, component condition, and whether access is straightforward or requires extra disassembly. You’ll estimate labor using a clear, repeatable method that maps tasks to hours and shop rates. Break the work into removal, replacement, and reassembly, plus alignment and testing where applicable. Consider whether auxiliary components—steering rack boots, mounts, or steering fluid lines—need attention, as that changes time and effort. When calculating labor time, itemize each step, note required tools, and identify potential delays from corrosion or seized fasteners. This produces reliable labor rates and realistic job estimates you can stand by. Communicate estimates upfront, including any contingency for unexpected tight spots. Pair time estimates with shop rates that reflect skill level, region, and facility capabilities. The goal is transparency, accuracy, and a planning margin that keeps you confident in the cost and schedule.
Hazards, Warranty, and Risk Management
Hazards, warranty, and risk management require a disciplined, proactive approach to minimize injury, protect the vehicle, and safeguard your investment. You assess the procedure, identify high-risk steps, and implement controls before you start. Precision tools, proper lifting, and secure supports reduce roll and drop hazards. You’ll document torque specs, fastener sequences, and alignment checks to support warranty considerations. If anything seems compromised, pause and reevaluate; rushing invites error and voids coverage.
- Identify critical pinch points and use barriers or gloves to prevent hand injuries
- Verify tool calibration and torque values to honor warranty considerations
- Use jack stands and a stable support surface; never rely on a jack alone
- Re-check steering alignment and hydraulic line connections post-repair
- Maintain clean workspace to avoid contamination and trip hazards
You balance freedom with safety, choosing methods that protect you and the rack‑and‑pinion system, and you clarify every risk up front.
Frequently Asked Questions
How Do I Verify if the Rack and Pinion Is the Root Cause?
“Measure twice, cut once.” You verify the rack and pinion root cause by noting steering symptoms and running diagnostic tests: check for play, leaks, irregular steering effort, and noise. Reproduce symptoms on smooth and rough surfaces, verify with a pressure test, inspect boots, rack ends, and mounting. Use a scan tool for codes, perform a steering angle sensor check if applicable, and isolate with a controlled street test to confirm diagnosis while ensuring safety.
What Are Hidden Costs Beyond Replacement Parts?
Hidden costs beyond replacement parts include labor costs and tool expenses. You’ll face token labor if you DIY, plus potential rework from mistakes, alignments, and warranty considerations. Factor in specialized tools, shop rental or rental-yet-needed equipment, and diagnostic fees if you’re unsure. You may also incur fluids, sealants, and safety gear, plus disposal and contaminant handling. Plan for time overruns and risk, ensuring precise calibration, torque specs, and road-test safety.
Can DIY Repair Affect Resale Value or Insurance Coverage?
DIY repair can affect resale value and insurance coverage; yes, it can. About 60% of buyers value documented OEM repairs, so your resale impact hinges on quality and notes. If you complete the work with proper specs, safety checks, and a detailed log, you minimize risk. Insurance implications rise if non-professional work fails or causes leaks; disclose, keep receipts, and guarantee you meet manufacturer guidelines to protect you and your buyers. Stay precise, safe, and transparent.
Which Signs Indicate Severe Steering Malfunctions Before Repair?
Severe steering malfunctions show these signs: steering noises, steering stiffness, fluid leaks, uneven tire wear, steering wheel vibration, and loss of control. If you notice any of these, reduce speed, pull over safely, and inspect for leaks or damaged components. Do not drive long distances; seek an expert assessment promptly. Ignoring them risks total steering failure, wrecking your safety and others, and may complicate insurance coverage or resale later. Prioritize repairs before you continue driving.
Is Professional Alignment Required After DIY Rack Repair?
Yes, professional alignment is typically required after a DIY rack repair. You might think you can skip it, but misalignment hurts steering precision and safety. Alignment significance guarantees your steering returns to center and your tires wear evenly. If you skip it, you risk uneven wear and runtime instability. After repair, you should have a technician verify toe, camber, and caster specs, then road-test for confidence and precise, safe handling.

