Cost-Effective DIY Fixes for Incorrect Tire Pressure
To fix incorrect tire pressure affordably, start with a reliable gauge and check all tires when they’re cold. Compare readings with your vehicle’s recommended PSI from the door jamb placard or manual. Inflate in small increments and recheck until you’re within spec. Check for slow leaks by inspecting valve stems, nails, or screws, and patch or replace damaged parts as needed. Regular maintenance and a good inflator keep leaks at bay—plus you’ll uncover more practical tips as you continue.
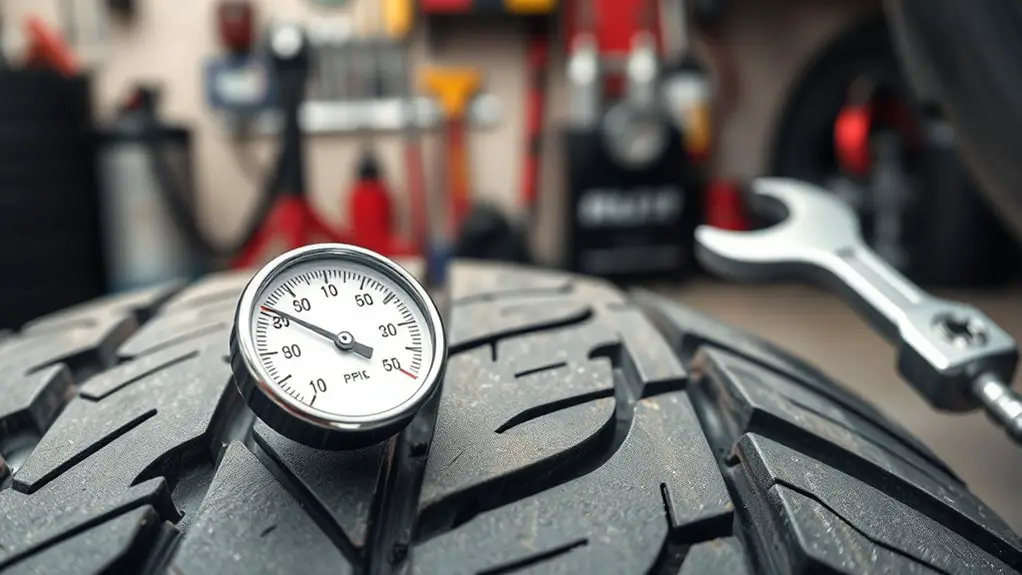
Checking Tire Pressure With a Reliable Gauge
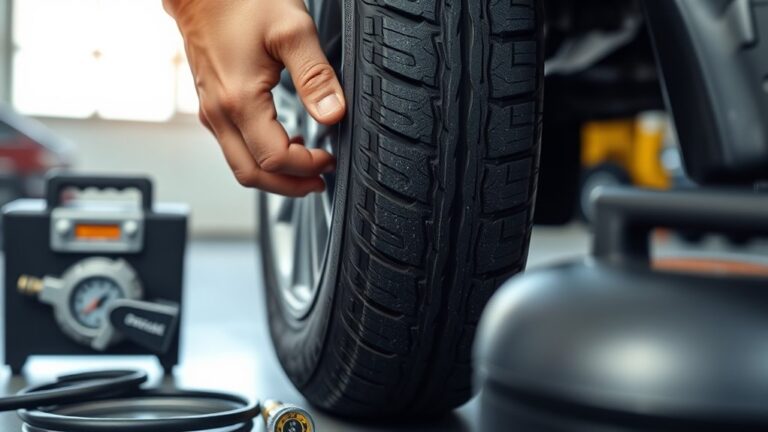
To check tire pressure reliably, start with a good gauge and know your vehicle’s recommended PSI from the door placard or owner’s manual. You’ll perform a quick, repeatable check, every time you fill up or notice a change in handling. Place the gauge on the valve stem firmly, avoid wiggling, and read the number straight away. If you’re off, adjust with care—not too much, not too little—then recheck. For accuracy, use the same gauge or compare against a known-calibrated tool occasionally, because gauge calibration drifts over time. Record the target PSI and deviations to track tire maintenance over months, not weeks. Keep tires cool when reading, especially after a drive, to avoid misleading readings. Consistency beats guesswork, and precise measurements save fuel, prolong tread, and improve safety. With disciplined checks, you’re maintaining freedom: reliable performance, fewer surprises, and clear road confidence.
Understanding Your Vehicle’s Recommended PSI
Your vehicle’s recommended PSI isn’t a guess; it’s the tire pressure your manufacturer designed for safe handling, ideal wear, and fuel efficiency. You’ll find this number on the door jamb placard, inside the fuel door, or in the vehicle manual. It’s not the maximum pressure listed on the tire sidewall—that spec serves a different purpose and can mislead you. Use the recommended PSI as your baseline for regular driving conditions, loads, and climate changes. If you’re unsure, consult the vehicle manual or a trusted dealer; stick to the stated range rather than chasing a higher feel of performance. Note that different tires can have different targets, even on the same model, so verify each tire’s spec. Regular checks help you stay aware and in control, supporting even wear and predictable handling. Remember: correct tire pressure aligns with safety, efficiency, and your freedom to drive with confidence. tire pressure, vehicle manual.
How to Adjust Pressure You Can Do at Home
First, check your tire spec to know the correct PSI for each wheel. Use your gauge properly to read the current pressure, and adjust in small, even increments. Do this safely by avoiding overinflation and rechecking with the gauge after each adjustment.
Check Tire Spec
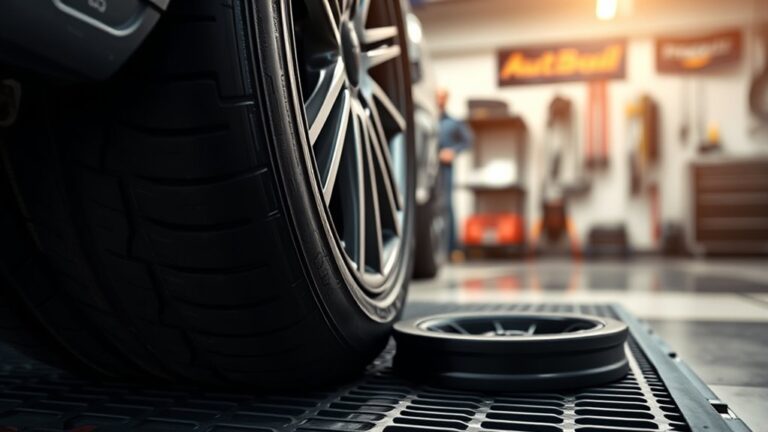
Check your tire spec before you adjust anything. You’ll want the manufacturer’s guidance exact, not guesses. Locate the tire specifications on the vehicle door jamb or owner’s manual, and note the recommended pressure ratings for front and rear tires, plus the correct units. Don’t mix PSI with kPa or other metrics in this step. Confirm max load, speed rating, and any seasonal adjustments if you carry heavy loads or drive in extreme temperatures. If you have run-flat tires or staggered sizes, follow the specific spec for those configurations. Use this baseline to evaluate your current readings, then decide if you need to adjust. This guarantees safe handling, fuel efficiency, and prolongs tire life without overcomplicating the process.
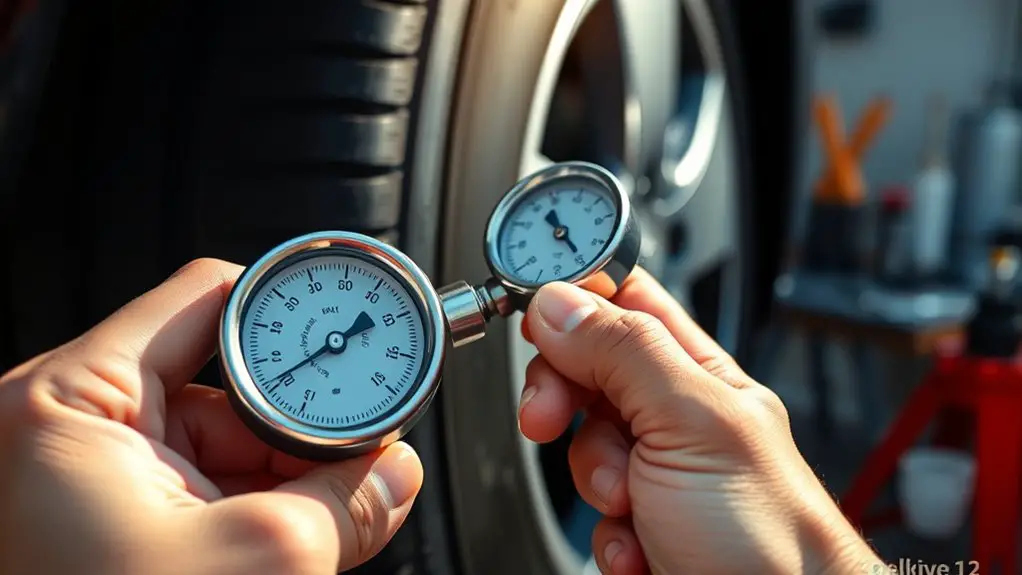
Use Gauge Correctly
To measure accurately, start with a clean, cold tire and a reliable gauge. You’ll get consistent readings when you apply gauge calibration correctly and avoid common quirks. Before you test, wipe the valve stem and stem end to remove debris, then reset the gauge if it has a release button. When you press the gauge onto the valve, do it straight on, not at an angle, and hold steady until the pin or digital readout settles. Note the number, then compare to the vehicle’s spec. Release pressure gradually if needed and recheck. Practice proper handling by storing the gauge in a protective case and avoiding drops. With discipline in technique, you maintain control and efficiency without extra trips.
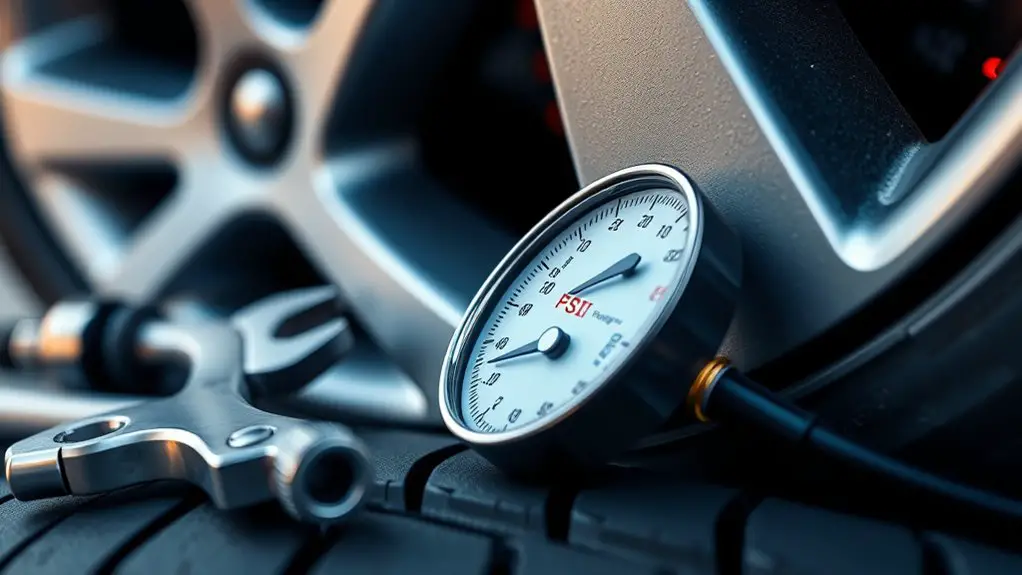
Adjust Air Safely
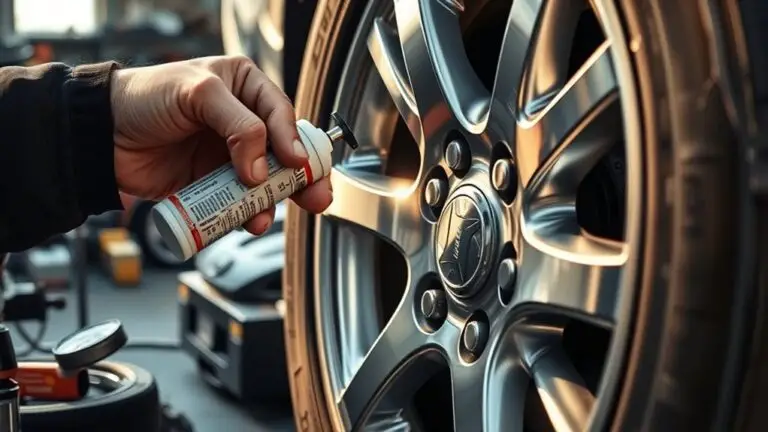
After you’ve confirmed the gauge reading, you can adjust the air pressure right at home without special tools. Begin by locating the valve stem caps and removing them. Check the recommended PSI on the tire sidewall or owner’s manual, then decide how much to add or release. If you use an air compressor, choose air compressor options that match your needs—portable for quick fixes, or larger units for regular maintenance. Attach the chuck firmly to the valve stem, then start the compressor in short bursts, watching the gauge closely. If overinflated, release air in small increments until you reach the target. Keep tire inflation tips simple: don’t over-tighten, avoid bouncing, and test after driving a few miles for accurate results.
Common Causes of Slow Leaks to Watch For
Small punctures from nails or screws can quietly leak air you notice only after checking pressure. Check the valve stem for nicks, cracks, or looseness that let air seep out between fills. Look for tread wear signs that expose casing or indicate local leaks around the tire.
Nail or Screw Leaks
Nail or screw leaks are a common reason tires lose air slowly, since a sharp object can puncture the tread and create a tiny, ongoing escape path. You’ll notice gradual pressure loss, often uneven across tires. To address this, inspect the tire surface for embedded objects and locate the exact puncture. Nail identification is key: look for a visible head or a small hole with surrounding sealant marks. If you spot a nail or screw in the tread, don’t yank it out. Leave it in place to preserve the seal and prevent enlarging the hole. Prepare a patch kit or plug kit and follow instructions. Remove the object only after cleaning the area, then apply a proper plug or tire patch. Remember, screw removal requires care to avoid inner damage.
Valve Stem Issues
Valve stems can leak slowly if their core, cap, or mounting area starts to fail, so check for cracks, corrosion, or loose fittings around the valve stem. You’ll inspect for soft or flaky rubber around the valve base and any wobble when you twist the cap. A faulty core may hiss after a quick press, signaling replacement. Perform a valve stem inspection with a tire gauge in hand, and note if the stem looks bent or the mounting nut shows corrosion. If you spot damage, opt for valve stem replacement rather than quick fixes. Keep caps tight to deter dirt. When replacing, reuse the stem only if it’s undamaged and compatible with your tire. Verify no leaks after reassembly and test drive for confirmation.
Tread Wear Signs
Tread wear can silently cause slow leaks, so pay attention to how the tire’s surface looks and feels. You’ll spot signs that point to leaks sooner than you think, especially if you monitor tread depth and uneven wear. Understand that small gaps or unusual patterns can mask air loss, so check regularly.
- Look for uneven wear patterns across the tread
- Check tread depth with a gauge and note when it dips
- Watch for shallow sipes that hint at thinning rubber
- Inspect cupping or feathered edges on worn tires
- Notice any cracks or bulges near the shoulder regions
Patching Punctures: Quick At-Home Fixes
Patching punctures is a quick, at-home fix you can handle in minutes, but it’s crucial to start with the right tools and a clean surface. You’ll need a tire plug kit or patches, a rasp tool, cleaner, and a vise or tire lever. Inspect for a clear puncture and remove debris. If you’re using patches, roughen the inner liner and clean the area; for plugs, ream the hole and insert firmly. Allow time for any sealant to cure if you chose tire sealant options. Check the tire for extrusion and verify the bead isn’t damaged. Test containment with a gentle inflation, then recheck for leaks. Keep pressure recommendations handy and don’t overinflate. Patching techniques vary, but the goal stays constant: seal quickly, with minimal disassembly. If a repair seems uncertain, opt for a professional assessment. Your freedom comes from reliable, straightforward fixes that keep you moving.
Sealing Valve Stems to Prevent Air Loss
Sealing valve stems is a quick, essential step to stop slow air loss and extend tire life; if a stem is leaking, inflate to a safe level, then inspect for cracking, corrosion, or loose nuts. You’ll protect your ride and save trips to the pump by treating the valve stem as a pressure gate you must trust. Focus on airtight seals, clean threads, and correct caps to curb air loss without overhauling tires. Small fixes beat big costs, and a proactive check keeps your tire pressure honest between sessions. Precision matters: replace damaged caps, tighten loose hardware, and replace compromised stems promptly. When you work, you stay in control of your freedom to drive confidently and safely.
Sealing valve stems keeps leaks honest and tires thriving.
- Inspect for cracks and corrosion
- Replace damaged valve stems promptly
- Tighten loose nuts and fittings
- Use quality valve caps for a better seal
- Recheck pressure after any adjustment
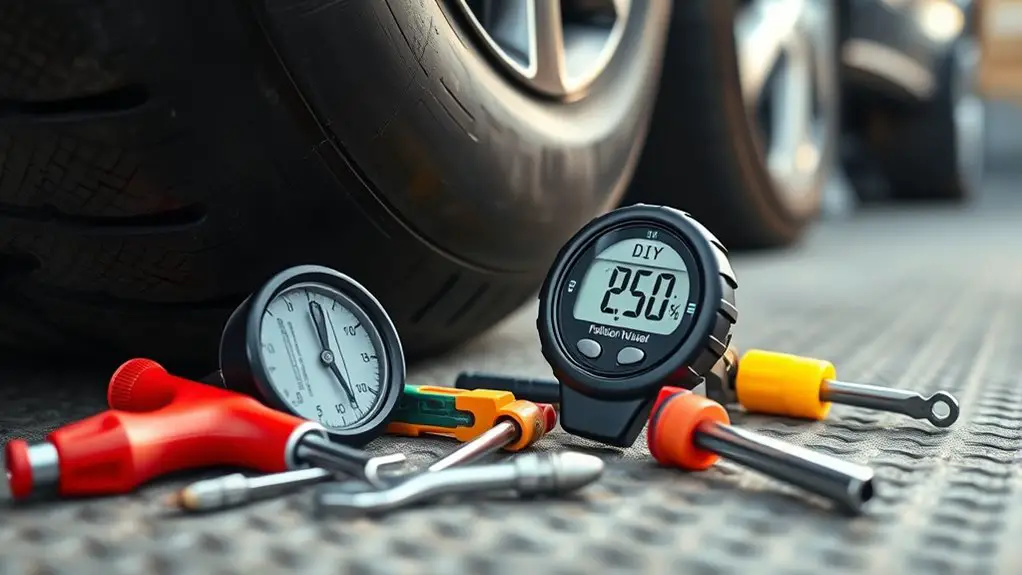
Preventing Future Leaks With Regular Maintenance
Regular maintenance is your best defense against slow leaks and unexpected flats. You’ll reduce downtime by making small, repeatable checks part of your routine. Start with tire rotation on a regular cadence; rotated tires wear more evenly, helping sensors and seals stay true, which minimizes patchwork fixes later. Keep a simple log of air-pressure readings and visual inspections so you notice trends before they become problems. Seasonal checks matter too: as temperatures shift, pressure changes faster, and older valves can lose grip. When you swap seasons, pull a quick tire-talance: check tread depth, look for cuts, bulges, or embedded objects, and listen for hisses at the valve stem. Maintain proper valve cap coverage to keep dirt out. Use a quality inflator and a gauge you trust, and don’t over-tighten when resealing. Consistency beats fancy fixes; your steady routine prevents leaks and keeps you moving.
Frequently Asked Questions
How Long Does It Take for a Tire to Reseat After Inflation?
A tire typically reseats within a few minutes after inflation, but you should check for a minute or two to confirm even seating all around. If you hear hissing or see a slow loss, you may need to reseat again. With Tire inflation, make certain the bead seats properly by applying steady pressure and rotating the wheel. Reseat time is usually short, but don’t rush—verify air pressure matches your target as you go.
Can Weather Affect Tire Pressure Readings Significantly?
Yes, weather can affect readings: temperature effects, humidity impact, and barometric drift all shift tire pressure. Temperature changes cause air to expand or contract, while humidity subtly alters tire volume and gauge accuracy. You’ll see higher readings on hot days and lower ones when it’s cold, especially if you park outdoors. Check pressure with a consistent gauge, in the same conditions, and adjust accordingly to keep safe, efficient driving.
Are TPMS Readings Always Accurate for Every Tire?
TPMS readings aren’t always accurate for every tire. You’ll find variations due to sensor calibration accuracy, tire size, and road conditions. If a reading seems off, check for sensor malfunction causes like a weak battery or damaged valve stem. Remember, you can’t assume perfect parity across all tires; recalibrate when you notice persistent imbalances. Stay proactive, verify with a manual pressure check, and address any obviously faulty sensors promptly to protect safety and performance.
Should I Replace Both Tires if One Leaks Slowly?
If one tire leaks slowly, you don’t necessarily have to replace all of them. Inspect the tire thoroughly, repair the leak if possible (tire plug/patch), and monitor the others. But if the damaged tire can’t hold air or shows substantial wear, consider tire replacement rather than risking a blowout. In many cases, replacing just the leaking tire keeps balance and safety. Slow leak requires action, not delay.
What’s the Safest DIY Method to Test a Suspected Leak?
You can safely test a suspected tire leak using a bubble test. Seal any valve core and stem, then spray soapy water across the tire, especially at seams and the tread edges. Watch for continuous bubbles to pinpoint the tire leak. Don’t rush; pause if you see steady bubbling, indicating a leak. If you’re unsure, have a professional check it. Bubble test is practical, precise, and respects your freedom to know what’s happening.