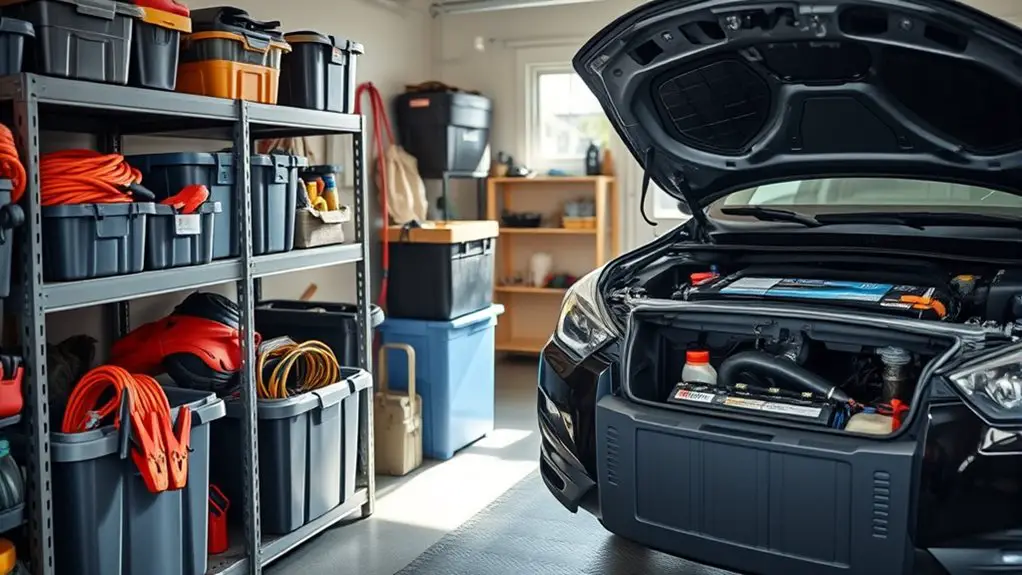
Cost-Effective Storage Solutions to Minimize Cold-Weather Starting Problems
To cut cold-start delays, organize a budget-friendly, dry storage plan. Use sturdy, clear bins with airtight seals for batteries, fuels, and tools, and keep them upright in a cool, dry corner away from heat. Label zones clearly and rotate items so fresh components sit behind older ones. Add silica desiccants, seal gaps, and check battery terminals regularly. Create a simple pre-start checklist to verify oil, coolant, and fuel lines. Keep space optimized—you’ll uncover more practical tips soon.
Practical Storage Basics for Cold-Weather Readiness
Practical storage basics for cold-weather readiness start with organizing your supplies and choosing containers that keep items dry and accessible. You’ll map what you actually use, then label bins so you don’t waste time digging. Go with sturdy, leakproof bins and clear fronts to simplify quick checks for wear, moisture, or pests. Prioritize airtight seals for staples and frequently needed cold weather gear, minimizing frost and aroma transfer. Use stackable options to maximize vertical space while keeping heavy items on lower shelves for safety. Create a simple rotation plan: place fresh items behind older ones so seasonal storage stays current, reducing waste. Keep moisture controls—silica packs or desiccants—in each container to protect fabrics and tools. Maintain a lean inventory: document contents, quantities, and expiration dates, updating as you use or replace gear. This approach preserves readiness without clutter, giving you reliable access to essentials when you need them most.
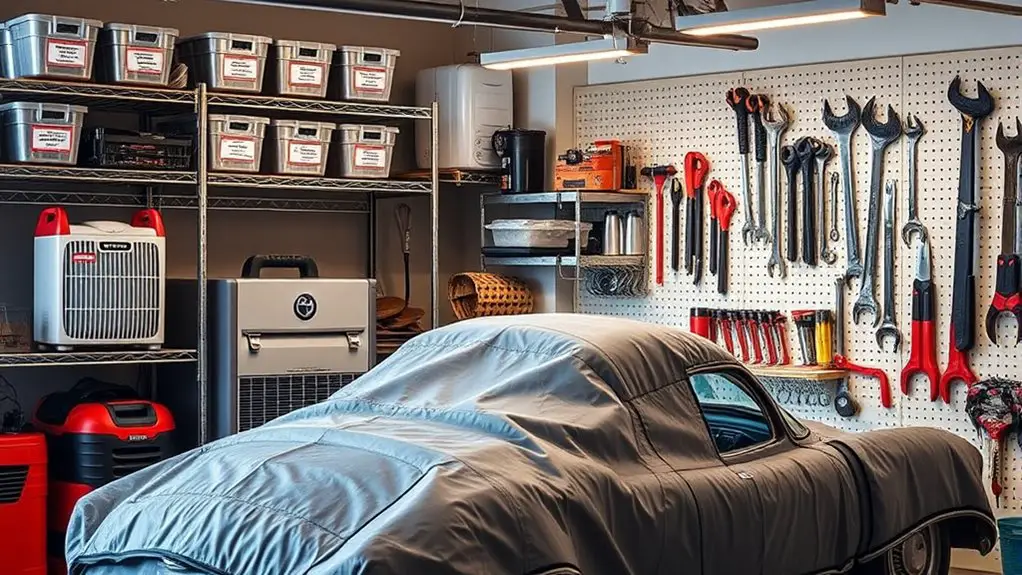
Organizing Your Garage or Shed for Easy Access

Think through a smart shelf layout that puts frequently used items within arm’s reach, so you minimize trips and wasted time. Create accessible tool zones by grouping like tools together and labeling where each item lives, which helps you locate what you need fast. Start with a simple plan: map your space, assign zones, and adjust as you use the setup for better ongoing access.
Smart Shelf Layout
A smart shelf layout starts with a simple plan: group items by use and frequency, then assign each zone a specific shelf height and location. You’ll optimize space by prioritizing vertical storage and reducing reach strains, so every item has a logical home. Implement shelf optimization by labeling zones and using consistent heights for grouped tools, supplies, and seasonal items. This clarity translates to faster access and less clutter, empowering you to move freely.
| Zone | Item Type |
|---|---|
| A | Frequently Used |
| B | Infrequently Used |
| C | Seasonal |
| D | Spare Parts |
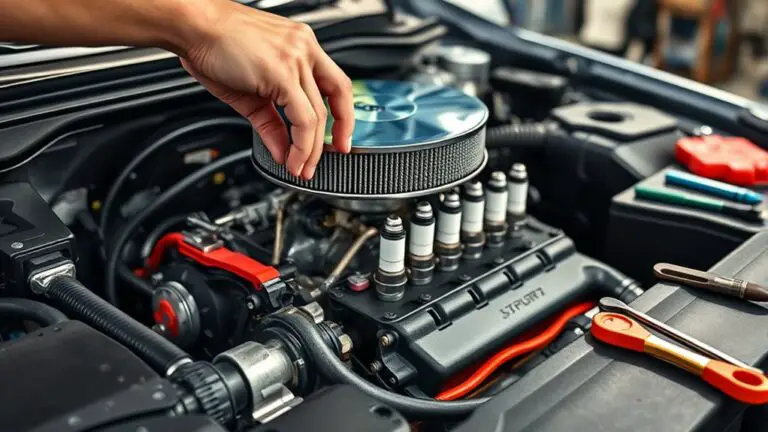
Accessible Tool Zones
Set up your tool zones so every item has a defined, reachable home: keep frequently used tools within shoulder to waist height, group similar tools together, and place the rest in clearly labeled, consistent locations. Your goal is tool accessibility that reduces search time and stress. Use wall-mounted racks for chisels, wrenches, and screwdrivers, plus a pegboard for quick grabs. Add a shallow drawer for fasteners and a magnetic strip for metal bits. Implement a logical flow: from prep space to primary tools, then to specialty items. Label storage zones clearly and keep a standing checklist to confirm integrity after each session. This approach boosts storage efficiency and cutting routine friction, preserving energy for cold-weather starts and other tasks that demand dependable organization.
Moisture Control Techniques to Prevent Freezing and Corrosion
Moisture control is essential to prevent freezing and corrosion in storage systems, especially where temperature swings or high humidity are common. You’ll reduce risk by matching ventilation to ambient moisture, then sealing gaps that invite damp air. Deploy desiccants or low-humidity environments where feasible, and monitor with simple gauges so you know when to act. Keep condensate drains clear and inspect seals after cold snaps, because tiny leaks become rust problems fast. Use coatings or corrosion inhibitors on metal surfaces in high-moisture zones, and prioritize rust prevention during setup. Implement humidity control strategies that align with your exact storage profile—seasonal shifts demand different fixes, not one-size-fits-all solutions. Regular checks catch early moisture-related issues before they escalate into stuck components or starting delays. Document findings and adjust procedures, so you maintain a lean, reliable system. Your goal is safer storage, fewer freeze incidents, and sustained performance.
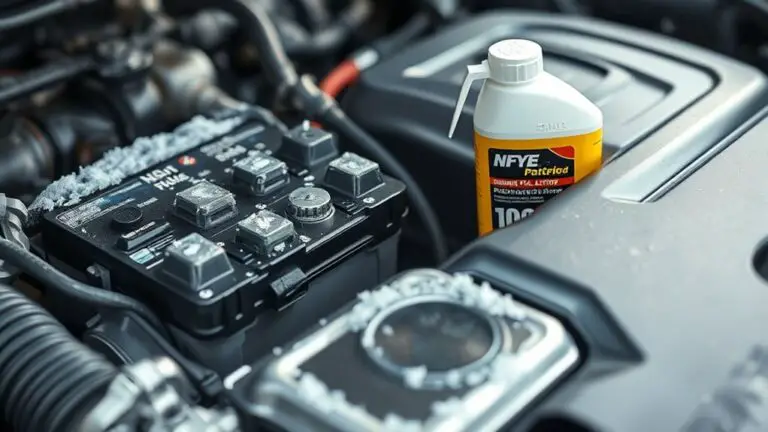
Battery Care: Storage, Maintenance, and Longevity
Battery care is essential for storage systems because degraded batteries can cause delays and sudden downtime. You’ll want a clear, practical routine that fits a freedom-minded approach. Regular battery charging practices matter: keep them at a steady state, not wildly fluctuating loads, to preserve capacity. If you rely on seasonal storage, install a smart charger that maintains proper voltage and amperage, and avoid deep discharges. Maintenance tips include periodic voltage checks, ensuring terminals are clean and tight, and inspecting for corrosion signs. Label cycles for convenience, so you know when to refresh or replace cells before performance drops. Temperature matters, so store units in a cool, dry area and shield them from extreme cold that hastens capacity loss. Document your care cadence: dates, readings, and any anomalies. This disciplined, minimal, no-fluff approach reduces surprises, extends longevity, and keeps your system ready when you need it most, without sacrificing your autonomy. Prioritize reliability over complexity.
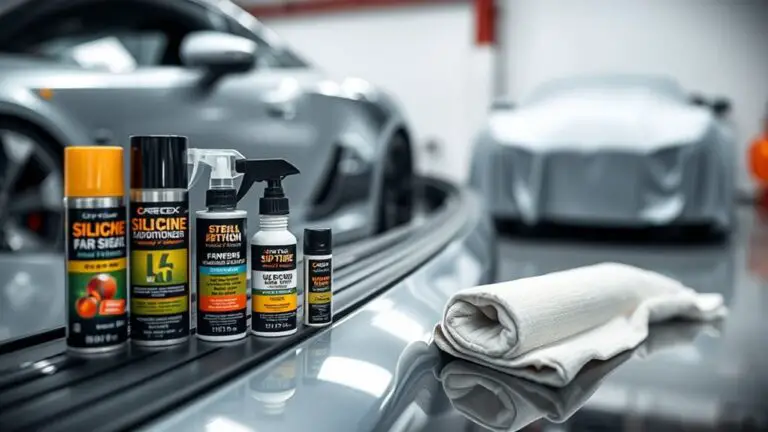
Fluid Management: Properly Storing and Handling Automotive Liquids
You’ll set up a clear system for Fluid Management by choosing safe storage practices, labeling every container, and keeping fluids separate by type. Make sure every container is compatible, capped tightly, and stored upright to prevent leaks, with visible, dated labels for easy tracking. Finally, establish proper disposal protocols and spill response to minimize environmental impact and maintain a tidy, compliant workspace.
Safe Storage Practices
Safe storage of automotive liquids starts with a clear plan: keep containers sealed, labeled, and stored upright in a cool, dry place away from heat sources and direct sunlight. You’ll implement safe packing methods, selecting compatible containers and caps to prevent leaks and evaporation. Inspect routinely for cracks, corrosion, and residue, then retire compromised bottles. Maintain a simple inventory that tracks purchase dates, typical shelf life, and recommended seasonal rotation; rotate stock so older fluids are used first and never mix incompatible liquids. Store fluids off the floor on a stable surface, with secondary containment for spills. Train everyone handling these liquids to cap and seal after use, and to follow spill response steps. This approach supports reliable starts and minimizes waste while preserving freedom to work efficiently.
Proper Fluid Labeling
Labeling is essential for quick identification and safe handling of automotive fluids. You’ll protect yourself and your project by using clear, consistent tags that stay legible in cold, damp conditions. Focus on fluid identification techniques that reduce guesswork and errors, and pair them with an effective labeling systems that resist wear. Keep labels concise: fluid type, date opened, and an expiry reference. Store in a dedicated cabinet, away from heat sources, with caps on tight.
- Clearly marked containers that match your inventory
- Color-coded labels plus readable handwriting for quick scan
- Date stamps and open-by dates to curb stale stock
You gain reliability when labels stay legible and coherent, enabling faster checks and safer, freer work.
Handling and Disposal
Proper handling and disposal of automotive fluids is about control and accountability: you separate, contain, and track every drop. You should establish clear containment zones, use compatible containers, and label streams to prevent cross-contamination. When draining fluids, keep lids closed, seal caps, and minimize spills with secondary containment. Regularly inspect hoses, fittings, and seals for wear, replacing as needed to avoid leaks. Store fluids on level surfaces away from ignition sources, segregating incompatible liquids. Document each transfer to support traceability and audits. For recycling protocols, follow local guidance, verify accredited facilities, and transport via approved carriers. For waste disposal, segregate waste streams, maintain spill kits, and log disposal events. This disciplined approach reduces risk, supports compliance, and preserves your freedom to work confidently.
Protective Packaging and Labeling for Seasonal Gear
When you’re packing away seasonal gear, protective packaging and labeling are your first line of defense against damage and mix-ups. You want durable, communicating packaging that shields from moisture and dust while staying easy to inspect later. Use clear, reusable containers and seal with desiccants to curb condensation. Label with bold, legible text: content, date, and storage location. Matching labels to boxes reduces rummaging and misplacement when temperatures shift.
- Clear bin plus lid, indicating content and season for quick retrieval
- Desiccant packs tucked inside to absorb residual moisture
- Durable tape and handwritten notes that survive temp swings
Keep a simple inventory list taped to the storage area, so you know what’s packed and what’s missing at a glance. Inspect packaging annually and replace worn seals promptly. By prioritizing protection and straightforward labeling, you preserve seasonal gear integrity and simplify future retrieval, preserving your freedom to grab what’s needed without hassle.
Budget-Friendly Hacks to Maximize Space and Dryness
Maximizing space and keeping things dry doesn’t have to break the bank. You’ll gain control with simple, proven moves that fit any budget. Prioritize vertical shelves and stackable bins to open floor space for larger items. Label fronts clearly, but keep labels concise to speed retrieval. Use breathable totes for fabrics, and sealants or desiccants inside drawers to maintain dryness. Reclaim under-bed and wall margins with shallow, modular organizers that adapt as seasons shift. When choosing containers, opt uniform sizes to simplify stacking and inventory. Schedule a quarterly purge to prevent clutter from creeping back, and rotate gear based on real-use patterns, not nostalgia. Budget storage and winter organization hinge on accessibility, not expense. Collected data from your space helps refine placement and reduce search time.
| Item type | Benefit | Quick tip |
|---|---|---|
| Shelving | Vertical gain | Install adjustable units |
| Bins | Visibility | Clear lids |
| Desiccants | Dryness | Replace monthly |
| Labels | Speed | Short codes |
| Under-bed | Space | Low-profile bins |
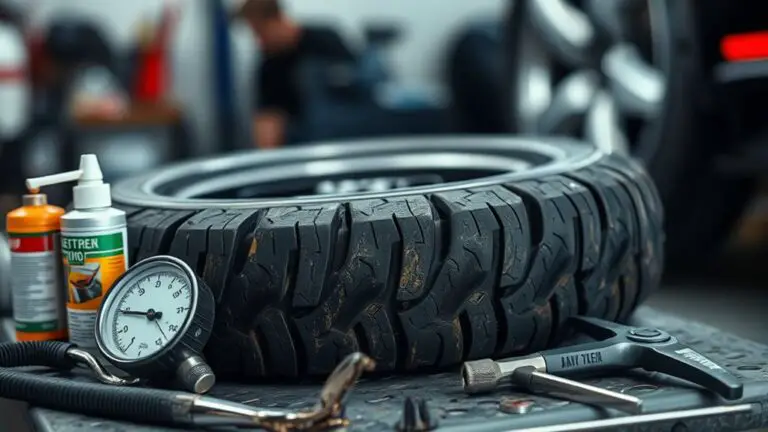
Quick Pre-Start Checks to Minimize Cold-Start Delays
To minimize cold-start delays, run a quick, targeted check before you power up. You’ll cut wait time by confirming essentials are ready, not guessing at symptoms. Focus on two core tasks: engine checks and battery assessment. If you hear sluggish cranking, revisit these steps before you stress the starter again.
- Check oil level and viscosity, ensuring proper flow for cold starts
- Inspect battery terminals for corrosion, tight connections, and adequate charge
- Verify fuel delivery isn’t interrupted by clamps, leaks, or line freezes
These checks are meant to be fast, decisive, and repeatable, keeping you in control rather than chasing faults. A precise battery assessment includes voltage under load and a quick crank test to reveal hidden weakness. Engine checks pay off when you confirm coolant, belts, and hoses are intact. In short, a disciplined pre-start routine preserves freedom by reducing unexpected stalls and extending component life.
Frequently Asked Questions
What Is the Best Budget Option for Insulation in Storage Areas?
The best budget option is foam board for quick, affordable insulation in storage areas. It’s easy to cut, fits irregular spaces, and resists moisture well in sheds or basements. For improved R-value, add fiberglass batts where you can access walls or ceilings, sealing edges first. Prioritize air sealing, then layer foam board, with batt insulation behind panels if needed. You’ll get reliable warmth without breaking your budget, keeping temperatures steadier for stored items.
How Can I Seal Drafts Without Professional Help or Tools?
Yes, you can seal drafts without pros or tools. Start with quick air-gap fixes: draft sealing tape around gaps, weatherstripping doors, and door sweeps. Use DIY insulation scraps to fill larger gaps, then caulk small cracks. Keep things simple: check windows, outlets, and vents; seal obvious leaks first. This approach is practical and diagnostic, gives you freedom, and keeps costs low while you pursue draft sealing and DIY insulation confidently.
Which Inexpensive Desiccants Work Best for Year-Round Storage?
Silica gel and activated charcoal are inexpensive desiccants that work well for year‑round storage. You’ll want silica gel for absorbing moisture, keeping metals and electronics dry, while activated charcoal helps control odors and fumes. Use properly sized packets, replace or recharge regularly, and keep containers sealed to maintain dryness. For long-term use, monitor humidity indicators, rotate desiccants seasonally, and store in cool, dry spots to preserve contents without spending much.
Do Solar-Powered Vent Fans Help Reduce Moisture Buildup Effectively?
Did you know that up to 80% of indoor moisture comes from everyday activities? Yes—solar-powered vent fans can help reduce moisture buildup if sized correctly. They offer solar efficiency during daylight, but may underperform on cloudy days or in high-humidity seasons. Use them as part of a moisture control plan with proper sealing and vents. They’re practical and can give you more freedom by cutting humidity peaks without relying on grid power.
How Often Should Seasonal Gear Be Rotated for Best Dryness?
You should rotate seasonal gear every 3 to 6 months for best dryness, depending on storage conditions. Your aim is consistent humidity control and minimal mold risk. Use seasonal gear rotation to swap out damp items and inspect for moisture, compressing results into a dry, odor-free pack. Track ideal storage frequency and adjust with climate changes. You’ll maintain readiness, avoid overpacking, and preserve fabric integrity by staying disciplined about the seasonal gear rotation schedule.