Cost Guide: Battery Replacement and Related Repairs for Electric-Assist Vehicle
A cost guide for battery replacement in an electric-assist vehicle hinges on cell chemistry, capacity, and warranty, with total spend driven by pack type, labor, and maintenance. Expect higher upfront costs for lithium-ion packs with robust warranties, tempered by longer cycle life; lead-acid or NiMH packs cost less but require more frequent replacements. Labor varies by region and tasks—from diagnostics to balancing and connector checks. OEM parts vs. aftermarket options affect total ownership, and ongoing upkeep can shift long-term price. More details ahead.
Battery Types and Their Costs
Different electric-vehicle batteries come in several chemistries, with lithium-ion variants dominating consumer e-assist models due to high energy density and long cycle life, while nickel-metal hydride and lead-acid options persist in budget or specialty setups. You’ll find lithium ion advantages include compact form factors, strong specific energy, and lower weight per kilowatt-hour, translating to extended range and improved efficiency. In contrast, lead acid drawbacks involve lower energy density, heavier packs, faster thermal degradation under high-rate use, and shorter cycle life, which elevate replacement costs over time. Nickel-metal hydride offers sturdiness and modest cost but falls short on energy density compared with lithium ions, limiting long-range capability. When evaluating costs, you weigh initial price, lifecycle cost, and warranty terms. The lithium ion path generally delivers lower per-mile depreciation due to efficiency and longevity, while lead acid remains attractive for simple, low-performance setups or budget-focused builds. Consider your usage profile, charging habits, and climate to balance upfront and long-term economics.
Factors Driving Price: Brand, Capacity, and Warranty
When pricing e-assist batteries, three factors consistently shape the bottom line: brand reputation, installed capacity, and warranty terms. You evaluate brand as a proxy for reliability, support, and firmware updates, not prestige alone. Capacity directly governs range and power delivery; higher amp-hour ratings raise upfront cost but improve usable life per charge. Warranty terms protect against premature failure and can reflect expected cycle life and stem-to-stem performance guarantees. Both battery longevity and overall system longevity hinge on cell chemistry, thermal management, and pack construction, so you should compare manufacturers’ cycle-life claims and degradation models. A sharper cost comparison accounts for replacement interval estimates, availability of replacement packs, and restocking fees, guarding against hidden charges. Consider total ownership cost, including potential efficiency penalties from aging cells. Informed choices balance upfront price with long-term reliability, service ecosystem, and predictable performance across seasons and terrain.
Typical Labor Rates and What They Cover
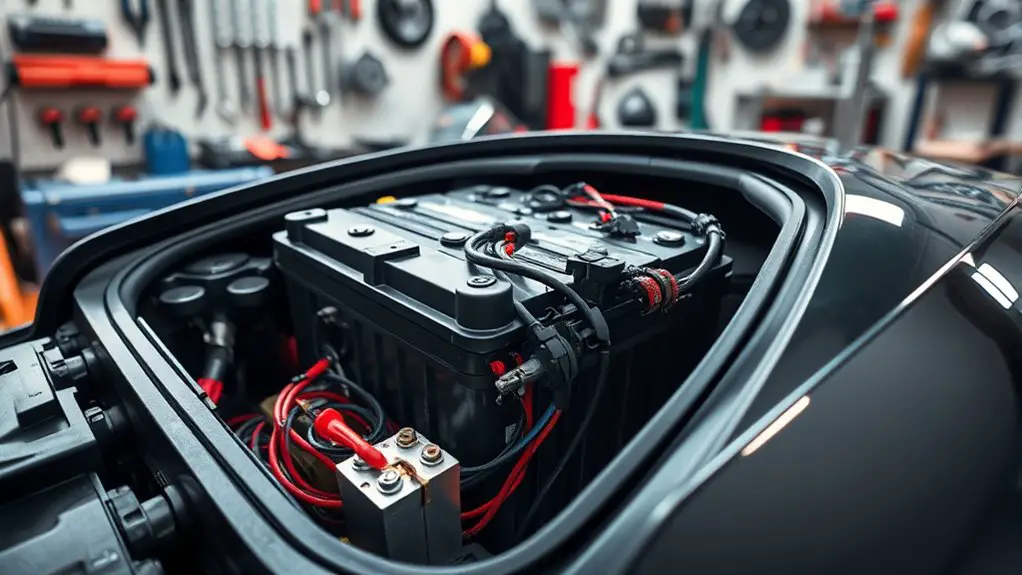
Typical labor rates for e-assist battery work vary by region and shop specialization, but most shops bill by time and task rather than a flat fee. You’ll notice rates track technician effort, tool use, and complexity. The core idea is labor definitions: how time is allocated to disassembly, component handling, and reassembly, plus any required testing. You should expect transparent estimates that outline what tasks earn their hours and what constitutes billable setup, teardown, and calibration. Service expectations emphasize quality, safety, and traceability; reputable shops document procedures, torque specs, and protective measures to protect your system. Rates commonly include diagnosis of installation fit, cable routing, and connector integrity, with additional charges for urgent timelines or deep-dive work. Communicate clearly about what’s included, and confirm if shop time covers ancillary tasks like software updates or on-board system checks. This clarity helps you monetize freedom with confidence, not guesswork.
- labor definitions and task-based pricing
- service expectations and documentation
- transparency and scope of work
Diagnostics, Balancing, and System Checks
Diagnostics establish baseline module health and identify faults early. Balancing techniques equalize cell capacity and prevent voltage drift during charging cycles. System check protocols verify interconnect integrity, BMS status, and fault codes to guide targeted maintenance.
Diagnostics Overview
Diagnostics play a central role in electric-assist systems, guiding you through accurate fault identification, cell balancing, and system verification. You’ll rely on diagnostic tools to pinpoint failures, assess battery health, and confirm communication across modules. This overview emphasizes structured checks, parameter ranges, and failure modes, while keeping cadence tight for rapid decision-making. You should document findings, verify with repeat tests, and edge-case verify safety interlocks before any intervention. Clear visibility into one-cell trends helps predict wear and prevent cascading issues.
- Use diagnostic tools to log voltage, current, and temperature for each cell
- Assess battery health through impedance, state-of-charge, and cycle data
- Confirm system integrity with fault codes, watchdog signals, and harness continuity
Balancing Techniques
Balancing techniques are essential to maintain consistent cell voltages and extend pack life, and they should be integrated with diagnostics, balancing actions, and systemic checks. You perform targeted balancing methods to equalize cell capacities, minimize drift, and prevent local overstress. Use calibrated balancing tools to monitor each cell’s state, verify pack homogeneity, and trigger discharges or charges as needed. Diagnostics precede action to identify outliers, while system checks confirm that the balancing loop remains closed and functional. You’ll apply conservative current limits, logging results for traceability. Balancing methods rely on precise timing and repeatability to avoid thermal runaway. Table below illustrates approaches and tool types for quick reference.
| Method | Tool | Outcome |
|---|---|---|
| Passive | Inline balancer | Gentle equalization |
| Active | Cell balancer module | Fast correction |
| Monitoring | Multimeter/ISM | Verification |
System Check Protocols
System Check Protocols integrate diagnostics, balancing actions, and systemic verification to guarantee a safe, reliable electric-assist vehicle. You perform targeted diagnostics to identify cell anomalies, pack impedance, and thermal issues, then execute balancing as needed to equalize capacities. System checks confirm interconnections, BMS firmware integrity, and load responses under representative demands. You document results, flag anomalies, and verify that state-of-charge estimates align with actual capacity, ensuring accurate performance forecasts. The process prioritizes system performance and safety checks, reducing risk during operation and maintenance.
- Diagnostics-driven prioritization for early fault detection and remediation
- Balancing routines that restore uniform cell voltage and capacity
- Verification steps that validate overall pack health and readiness for duty
Wiring, Connectors, and Controller Troubleshooting
You’ll start with structured wiring diagnostic steps to pinpoint harness continuity, insulation integrity, and shield grounding. Inspect connectors for corrosion, misalignment, and secure crimps, using a systematic pass/fail checklist and documented measurements. If symptoms persist, reference controller troubleshooting cues to correlate signal integrity, power rail anomalies, and fault codes with the appropriate subsystem.
Wiring Diagnostic Steps
Begin with a systematic check of the wiring harness, connectors, and controller to establish a baseline diagnostic. You’ll pursue a concise, technical path to identify wiring issues and confirm signal integrity using appropriate diagnostic tools. Establish a reference voltages map, verify continuity, and note any corrosion or insulation damage. When anomalies appear, isolate segments without exposing segments beyond the current scope. Focus on harness routing, connector pin states, and controller response to input commands to prevent misinterpretation. This step preserves safety while enabling precise fault localization and faster repair decisions.
- Validate harness continuity and pin integrity with targeted testing
- Compare controller outputs against expected diagnostic tool readings
- Document deviations, then prioritize safe, corrective actions
Connector Inspection Tips
Connector inspection is the critical first step in tracing issues to harness, connectors, and the controller; start by visually inspecting for damage, corrosion, and discoloration, then verify each connector is fully seated and locked. You’ll examine harness grounds, color coding, and shielded pins to confirm integrity before power—no guesswork. Ascertain connector types align with harness specifications, and note any mismatches for maintenance records. For clarity, integrity, and safety, clean contacts with appropriate contact cleaner and re-seat with even, steady pressure. Table below visualizes how inspection translates to outcomes, emphasizing planarity, seating depth, and locking assurance.
| Harness area | Observed condition | Action taken |
|---|---|---|
| Main battery | — | — |
| Auxiliary connectors | — | — |
| Ground terminations | — | — |
| High-current plugs | — | — |
Controller Troubleshooting Cues
Controller troubleshooting begins with a clear, methodical check of wiring, connectors, and the controller itself to isolate faults and confirm proper operation. You’ll verify harness integrity, signal continuity, and ground connections, then test for fault indicators like controller resets and error codes. If resets occur under load, inspect supply stability and cable routing for chafing or pinch points. Read error codes carefully, cross-referencing manufacturer tables to pinpoint failing channels, motor phase, or throttle input. When in doubt, isolate the controller from the drivetrain to assess baseline behavior before reassembly. Document findings and iteratively test after each remediation.
- Confirm wiring harness continuity and connector seating
- Interpret error codes, noting recent changes or events
- Assess system voltage, ground integrity, and reset conditions
Replacement Options: OEM vs. Aftermarket
When choosing replacement parts for an electric-assist vehicle, you must weigh OEM versus aftermarket options for battery replacements, modules, and related components. You’ll assess compatibility, warranty terms, and availability, emphasizing predictable performance over time. OEM advantages include certified fit, verified electrical characteristics, and alignment with safety standards, which support seamless integration with existing BMS and control software. They typically offer structured warranty coverage and traceable sourcing, reducing risk during critical deployments. In contrast, aftermarket drawbacks can involve varied build quality, inconsistent testing, and uncertain long-term reliability, which may lead to accelerated wear or mismatched charging profiles. Price tension often favors aftermarket options, but total cost of ownership can swing against you if ancillary failures arise. Your decision should factor lead times, serviceability, and regional support networks. Favor OEM for mission-critical deployments; consider aftermarket only when solid supplier validation, documented specifications, and clear warranty provisions are in place.
Maintenance Tips to Extend Battery Life
Maintaining battery health is just as important as selecting the right replacement part. You’ll protect pack longevity by disciplined battery care and disciplined charging practices that minimize stress and degradation.
Maintaining battery health requires disciplined care and charging to minimize stress and degradation.
- Monitor ambient temperature and avoid exposing the pack to extreme heat or cold during charging or storage.
- Maintain a consistent charging routine: use level-2 or manufacturer-recommended chargers, avoid full discharges, and prevent prolonged trickle charging.
- Schedule periodic calibration and health checks, including voltage, cell balance, and state-of-charge accuracy, to identify imbalances early.
To maximize life, keep the vehicle within the operating window specified by the OEM, and store with a partial state of charge if storing long-term. Document charging events and performance trends to inform maintenance or potential replacements. Remember, battery care and charging practices are ongoing commitments, not one-time tasks, and they directly influence total cost and reliability.
Planning Your Budget: Quotes, Financing, and Hidden Fees
Budgeting for an electric-assist vehicle involves obtaining clear quotes, understanding financing options, and recognizing hidden fees up front. You’ll compare line-item costs for parts, labor, and service intervals to avoid surprise increases. Gather quotes from certified technicians, ensuring scope, warranty terms, and response times are explicit. Assess budget strategies that align with anticipated maintenance cycles, not just initial purchase. When evaluating financing options, check APRs, loan-to-value, repayment schedules, and early repayment penalties, then map them to your cash flow and ownership horizon. Identify hidden fees such as diagnostic charges, disposal, environmental fees, and premium rush-hour surcharges for urgent work. Prefer transparent estimates with contingency allowances and defined milestones. Consider budgeting for ancillary costs like app subscriptions, insurance riders, and extended warranties. Build a financing plan that maximizes value, maintains flexibility, and preserves mobility. Document quotes, compare total cost of ownership, and choose options that sustain freedom without compromising reliability.
Frequently Asked Questions
How Long Does a Typical Battery Replacement Take on an E-Assist Bike?
A typical battery replacement on an e-assist bike takes about 30–60 minutes, depending on visibility of the frame, connector ease, and tools on hand. You’ll want to disconnect power, swap the pack, and test after installation. Battery life expectations and replacement costs vary by model, so budget accordingly. You’ll appreciate precise torque specs and proper insulation. This isn’t cosmetic—it’s critical for performance, safety, and freedom to ride without compromise.
Are There Safety Concerns When Handling High-Voltage Batteries at Home?
Yes, there are safety concerns when handling high-voltage batteries at home. You should follow strict safety precautions, disconnect power sources, and avoid touching exposed conductors. Use insulated tools, wear personal protective equipment, and keep the area dry and well-ventilated. Don’t attempt servicing beyond your training; faulty handling can cause shocks or thermal events. When in doubt, consult a qualified technician. Prioritize battery handling protocols to minimize risk and guarantee safe, compliant maintenance.
What Factors Influence Warranty Coverage Beyond the Battery Itself?
Warranty coverage beyond the battery hinges on factors like workmanship, system integration, and proper usage. You’ll face coverage exclusions for aftermarket modifications, improper maintenance, and non-compliant charging. Juxtaposing certainty and risk, think of policy limits as guardrails and exclusions as gaps you might trigger. You should verify warranty limitations, whether ancillary components are included, and if professional servicing is required. You’ll gain clarity by documenting procedures, ensuring compatibility, and avoiding DIY hacks that void coverage.
Can I Upgrade to a Higher-Capacity Battery After Purchase?
You can upgrade to a higher-capacity battery, but you must confirm battery compatibility with your system before purchasing. Upgrading benefits include extended range and potential performance gains, yet you may face weight, charging, and software calibration considerations. Ascertain the pack supports your motor controller, BMS, and connector standards. If compatible, follow OEM guidance for installation, safety, and warranty implications; otherwise you risk voiding coverage and reliability. Proceed with due diligence to maximize performance while preserving system integrity.
How Do I Identify Counterfeit or Low-Quality Battery Packs?
Did you know up to 20% of aftermarket packs fail QA checks? You identify counterfeit or low-quality battery packs by battery authenticity checks: verify serials, homologations, and vendor branding, and inspect cell chemistry consistency. Look for mismatched labels, irregular welds, or vague warranties. For quality assurance, demand third-party test results, cycle-life data, and a clear return policy. Trust reputable suppliers, verify certifications, and test packs before install to avoid performance faults.

