Cost and Labor to Fix ECM Emission-Related Codes Involving Backpressure Sensor
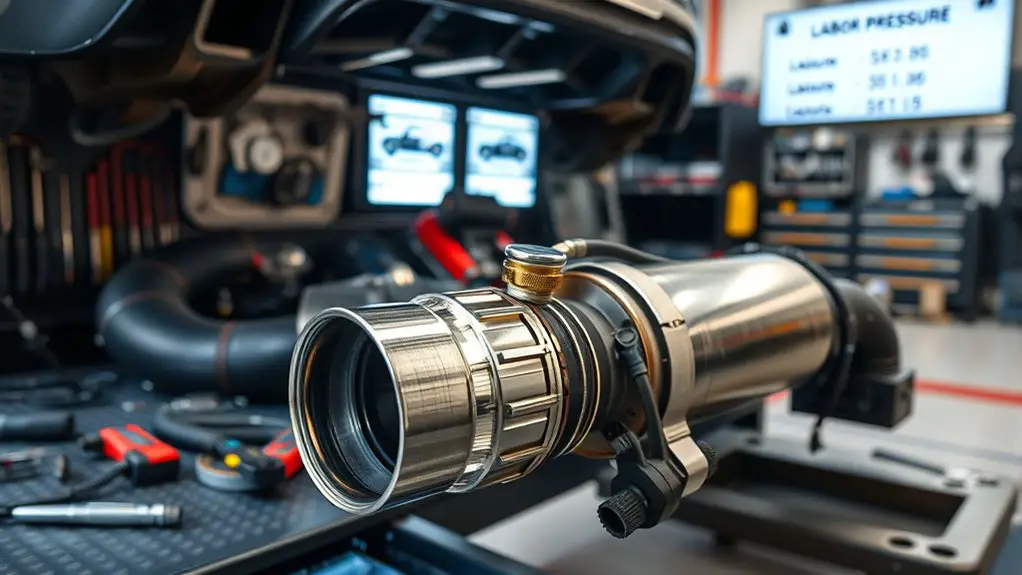
Backpressure sensor issues tied to ECM emission codes require a structured diagnostic, since readings vary by operating state and vehicle design. Expect costs to include parts (sensor, harness, seals) and labor that grows with access difficulty, engine family, and whether reprogramming or calibration tools are needed. Typical time spans range from a few hours to a full day, with higher labor in trucks or complex layouts. You’ll uncover how access, tools, and confirmation tests drive total spend as you continue.
Understanding ECM Emission Codes Linked to the Backpressure Sensor

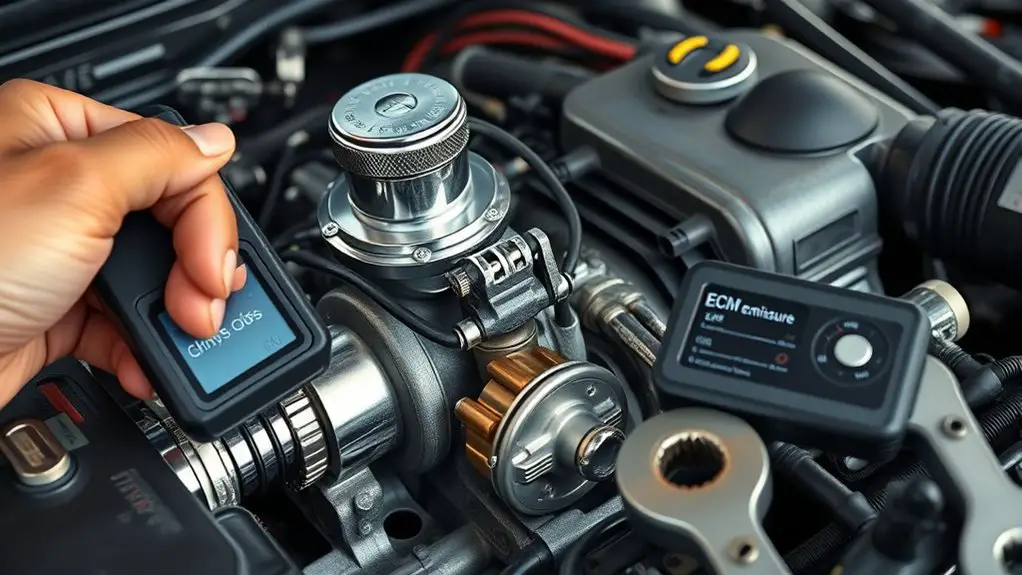
Emission codes tied to the backpressure sensor pinpoint problems in the engine’s exhaust and intake balance. You’ll interpret these codes by comparing sensor readings to expected ranges, not by guesswork. The backpressure sensor monitors exhaust flow resistance and helps the ECM detect mismatches between exhaust and intake dynamics. When codes appear, note whether they indicate high or low pressure, or a stuck valve signal, as each points to distinct system failures. Emission codes most often reflect issues in airflow, catalytic efficiency, or mis-timing that alter combustion, fuel trim, or oxygen sensor feedback. You’ll verify sensor integrity first, then assess the intake manifold, exhaust manifold, and associated valves for leaks or obstructions. Remember that diagnostic trouble codes are guidance, not gospel; they narrow your focus while you maintain a holistic view of engine breathing. Precision matters: document readings, correlate with drive behavior, and plan targeted, minimal interventions. This approach preserves performance freedom while addressing root causes.
Common Diagnostic Approaches and Their Time Requirements
When diagnosing ECM emissions issues, you’ll start with quick, structured checks that map reading patterns to likely fault domains. You’ll then sequence tests to confirm hypotheses, minimizing ambiguity. Diagnostic tools aren’t just gadgets; they’re decision aids that translate data into actionable steps, reducing guesswork. Begin with data integrity: verify codes, freeze-frame data, and timestamped logs to establish a baseline. Move to sensor behavior: compare backpressure readings across operating states, noting deviations and hysteresis. Troubleshooting techniques require clear criteria for pass/fail decisions, so define acceptable ranges and tolerances before you probe deeper. Prioritize symptoms most tightly linked to the backpressure sensor, then broaden only if necessary. Document every finding succinctly to support time estimates and future diagnostics. Use a disciplined approach to avoid redundant checks, focusing on cause-and-effect relationships. This method balances speed with rigor, delivering repeatable results while preserving diagnostic credibility for informed decisions.
Labor Hours for Typical Backpressure Sensor Repairs by Vehicle Type
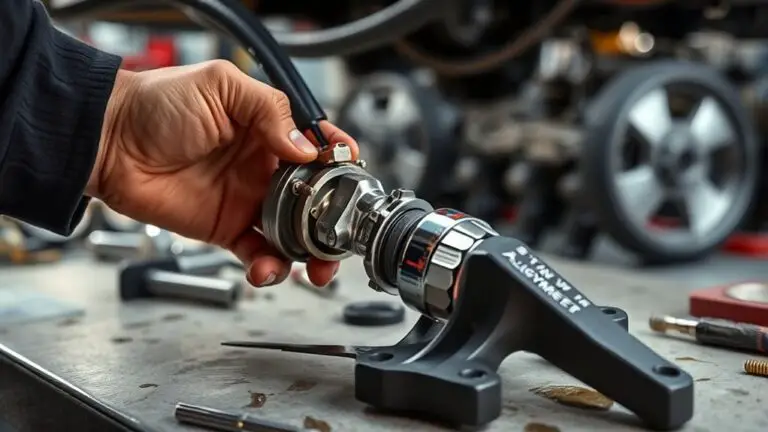
Backpressure sensor repairs typically vary by vehicle type, reflecting differences in engine layout, sensor mounting, and access constraints. You’ll find that labor hours hinge on how readily the sensor is reached, the required removal steps, and the number of fasteners involved. When you compare compact cars to trucks or SUVs, expect shorter times for simpler housings and quicker disconnects, versus longer sessions for engines with tight bays or integrated exhaust manifolds. You should consider how sensor types influence access—whether you’re dealing with a traditional Hall-effect backpressure sensor or a more integrated differential sensor, each demanding different harness handling and calibration checks. Vehicle make differences also shape the process, since some manufacturers position sensors behind components that require additional removal work. In practice, estimate labor by mapping access difficulty, required torque specifications, and test procedures, then adjust for your shop’s skill mix and tooling.
Part Costs: Sensor, Harnesses, and Related Components
Sensor and harness costs can vary by vehicle and sensor type, influencing total repair expense. Related component pricing, such as connectors and seals, often adds to parts but may be offset by bundled OEM kits. Labor time estimates for part replacement should be considered alongside part prices to gauge overall cost impact.
Sensor and Harness Costs
Sensor and harness costs form a core portion of ECM-related fixes, with sensor pricing driven by type, accuracy, and durability, while harness costs hinge on length, connector complexity, and environmental rating. You’ll assess how each factor influences total part spend, then prioritize substitutions that preserve function without inflating price. Focus on sensor compatibility and harness quality to avoid mismatches that drive returns or rework.
1) Evaluate sensor type against system requirements, confirming electrical characteristics and environmental tolerance.
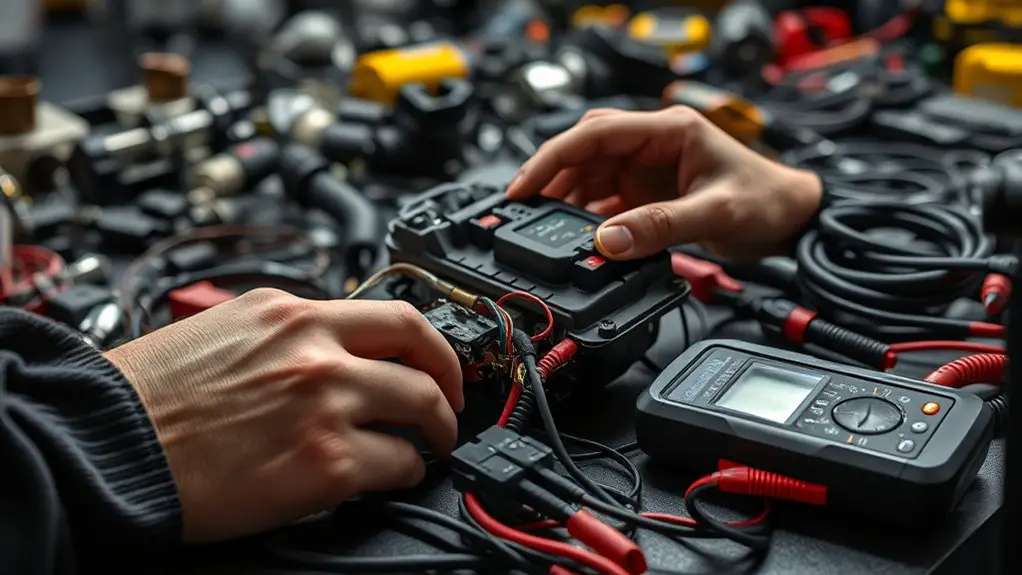
2) Inspect harness routing and connector systems for fit, strain relief, and compatibility with existing ECM plugs.
3) Compare vendor warranties and lifecycle support to minimize future maintenance costs while preserving performance.
Related Component Pricing
Even so, related component pricing hinges on the combined cost of sensors, harnesses, and ancillary parts, not just unit price. You’ll assess the backpressure sensor’s market value, its compatible harnesses, and any salvage or aftermarket options, then weigh installation hardware, seals, and adapters. Emission systems pricing isn’t split by single item; it’s a bundle of parts that must function together under real-world tolerances. Consider lead times, warranty terms, and reliability, since a cheaper sensor may raise user risk or recalibration needs. Analytical cost modeling helps you compare OEM versus third-party components, factoring volatility in supply chains. Ultimately, you want transparent, repeatable budgeting that reflects performance, regulatory intent, and the freedom to select robust, compatible components without sacrificing system integrity.
Labor Time Estimates
Estimating labor time for ECM emission work hinges on the combined effort of installing the sensor, associated harnesses, and related components, not just the parts themselves.
You’ll weigh labor efficiency alongside technician expertise to gauge total effort, tool needs, and workflow sequencing, ensuring accuracy and predictability.
1) Time-to-install varies with sensor placement, harness routing, and connector accessibility, influencing cycle length.
2) Skill level shifts the pace—experienced technicians reduce rework, but complex harnesses may require careful alignment and test procedures.
3) Documentation and verification steps add measurable duration, guarding against missed codes and ensuring proper operation.
Reprogramming and Calibration: Time and Tools Needed
Reprogramming requires specific time estimates based on the ECU and software version, plus any needed backups or initial diagnostic runs. Calibration tool needs include the exact hardware, software licenses, and compatibility with the vehicle’s make/model, which together determine scheduling and downtime. Labor considerations cover technician availability, appointment length, and potential delays from system lockouts or firmware checks.
Reprogramming Time Required
The reprogramming time required varies with the ECM model and the extent of calibration needed, but you should expect a concise window that accounts for software load, parameter adjustments, and validation checks. You perform a focused reprogramming procedure, prioritizing essential updates and clean state shifts to minimize downtime. Software updates are timed for minimal disruption, with integrity checks after each stage to confirm accuracy and prevent rollbacks.
- Identify applicable software updates and confirm compatibility with your ECM model.
- Initiate the reprogramming procedure, monitoring progress and capturing any exceptions for rapid resolution.
- Run validation checks to verify parameter integrity and backpressure sensor alignment before returning to service.
Calibration Tool Needs
Calibration tool needs for reprogramming and calibration depend on the ECM model and the scope of updates, so you’ll want a focused kit that covers both software load and parameter validation. You’ll assess calibration techniques to guarantee accurate fuel, timing, and sensor maps, avoiding drift or unintended offsets. Diagnostic equipment should include a stable interface, real-time readouts, and secure communication protocols to prevent corruption during sessions. Prioritize compatibility with your vehicle family and an offline backup option to verify changes before deployment. Time estimates vary with software complexity and the number of calibrated channels, so choose scalable tools that support incremental updates. A precise toolkit reduces reruns, minimizes teardown, and preserves a clear audit trail for compliance and future maintenance.
Labor and Scheduling
Efficient labor and scheduling hinge on aligning reprogramming and calibration scope with the ECM model and the chosen tools, guaranteeing the workflow minimizes downtime while preserving data integrity. You’ll assess tool compatibility, verify calibration tables, and confirm backpressure sensor parameters before coding. This disciplined approach reduces rework and tracks labor costs, while exposing scheduling challenges early so you can allocate technicians and downtime blocks efficiently. You’ll quantify time per procedure, map dependencies, and buffer for reflash validation.
- Confirm ECM model compatibility and required software versions
- Schedule calibration windows around vehicle availability and shop workload
- Document steps, verification tests, and sign-off criteria to control labor costs and guarantee traceability
Factors Driving Total Cost: Access, Make, Model, and Engine Family
Access, make, model, and engine family shape total repair costs by directly influencing part availability, diagnostic complexity, and labor time. You’ll see variation because different configurations use distinct backpressure sensor designs, mounting hardware, and service procedures, all of which affect pricing and scheduling. Make and model drive the baseline material cost and the likelihood of proprietary tools or software access, which tightens or loosens your options. Engine family matters for shared components and common failure modes, so your analytics will lean on engine diagnostics across multiple vehicles in a family rather than a single case. Access restrictions—tight engine bays, integrated sensors, or fastener corrosion—can extend labor hours even before parts are selected. Complexity rises when fault codes entail multi-step verification, flow testing, or calibration routines. In short, your total cost hinges on how easily parts are sourced, how straightforward diagnostics are, and how long labor takes, given the specific hardware. backpressure sensor considerations tie directly into those dynamics.
Practical Tips to Minimize Downtime and Unnecessary Spending
To minimize downtime and unnecessary spending, start with a precise diagnostic plan that targets the root causes rather than chasing multiple symptoms. You’ll benefit from a structured approach: confirm fault codes, verify sensor wiring, and test the backpressure sensor in-situ. This reduces unnecessary repairs and keeps emission system maintenance focused.
To minimize downtime and spending, start precise diagnostics: confirm codes, verify wiring, and test the backpressure sensor in-situ.
1) Conduct a stepwise diagnostic that isolates sensor faults, vacuum leaks, or exhaust restrictions before replacing parts.
2) Prioritize data-driven decisions: pull live sensor readings, check for ECM update availability, and log fuel trim behavior to avoid guessing.
3) Implement a targeted maintenance cadence, scheduling emissions-adjacent service only when metrics indicate real risk to performance or compliance.
Frequently Asked Questions
What Downtime Metrics Affect Emergency Vehicle ECM Repairs?
A striking 42% downtime impact shows how even small delays can ripple across dispatch times. You’ll see repair urgency spike when ECM emission-related codes threaten critical alerts. Downtime metrics that matter include mean time to diagnosis, mean time to repair, and system reinitialization delays after part replacement. You’ll gauge urgency by failure rate trends and vehicle availability. You must track uptime reliability, parts lead times, and technician turnaround to minimize emergency response interruptions and sustain readiness.
How Do Warranty Terms Impact Backpressure Sensor Fixes?
Warranty terms can considerably shape backpressure sensor fixes: warranty coverage determines whether repair costs are borne by the provider or you, and the scope affects required diagnostics and parts. If covered, you’ll likely face reduced repair costs and faster service; exclusions can shift most expenses to you. You should review eligibility, service expectations, and any caps, since gaps in coverage may override perceived freedom, dictating both timelines and financial risk of fixes.
Are There Recalls or Service Bulletins for Related Sensors?
Recalls and service bulletins exist for backpressure-related sensors, so you should check manufacturer notices and NHTSA databases for sensor recalls and updates. You’ll want to review service bulletins first, as they guide diagnostics and replacement timing. You can pursue manufacturer goodwill or recalls if your vehicle falls within affected VINs. Stay proactive, document symptoms, and demand official fixes rather than DIY patches, ensuring you’re aligned with safety and emissions standards.
What’s the Typical Reliability Difference by OEM Vs Aftermarket Sensors?
You’ll likely see mixed results: OEM sensor quality generally offers better longevity and consistency, while aftermarket sensor performance varies more by brand. In reliability, OEMs tend to edge out aftermarket units due to tighter calibration and stricter specs. But some high-quality aftermarket options can match OEM durability; just verify warranty and testing. If you want predictable behavior, lean toward OEM, yet stay selective with aftermarket choices to preserve overall system integrity.
How Do Environmental Conditions Influence Diagnostic Accuracy and Cost?
Environmental conditions affect diagnostic accuracy and cost by altering sensor signals and tool reliability. You’ll rely on diagnostic tools that compensate for temperature, humidity, and vibration, but extreme climates can raise failure rates and misreadings. Repair techniques may require additional steps or heated probes, increasing labor time. You’ll want to account for ambient factors in test plans and budget buffers, ensuring calibration, reproducibility, and proper tool maintenance to minimize false codes and expensive misdiagnoses.