Cost/Time: DIY Vs Professional for Interior Seat Belt Retractors Stuck
You’ll save time and money by choosing a clear path: DIY fixes are feasible for mild, reversible binding with proper safety precautions, while stubborn, safety-critical failures demand professional service. For scope, expect DIY to take a few hours and cost mainly tools and parts, versus professional repair from a shop with diagnostic charges, parts, and labor. If you suspect deployment or locking issues, go pro sooner. Continue this guide to weigh options and specifics for your model.
Assessing the Safety Risks of a Stuck Interior Seat Belt Retractor
A stuck interior seat belt retractor poses ongoing safety risks because it can prevent you from securing or releasing the belt properly, potentially increasing injury risk in a crash. In evaluating safety implications, you examine whether the mechanism still allows full range, locking sensitivity, and timely retraction when released. A malfunctioning retractor can impede tensioning, cause uneven load distribution, and hinder belt retraction after a collision, compromising restraint effectiveness. You should verify if the emergency locking function engages reliably and whether the retractor feels smooth during operation. Consider if the unit exhibits hard stops, binding, or excessive slack, all of which signal degraded retractor functionality. From a safety standpoint, malfunction elevates risk exposure for occupants, especially in quick-or-mistake scenarios. Document symptoms, elapsed time, and any noises you hear during movement. If uncertainties persist, treat the issue as a priority safety fault, and consult a qualified technician to evaluate restore versus replacement options.
Common Causes Behind Recliner Sticking and How They Manifest
Common causes of recliner sticking stem from mechanism obstructions and wear that create uneven tension. You’ll notice parts snagging or binding as debris or corrosion accumulate, or as springs and cables lose proper tension. This section outlines how these factors manifest so you can assess whether a DIY check is sufficient or if a pro should intervene.
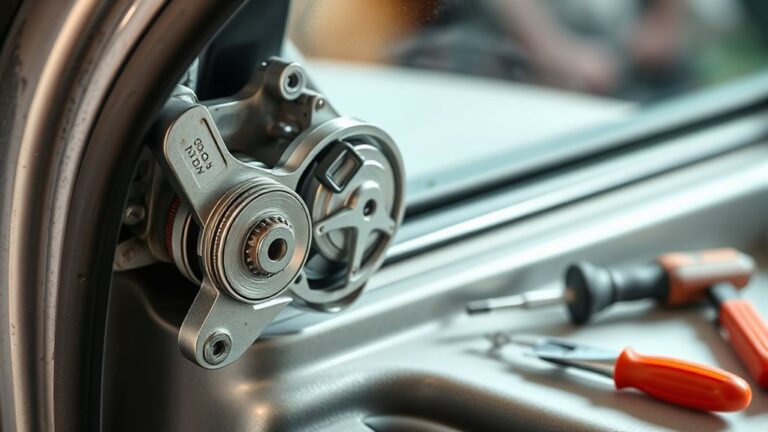
Mechanism Obstructions
Obstructions in the mechanism commonly cause recliners to stick, and you’ll notice binding or uneven movement as parts catch on debris, misaligned tracks, or swollen components. When the retractor can’t slide freely, you’ll feel resistance at hinges and rollers, signaling hidden blockages or alignment faults. Diagnose by observing travel paths, listening for scraping, and testing smooth return.
- debris in tracks causing binding and inconsistent retraction
- misaligned components creating binding points and jerky motion
- swollen or swollen-damaged components restricting clearance and retractor alignment
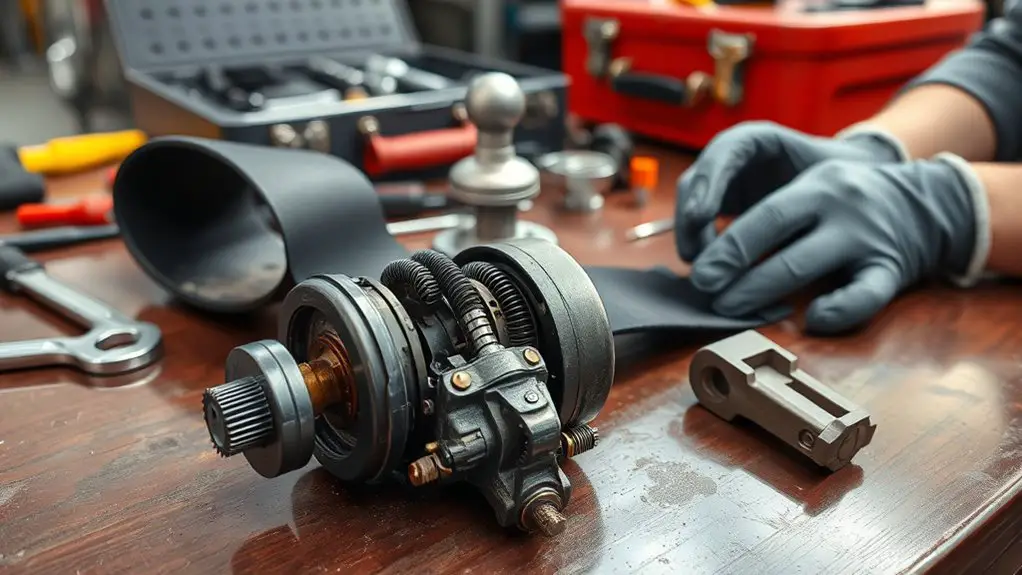
Wear and Tension Buildup
Wear and tension buildup is a frequent driver of recliner sticking, as repetitive use quietly deforms or fatigues components and straps the retractor into binding positions. Over time, wear patterns develop on bearings, cams, and gear interfaces, increasing friction and altering travel clearances. This gradual degradation can shift the spool alignment, causing partial lockups during deployment or retraction. You’ll notice stiffer movement, intermittent binding, or uneven return force as the mechanism compensates for uneven wear. Addressing it hinges on measuring play and restoring nominal geometry; a proper tension adjustment may briefly restore smooth operation, but asymmetric wear often requires component replacement. Prioritize inspecting pivot points, spring loads, and latch interfaces to prevent cascading failures. Regular checks prevent hidden wear from evolving into complete lockup.
DIY Fixes: When to Try and When to Stop
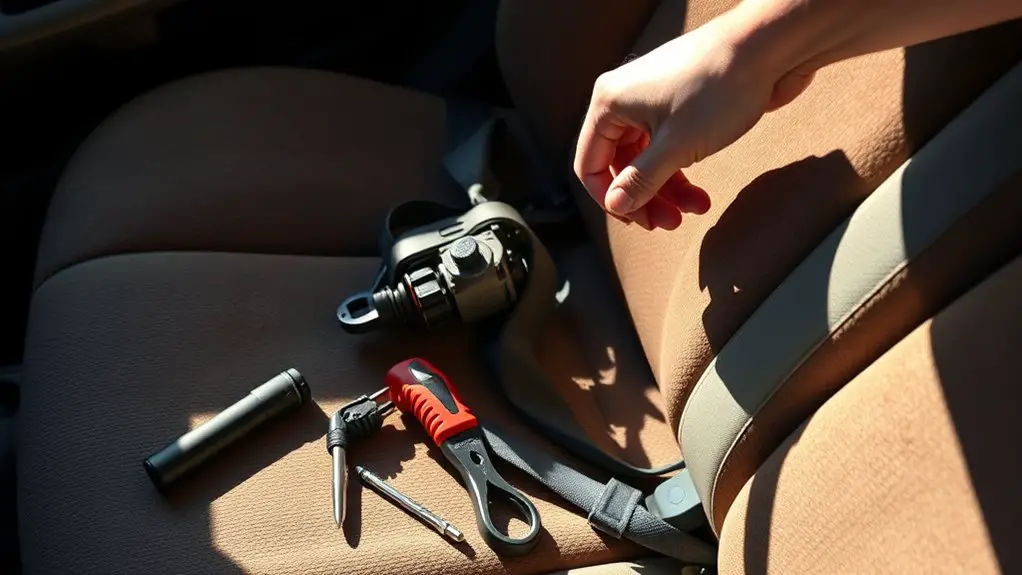
Determining when to DIY vs. call a pro hinges on the retractor’s symptoms and safety risks. You’ll assess whether you can safely diagnose light failures without compromising occupant protection. If you notice gradual sticking, modest resistance, or intermittent retraction, you may pursue careful, self-guided checks. Look for accessible, non-destructive signs to continue; if any torque or binding worsens, stop and consult a pro. The distinction rests on risk: live systems, sharp edges, and spring/lock mechanisms demand caution.
- indicators to continue: mild stiffness, reversible binding, no exposed wiring or torn fabrics
- signs to stop: increasing resistance, sudden release failures, unusual sounds, or compromised belt webbing
- safety checkpoint: verify car is off, battery disconnected, and you’re not tampering with airbags or the tensioner mechanism
Proceed only when you’re confident in scope and consequences; otherwise, seek professional service to preserve safety margins and compliance.
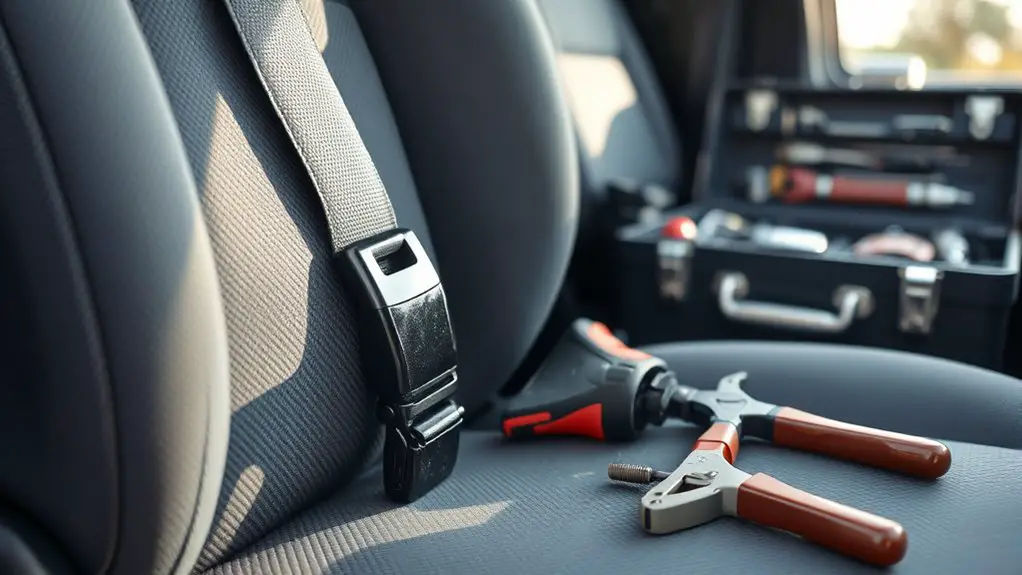
Tools and Materials Needed for Home Troubleshooting
To troubleshoot safely at home, gather a focused toolkit and materials that minimize risk to the belt system and occupant protection. You’ll assemble a concise set of tools and material options that support precise diagnostics without compromising pretensioners or retractors. Begin with a basic tools checklist: torque driver, insulated pliers, multimeter, small mirror, flashlight, and a non-abrasive nylon brush. Include a strap and light lubrication options that won’t contaminate the housing, plus disposable wipes and lint-free towels. For materials, choose compatibility-tested sealant or threadlocker sparingly, plus dielectric grease for connectors and corrosion-inhibiting spray. Prioritize non-destructive probes and inspection mirrors to avoid unnecessary disassembly. Maintain clean storage to prevent dust ingress. Document serials and photos for reference, and label components to reduce guesswork during reassembly. Your goal is safe, repeatable checks that reveal obvious faults without yielding unplanned failures. Tools checklist and material options help you stay practical, precise, and in control.
Time Investment and Budget Considerations for DIY Attempts
DIY repairs of interior seat belt retractors require a clear assessment of time and cost upfront; you should budget for both expected tasks and contingencies.
Time investment and budget planning hinge on precise estimates. You’ll gauge labor duration, tool reuse, and part turnover, then add a realistic margin for surprises. Your decision hinges on DIY costs, Time estimates, and Material expenses, so document each item: components, fasteners, and potential replacement retractor modules. Budget planning should distinguish fixed and variable costs, with a cap for unexpected delays or rework. Expect longer timelines if you lack prior experience, and shorter ones if you’re methodical and organized. Prioritize safety testing after bench work to verify function.
Time and budget hinge on precise estimates, with clear itemized costs and safety-tested results.
- DIY costs and material expenses should be itemized for transparency
- Time estimates must include setup, teardown, and testing stages
- Contingency allowances keep the project from derailing your freedom
When Professional Service Is the Safer, More Efficient Option
Choosing professional service for interior seat belt retractors is typically the safer, more efficient option when precision, safety, and compliance matter. You’ll benefit from professional expertise, validated procedures, and standardized testing that minimize misalignment and improper retraction risk. A trained technician conducts a safety reassessment, verifying torque, spring preload, latch sensitivity, and webbing integrity under real-world load scenarios. This reduces the chance of partial failure that could go unnoticed in DIY attempts. You gain documented telemetry and conformity checks aligned with automotive safety standards, which simplifies adhesion to recalls, warranties, or regulator reviews. Time-to-resolution is often shorter, thanks to specialized tools and diagnostic guides you don’t own. You also avoid inadvertent damage to adjacent components or vehicle electronics. If your priority is predictable outcomes, lower risk exposure, and measurable compliance, professional service stands as the clearer path to restored, reliable restraint performance.
What to Expect: Professional Repair Process, Fees, and Turnaround
If you opt for professional repair, expect a defined, stepwise process designed to restore full restraint function with traceable results. You’ll see diagnostic intake, teardown, parts verification, and precise reassembly tested to spec. The repair timeline is bounded by your vehicle’s model, part availability, and shop workflow, but you’ll get a target date and progress updates. Service costs reflect parts, labor, and any core returns, with line-item transparency so you know what you’re paying for and why.
Opt for a methodical, transparent repair plan with diagnostic intake, stepwise restoration, and clear cost breakdown.
- Clear diagnostic report, parts list, and test results
- Fixed-rate or itemized labor per step, with expected turnaround
- Warranty terms tied to the repaired unit and components
In practice, you’ll gain restored safety function without the DIY guesswork. You’ll also avoid hidden fees, while receiving documentation suitable for insurance or resale. Plan for a brief interruption of use and a defined handoff upon completion.
Post-Repair Safety Checks and Maintenance to Prevent Recurrence
After the repair, you should perform post-repair verification to confirm full function, proper tension, and smooth retraction across all speeds. Then implement prevention and maintenance steps—regular inspection intervals, actuator and cable condition checks, and prompt replacement of worn components—to reduce recurrence risk. Maintain a documented checklist so you can track performance and address issues before they escalate.
Post-Repair Verification
Post-repair verification focuses on confirming that the seat belt retractor operates correctly and safely after service, and on establishing maintenance steps to prevent recurrence. You’ll perform targeted tests to verify retraction, locking, and proper spool behavior, ensuring no residual binding or excessive slack. This phase emphasizes repair validation and safety assurance, validating that fixes hold under normal load and vehicle motion. Document test results, note any anomalies, and confirm that the system meets OEM or industry standards before returning the component to service. Maintain clear records to support future troubleshooting and warranty needs. A concise checklist guides you through functional, cyclic, and fault-condition checks, reducing the risk of reoccurrence and enhancing long-term reliability.
- Confirm smooth retraction and robust locking under simulated deceleration
- Verify consistent tension, no slack bleed, and proper spool alignment
- Record results, identify deviations, and set follow-up maintenance intervals
Prevention and Maintenance
Prevention and maintenance workflows focus on sustaining safety and preventing reoccurrence after service. After you finish repairs, you’ll implement a disciplined routine of seat belt maintenance and safety checks to verify that retractors operate smoothly under load. Schedule periodic inspections of mounting points, webbing integrity, and locking mechanism responsiveness. Verify that pretensioners deploy correctly in simulated tests and that retraction remains smooth across all angles. Document any wear, fraying, or stiffness and address issues before they escalate. Use a calibrated pull-and-release test to confirm spring tension and latch performance. Maintain a clean, debris-free belt path and guarantee no interference from trim or upholstery. Keep records, monitor for changes over time, and rehearse post-repair checks to sustain operator confidence and vehicle safety.
Frequently Asked Questions
How Long Does a Typical Interior Seat Belt Retractor Repair Take?
The repair usually takes 1–3 hours, depending on access and fault severity. You’ll start with inspection, then apply repair techniques like disassembly, debris removal, and re-tensioning. Expect another 30–60 minutes if reassembly and testing are required. Time estimates assume standard tools and no parts replacement. If the module is seized, you may need replacement rather than repair. You should budget for safety checks and functional verification before concluding the job.
What Warranty Protection Comes With Professional Repair?
Did you know 92% of professional retractor repairs carry a parts warranty? You’ll get warranty coverage that typically lasts 1–2 years, sometimes longer on components like springs and sensors. Repair guarantees mean technicians stand behind the labor as well, with written terms and return-to-service timelines. If issues recur, you’ll usually have recourse for redo work or replacement under the same coverage. Read the fine print to confirm exclusions and transferability.
Are There Risks of Airbag System Interference During Repair?
Yes, there are risks of airbag system interference during repair. You should treat the system as potentially dangerous and follow airbag safety guidelines and repair precautions strictly. Disconnect power, respect crash data components, and avoid tampering with harnesses or modules. If unsure, consult a qualified tech. Airbag safety depends on proper sequencing, correct reassembly, and testing. Proceed only when trained, and verify system readiness with appropriate diagnostic tools.
Can DIY Repairs Void Vehicle Warranty or Insurance?
Yes, DIY repairs can affect warranty and insurance. You might trigger warranty implications if you alter or mishandle safety components, and some insurers reduce or void coverage for unverified repairs. You’re free to pursue DIY, but document steps clearly and keep receipts. If in doubt, consult your dealer or read your policy. Warranty implications, insurance coverage hinge on proper part use, safety checks, and timely, professional reassessment when necessary. Proceed carefully to avoid costly gaps.
What Are Hidden Costs Beyond Initial Quotes?
Hidden expenses beyond initial quotes include long-term implications like intermittent retractions, recurring maintenance, and potential warranty or insurance complications. You’ll face hidden labor charges for partial repairs, replacement parts that aren’t fully compatible, and diagnostic fees if issues recur. Consider insurance implications if a claim arises due to poor repairs, plus safety recalls or updated modules. You’ll want to assess total cost of ownership, not just upfront price, to guarantee reliable, compliant, long-lasting performance.