Cost/Time Estimate for Repairing Common Exterior Sunroof Leak
Repairing a common exterior sunroof leak costs roughly $100 to $1,000 in parts plus $75 to $150 per hour for labor, with total time typically 1 to 4 hours. Most fixes involve seals, drainage checks, and panel alignment. Parts like basic seals run $20–$80, while motors or actuators push higher. Labor varies by access, complexity, and diagnostics. A professional assessment helps verify scope and warranty, and more details will help you plan effectively.
Diagnosing the Exterior Sunroof Leak: What to Inspect First
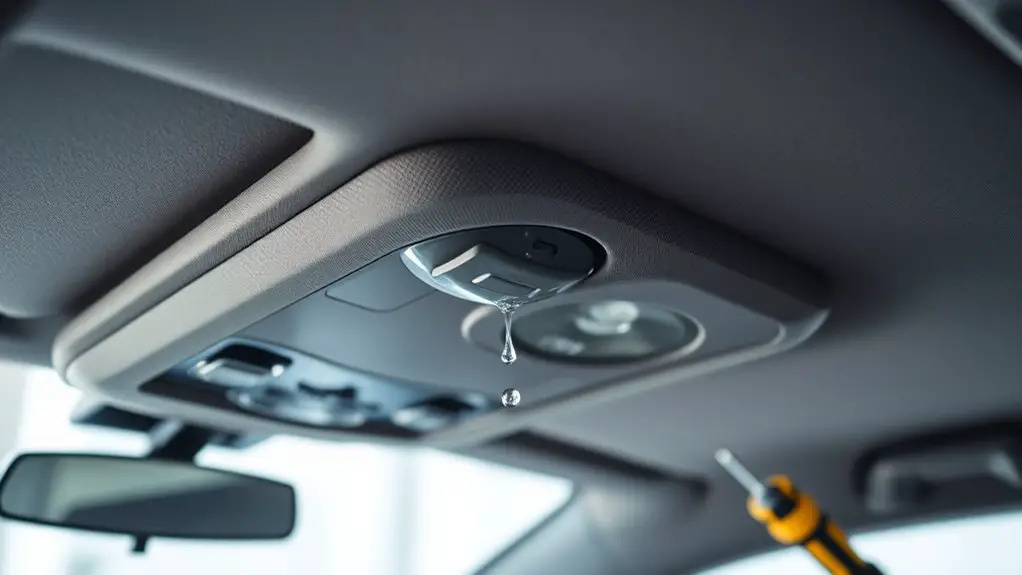
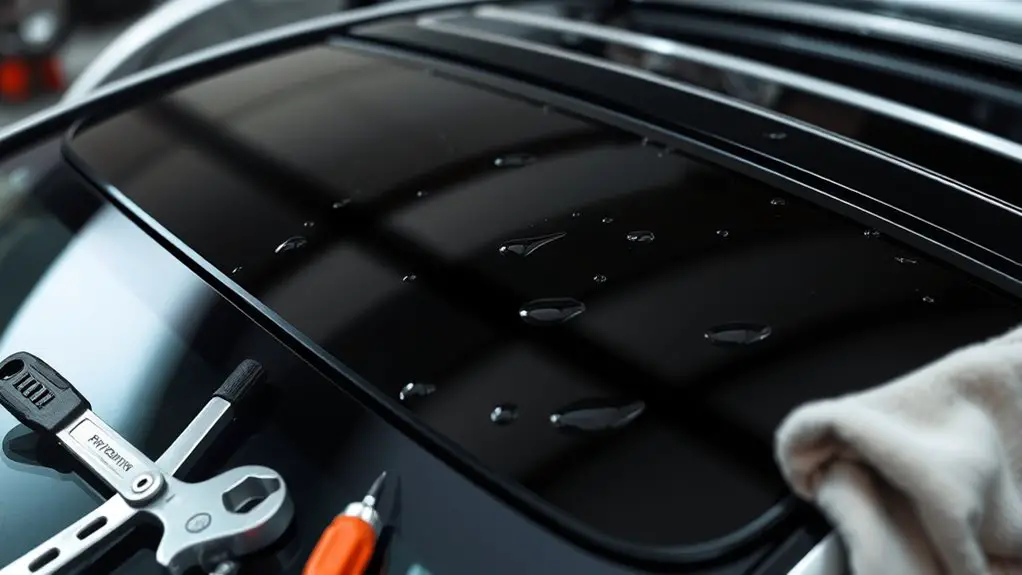
Diagnosing an exterior sunroof leak starts with a systematic check of obvious entry points and fasteners, then narrows to the seals and drainage paths. You’ll prioritize visible mounting screws, gasket corners, and rail seams for looseness or corrosion. Inspect the exterior enclosure for microcracks, chipped paint, or gaps where water can pool. Record observations with timestamped notes to support a repair estimate. Next, test drainage by gently pouring water along the frame to reveal improper channeling or blocked drains; listen for abnormal gurgling and look for pooling inside the sunroof housing. Verify that weatherstrips seat fully against the glass and frame when closed, and assess alignment. Evaluate the drainage tubes and scuppers for kinks, disconnections, or mineral buildup. This approach emphasizes sunroof maintenance and leak prevention fundamentals: routine inspection, prompt tightening, and clear drainage. You’ll gain a precise baseline for both cost and time estimates, reducing uncertainty and preserving system integrity.
Typical Causes of Exterior Sunroof Leaks and How They Develop
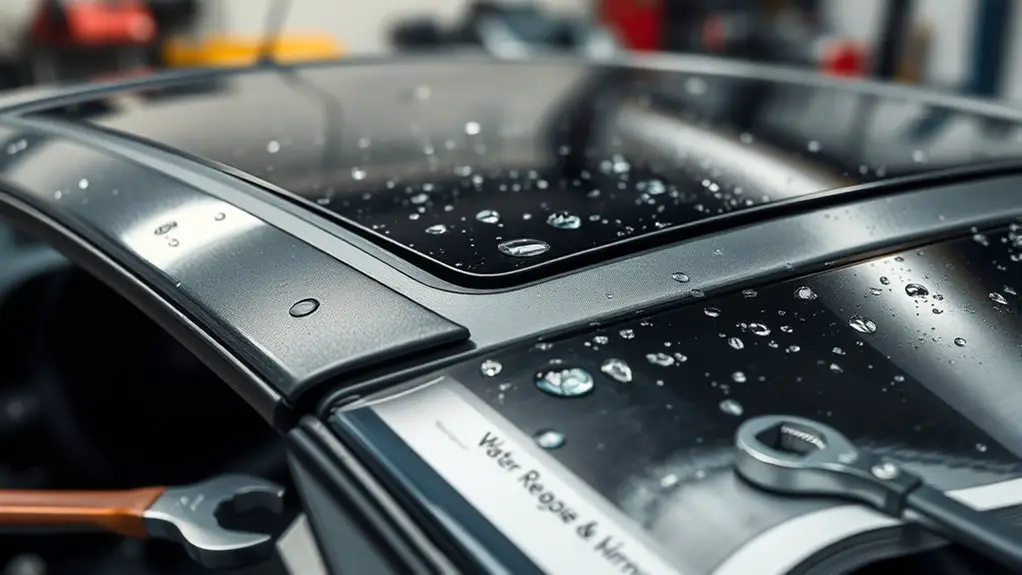
Exterior sunroof leaks typically arise from a few recurring failure modes that develop over time, especially after exposure to weathering and daily operation. You’ll see leaks trace back to material degradation, seal wear, and drainage blockages, all converging with sunroof design flaws that let moisture enter gaps you rely on for venting. Over years, washers, gaskets, and tracks lose elasticity, while fasteners loosen under vibration. Improper alignments amplify stress on seals, accelerating permeation. Debris buildup in gutters and diaphragms can back up water, forcing it toward interior seams. UV exposure weakens plastics and rubber, increasing porosity. Incorrect repairs or failed previous fixes compound the issue, making leak prevention more challenging. Understanding these patterns helps you plan durable fixes, not just quick patches. Focus on sealing integrity, drainage reliability, and proper reassembly to sustain long-term performance.
Exterior sunroof leaks stem from wear, drainage blockages, and misalignment—over time, seals falter and debris backs up, demanding durable, properly aligned fixes.
- Material degradation and seal wear
- Drainage blockages and gutter issues
- Sunroof design flaws affecting seals
- Alignment and fastener reliability
- Prior repair deficiencies compromising water control
Quick Checks You Can Do Before Diving Into Repairs
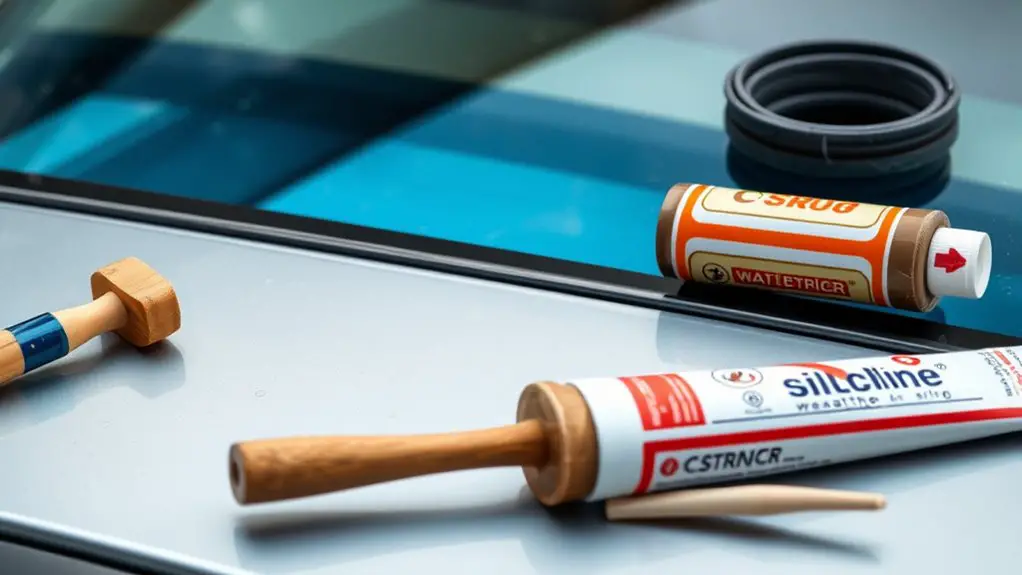
Start with a quick check of the roof seams to verify they’re smooth and intact, as gaps can indicate the first leakage path. Next, trace all drainage paths to validate they’re clear and not clogged, since blockages raise water pressure against seals. Finally, assess the sealant condition around edges and joints, noting any cracking or peeling that could compromise future repairs.
Inspect Roof Seams
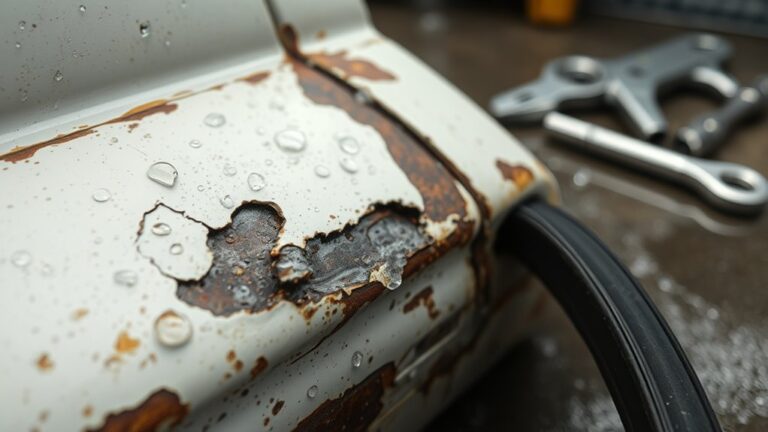
Inspecting roof seams is a quick, decisive check you can perform before diving into repairs. You’ll assess seal integrity, flashing contact, and material wear with a keen, evidence-based eye. Look for caulk cracking, gaps at joints, and rust staining that signals corrosion. Document any loose fasteners or misaligned panels, then compare to manufacturer specs for fit tolerance. Note if seam coatings show thinning or peeling, which correlates to leak risk. Prioritize findings by impact on water ingress and repair effort, not aesthetics. Use this data to justify the sunroof maintenance plan, and reinforce leak prevention measures with targeted sealing or part replacement when needed. Your goal is actionable, measurable steps that reduce future leaks.
- Check seal integrity and gaps
- Inspect flashing contact points
- Observe caulk and coating condition
- Identify loose fasteners or misalignment
- Record findings with fit tolerances and impact
Check Drainage Paths
Check drainage paths to confirm water flow away from the sunroof opening. You’ll test the drainage system by pouring small amounts of water at the sunroof edge and observing each channel’s path. Look for abrupt deviations, backflow, or slow cleansing—these indicate blockages or misrouting. Focus on the primary channels, scuppers, and lower troughs, noting any sediment or debris that could impede flow. If pooling occurs along the edges during test pours, log the exact location and time. Document whether water exits through the intended outlets or leaks into the frame. This quick check helps quantify risk: persistent water pooling after clearing is a predictor of higher repair costs and longer downtime. Record findings for a data-driven budget and targeted follow-up actions.
Sealant Condition Check
After confirming drainage paths, assess the sunroof sealant’s condition to gauge immediate risk and map repair scope. You’ll want a crisp sense of integrity, elasticity, and adhesion. Inspect visible seams for cracking, peeling, or hardening, and note any discolored runoff or residue. Compare suspect areas against sealant types commonly used on your vehicle to predict failure modes. Document gaps larger than a pencil point, which indicate replacement urgency, and identify locations where sealant application appears uneven or detached. Record material age if known, since age correlates with failure probability. Use findings to prioritize access points and estimate repair time. A precise assessment reduces guesswork and drives accurate cost planning.
- Quick integrity check: surface, seams, and edges
- Look for cracking, peeling, or hardening
- Note discharge residue and color shifts
- Correlate issues with sealant types and age
- Record sealant application irregularities and locations
Sealing and Gasket Replacement: Materials and Best Practices
Sealing and gasket replacement is a critical step for restoring watertight integrity and preventing interior leaks in sunroof systems. You’ll choose gasket materials based on weather exposure, chemical compatibility, and compression set resistance, then verify fit with manufacturer drawings. Precision matters: measure groove width, lip height, and groove depth, and select profiles that match your tray or frame. For gasket installation, clean mating surfaces with a compatible degreaser and allow full drying before seating. Apply sealant types only where specified, using minimal bead volume to avoid squeeze-out, and work from one corner to the opposite side to maintain even compression. Document material lot numbers and batch dates for traceability. Compare service life projections from suppliers and consider UV stability for exterior exposure. Expect gasket materials to deliver 5–10 years of service in moderate climates; aggressive environments may shorten this. Keep replacement costs and time estimates aligned with observed wear patterns for accurate budgeting.
Panel Alignment and Adjustment: Why It Matters
Panel alignment directly affects leak potential and wind noise, so you’ll want measurements that confirm a consistent panel fit across the opening. Check seal gaps at multiple points to guarantee uniform compression, as even small variances can lead to water intrusion or wind chatter. By documenting fit and gaps, you create a defensible baseline for time and cost estimates in the repair.
Aligning Panel Fit
Aligning panel fit is essential because even small misalignments can affect water sealing, wind noise, and overall door or hatch operation. You’ll measure gaps, test function, and verify even spacing, using data to drive adjustments rather than guesswork. Precision matters because minute shifts change seal load and long-term durability. Focus on repeatable steps: reference points, torque spec adherence, and verified movement range. This section integrates panel adjustment techniques and alignment troubleshooting tips to minimize leak risk and misfit at the seam. Document each adjustment for cost/time estimates and repeatability, ensuring you can reproduce results if needed.
- Confirm consistent gaps around the frame before and after adjustments
- Use a torque-controlled tool and log final values
- Check lid or hatch alignment at multiple positions
- Validate seal contact with a light wipe test
- Record any observable misalignment trends for future reference
Check Seal Gaps
To verify proper seal performance, you’ll compare gaps around the frame at multiple positions and after any adjustment. You’ll assess seal integrity by measuring uniformity at each corner and along long edges, noting deviations in millimeters. Use a straightedge or feeler gauge to document contact points and mid-span gaps, then repeat after tigh tening or re-positioning the sunroof panel. Record environmental conditions, as temperature and humidity can affect gasket squeeze. Gap analysis should identify whether misalignment causes compression irregularities or open seams that invite leaks. If gaps vary beyond a defined tolerance, recalibrate mounting points and recheck. Document results clearly for cost estimation and scheduling, ensuring each adjustment yields a consistent, repeatable seal profile across the full perimeter.
Water Intrusion Fixes: Addressing Interior Damage Related to Leaks
Water intrusion often causes interior damage that can worsen quickly if not addressed promptly; identifying the source, drying thoroughly, and repairing compromised components are the first steps to prevent mold growth and electrical issues. You’ll prioritize a structured approach: assess affected zones, document damage, and halt further moisture ingress. Interior restoration requires selecting materials that resist future leaks and drying times that minimize secondary damage. Damage assessment informs scope, costs, and timelines, guiding safe, data-driven decisions. You’ll test for residual moisture, inspect insulation, and verify electrical safety before reassembly. Timely action reduces long-term costs and preserves cabin integrity. Plan repairs with measurable milestones, not guesswork, to maintain control over budget and schedule.
- Identify leak source and path to interior surfaces
- Dry thoroughly with desiccants and professional fans
- Inspect and replace damaged insulation and sealants
- Test moisture levels and electrical safety
- Restore interior finishes with compatible materials
Estimating Labor Time for Common Repair Scenarios
Labor time varies by scope, with quick fixes clocking in faster than full repairs. We’ll compare labor estimates using clear ranges for common scenarios and note how weather can stretch timelines. Understanding these factors helps you gauge when to expect quick wins versus longer jobs.
Labor Time Variance
Estimating labor time for common sunroof repairs varies with the specific task, the system design, and the technician’s experience, so expect a range rather than a single fixed duration.
- labor intensity varies by seal type and access points, not just parts
- technician expertise governs setup speed and diagnostic accuracy
- complexity grows with water intrusion extent and trap layouts
- tool availability and fixture design influence pace more than you’d expect
- documentation and testing add measurable minutes to final estimates
Quick Fix vs. Full Repair
When deciding between a quick fix and a full repair, you’ll want to compare the labor time implications of each approach. Quick fix options typically demand shorter labor windows, often 1–3 hours, because they address the most common leakage paths with minimal teardown. Full repair, by contrast, usually spans 4–8 hours or more, reflecting panel reseal, cracked glazing checks, and potential replacement parts. Your decision should hinge on diagnostic certainty and desired repair longevity. If test fixes stop leaks temporarily, you gain speed but may trade durability. If you prioritize repair longevity, allocate time for thorough surface prep, sealer cycles, and performance verification. Documented labor estimates help align expectations with cost, preserving your freedom to choose ongoing reliability over haste.
Weather Impact on Timelines
Weather conditions can add or subtract time from common sunroof repair timelines. You’ll see labor shifts tied to seasonal impacts and daily weather conditions, because moisture, temperature, and accessible work areas drive how quickly tasks proceed. In warm, dry periods, sealants cure predictably, while cold or rain slows material handling and delays drying windows. Humidity can alter adhesive performance, extending cure times and retest phases. Storms may postpone inspections or prevent interior moisture assessment. Planning should account for forecasted weather windows and allow contingency buffers for precipitation or extreme heat. Track historical seasonal impacts to refine estimates and set expectations with clients.
- Seasonal impacts influence scheduling and duration
- Warm, dry conditions promote faster cures
- Cold or rainy days extend drying and inspection phases
- Humidity alters adhesive performance and timing
- Weather forecasts guide contingency buffers
Cost Ranges for Parts, Seals, and Supplies
Costs for parts, seals, and supplies can vary widely, but typical ranges help anchor budgeting: basic sunroof seals run anywhere from $20 to $80 per kit, while cables, motors, and actuators can range from $150 to $600 depending on the model. You’ll also encounter track hardware, fasteners, and fast-dener equivalents priced from $5 to $40 per item, with weatherproof gaskets adding $10 to $50. Adhesives and sealants run $5 to $25 per tube, and replacement glass or top panels can push costs higher—roughly $80 to $300 for common configurations, up to $600 for specialty units. For labor, expect 1 to 4 hours at a shop rate of $75 to $150 hourly, depending on access and complexity. seal replacement costs are typically front-loaded in the parts line, while sunroof maintenance tips emphasize proper seal seating and torque. Plan a budget that accommodates variability, and verify compatibility before ordering.
Factors That Influence Overall Repair Time and Price
Several factors determine both repair duration and total cost: component type and complexity, vehicle make and model, access to the sunroof mechanism, and the availability of replacement parts. You’ll notice time and price shift with the quality of repair materials, the required tools, and whether fasteners or seals require care to avoid damage. Labor rates vary by shop, technician experience, and regional cost-of-living, influencing total charges even when parts are standard. Documentation and diagnostic steps add minutes or hours, especially if multiple systems interact with the sunroof. Hidden issues, like frame corrosion or track misalignment, extend both time and cost. Accurate estimates depend on initial inspection findings and precise material specifications. Planning ahead reduces uncertainty, enabling better budgeting and scheduling. Expect tighter timelines when parts are on hand and technical complexity is low.
- Component type and complexity
- Vehicle make/model impact
- Access to mechanism
- Replacement part availability
- Labor rates and shop diagnostics
DIY vs. Professional Repair: When to Hire a Pro and What to Expect
For many sunroof repairs, deciding between DIY and professional service hinges on risk, skill, and the potential for hidden issues; if you’re comfortable with tools, have access to the right parts, and can safely test the system afterward, a DIY approach can save time and money. You should weigh leak severity, warranty implications, and the likelihood of misdiagnosis. DIY Tips emphasize documenting each step, using sequence-focused checks, and avoiding rush to seal before confirming drainage and motor function. If the issue involves structural gasket failure, frame corrosion, or electrical harness damage, Professional Advice suggests scheduling a professional evaluation to prevent cascading leaks or fire risk. Pros typically offer diagnostics, OEM or high-quality reproductions, and a tested repair path with warranty. If you pursue DIY, plan a staged test, keep spare parts on hand, and know when to stop. For most homeowners, a hybrid approach balances cost and reliability without sacrificing safety.
Frequently Asked Questions
How Long Does a Full Exterior Sunroof Seal Replacement Typically Take?
A full exterior sunroof seal replacement typically takes about 2 to 4 hours, depending on access and vehicle model. You’ll want to plan for a short downtime and prepare for potential minor trim detaching. For reliable results, follow sunroof maintenance tips and avoid rushed reassemblies. After service, you should track seal performance and schedule follow-up checks. Remember seal replacement frequency varies by climate and usage; inspect annually and reseal as needed to maintain waterproof integrity.
What Are Hidden Costs Beyond Parts and Labor for Leaks?
Hidden expenses can sneak up like a cold draft, but you’ll spot them with a quick check. You’ll consider hidden expenses such as shop diagnostics, gasket replacements beyond parts, coatings, and sealant longevity. Maintenance considerations include recurring leaks, paint touch-ups, cabin humidity, and muffled glass wear. You’ll want clear warranties, traceable labor rates, and documented fluid checks. You’ll compare cost-per-year projections to guarantee you remain free to drive, not chase unseen fees.
Can Aftermarket Seals Void Vehicle Warranty or Affect Insurance?
You’re wondering if aftermarket seals can void your vehicle warranty or affect insurance. Generally, aftermarket components can risk warranty coverage if they are the cause of damage or aren’t authorized by the manufacturer; insurance may also adjust payouts if non-approved parts contributed to loss. Check your vehicle’s warranty terms and your insurer’s policies. In many cases, aftermarket warranties and insurance coverage exist, but you’ll want written confirmation from both before proceeding. Stay informed and document all approvals.
Do Roof Rails and Moldings Impact Repair Time or Cost?
Roof rail types and molding materials can affect repair time and cost. You’ll see longer jobs if rails are integrated or require door-panel removal, and higher costs with aluminum or specialty molding. In contrast, simple, aftermarket rail types generally streamline work. Expect extra labor for sealant compatibility and alignment checks. You’ll want precise estimates for parts, fasteners, and potential repainting. In short, rail choices directly influence both time and expense.
How Often Should Exterior Sunroof Seals Be Inspected to Prevent Leaks?
You should inspect exterior sunroof seals every 6 to 12 months, or sooner if you notice tinting, drips, or wind noise. Regular sunroof maintenance helps you spot wear before leaks start, and prompt resealing is key for leak prevention. Use a flashlight, clean surfaces, and check seams for cracks or stiffness. Maintain records of inspections to track aging, and schedule professional servicing if you see pooling or discoloration around seals. Stay proactive for lasting leak prevention.

