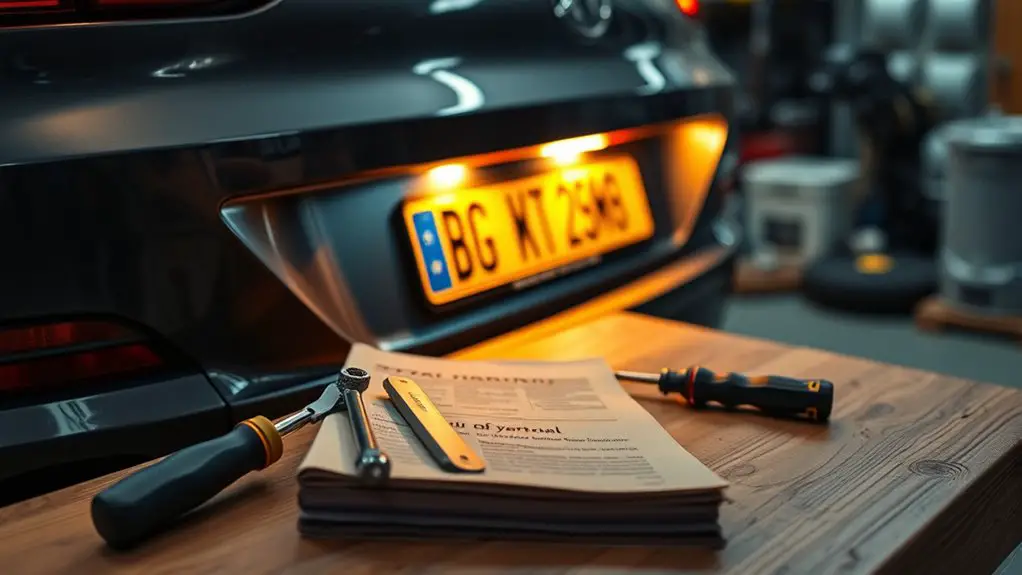
Cost/Time Estimate for Repairing Common Exterior License Plate Light Out
If your exterior license plate light is out, you’re looking at quick bulb swaps under $15 and under an hour, or a full LED assembly with labor that can run into hundreds and take several hours on larger or older vehicles. Start by inspecting the lens and fuse, then test power and ground. Expect variations by vehicle type and light type. If you keep exploring, you’ll uncover a clear, step-by-step approach to estimation and repair.
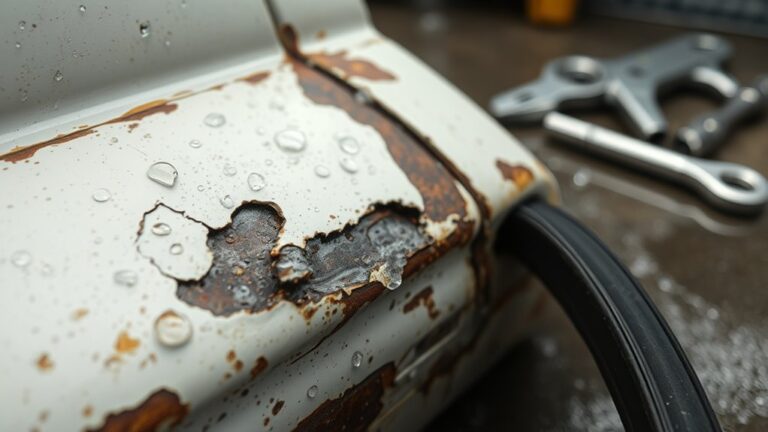
Common Causes of Exterior License Plate Light Failures
There are several common causes of exterior license plate light failures. You’ll want a precise checklist to respect your time and your need for freedom. First, bulb compatibility issues can cause failure when bulbs don’t match the socket type, voltage, or polarity, leading to intermittent or no illumination. Verify the bulb type specified by the vehicle manufacturer and confirm the replacement matches the exact base and wattage. Next, electrical corrosion problems can disrupt current flow at connectors, grounding points, or the housing, especially in damp climates. Inspect for greenish residue, loose terminals, or damaged seals, and clean or replace as needed. Corrosion can escalate into higher resistance and heat, hastening failure. Also assess wiring integrity, fuse condition, and the lens seal for moisture intrusion. A simple corrosion or mismatch often explains failures faster than fancy diagnostics, saving you time and keeping your freedom intact.
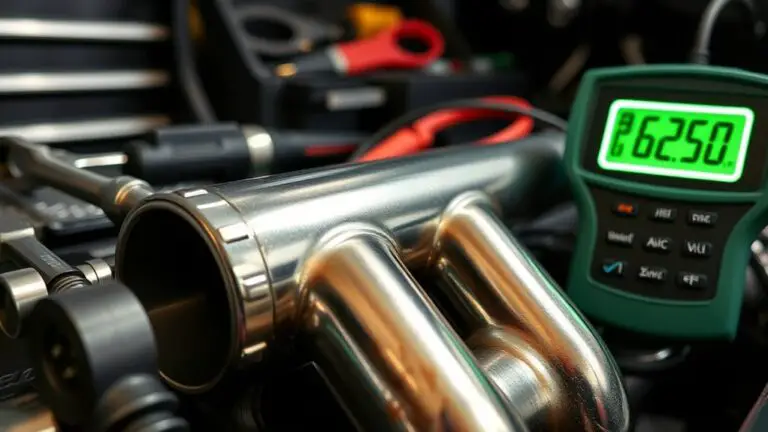
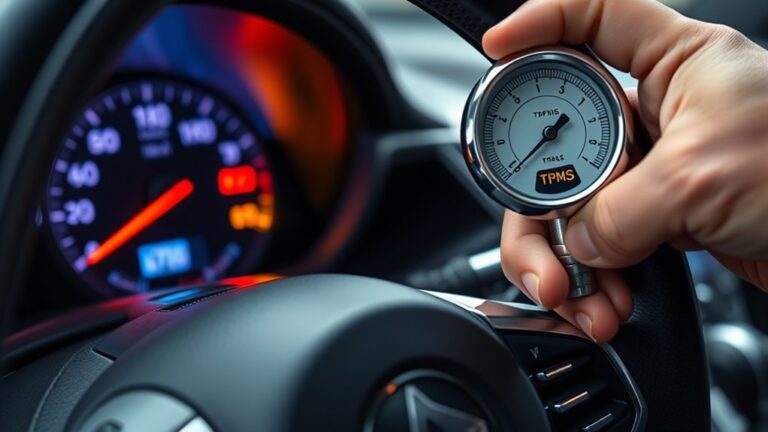
Quick Diagnostic Steps to Identify the Problem
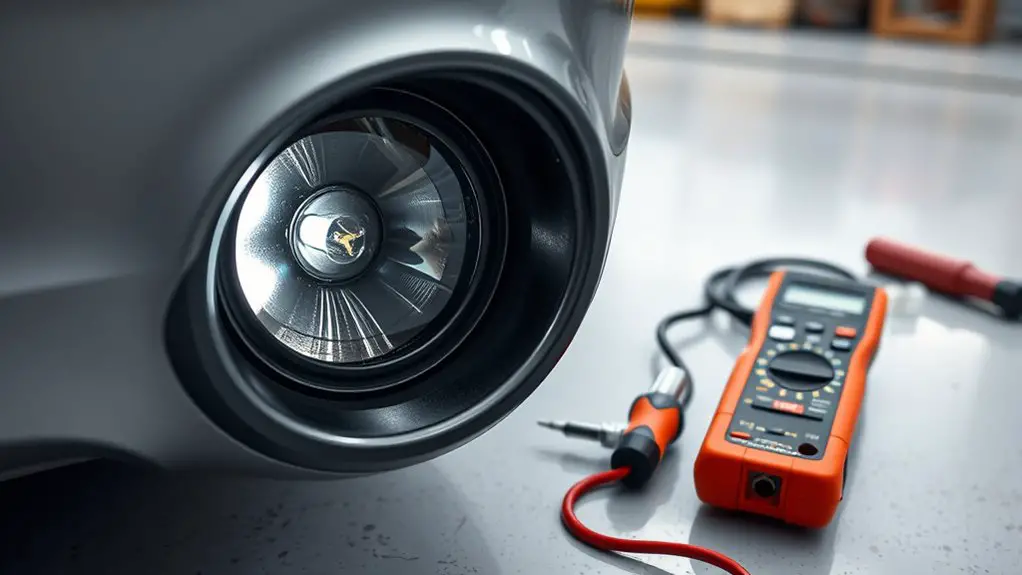
A quick, methodical checklist helps you pinpoint the problem fast. You start with light testing to confirm whether the issue is electrical or mechanical. First, inspect the lens for cracks or moisture; replace if compromised, since water ingress ruins circuits. Next, check the fuse or circuit breaker corresponding to the license plate light; a blown fuse is a common culprit. If fuses are intact, test for power at the socket with a multimeter or LED tester, noting ground continuity. If voltage is present but the light won’t illuminate, the fault likely lies in the bulb, socket, or wiring. Wiggle connections gently to reveal loose contacts, then reseat or tighten them. Consider corrosion at the socket, cleaning contacts with proper electronics cleaner. Finally, verify the ground path from the socket to the chassis; a bad ground mirrors a blown bulb in symptoms. Document findings for an accurate estimate and future troubleshooting techniques.
Estimated Parts Costs for Bulbs, Fuses, and Sockets
You’ll want a concise, itemized sense of costs: bulbs, fuses, and sockets.
Estimated parts costs stay straightforward. You consider bulb types, fuse ratings, and socket compatibility to forecast price ranges. Bulbs vary by base type and brightness; LED substitutes cost more upfront but last longer. Fuses follow amperage needs, with common ratings in 1A–5A range for exterior lighting. Sockets align with bulb types, and a basic gasketed socket adds a small premium for weather resistance. Expect low-end kits around a few dollars per bulb, fuses near a dollar each, and sockets from a dollar to several dollars. Add modest tax and optional connectors if needed. Bulk purchases can reduce per-part price. Track subtotal, then round to the nearest dollar for budgeting. This method keeps you precise, proactive, and ready to compare options without overcommitting.
| Item | Typical Range | Notes |
|---|---|---|
| Bulbs (bulb types) | $2–$10 | LED vs halogen; base variety |
| Fuses (fuse ratings) | $1–$3 | 1A–5A common |
| Sockets | $1–$6 | Weather-resistant variants |
Labor Time: DIY vs. Professional Repair
DIY labor is usually quicker and cheaper upfront, but professional repair offers a guaranteed diagnosis, proper safety handling, and guaranteed workmanship.
- DIY advantages: you control pace, avoid wait times, and learn hands-on skills.
- Professional drawbacks: higher upfront cost, scheduling constraints, and potential warranty limits.
You’ll weigh time against certainty. If you’re comfortable with basic tools and a simple bulb swap, you’ll finish faster and save. However, diagnosing intermittent failure, wiring quirks, or corrosion isn’t always obvious, so you may chase symptoms rather than causes. A pro provides a documented diagnosis, tested parts, and a workmanship guarantee, reducing return visits. Regarding time, DIY can be quicker for a single bulb, but pros minimize the risk of rework by addressing root causes. Your decision hinges on confidence, risk tolerance, and desired outcome: rapid, low-cost fix, or reliable, labeled repair with lasting results. Keep the goal in view: a functional, legal license plate light with peace of mind.
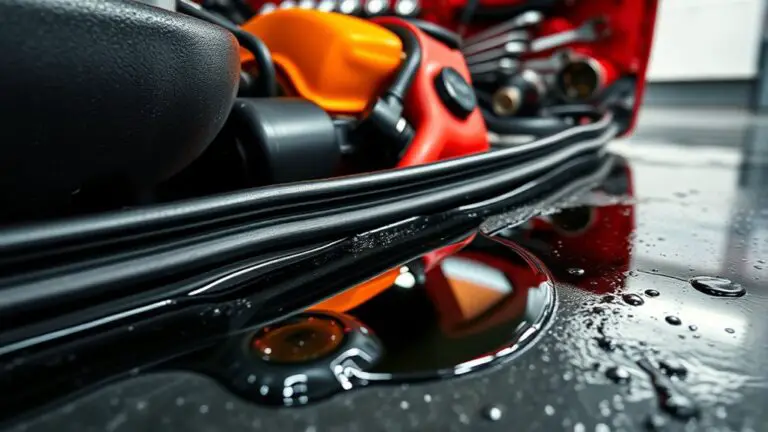
Wiring and Mounting Considerations That Affect Time
Wiring accessibility and mounting variations directly influence how long a license plate light repair will take. You’ll encounter different wiring routes, connector types, and space constraints that affect routing and securing components. Start by identifying accessible wiring points and mounting options to estimate time and minimize rework.
Wiring Accessibility
Accessing the wiring and mounting points can greatly influence repair time: if the connector isn’t near an accessible edge, you may need to remove components or trim panels to reach it. You’ll assess the path to the license plate light, noting wiring diagrams and accessibility concerns before you start. This helps you estimate disassembly effort and tool needs, reducing surprises.
- Inspect harness routing and connector position
- Plan safe panel removal to avoid damage
- Verify available clearance for splicing or replacement
Mounting Variations
Mounting variations can greatly affect repair time, since the light housing, bezel, and mounting studs come in different configurations across models. You’ll encounter multiple mounting locations, each with distinct screw patterns and access angles, which can change how you remove the old unit and install the new one. Before you begin, inspect the light bracket to confirm compatibility and note hardware type, thread size, and whether a gasket is present. Keep tools organized by step: disconnect power, unfasten mounting screws, release any clips, then test-fit before final securing. Consider plastic versus metal housings, which influence bolt length and torque. Document findings for future repairs, and choose a replacement that aligns with the vehicle’s mounting locations to minimize downtime.
Typical Step-by-Step Repair Workflow
Start with a quick diagnostic check to verify the light and circuit function, then list the needed parts and tools before you begin. Next, map a concise workflow timeline, estimating each step from diagnosis to final test. Keep the process linear: diagnose, gather, repair, test, and document any changes for reference.
Steps to Diagnose Light
To diagnose a faulty license plate light, start by gathering the tools and confirming the issue: a working backup bulb, a multimeter, and a clean work area.
- diagnostic tools
- light testing
- careful inspection
You’ll verify wiring continuity, bulb seating, and socket integrity. If the backup bulb glows, the issue lies elsewhere; if not, test for voltage at the socket with the multimeter. Check for corroded contacts, loose connections, and ground faults, correcting each as you go. Document readings succinctly to guide the repair path. Rely on deliberate, repeatable checks rather than guesswork. Maintain a steady pace, stay organized, and preserve a safe environment. If voltage is present but light remains dark, you’re isolating the fault; if voltage is absent, recheck fuses and harness connections. This is light testing with intent.
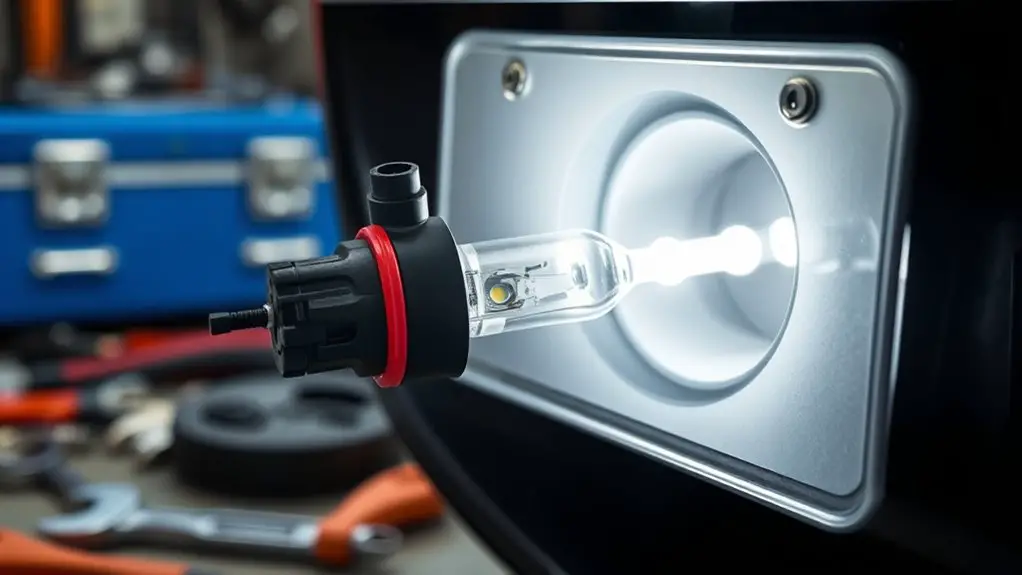
Parts and Tools Needed
Having the right parts and tools on hand streamlines the repair and minimizes trips to the shop. You’ll need a replacement bulb or LED assembly, a screwdriver set, wire strippers, electrical tape, and possibly a multimeter. Confirm compatibility with your plate and housing, then check for corrosion at the connectors. Keep spare fuses or fusing links if present. Replacement options include bulb, LED module, or complete housing kit, depending on damage. Installation tips: disconnect power, access the lamp, replace the component, reseat connectors, and reseal. Use corrosion-resistant contacts if possible. Table:
| Tools/Parts | Purpose |
|---|---|
| Screwdriver, pliers | Remove/install housing |
| Bulb/LED, wiring | Core replacement |
Workflow Timeline Estimation
With the right parts and tools on hand, you can map a clear, efficient repair path from start to finish. You’ll stage a logical timeline that prioritizes safety and speed, focusing on workflow efficiency and repair prioritization.
- Identify hot spots quickly, then allocate tools and light sources to reduce backtracking.
- Sequence tasks so you test illumination after each key step, ensuring immediate feedback and corrective moves.
- Flag potential delays early, reordering steps to keep momentum and minimize repeat work.
A tight timeline keeps you accountable to quality without creeping delays. You’ll measure progress against milestones, adjust priorities when new info arises, and finish with a verified, reliable light. This approach preserves freedom by delivering predictable, defendable results in less time.
Real-World Time and Cost Ranges by Vehicle Type
Real-world time and cost vary by vehicle type due to differences in parts access, labor complexity, and electrical system design; you’ll see shorter times and lower costs for compact cars with straightforward wiring, while SUVs and trucks with larger housings or integrated modules can require more labor and potentially higher part prices. This pattern also responds to vehicle age, as older models may need more careful diagnosis, worn gaskets, or degraded connectors. Light types matter: LED assemblies tend to cost more upfront but last longer, whereas halogen units may be cheaper yet wear faster. Expect faster service on cars with uncomplicated access routes, clean under-hood spaces, and standardized connectors. Conversely, premium or specialty vehicles, higher trim levels, or those with concealed wiring can extend labor and part charges. You’ll gain clarity by categorizing scenarios into compact sedans, family SUVs, and work trucks, then factoring age and light type into your estimate.
Frequently Asked Questions
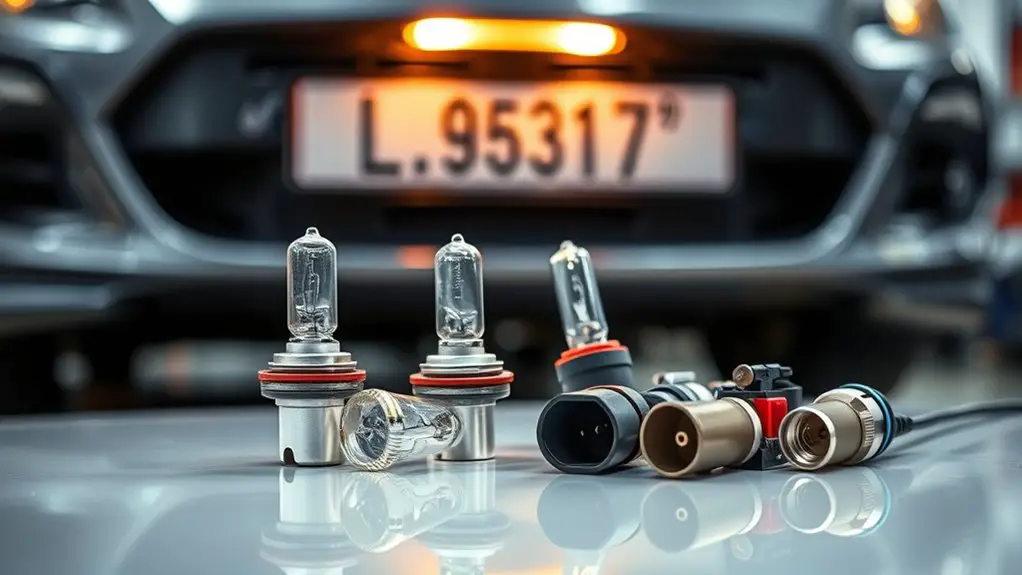
Do All Exterior Plate Lights Share the Same Bulb Type?
Like a lighthouse beacon, you’ll find not all exterior plate lights share the same bulb type. You’ll need to check bulb compatibility specific to your unit. Some use T10 wedge or festoon, others bayonet styles. When you swap, confirm light color stays consistent with your vehicle’s standards. Measure the socket, note voltage, and test before final install. This approach keeps you precise, free to choose reliable, compatible bulbs without mystery or fuss.
Are LED Replacements Costlier Than Incandescent Options?
LED replacements are typically costlier upfront than incandescent options, but they last longer. You’ll save on replacement bulbs and maintenance over time. When you choose LED, bulb brightness in the license plate lights stays consistent, and you reduce frequent bulb changes. Consider LED longevity to justify higher initial cost, especially if you value reliability. If you’re budget-conscious, incandescent may be cheaper now, yet you’ll likely replace them sooner and lose consistent brightness.
Is Dealer Service Always Faster Than Independent Shops?
No, dealer service isn’t always faster than independent shops. You’ll find dealer efficiency varies by model and location, while shop reliability can differ widely. If speed matters, ask for current turnaround times and loaner options. You should compare quotes, verify parts availability, and check warranty terms. In pursuit of freedom, you deserve clear timelines, transparent pricing, and honest recommendations, not vague promises. Choose the option that best aligns with your timeline and trust.
Will Weather Affect the Repair Duration?
Yes, weather conditions can affect repair duration. You’ll likely see longer timelines in rain, snow, or extreme heat, which slow access, dry times, and cooling of components. Your best bet is planning for delays and scheduling when skies are clear. Your repair techniques will stay steady—diagnose, access the light, replace or rewire as needed, test, and reassemble. Stay flexible, and you’ll maintain control while the job progresses efficiently despite weather.
Can a Fuse Issue Mimic a Bulb Failure?
Yes, a fuse issue can mimic a bulb failure. You’ll want to follow a calm, methodical approach: fuse troubleshooting first, then bulb testing. Imagine the circuit as a quiet river; a blown fuse blocks flow, not the bulb itself. Check the fuse, replace if needed, and test the plate light. If it still fails, inspect wiring and sockets. You deserve clarity, precision, and the freedom to fix it confidently.