DIY Alignment Checks to Catch Power Steering Leak Early
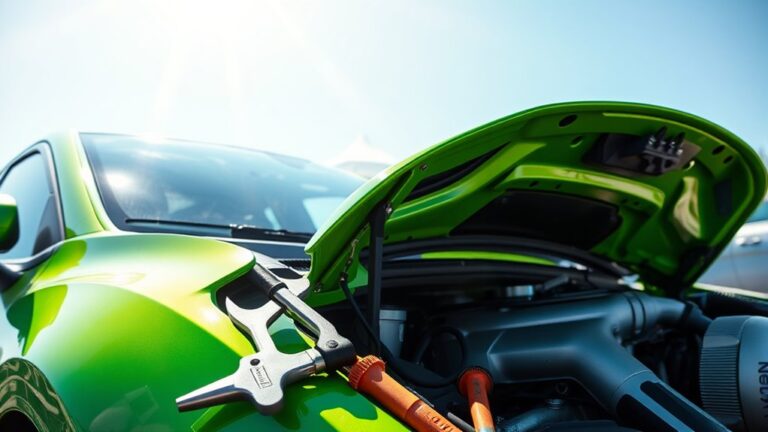
Start with a visual check under your car for fresh puddles, seepage, and crusty residues to spot power steering leaks early. Park on a flat surface, engine cool, and gather PPE. Inspect hoses, reservoir, and connections for cracks, stiffness, or damp spots. Check fluid level between min and max marks, using the correct type per your manual. Do a light, straight-ahead steering test for consistency. If you spot seepage or drips, you’re onto a potential issue—keep going to learn more.
Spotting Early Leaks: Visual Clues Under the Car
Spotting early leaks starts with a careful visual scan under the car. You’ll train your eye to notice fresh drips, stains, and wet spots near hoses, fittings, and the power steering pump. Begin with a calm, steady approach: park on a level surface, set the emergency brake, and survey the area around the steering rack, lines, reservoir, and power steering pulley. Look for pale, crusty residue or dark, glossy patches that indicate fluid presence. Remember to check the ground directly under the vehicle for small puddles after a short drive. Conduct a deliberate visual inspection of the hose clamps and connector joints for looseness or seepage. Note any fluid sheen on hot surfaces, which can evaporate quickly and obscure leaks. Keep a simple record: location, description, and potential source. Leak detection hinges on consistent observation, not haste. Stay methodical, and you’ll identify trouble before it worsens.
Safety First: Preparing Your Vehicle for a DIY Check
Before you start, confirm the vehicle is parked on a flat, stable surface with the parking brake engaged and the engine off. Gather PPE like gloves and eye protection, plus the essential tools, and review safe testing steps to minimize risk. Keep the work area organized and follow each precaution in sequence to protect yourself and the vehicle.
Prep for Safety
Preparing your vehicle for a DIY power steering leak check means making safety the top priority: gather what you’ll need, inspect the work area, and verify that the engine is cool before you start.
- Safety gear: gloves, eye protection, and a sturdy, non-slip mat to reduce slip risk.
- Vehicle stability: chock wheels, engage parking brake, and work on a flat surface to prevent movement.
- Prep essentials: flashlight, rags, and a clean tray to keep leaks contained and visible.
Keep tools organized and avoid loose clothing. Clear the area of bystanders and pets. Confirm battery terminals aren’t exposed to moisture or spills, and store fluids in labeled containers. Your focus: safety gear and vehicle stability to start with confidence.
PPE and Tools
PPE and tools are your first line of defense, so put on gloves and eye protection before you touch anything, and keep a clean, labeled tray handy to catch leaks. Safety equipment and essential tools keep you steady as you inspect the system, so gather a flashlight, reflective triangle, and a spill kit alongside wrenches, pliers, and a manual rag.
| Safety gear | Essential tools |
|---|---|
| Gloves, goggles | Wrenches, screwdrivers, torque wrench |
| Spill tray | Flashlight, funnel, catch container |
With a focused kit, you’ll approach the check calmly, documenting fluid levels and hose connections. Maintain organization, avoid distractions, and proceed only with confirmed safety readiness. This mindset supports accurate diagnosis and confident, controlled exploration.
Safe Testing Steps
To start safely, guarantee the engine is cool, the parking brake is on, and the vehicle is in a stable, well-lit area before you begin testing. You’ll perform controlled checks that minimize risk while you confirm steering behavior and potential leaks. Stay deliberate, monitor fluids, and keep hands clear of moving parts.
- Inspect for obvious leaks and wear with the engine off, then resume with the engine cool to feel genuine steering feedback.
- Check power steering fluid level and hoses, noting any drips or seepage that could affect alignment techniques.
- Test steering response at light and moderate speeds in a straight line, then gentle turns to verify consistent steering feedback without abnormal play.
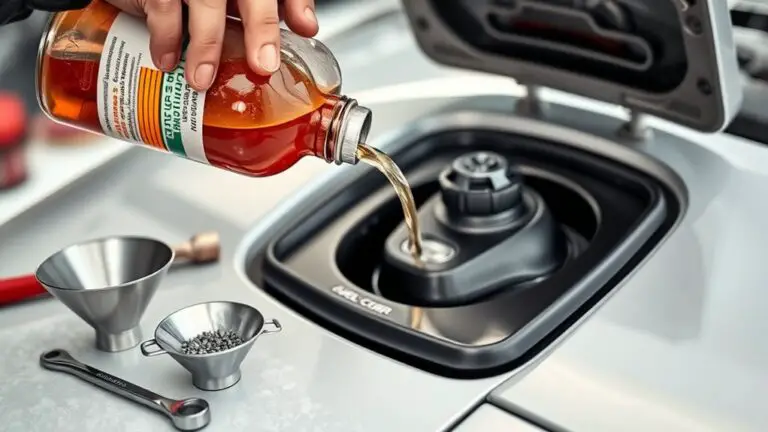
Power Steering Fluid Basics: Types, Levels, and What They Mean

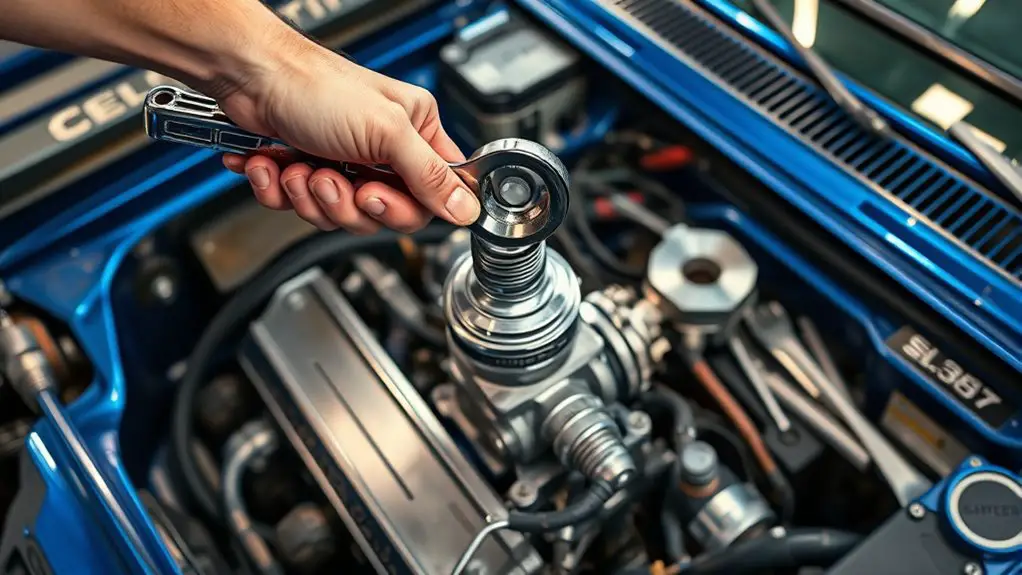
Power steering fluid isn’t just a single fluid type—your vehicle’s system relies on the right kind, clean levels, and proper condition to function smoothly. You’ll want to know there are multiple power steering types, typically hydraulic fluids with specific additives. Using the wrong fluid can compromise seals, cause foaming, and reduce performance. Check your owner’s manual or reservoir cap for the exact spec, then confirm compatibility before topping up. Fluid levels should sit between the minimum and maximum marks with the engine cool; overfilling can lead to foaming and leaks, while underfilling reduces hydraulic assist. Look for clarity: clean, reddish or amber tint, free of grit or metallic specks. If you notice rust-colored contamination, that signals a problem in the system. Periodic checks keep leaks at bay and guarantee consistent steering feel. When in doubt, consult a professional to verify the correct power steering types and proper fluid levels for your drivetrain.
Basic Tools and Surfaces: Setting Up a Clean Workspace
Set up a clean, well-lit workspace before you start any checks. Choose tools that you’ll actually use and store them within arm’s reach to avoid cross-contamination or misplacement. Use a flat, stable surface to keep measurements accurate and prevent spills from skewing results.
Clean Workspace Setup
A clean, organized workspace makes diagnostics easier and safer. You deserve a clutter free environment where tools return to their homes and spills don’t creep into essential measurements. Set up a stable surface, good lighting, and a drain or tray for leaks. Keep a dedicated area for notes, measurements, and parts to prevent cross-contamination of findings.
- Prioritize workspace organization with defined zones for inspection, measurement, and documentation.
- Create a clutter free environment by clearing unnecessary items and labeling containers for fast retrieval.
- Maintain clean surfaces that resist oil, grease, and grime, and wipe them before and after each diagnostic step.
Proper Tool Selection
A clean, well-chosen toolkit helps you diagnose a power steering leak efficiently. You’ll pick tool types that cover basic inspection, measurement, and minor adjustments without overloading your workspace. For this task, focus on essential equipment: a mirror for underside checks, a flashlight for bright, targeted visibility, and a spray bottle with degreaser to reveal leaks without masking them. A simple mechanic’s stethoscope helps pinpoint noises when movement is uncertain. Include metric and SAE wrenches, pliers, and a torque wrench calibrated for light-duty automotive use. Keep diagnostic items handy: a clean rag, disposable gloves, and leak-friendly absorbents. Organize tools by function, not brand, so you can move quickly between inspection, cleaning, and documentation. Efficient selection minimizes clutter while maximizing reliability and freedom to work confidently.
Flat Surface Setup
Shifting from tool selection, the next step is to establish a clean, flat workspace you can trust for accurate checks. A true flat surface minimizes distortion and gives you repeatable results, boosting alignment accuracy. Keep the area free of dust, oil, and clutter so measurements stay consistent.
- Verify the surface with a straightedge and a level, confirming no warps or gaps that could skew readings.
- Use a clean, lint-free mat or dedicated workboard to protect both the surface and components, preserving flat surface benefits.
- Mark reference points clearly and maintain the same stance and distance for every check to guarantee repeatable alignment accuracy.
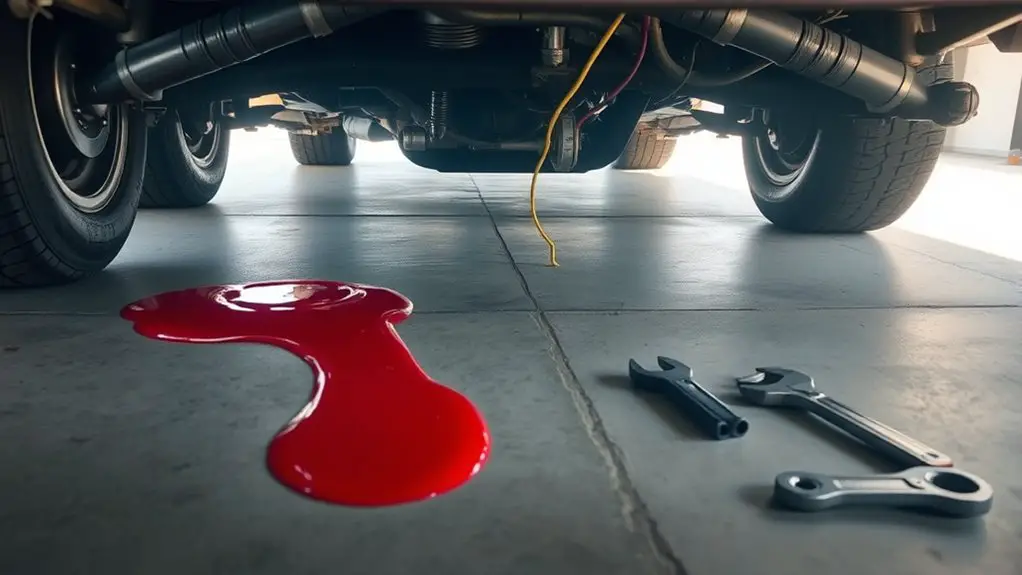
Test 1: Inspecting for Puddles and Drips During Parking
During parking, start by visually inspecting the area around the power steering system for puddles or drips, noting any fresh sheen or damp spots under the vehicle. You’re looking for evidence of a leak, not a stain or dirt. Move slowly, crouching to view the undercarriage and hoses from multiple angles. If you spot a puddle, measure its size and note the color and clarity of the liquid. For drip identification, watch for tiny droplets forming at fittings or lines after engine shutdown. Check nearby ground for staining beyond obvious pools, as seepage can travel. Document timing: first observation, then after a short wait. Compare to baseline if you’ve previously parked in the same spot. Consistent puddle detection or recurring drips beneath the steering area warrant further inspection. This step supports early detection and proactive maintenance, reducing exposure to sudden steering issues later.
Test 2: Quick Steering Feel and Lane-Tracking Check
Begin by moving the vehicle at a low, safe speed on a straight, empty stretch and note how the steering responds from center to lock. You’re checking for a quick, linear feel and any drag or hesitation that hints at a leak’s effect on steering responsiveness and lane alignment. This test isn’t diagnostic of pressure alone; it gauges how quickly the system returns to center after a turn and whether the response stays consistent as you step off the wheel.
Begin at a slow, straight roll and gauge steering return-to-center, noting any drag, drift, or odd resistance.
- Observe return-to-center smoothness and any off-center drift at steady speed.
- Compare the effort needed to initiate a turn with a slight lane change to verify predictable lane alignment.
- Note any abnormal noises, vibrations, or creeping resistance that could point to fluid loss or pressure irregularities affecting steering responsiveness.
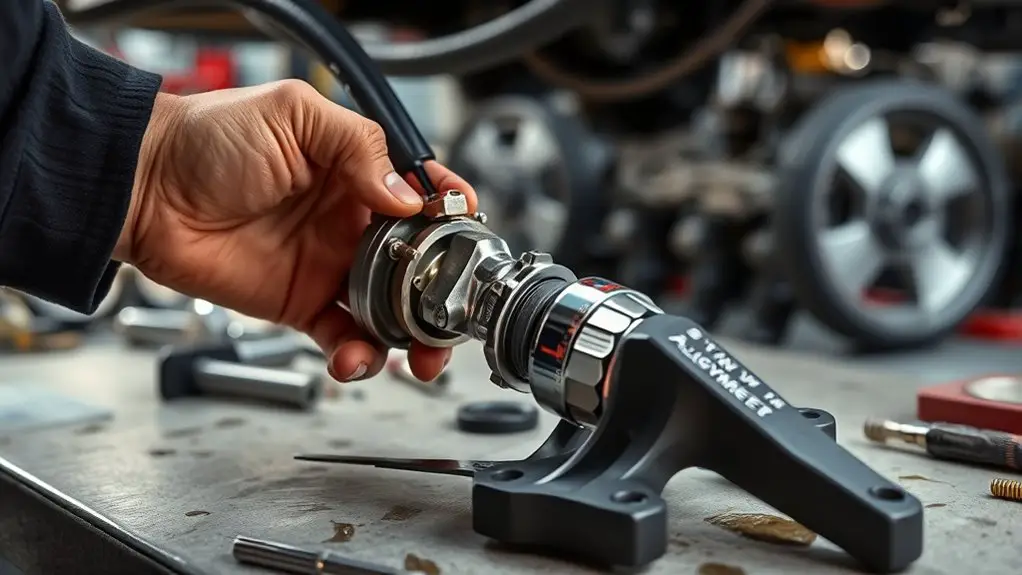
Test 3: Inspecting Hoses, Reservoir, and Connections for Wear
Start by visually inspecting all hoses, the reservoir, and their connections for signs of wear, cracking, swelling, or soft, bulging sections. You’ll want to feel for stiffness, brittleness, or any damp spots indicating leaks. Check hose ends where clamps grip fittings—look for crust, moisture, or abrasions that weaken seal integrity. Trace each hose from reservoir to pump and power steering rack, noting soft spots or flattened contours that suggest internal collapse or collapsing braiding. Inspect the reservoir cap seal for cracks or improper seating, and verify the reservoir’s overall condition with a quick shake to sense air pockets or residue. Confirm hose integrity by gently tugging on spans near clamps and fittings; loosened connections point to wear or fatigue. Record any anomalies with brief notes. This test emphasizes reservoir condition and hose integrity, guiding you toward timely maintenance before hidden leaks worsen steering performance.
Interpreting Findings: What Your Observations Could Indicate
Look for patterns in what you observed: bulging or cracked hoses points to wear or impending failure, a stiff or brittle reservoir line suggests aging seals, and damp spots near clamps indicate slow leaks. Your observations help gauge leak severity and guide next steps. Read each finding as a signal, not a verdict, and compare with expected behavior under normal steering operation.
1) If symptoms show minor seepage without fluid loss, plan close monitoring and schedule preventive checks; this points to potential repairs before a full failure.
2) If you notice steady dripping or increasing dampness, treat as higher leak severity and prioritize immediate inspection of connections, hoses, and pump seals.
3) If fluid appears contaminated or discolored, stop driving and investigate probable internal wear or reservoir issues, since this often requires more extensive repairs.
Use your notes to decide on leak severity, estimate urgency, and determine potential repairs before repeating checks.
Frequently Asked Questions
How Often Should I Replace Power Steering Fluid After a Leak?
Replacing power steering fluid after a leak isn’t set to a exact schedule. Do it as soon as you locate and repair the leak, then flush and refill with fresh fluid per your vehicle’s spec. After that, monitor fluid level and condition regularly. For fluid maintenance, plan periodic checks and a top-off if needed. This helps with leak prevention and keeps your system responsive, especially if you’re chasing freedom and dependable performance.
Can a Leak Cause Steering Effort to Feel Stiffer?
Yes, a leak can make steering feel stiffer. When fluid level drops or air enters the system, steering responsiveness issues appear as increased effort. Start with leak detection methods like inspecting hoses, rack seals, and the power steering pump. If you notice grinding or whining noises, or the wheel drags, stop and check fluid color and level. Keep it precise, safe, and methodical, and don’t ignore the sign you’re losing torque.
Will a Loud Squeal Indicate a Pump Problem or Belt Wear?
A loud squeal usually points to belt wear rather than a pump problem, but you should check both. Start with belt condition—cracks, glazing, fraying, or looseness can cause the squeal. If the belt looks fine, inspect belt tension and the pulleys for wobble or debris. Listen for pump noise when you turn the wheel at idle; consistent groan suggests a failing pump. Address any wear promptly to avoid steering issues.
Are There DIY Fixes for Minor Hose Leaks or Clamps?
Yes, you can handle minor hose leaks yourself. Start with a hose repair kit for small cracks, and inspect clamps for looseness. If you’re comfortable, perform a clamp replacement to restore a tight seal. Use clean surfaces, cut back damaged hose ends, and reattach with new clamps. Don’t over-tighten. If leaks persist or hose diameter is damaged, replace the hose entirely and test for pressure. Stay attentive to safe, precise, methodical steps.
How Long Can I Drive With a Suspected Leak Safely?
You should not drive far once you suspect a leak; drive only to a safe nearby location to check symptoms. With leak detection in mind, don’t push your luck—loss of power steering can escalate steering effort and failure risks. If you notice whining, puddles, or low fluid, stop and inspect or call for help. For driving safety, address the issue promptly, and arrange professional repair before continuing your trip.