DIY Alignment Checks to Catch Steering Rack Leak Early
You’ll start with a precise, bite‑sized check routine that blends inline alignment cues with fluid diagnostics to spot a steering rack leak early. Begin by verifying return-to-center feel and comparing current toe and camber references against a known‑good baseline. Inspect joints, boots, and rack housing for dampness, and check fluid level and clarity. Note puddles or crusty residues, then differentiate leaks from normal wear. If issues persist, you’ll uncover deeper steps that then guide you further.
Spotting Early Signs of a Steering Rack Leak
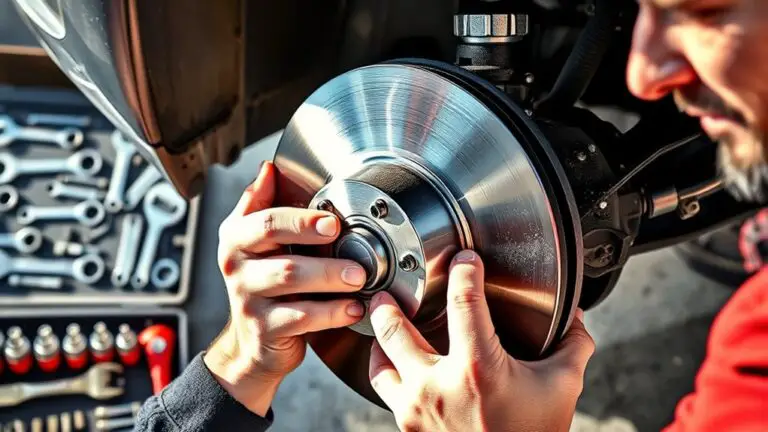
Spotting early signs of a steering rack leak starts with a careful visual and tactile check. You’ll scan for dampness at joints, boots, and the rack housing, noting even a faint sheen on metal or fluid-soaked surfaces. Feel for stiffness, grittiness, or unusual play in the steering effort, which can indicate internal wear or degraded seals. Inspect the dipstick or reservoir level if your system uses it, watching for a drop that isn’t explained by recent maintenance. Look for early leak indicators such as crusty residue, dark staining, or fresh fluid traces along the steering linkage and subframe. Pay attention to odor and color; ATF or hydraulic fluid can have distinctive scents and hues that differ from the baseline. Common leak symptoms include a progressively easier-to-turn wheel in tight corners, a wandering or pulling tendency, and visible puddling after parking. Track these signals methodically to guide targeted testing and avoid unnecessary parts replacement.
Tools You’ll Need for DIY Checks
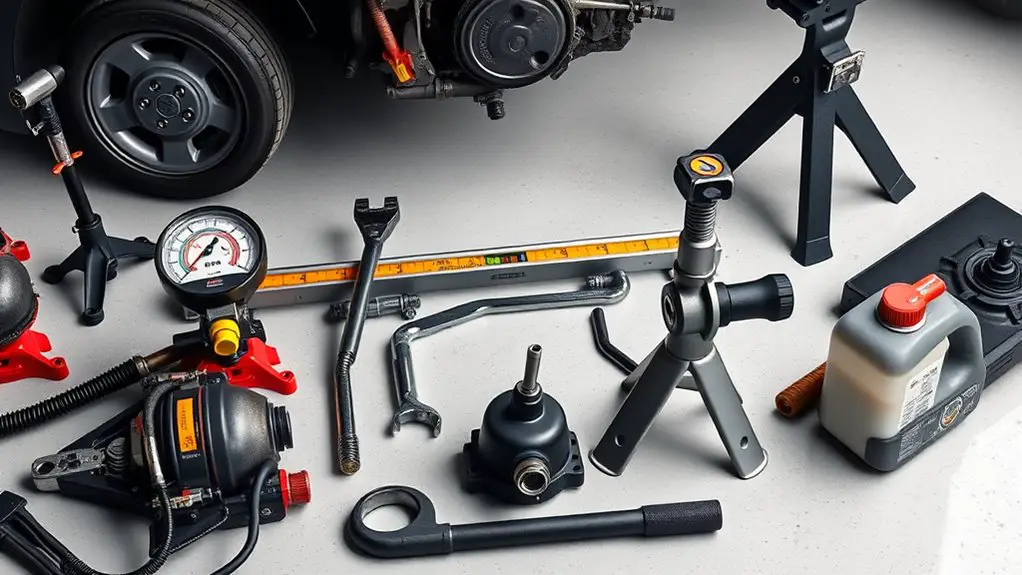
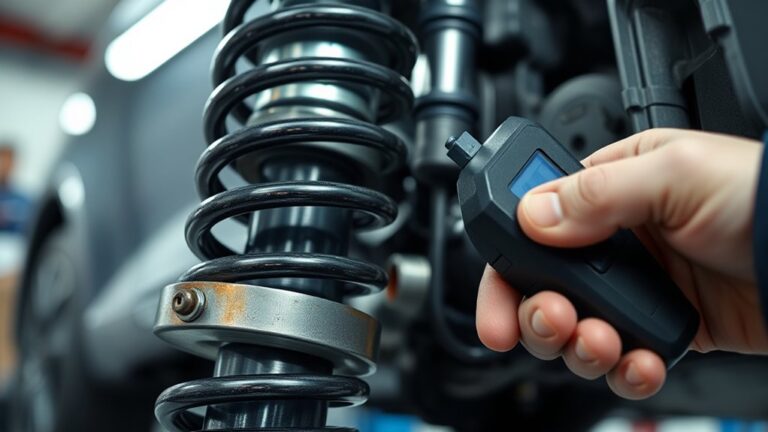
You’ll want a compact, well-chosen toolkit to perform DIY steering rack leak checks safely and efficiently. In this section, you’ll assemble essential alignment tools and leak detection gear that stay reliable under garage-light and spill-prone conditions. Begin with precision measurement items: a digital caliper, a magnetic base, and a fine-tile dial indicator to verify mounting tolerances and steering geometry cues without overhauling the rack. Add a set of metric and sae wrenches, torque wrench, and a stubby ratchet for cramped spaces. For leak detection, include UV dye and a compatible flashlight, plus a simple dye extractor for post-test cleanup. Optical aids like a straightedge, a machinist’s square, and a level help confirm cross-axis alignment when the vehicle is lifted. Don’t overlook a flashlight, absorbent rags, and a small drain pan. Keep spare hoses, clamps, and thread sealant on hand for safe resealing during checks.
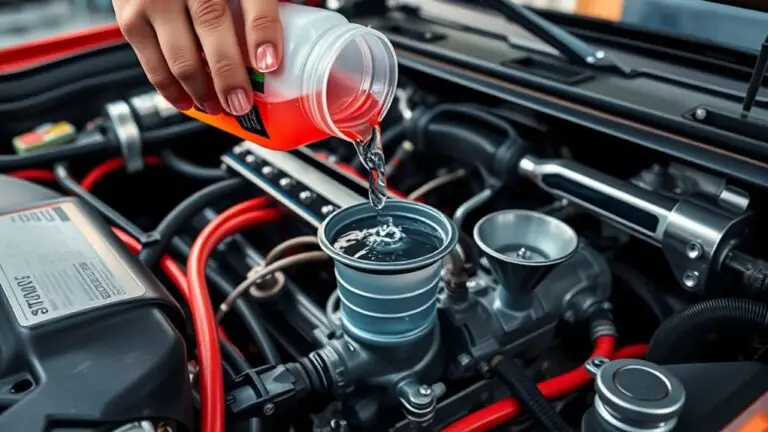
Inspecting Fluid Levels and Condition
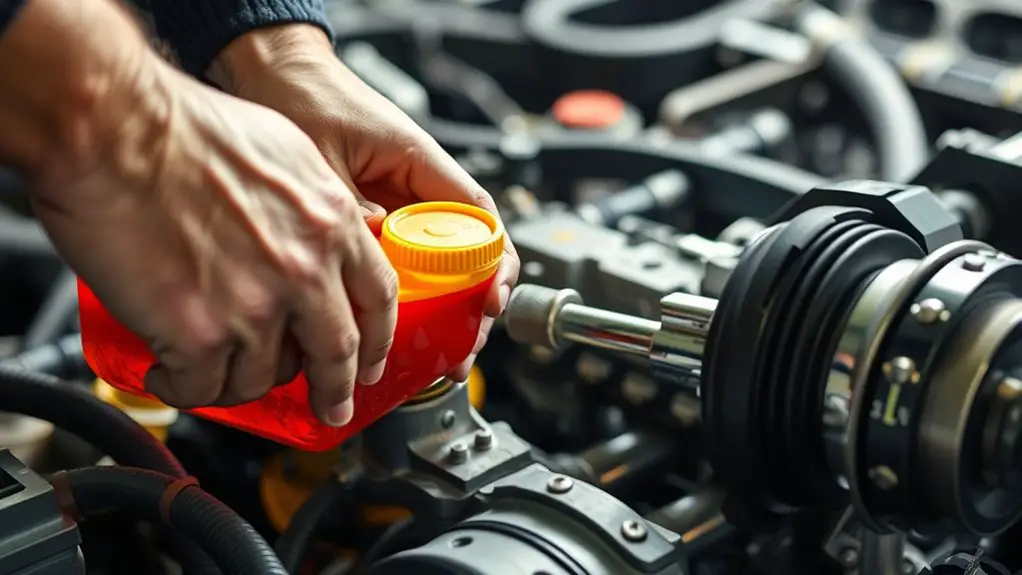
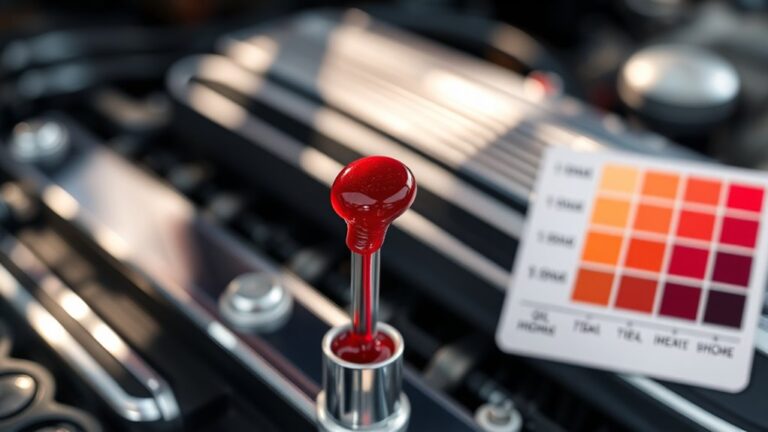
After setting up your inspection tools, shift to evaluating the steering rack’s fluid state. You’ll assess level, clarity, color, and odor, then compare against specification charts to identify deviations early. Precision matters, so document any drift from baseline and correlate with ride quality and response.
- fluid types and compatibility: confirm you’re using the recommended hydraulic fluid for your rack, and note any mixed types that could indicate past servicing or contamination.
- level and condition: verify fluid sits within marked range with no foam, sediment, or emulsification; record readings at identical temperatures for accuracy.
- maintenance schedule and action: log the next service window, coolant and oil checks if applicable, and set reminders to replace or top off per manufacturer intervals.
This approach keeps you ahead of leaks, emphasizing clear data, disciplined checks, and practical troubleshooting without unnecessary jargon.
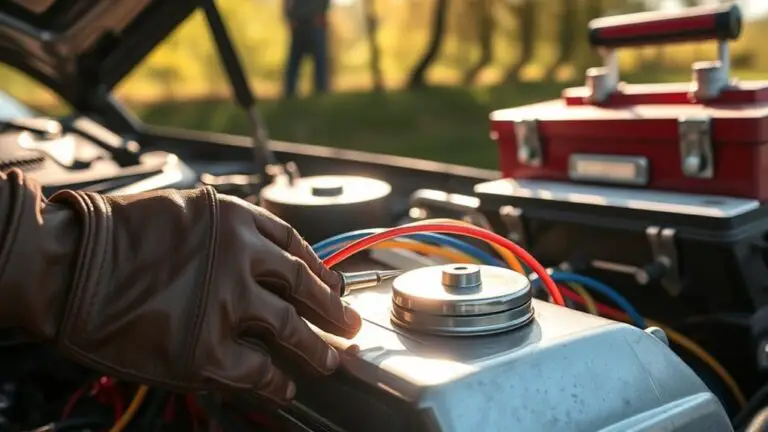
Checking for Puddle Formation Beneath the Vehicle
Puddle formation beneath the vehicle is a telltale sign you’re dealing with a leak—whether from the steering rack, hoses, or fittings—so start by inspecting the ground directly under the area where the rack sits and along the steering linkage. This is puddle detection in real time: note color, transparency, and viscosity to distinguish steering fluid from other fluids. Position yourself with safe access and clean any debris to reveal stray drips. Trace drips to their apex—follow the trail to the highest point where moisture originates, often a hose clamp, o-ring, or port. Use a flashlight at ground level and photograph the suspected area for comparison after test drives. Record ambient conditions and recent activity that could mask or mimic leaks. For reliable leak identification, perform a controlled low-engine-idle test and observe whether fresh liquid appears. If puddles persist or reappear, escalate to more formal checks before road testing.
Assessing Steering Feel and Response
Evaluating Steering Feel and Response requires a systematic, real-world approach: determine how the steering wheel turns relative to road input, and whether the rack delivers consistent effort and return. You’ll quantify steering feel by comparing torque, return speed, and resistance across lock-to-lock travel, noting any binding, play, or asymmetry. Focus on response sensitivity: does small wheel movement yield proportional steering, or is there slack before the rack engages? For accurate assessment, perform controlled cornering and straight-line tracking on a smooth surface, recording any drift or wand-like centering tendencies. Maintain alignment references, and isolate suspension or tire effects before attributing issues to the rack. Use a diagnostic checklist to document variations systematically.
1) Observe initial play and centering force
2) Compare turn-in torque across steering speeds
3) Evaluate feedback consistency under load and road irregularities
steering feedback, response sensitivity
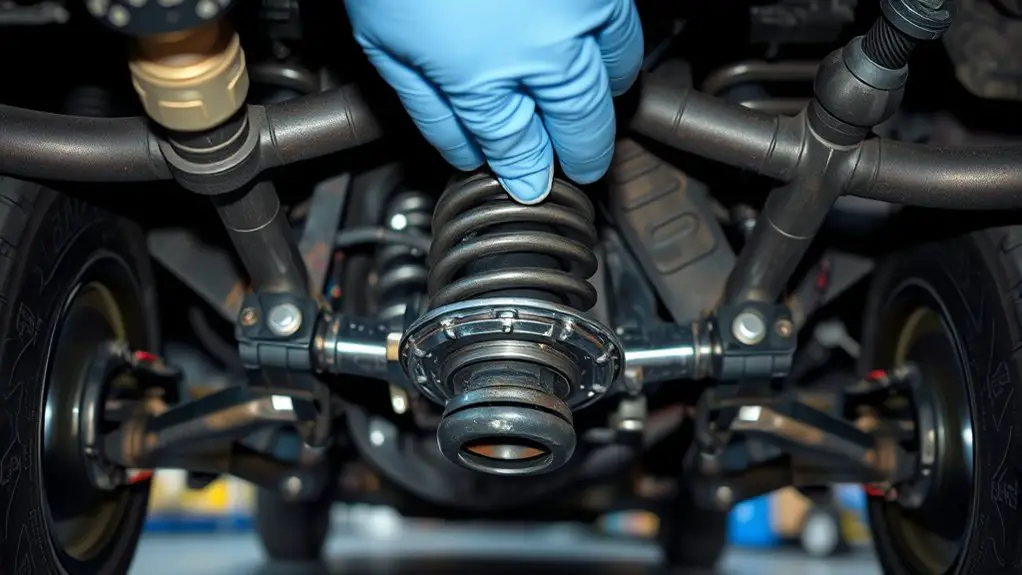
Testing Rack and Boot Integrity
Begin with a visual and tactile check to verify the steering rack boots are intact and seated properly, then proceed to a systematic inspection for leaks, cracks, or pinch points. You’ll perform a controlled rack inspection by tracing each boot’s edge with clean hands, noting any stiffness, tears, or displaced clamps. Look for seepage at boot seams and where the inner tie rods attach, as any moisture leakage signals a compromised barrier. Inspect the steering rack body seal and joint housings for signs of oil saturation, crust, or rust pits. For boot assessment, flex the joints gently through their normal operating range to reveal pinch points or binding caused by improper boot seating. Document findings with precise observations and measurements, and compare against spec tolerances. If you detect contamination or crusting, isolate the component, clean with suitable solvent, and plan replacement. Maintain safety and cleanliness to guarantee reliable boot integrity tests.
Differentiating Leaks From Normal Wear
You’ll learn to tell normal drape and minor drips from actual leaks by noting where fluid accumulates and how it behaves over time. Look for consistent drip patterns versus incidental moisture that follows boot seams and steering rack housing during operation. Use a clean, dry comparison area and track changes across multiple drive cycles to distinguish wear from a leak.
Detecting Normal Drape
Detecting normal drape involves distinguishing small, periodic dampness caused by seasonal changes or minor material seepage from a current leak. You’ll assess consistency, appearance, and timing to avoid false positives during inspection.
- Analyze pattern: normal wear may show regular, non-progressive staining with stable edges; leaks create irregular, spreading patches that evolve.
- Check fluid viscosity: higher viscosity fluids bead less and cling longer, while lighter drips run and disappear quickly; note color and odor for comparison.
- Track environmental influence: temperature shifts can induce minor seepage without active leakage; log dates and conditions to separate transient from fault-driven dampness.
Tip: document baseline drape, revisit after a controlled test drive, and compare to established normal wear benchmarks.
Distinguishing Drips Vs Wear
When evaluating drips versus wear, start by comparing emission patterns to known baselines from the previous section. You’ll distinguish drip characteristics from normal film and surface staining. Drips are discrete, time-dependent pulses with a consistent drop cadence, often located at low points or along seals, and may appear after engine heat cycles. Wear indicators present as gradual looseness, fine streaking, or uniform surface gloss loss rather than isolated droplets. Inspect pump-to-rack joints, bushings, and boots for texture changes, hardened edges, or micro-cracking that signal wear rather than active leakage. Correlate observations with banked fluids in the reservoir and recent service history. Confirm conclusions by rechecking after a controlled drive, noting changes in pattern, not just quantity. Prioritize non-destructive verification, documenting drip characteristics and wear indicators for actionable maintenance.
When to Seek Professional Help and Next Steps
If you’ve completed your DIY checks and still notice persistent rack leaks, it’s time to involve a professional. A professional diagnosis pinpoints the leak source, distinguishes wear from compromised seals, and confirms whether the power steering system is contaminated. After diagnosis, you’ll review repair options that restore alignment integrity and steering feel with predictable outcomes.
- Schedule a hands-on inspection and leak map: identify exact gasket, hose, or rack failure points, and evaluate impact on steering geometry.
- Discuss repair options and cost estimates: consider rack replacement versus core repairs, plus associated alignment adjustments and component compatibility.
- Plan next steps and safety reassessment: verify fluid compatibility, purge procedures, and test drive parameters to confirm leak cessation and predictable handling.
Frequently Asked Questions
Can a Leaky Steering Rack Cause Steering Pull or Vibration?
A leaky steering rack can cause steering pull or vibration. You’ll notice steering symptoms when the fluid leaks, affecting hydraulic assist and feedback. Start with a fluid inspection, check for puddles, sheen, or dark, burnt-smelling fluid, and inspect boots for tears. If symptoms persist, don’t overlook worn rack mounts or alignment drift. Pinpoint leaks, then repair promptly to preserve safe, responsive steering and maintain precise control.
Do DIY Checks Require Lifting the Vehicle Safely?
Yes, DIY checks do require lifting the vehicle safely. You’ll need solid safety precautions, like chocking wheels and using proper stands, to maintain vehicle stability while you inspect components. You’ll perform careful measurements and look for signs of play or leakage, ensuring accuracy in your alignment checks. Keep the gear stable, use jack stands, and never rely on a jack alone. This approach supports safe, precise, practical troubleshooting with freedom and confidence.
How Long Can a Rack Leak Be Safely Ignored?
A rack leak shouldn’t be ignored for long; you should address it as soon as you notice seepage or fluid loss. Even small drips indicate ongoing wear, and delaying can accelerate rack wear and unsafe steering. Schedule fluid maintenance and leak repairs promptly, check lines, seals, and power steering fluid level. If ignored, steering effort may rise and reliability drop. Regularly inspect, tighten fittings, and replace worn components to prevent costly failures.
Can We Differentiate Rack Leaks From Power Steering Fluid Loss?
Yes—you can differentiate rack leaks from power steering fluid loss. Start with a rack inspection and focus on location, smell, and residue color. Power steering fluid is typically red or pink, sometimes amber, while gear oil or dirty hydraulic fluid differs. Check for perpendicular puddles under the rack and monitor system pressure. Fluid identification matters: use test strips or a clear container to compare viscosity, and note if leaks occur only when steering or at idle.
What Immediate Steps if Fluid Is Highly Contaminated?
When fluid is highly contaminated, you should stop driving, secure the vehicle, and perform immediate actions: inspect reservoir level, replace contaminated fluid, and verify lines for leaks. Juxtapose speed with caution: fast travel risks damage versus deliberate draining reduces risk. You’ll methodically isolate contamination sources, use clean tools, and test pressure after a flush. Fluid contamination demands precision, not guesswork; follow documented procedures, replace filters, and monitor color, consistency, and seals to prevent further harm.