DIY: Cleaning Fuel Lines to Restore Performance
To clean fuel lines and restore performance, start with safety: work in a ventilated area, disconnect the battery, and wear eye protection. Identify and inspect fuel lines from tank to engine for cracks, leaks, or damage, then relieve system pressure and disconnect a convenient line. Use controlled cleaners to loosen varnish, then push debris out with careful mechanical cleaning. Reassemble fittings to spec, perform a leak test, and verify fuel pressure stability before testing power delivery; more steps await if you continue.
Assessing Symptoms and Safety Precautions
Evaluating symptoms starts with a careful, methodical check for fuel-system signs. You’ll inspect for performance loss, rough idle, hesitation, misfires, or reduced power. Symptom identification begins with a baseline: note engine rpm stability, fuel smell, and exhaust color. Check for hard starts or stalling when hot or cold, and listen for abnormal pinging or knocking. Safety measures matter: work in a ventilated area, disconnect battery before handling lines, and wear eye protection and gloves. Relieve pressure only after depressurizing the system per vehicle spec, then prevent fuel spray with shaded, controlled disconnection. Identify whether symptoms appear under load, acceleration, or cruising to distinguish fuel delivery from ignition issues. Document observed patterns with time and load conditions to guide diagnosis. If symptoms persist, avoid forceful disassembly and revisit fuel-line integrity, connections, and compatibility. Maintain a conservative approach; prioritize containment and environmental precautions before module or line tests. You’ll preserve safety while seeking accurate symptom identification.
Tools, Materials, and Setup
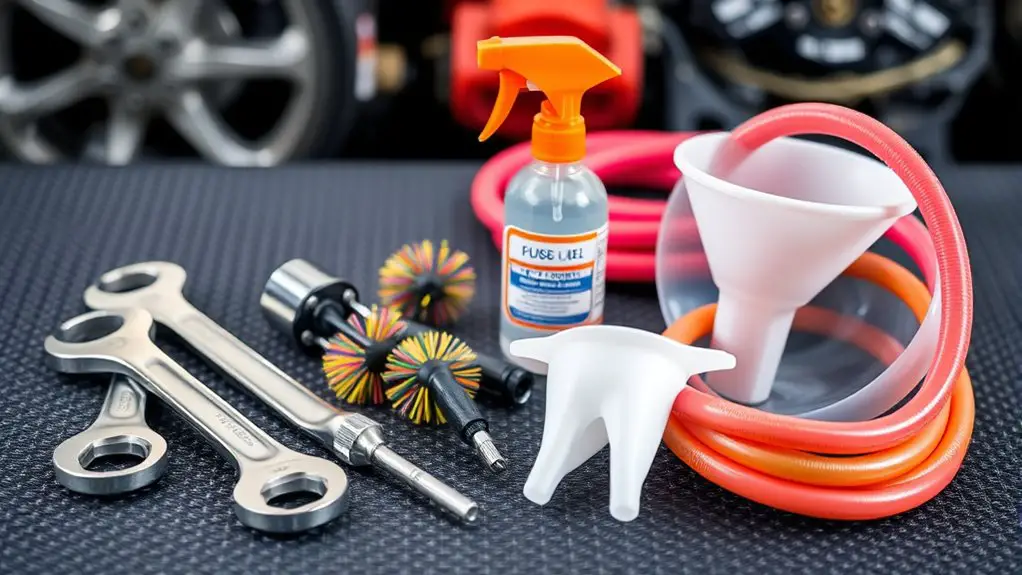
Tools, materials, and setup should be prepared before you touch any fuel line: assemble the required items, verify compatibility with your vehicle, and organize them for quick access. You’ll need cleaning supplies and necessary tools that suit your fuel system and task scope. Gather protective gear, disposable rags, containers, and a fuel-safe bin to contain spills. Choose a non-flammable cleaner compatible with your line material and injector seals; test compatibility on a small area if unsure. Assemble wrenches, pliers, hose clamps, and a suitable catch pan; include a fuel gap gauge if needed. Lay out a clean workspace with adequate lighting and ventilation, and label each tool’s place to reduce cross-use errors. Prepare spare clips, O-rings, and clamps in advance. Confirm the vehicle is supported, battery disconnected, and ignition security steps are complete. Maintain a precise sequence for removal, cleaning, and reassembly to minimize downtime and prevent contamination.
Locating and Inspecting Fuel Lines
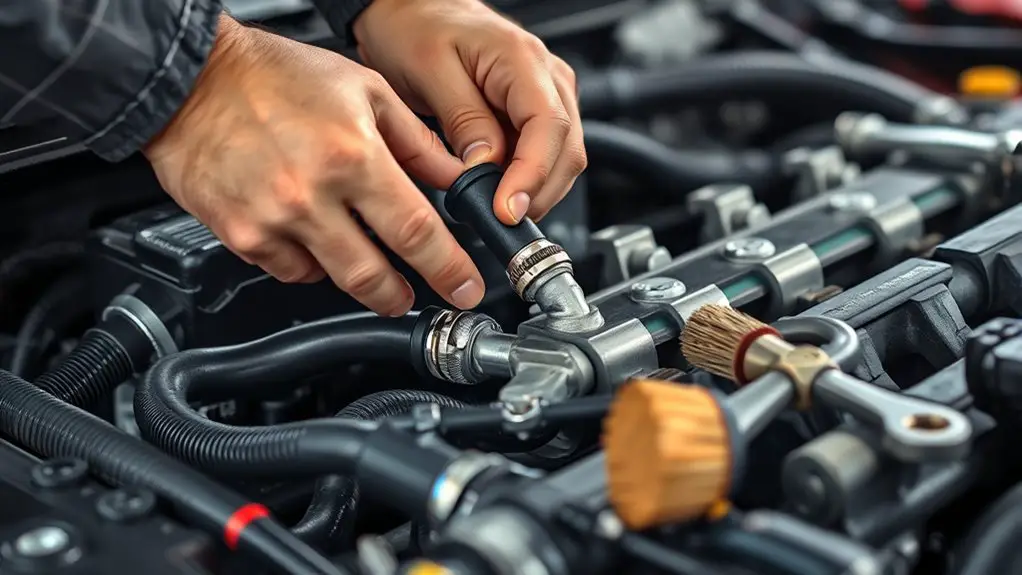
You’ll start by locating all fuel lines and tracing their routes to map exposure points. Next, inspect for damage, wear, leaks, or corrosion and note any weak joints or pinch points. Finally, assess access and safety considerations, ensuring shutdown procedures, ventilation, and protective measures are in place before any work.
Locating Fuel Lines
Locating fuel lines begins with identifying the general routing under the vehicle. You’ll map paths from tank to engine, noting chassis constraints, heat shielding, and harness crossings. Recognize fuel line types and common locations to focus efforts efficiently.
- Identify main runs: tank-to-rail lines, supply and return, chassis rails, and underbody heat zones.
- Trace connections: fittings, clamps, and quick-disconnects; note accessibility for future work.
- Confirm material and routing: metal, reinforced rubber, or composite lines; verify clearances and protective covers.
Stay systematic: mark endpoints, reference diagrams, and verify odors or signs of leakage only after securing vehicle. This approach keeps you precise and confident, aligning with a freedom-oriented mindset while preserving safety, clarity, and efficiency.
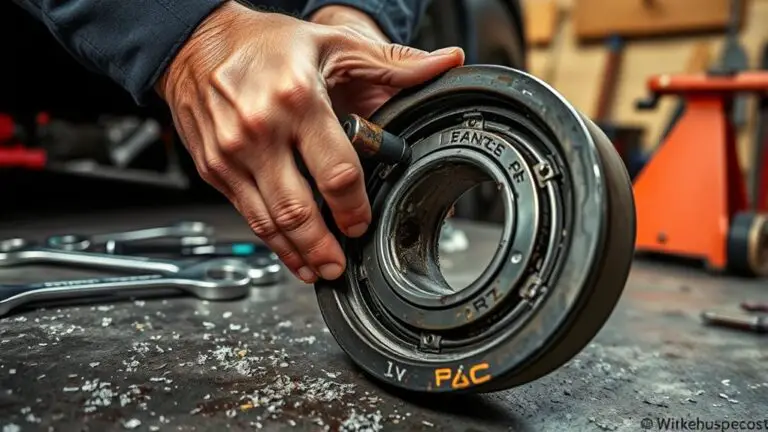
Inspecting for Damage
After identifying the fuel lines, proceed to inspect them for damage. Begin with a visual damage assessment: scan for cracks, kinks, corrosion, brittle fittings, and swollen hoses. Note any discoloration or hardening along the hose walls. Check clamps and connectors for looseness or rust, and verify fuel line routing isn’t rubbing on sharp edges, brackets, or moving components. If you see any deformation, replace the affected segment rather than patching it. Next, perform pressure testing techniques to confirm integrity: seal the system, apply controlled pressure per manufacturer guidance, and monitor for leaks, drips, or drops in pressure over a defined interval. Document results, grounded in observed evidence, and prepare replacement parts list before reassembly. Maintain clean work, proper PPE, and guarantee depressurization before disassembly.
Access and Safety
Access and safety are essential when locating and inspecting fuel lines; begin by establishing a safe workspace, securing the vehicle, and relieving any residual pressure as per manufacturer guidance. You’ll scan routing, clamps, and fittings to identify potential hazards before touching anything. Stay disciplined about PPE and procedural checks while you work.
1) Prepare your area with proper lighting and a clean surface.
2) Put on protective gear, verify fuel line safety, and mark inspection points.
3) Systematically expose lines, check for leaks, corrosion, and damage, then plan reseal or replacement.
Key focus: fuel line safety and protective gear. Maintain control of tools, loosen fittings gradually, and never work near hot components. If in doubt, pause and reassess before proceeding.
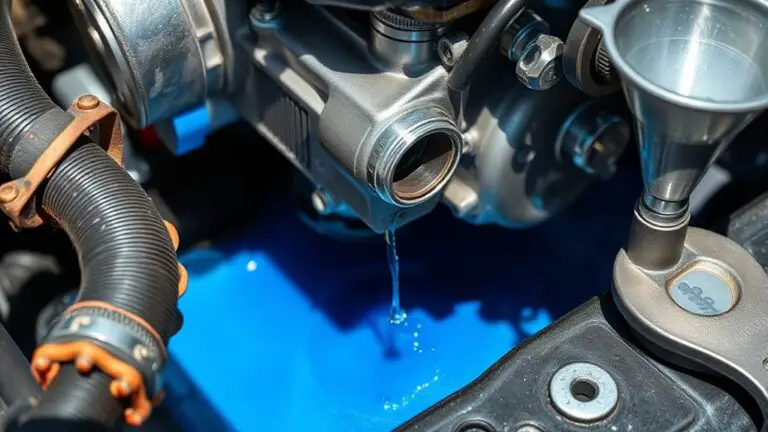
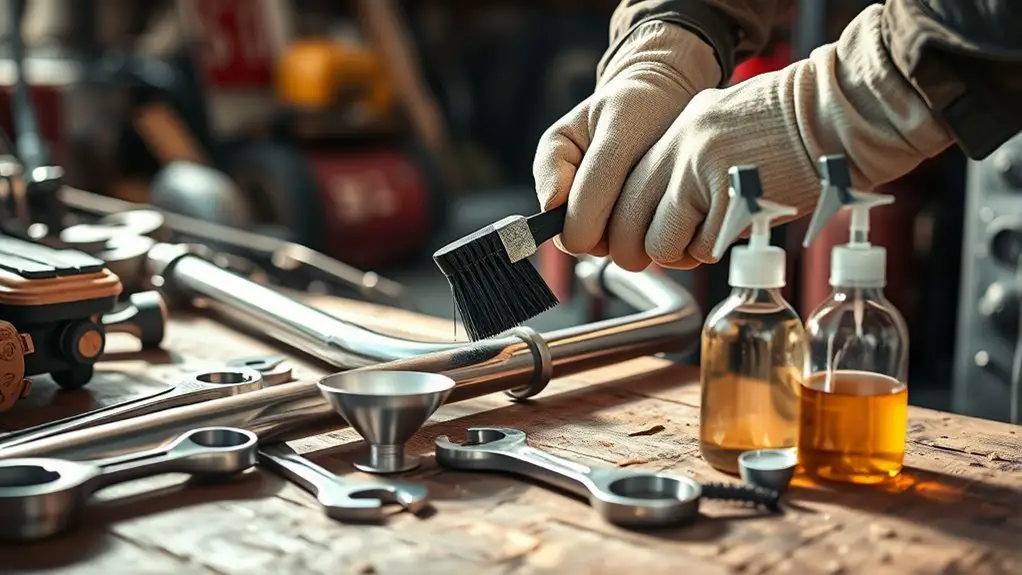
Flushing and Cleaning Methods
Flushing and cleaning the fuel lines should be done with the engine off and all safety precautions in place; start by relieving system pressure, disconnecting the fuel line at a convenient point, and catching any residual fuel in a suitable container. You’ll use controlled chemical solutions to loosen varnish and sediment, then apply mechanical cleaning techniques to push debris out of the line. Keep the flow steady, monitor for leaks, and avoid over-pressurizing any fittings. Use clean containers for each pass to prevent cross-contamination. Document observations and set a practical workflow to minimize downtime.
| Step | Action | Result |
|---|---|---|
| 1 | Relieve pressure | Safe start |
| 2 | Disconnect line | Access created |
| 3 | Introduce chemical solutions | Loosen deposits |
| 4 | Flush with solvent | Debris cleared |
| 5 | Inspect passages | Integrity confirmed |
This method respects your need for freedom while remaining precise, practical, and repeatable.
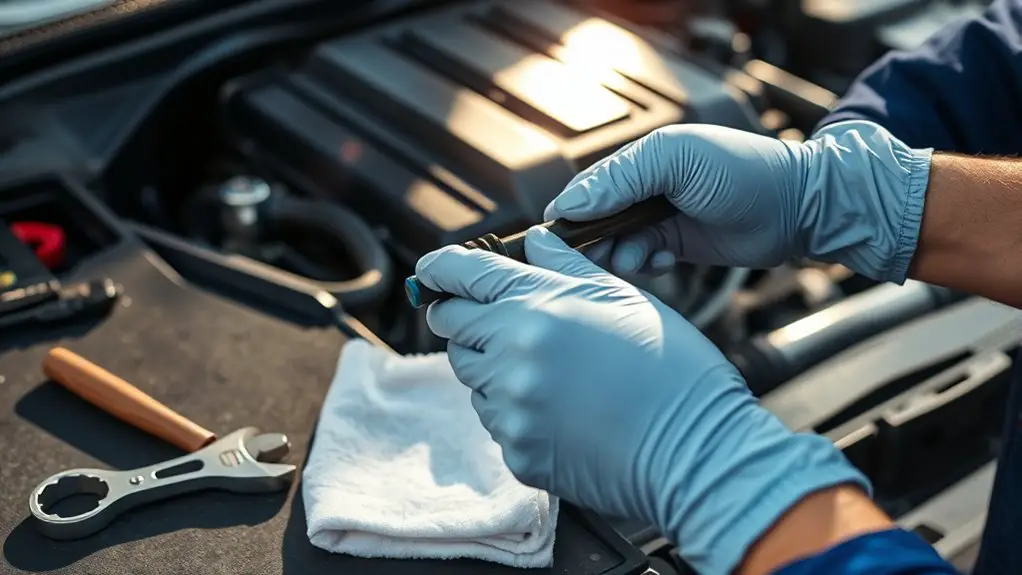
Reassembly, Testing, and Tuning
Start with reassembling the fuel lines in the correct orientation, reconnecting all fittings and clamps to the specified torque. Then perform a stepwise pressure test and leak check, noting any drips or hollows before proceeding to tuning. Finally, use the prescribed idle and mixture adjustments to verify smooth operation and document the final settings.
Reassembly Steps
Reassembly begins with a clean, organized workflow: reinstall components in the reverse order of disassembly, verify alignment, and secure fasteners to spec. You’ll follow a deliberate sequence to restore reliability without guesswork.
- Confirm fuel line alignment and inlet/outlet orientation, then seat fittings tightly to avoid leaks.
- Reattach clamps, brackets, and supports, ensuring lines are clear of sharp edges and hot surfaces.
- Perform a visual and tactile check on all connections, tighten to specified torque, and verify no external interference once harnesses are routed.
Note: keep a spare set of seals and a calibrated torque adapter nearby. Maintain meticulous records of torque values and component serials for future maintenance.
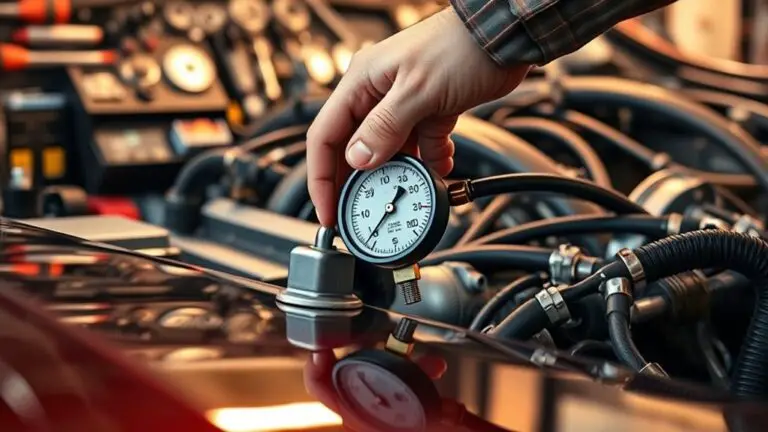
Testing and Tuning
Testing and tuning proceed once the reassembly is verified, wiring is routed, and all connections are torqued to spec. You’ll power up methodically, verify fuel pressure stability, and monitor for leaks at every junction. Use a diagnostic scanner to confirm sensor readings align with baseline values; note any deviations and isolate swiftly. Perform a controlled throttle sweep to observe response, ensuring smooth changes without hesitation. Implement tuning techniques incrementally: adjust fuel trim in small increments, log performance metrics, and compare against the target map. Conduct road or dyno testing under consistent conditions to validate power delivery and efficiency gains. Document results, repeat adjustments as needed, and confirm that performance improvement is reproducible. Conclude with a final safety check and certify no alarms or abnormal temps.
Maintenance Tips to Prevent Future Buildup
To prevent future buildup in fuel lines, implement a regular maintenance routine that includes using clean, quality fuels, installing a proper filtration system, and conducting periodic inspections for signs of deposits or clogging.
Implement a routine of clean fuels, proper filtration, and periodic inspections to prevent fuel line buildup.
- Preventive measures: Schedule fuel quality checks, replace filters at manufacturer intervals, and verify lines remain intact against wear or corrosion.
- Regular inspections: Visually inspect for discoloration, varnish, or grime; run a diagnostic flow test to detect pressure drops; and listen for unusual pump sounds indicating restriction.
- Maintenance cadence: Log every service, track fuel supplier quality, and perform a fuel system purge when switching fuels or routes.
Frequently Asked Questions
How Often Should I Clean Fuel Lines for Best Performance?
You should clean fuel lines every 6,000 to 12,000 miles, or when you notice stumble, misfire, or reduced performance. This fuel line maintenance helps prevent deposits that throttle performance. Use a proper cleaner approved for your system, follow the manufacturer’s steps, and recheck for leaks afterward. Regular checks keep performance improvement steady, especially on older vehicles. If you drive hard or in dusty conditions, shorten the interval. Keep notes for consistency and tune-ups.
Can I Use Household Cleaners to Flush Fuel Lines?
No. Don’t use household cleaners to flush fuel lines. They’re not designed for fuel-system chemistry and can damage seals, injectors, and hoses. Instead, use cleaners specifically labeled for automotive fuel systems or follow OEM recommendations. Check fuel-line compatibility with any additive, and verify compatibility with your vehicle’s materials. If you suspect contamination, remove the line and flush with appropriate fuel-safe solvent per procedure, then reassemble and test for leaks and performance.
Will Cleaning Affect Fuel Warranty or ECU Tuning?
Example: a hypothetical owner notices improved throttle when cleaning, but later finds the dealer flags warranty due to fuel system mods. Cleaning can affect warranty implications if you’ve damaged components or used non-approved cleaners. Tuning effects vary: ECM adaptations may adjust, but repeated cleaning could trigger emissions or fuel trims. You’ll want to document products used and consult your warranty terms; otherwise, you risk coverage denial. Proceed with caution, ensuring any changes remain within manufacturer guidelines and approved maintenance.
Are There Risks of Fire or Explosion During Cleaning?
Yes, there are fire and explosion risks during cleaning. You should avoid open flames and sparks, and always minimize exposure to flammable materials. Follow safety precautions: work in a well-ventilated area, disconnect the battery, wear eye protection, and use approved solvents with proper containers. Keep ignition sources away, store flammable materials properly, and have a fire extinguisher ready. If unsure, halt work and consult a professional.
What Signs Indicate I Should Stop and Seek Pros?
If you notice persistent fuel leaks, severe engine misfires, or a drop in fuel pressure after cleaning, stop and seek a professional inspection. Don’t push through unusual smells, hard starting, or fuel smells near hot surfaces. Look for fuel line symptoms like cracks, bulges, or seepage. A professional inspection is essential when symptoms persist or worsen, ensuring safe repairs and proper diagnostics without compromising your freedom to ride confidently.