DIY Clutch Replacement: Tools, Steps, and Pitfalls
For a DIY clutch replacement, you’ll need basic tools like a socket set and torque wrenches, along with a clutch alignment tool. Always prioritize safety with protective gear and a secure workspace. Begin by removing the old clutch and inspecting the flywheel and other components for damage. Reassemble the transmission carefully, ensuring proper alignment. Testing the new clutch is essential to avoid common mistakes like misalignment or improper torque. There’s more to explore about maintenance tips for longevity.
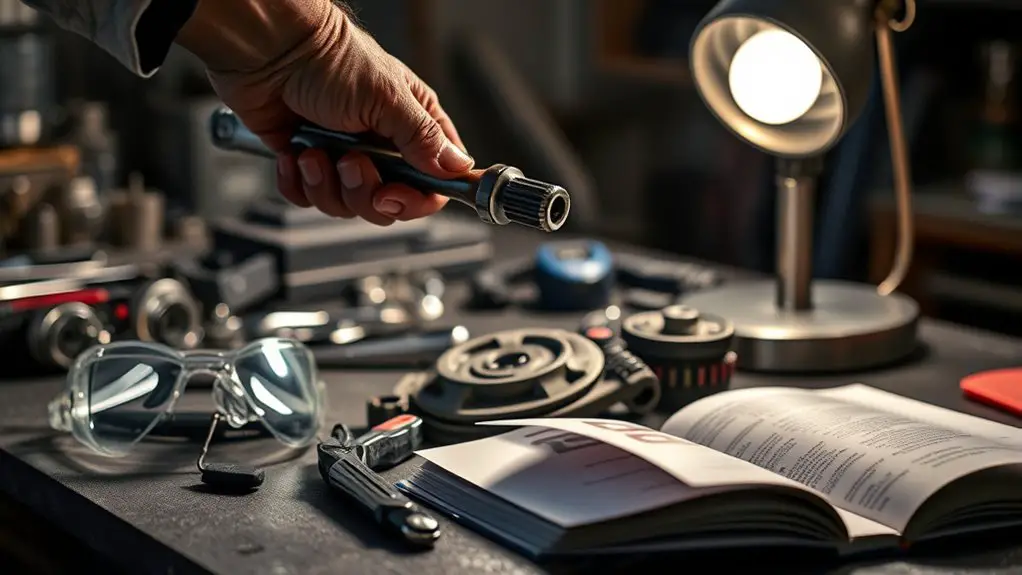
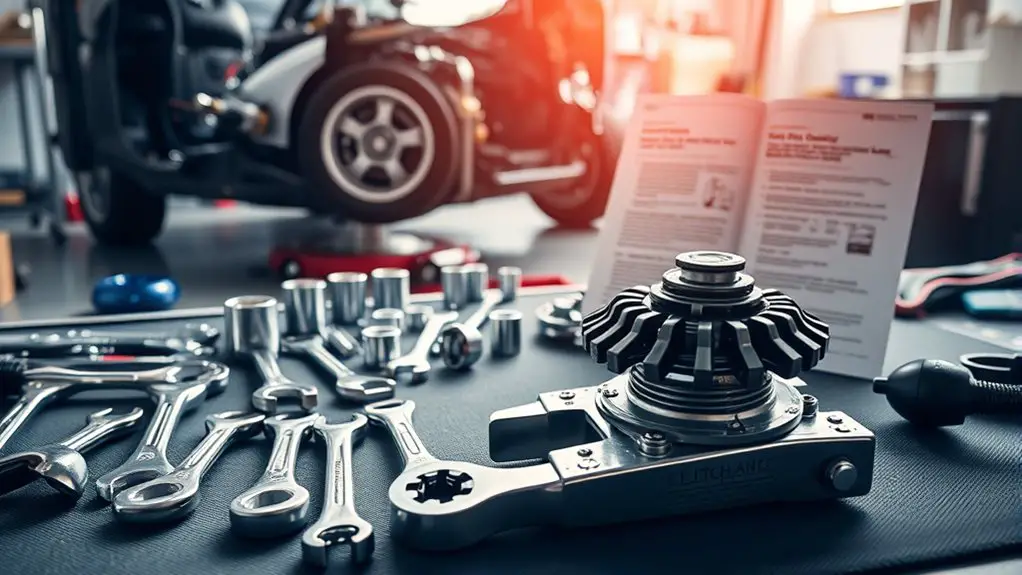
Essential Tools for Clutch Replacement
When tackling a clutch replacement, having the right tools is vital for a smooth and efficient process. Start with a reliable socket set and wrenches, as you’ll need them to remove the transmission and access the clutch assembly. Depending on the clutch types in your vehicle, you may also require specific torque wrenches to guarantee proper fastening.
If your vehicle uses hydraulic systems, a brake bleeder kit is important for managing hydraulic fluid after disconnecting components. A clutch alignment tool is also necessary for accurately positioning the new clutch disc during installation, preventing misalignment issues.
Lastly, don’t forget a sturdy jack and jack stands to safely elevate your vehicle, along with protective gloves and safety glasses. With these vital tools at your side, you’re well-equipped to tackle your clutch replacement project with confidence and precision.
Safety Precautions to Consider
Before diving into your clutch replacement project, it’s essential to prioritize safety to prevent accidents and injuries. Start by wearing personal protective equipment (PPE) like gloves and safety glasses. This gear shields you from sharp objects and harmful substances.
Next, make sure your workspace organization is excellent; a cluttered area can lead to mistakes. Keep tools within reach and store hazardous materials properly.
Here’s a quick reference table for safety measures:
| Safety Measure | Purpose | Example |
|---|---|---|
| Wear PPE | Protects against injuries | Gloves, goggles |
| Organize Workspace | Reduces accidents | Keep tools in a tray |
| Use Proper Tools | Prevents equipment failure | Use designated wrenches |
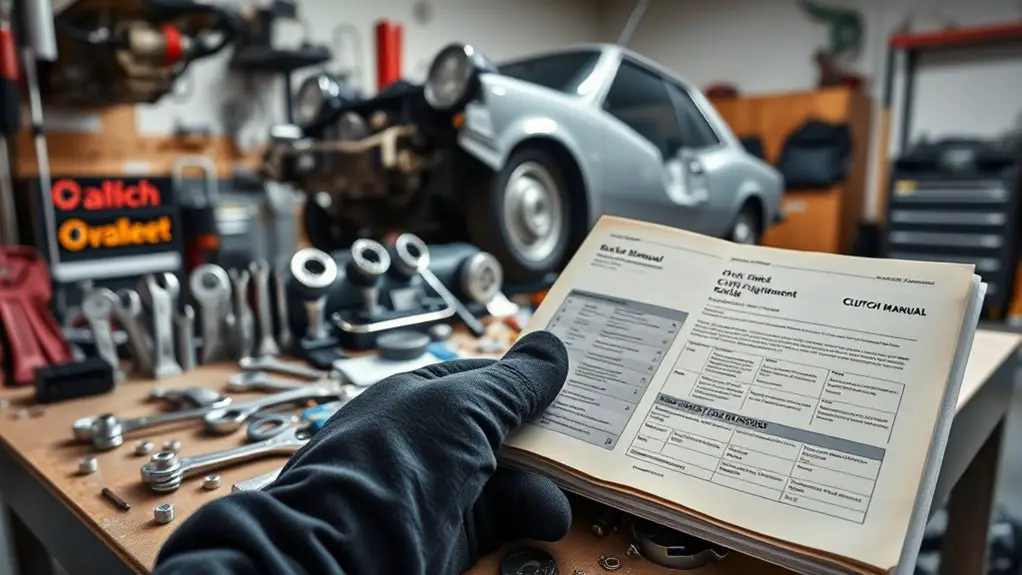
Preparing Your Vehicle for Clutch Replacement
Before starting your clutch replacement, you need to gather all necessary tools to guarantee a smooth process. Make sure to prioritize safety precautions, such as wearing gloves and goggles, as you prepare your workspace. Finally, set up your vehicle support securely to prevent any accidents while you work underneath the car.
Gather Necessary Tools
To successfully replace a clutch, you’ll need to gather specific tools that will streamline the process and guarantee a safe operation. Start with essential hand tools: wrenches, sockets, and screwdrivers tailored to your vehicle’s specifications. Depending on the clutch types you’re dealing with, you might need specialized tools like a clutch alignment tool or a transmission jack. Make sure you have a torque wrench for proper fastening, as incorrect torque can lead to premature wear. Don’t forget safety goggles and gloves for protection. Your tool selection should be methodical, making certain you have everything at hand before you begin. This preparation will not only enhance efficiency but also boost your confidence in tackling the clutch replacement yourself.
Safety Precautions First
While you’re gearing up for a clutch replacement, guaranteeing your vehicle is safely prepared is essential. Start by donning appropriate safety gear, including gloves and safety glasses, to protect yourself from potential hazards. Make sure to park on a flat surface and engage the parking brake to prevent any movement during the process. Disconnect the battery to avoid electrical shocks and guarantee safety while working on the vehicle. Familiarize yourself with emergency procedures in case of unexpected situations, such as dropping heavy components or fluid spills. Always keep a fire extinguisher nearby, especially when working near fuel lines. Taking these precautions will help create a safe environment, allowing you to focus on the task at hand without unnecessary distractions or risks.
Vehicle Support Setup
Once you’ve confirmed your vehicle is secure, it’s time to set up proper support for the clutch replacement. Begin by selecting appropriate jacking methods, such as using a hydraulic floor jack or ramps, ensuring you follow manufacturer guidelines for your specific vehicle. Place jack stands under the vehicle’s frame to maintain vehicle stability; never rely solely on the jack. Make sure the stands are positioned on solid ground and at designated support points. Double-check that everything is stable before proceeding. Always remember to engage the parking brake and chock the wheels to prevent any unintended movement. With the vehicle securely lifted and supported, you’ll be ready to tackle the clutch replacement with confidence and safety.
Removing the Old Clutch
Begin by securing the vehicle on a level surface and raising it with jack stands to guarantee safety. Once you’re ready, you’ll need to start using effective clutch removal techniques. Begin by disconnecting components that are in the way, such as:
Secure your vehicle on a level surface and raise it with jack stands for a safe clutch removal process.
- The transmission linkage
- The hydraulic line if equipped with a hydraulic clutch
- Any electrical connectors related to the clutch sensor
Next, remove the bell housing bolts, taking care to support the transmission to prevent it from dropping. After that, gently slide the transmission away from the engine, exposing the clutch assembly. Inspect the area for any debris or leaks. Finally, unbolt the pressure plate and carefully remove the old clutch disc. Make sure to handle everything with care, as any damage to the surrounding parts can lead to complications during installation. Your freedom to drive awaits with a new, functional clutch!
Inspecting the Flywheel and Other Components
After removing the old clutch, it’s crucial to inspect the flywheel and other components for wear or damage. Start your flywheel inspection by looking for scoring, cracks, or heat spots, which can indicate overheating or improper clutch function. Verify the surface is smooth; rough spots can lead to poor clutch performance.
Next, examine the pressure plate and release bearing for signs of wear. Any noticeable damage here can compromise the new clutch’s efficiency.
Here’s a quick reference table to guide your inspections:
| Component | Signs of Wear |
|---|---|
| Flywheel | Cracks, scoring, heat spots |
| Pressure Plate | Warping, uneven wear |
| Release Bearing | Rough operation, noise |
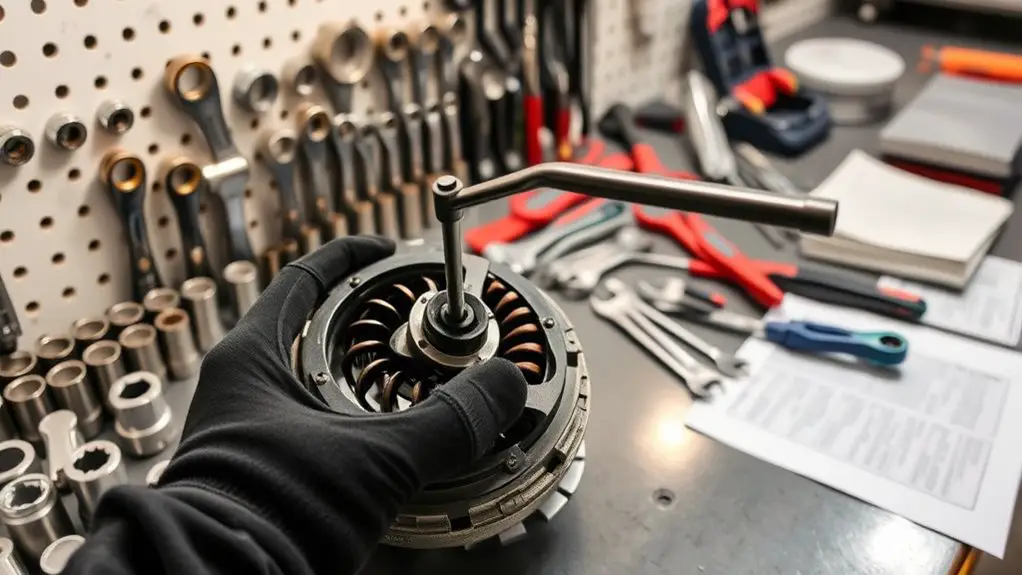
Installing the New Clutch
Before you install the new clutch, make certain to prepare the clutch assembly by cleaning all surfaces and checking for any damage. Proper alignment of the components is vital, so pay close attention to the pilot bearing and input shaft. This guarantees peak performance and longevity of your new clutch system.
Preparing the Clutch Assembly
Installing the new clutch requires careful preparation to secure peak performance and longevity. Before diving in, follow these assembly tips to make sure everything goes smoothly:
- Clean the flywheel: Remove grime and old clutch material to create a smooth surface.
- Inspect the release bearing: Verify it’s in good condition for ideal engagement.
- Check for clutch types compatibility: Confirm the new clutch matches your vehicle’s specifications.
Aligning Components Properly
Aligning components properly is essential for the successful installation of your new clutch. Using effective component alignment techniques guarantees that everything fits snugly, preventing premature wear. You’ve got several alignment tool options at your disposal, such as alignment dowels or specialized clutch alignment tools.
| Alignment Tool | Description | When to Use |
|---|---|---|
| Alignment Dowels | Simple, inexpensive, precise | When replacing clutch discs |
| Clutch Alignment Tool | Specifically designed for clutches | For more complex setups |
| DIY Tools | Home-made tools like a rod | As a last resort |
| Laser Level | For high precision installations | Advanced setups |
| Torque Wrench | Guarantees correct tightening | Final assembly steps |
Make sure you double-check your alignment before tightening everything down to guarantee smooth operation.
Reassembling the Transmission
Once you’ve finished replacing the clutch components, it’s important to methodically reassemble the transmission to guarantee proper functionality. A precise transmission alignment is essential to ensure smooth gear engagement and to prevent future issues. Follow these steps to reassemble:
- Carefully position the transmission over the clutch assembly, making sure the input shaft aligns correctly with the clutch disc.
- Securely fasten the transmission bolts in a crisscross pattern to distribute tension evenly, preventing misalignment.
- Reconnect the necessary linkage and electrical connectors, making sure everything snaps back into place properly.
As you reassemble, double-check each step to confirm that all components are aligned and secured. Taking your time during this phase is crucial; it directly affects your vehicle’s performance and longevity. Remember, a well-reassembled transmission means a smoother ride and greater freedom on the road.
Testing Your New Clutch
After reassembling your transmission, it’s essential to perform a clutch engagement check to guarantee proper function. You’ll then need to conduct a road test evaluation, evaluating how the new clutch responds under various driving conditions. This step is critical for confirming that your installation was successful and that the clutch operates smoothly.
Clutch Engagement Check
To guarantee your new clutch functions properly, you’ll need to perform a clutch engagement check. This step is essential to identify any engagement issues before hitting the road. Start by sitting in the driver’s seat and follow these steps:
- Press the clutch pedal down fully and listen for any unusual noises.
- Gradually release the clutch pedal until you feel the engagement point; it should be smooth.
- Test the clutch by shifting through the gears, making sure each shift is seamless.
If you notice any strange sounds or resistance, double-check your installation. A well-installed clutch will enhance your driving experience, so take your time to confirm there are no engagement issues. This check is critical for the performance and longevity of your new clutch.
Road Test Evaluation
Having completed the clutch engagement check, it’s time to assess how your new clutch performs under real driving conditions. Start your test drive in a safe area, gradually increasing speed while paying attention to the clutch’s engagement point. Listen for any unusual noises and feel for smooth engagement and disengagement. During your clutch performance evaluation, shift through all gears, noting any resistance or slipping. After your drive, gather test drive feedback by evaluating how the vehicle responds under acceleration and deceleration. If you notice any issues, consider rechecking your installation. Remember, a well-functioning clutch is essential for a liberating driving experience, so take this evaluation seriously to guarantee your efforts pay off.
Common Mistakes to Avoid
While tackling a clutch replacement, it’s essential to steer clear of several common pitfalls that can complicate the process. Ignoring these mistakes can lead to costly repairs down the line.
- Clutch alignment errors: Failing to align the clutch disc properly can cause premature wear and transmission issues.
- Improper torque: Neglecting to apply the correct torque specifications can lead to bolts loosening or breaking, compromising the assembly.
- Overlooking fluid levels: Forgetting to check or change the transmission fluid can affect performance and longevity.
Maintenance Tips for Longevity
Maintaining your clutch system is essential for ensuring its longevity and best performance. Start with a regular maintenance schedule; check your clutch fluid levels and replace them as needed to prevent contamination and wear. Pay attention to your driving habits; avoid excessive slipping and sudden engagements, as these can lead to premature wear.
Perform routine inspections for any signs of leaks, unusual noises, or difficulty in shifting, addressing these issues promptly. Regularly clean the clutch components to remove debris and prevent friction issues.
Consider using high-quality fluids and components during replacements to enhance durability. If you notice any changes in clutch feel or performance, don’t delay in diagnosing the problem.
Frequently Asked Questions
How Long Does the Clutch Replacement Process Typically Take?
The clutch replacement duration typically ranges from 4 to 6 hours in a workshop setting. However, this can vary based on your vehicle’s make and model, along with your experience level. If you’re tackling it yourself, it might take longer, especially if you encounter unexpected issues. Make sure you have all the necessary tools ready to streamline the process. By preparing well, you can minimize downtime and enjoy that newfound freedom on the road.
Can I Replace the Clutch Without Special Tools?
You can replace the clutch without special tools, but it’s not ideal. While some tool alternatives may help, like using a breaker bar instead of a torque wrench, they might compromise precision. You’ll need basic hand tools, but lacking specific equipment can lead to challenges in alignment and securing components. If you’re comfortable improvising, it’s certainly possible, but make certain you understand the risks involved in attempting a clutch replacement this way.
What Are the Signs That My Clutch Needs Replacement?
Your clutch’s on the brink of collapse if you’re hearing grinding noises like a freight train or feeling slippage that makes you question your sanity. Watch for clutch symptoms like difficulty shifting gears, a spongy or unresponsive pedal, or burning smells that scream for attention. These warning signs shouldn’t be ignored; they’re your car’s way of begging for help. Don’t wait too long, or you’ll face a costly breakdown that shatters your freedom.
Will Replacing the Clutch Improve My Vehicle’s Performance?
Yes, replacing your clutch can greatly improve your vehicle’s performance and enhance your driving experience. A worn clutch can lead to slippage, reduced power transfer, and an overall lack of responsiveness. By installing a new clutch, you’ll notice smoother gear shifts and better acceleration. This upgrade not only restores lost performance benefits but also guarantees you enjoy a more engaging and reliable ride, allowing you to fully embrace the freedom of the road ahead.
What Should I Do if I Encounter Unexpected Issues During Installation?
If you encounter unexpected issues during installation, start by reviewing your work for common mistakes like misaligned components or improperly torqued bolts. Use troubleshooting tips such as checking for fluid leaks or unusual noises. If you’re stuck, consult your vehicle’s manual or online forums for guidance. Don’t hesitate to take a break; stepping back can provide clarity. Remember, it’s better to address the problem now than to rush and create more issues later.