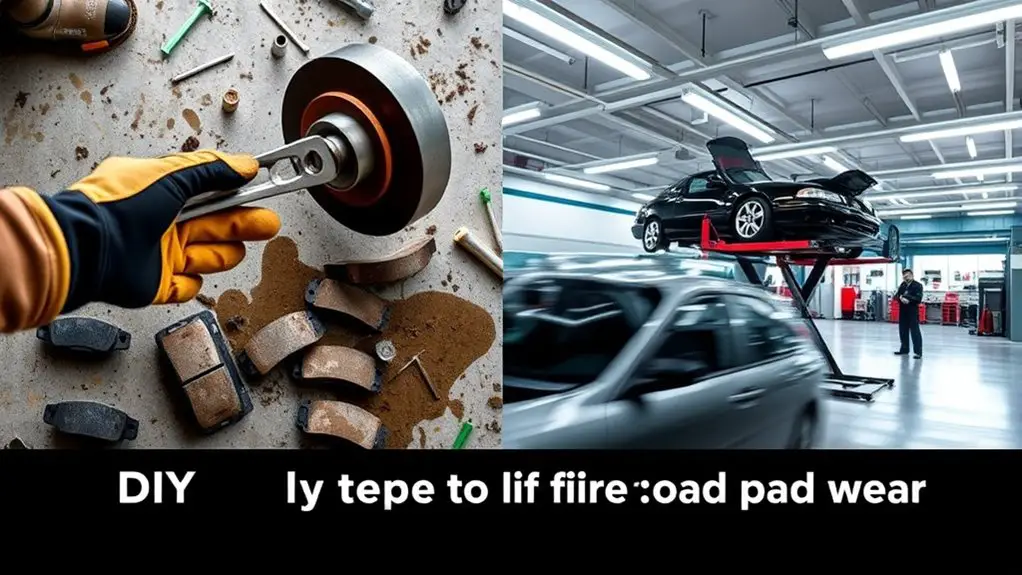
DIY Cost Breakdown: Fixing Premature Pad Wear Yourself Vs at a Shop
When fixing premature brake pad wear, DIY can save you substantial costs. You’ll spend around $50 to $100 on parts and can complete the job in about an hour. In contrast, professional services typically charge $75 to $150 per hour, with labor adding to the overall expense. While DIY offers a sense of accomplishment and quality control, be aware of the risks and time commitment involved. Understanding the full scope of both options can help you make an informed decision.
Understanding Brake Pad Wear: Causes and Symptoms
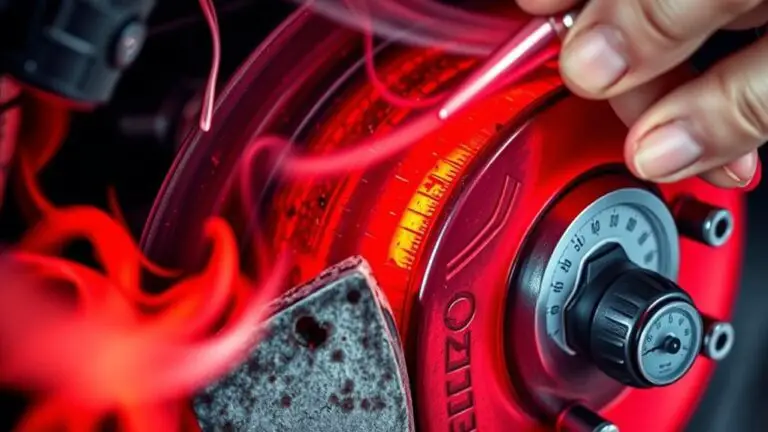
While you might not think about your brake pads often, understanding their wear is vital for safe driving. The brake pad lifespan can greatly vary based on driving habits, vehicle type, and road conditions. Frequent hard braking or stop-and-go traffic accelerates wear, making it essential to monitor your pads regularly.
Look for wear indicators—small grooves or markings on the pads—that signal when they need replacing. If these indicators are worn down or absent, it’s a clear sign your brake pads are nearing the end of their functional life. Additionally, listen for any grinding noises when braking, as this indicates the pads have worn dangerously thin.
Ignoring these symptoms can lead to decreased braking efficiency and potentially costly damage to rotors. By understanding these factors, you empower yourself to maintain peak vehicle performance and guarantee your safety on the road.
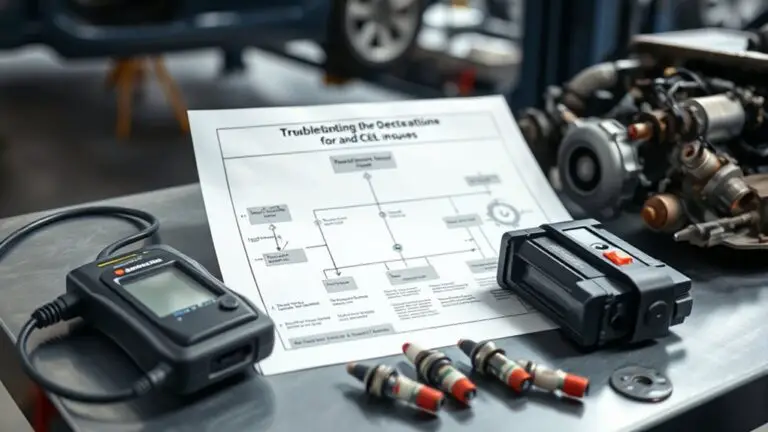
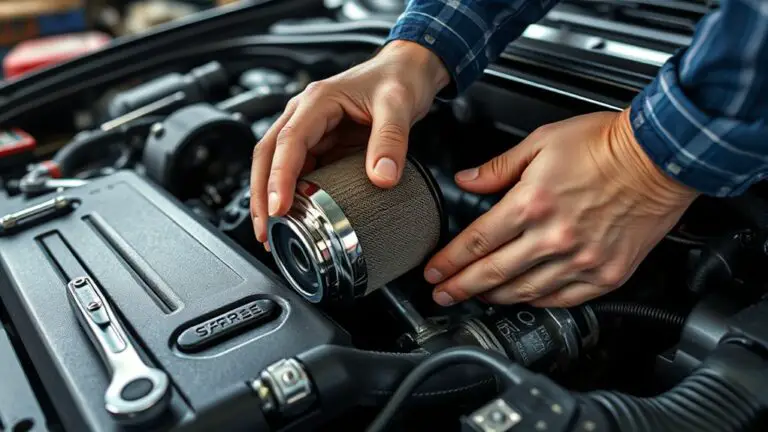
DIY Brake Pad Replacement: Tools and Materials Needed
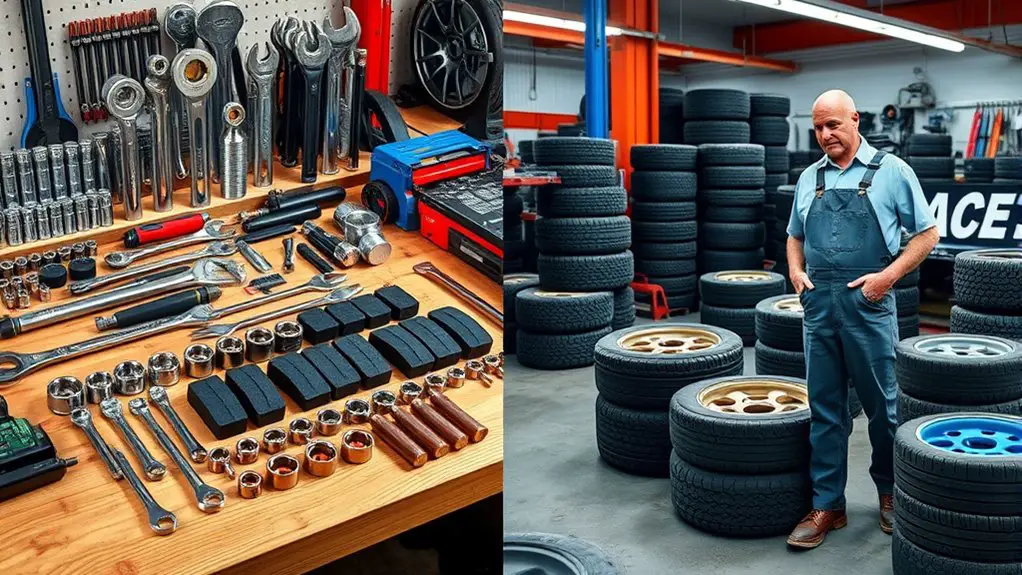
For a successful DIY brake pad replacement, you’ll need to gather specific tools and materials to guarantee the process goes smoothly. Start with essential brake tools, including a lug wrench, a c-clamp or brake caliper tool, and a socket set. A torque wrench is critical for confirming proper tightness on your wheel lug nuts. Don’t forget safety gear like gloves and goggles.
Next, choose your replacement materials: high-quality brake pads suited for your vehicle’s make and model, and consider buying new brake rotors if needed. Additionally, brake cleaner and grease will help maintain peak performance and longevity.
Finally, a container for old brake fluid ensures an organized workspace. By assembling these tools and materials ahead of time, you’ll streamline the process, making your DIY brake pad replacement both efficient and effective.
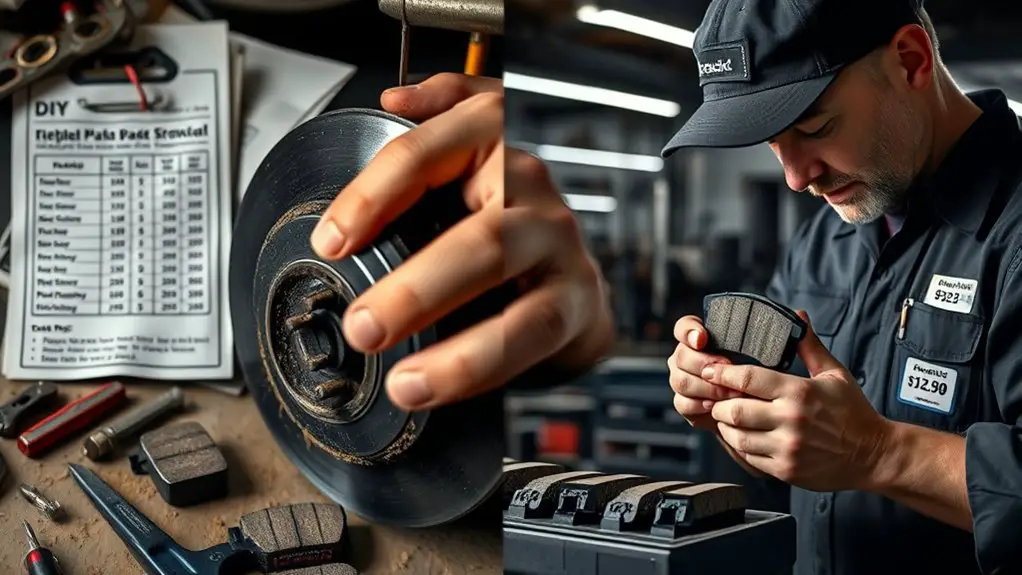
Cost Analysis: DIY Repairs Vs Professional Services
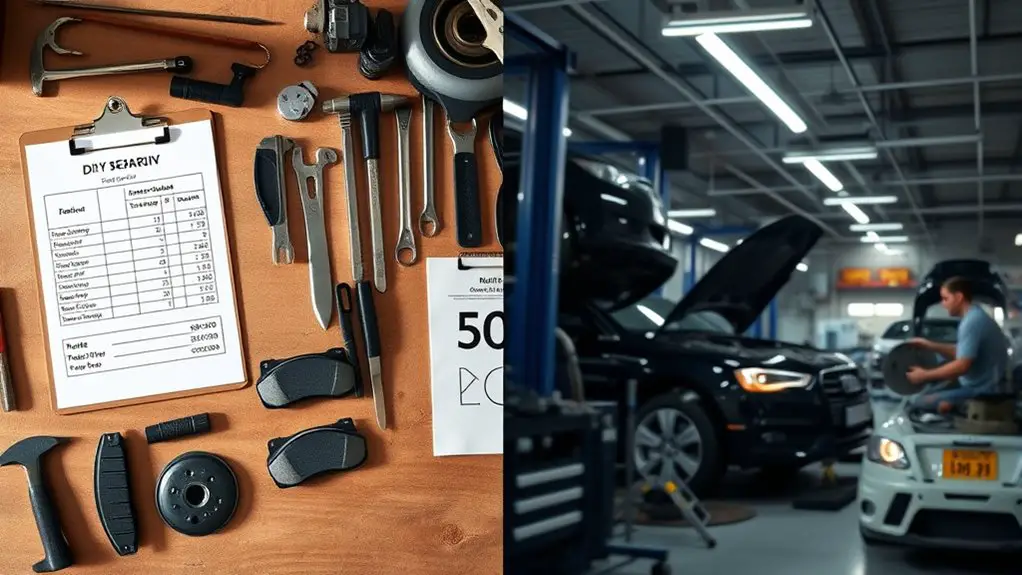
When pondering the cost of brake pad replacement, you’ll find that DIY repairs often offer considerable savings compared to professional services. Typically, professional shops charge high labor costs, often ranging from $75 to $150 per hour, greatly inflating your total expense. In contrast, when you tackle the job yourself, you’re mainly paying for parts, which can be sourced for $50 to $100, depending on quality and brand.
Repair time is another factor to reflect on. A professional may take 1-2 hours for the replacement, while you might complete the task in about an hour with practice. This difference can save you not only money but also provide the satisfaction of having done it yourself. Overall, choosing to replace your brake pads at home can lead to substantial savings and greater control over your vehicle’s maintenance.
Pros and Cons of DIY Brake Pad Replacement
Choosing to replace your brake pads yourself can be rewarding, but it comes with its own set of advantages and disadvantages. On one hand, you gain control over your repair process and save money. On the other, it demands a significant time commitment and thorough knowledge of safety precautions.
| Pros | Cons |
|---|---|
| Cost savings on labor | Time-consuming process |
| Full control over quality | Requires tools and equipment |
| Sense of accomplishment | Risk of improper installation |
When you opt for DIY brake pad replacement, make sure you’re prepared for the task. Understanding the intricacies of your vehicle’s braking system is essential, and don’t overlook the importance of safety precautions to avoid accidents. Weigh these factors carefully before diving into your DIY project.
Factors to Consider Before Choosing Your Repair Method
Before deciding on your repair method, it’s crucial to assess several key factors that can greatly impact the outcome of your brake pad replacement. First, evaluate your skill level. If you’re a novice, attempting a DIY fix may lead to improper installation, jeopardizing your vehicle’s safety. Conversely, if you possess adequate mechanical skills, tackling the job yourself can be rewarding and cost-effective.
Next, consider safety considerations. Brake systems are critical for vehicle operation, and any errors can have severe consequences. Verify you have the right tools and a safe workspace. Additionally, factor in time. A shop may complete the job faster, allowing you to avoid the hassle of a lengthy DIY project.
Lastly, think about the long-term implications. Professional mechanics may spot additional issues during replacement, ultimately saving you from more significant repairs down the road. Balancing these factors will guide your decision.
Frequently Asked Questions
How Often Should I Replace My Brake Pads?
You should replace your brake pads approximately every 30,000 to 70,000 miles, depending on your driving habits and the brake pad lifespan. Regularly check for signs of wear, like squeaking or reduced braking performance, as these can indicate the need for replacement. It’s essential to adhere to recommended replacement intervals to guarantee safety and maintain peak vehicle performance. Keeping an eye on your pads can help you avoid more costly repairs down the line.
Can I Mix Different Brands of Brake Pads?
Yes, you can mix different brands of brake pads, but it’s not ideal. Brake pad compatibility plays a vital role in performance and safety. Different brands may use varying materials and designs, which can lead to uneven wear or decreased stopping power. If you’re aiming for peak performance, it’s best to stick to the same brand and model. This guarantees consistent brake feel and longevity, allowing you to enjoy a smoother driving experience.
What Are the Signs of Brake Pads Needing Replacement?
You’ll know your brake pads need replacement if you hear squeaky brakes, which often indicates wear indicators are making contact with the rotor. Additionally, pay attention to any warning lights on your dashboard; they may signal a brake issue. A grinding noise can also occur if the pads are severely worn, leading to potential rotor damage. Regularly inspecting your brakes helps you maintain peak performance and safety on the road.
Is It Safe to Drive With Worn Brake Pads?
It’s not safe to drive with worn brake pads. While you might think you can get by for a while, the driving risks far outweigh any temporary convenience. Worn pads diminish brake pad safety, increasing stopping distances and reducing control, especially in emergencies. You’re jeopardizing your freedom on the road, risking accidents that could have dire consequences. Prioritizing brake maintenance guarantees your vehicle’s performance and your safety are never compromised.
How Do I Properly Break in New Brake Pads?
To properly break in new brake pads, start with gentle stops from 30 mph to 10 mph, repeating this process about 10 times. Allow cooling periods between stops to prevent overheating. After that, increase your speed to 60 mph, then brake to a near-complete stop, doing this several times. This method helps guarantee proper installation and enhances brake pad maintenance, allowing the pads to form a proper bed and optimize performance.