DIY Fixes for Minor Backpressure Issues and When to See a Pro
You can quickly assess and fix minor backpressure by starting with safety checks, clearing blockages, and then methodically tuning components. Inspect for clogs in filters and vents, rinse reusable elements, and verify all lines are clear. Check valves and pumps, make small, measured adjustments, and watch flow gauges closely. If pressures spike, sounds change, or throughput drops with no clear cause, pause and call an expert. For more practical steps, you’ll uncover additional tips as you proceed.
Assessing Your Backpressure: Quick Safety Checks
Before you plunge in, quick safety checks set the stage for accurate assessments. You approach backpressure with a methodical mindset, not a guess. Begin with calm, deliberate steps: inspect your setup, verify connections, and confirm that components are within their rated limits. Note any backpressure symptoms you observe—unusual resistance, loud alarms, or heat buildup—as these guide you toward the root cause without overreacting. Check the condition of safety equipment you rely on: gloves, eye protection, and hearing protection should be intact and accessible. Ascertain gauges read within normal ranges, and that valves aren’t partially closed or blocked. If readings drift, record values and compare to manufacturer specs. Maintain clean passages and free debris, because clogs masquerade as bigger faults. Remember, proactive checks prevent surprises; treat each observation as data, not drama. When in doubt, pause and consult a pro before proceeding, safeguarding both performance and personal safety.
Identifying Common Minor Causes You Can Tackle
Start with simple blockage checks to rule out obvious pinch points, then move on to cleaning the airflow path to restore consistent flow. Inspect for tiny component wear and replace or tighten parts as needed to prevent creeping backpressure. Keep each check focused and documented so you can address what you find without guessing.
Simple Blockage Checks
If you’re dealing with backpressure, start by checking for simple blockages you can tackle quickly. You’ll inspect obvious culprits first: filters, vents, and drains that may have snagged debris or dust. If a screen or grate feels clogged, clear it with a gentle tap and a soft brush; avoid harsh chemicals that could corrode components. Next, look for kinks or pinches in hoses and tubing that restrict flow, replacing any damaged sections. Check clamps and seals for snugness, since loose connections create resistance. Test for flow at each stage, noting where pressure improves or stalls. By identifying blockage causes early, you reduce risk and gain faster relief. Practice blockage prevention by keeping openings clear and scheduling routine checks. Maintain simplicity to preserve freedom and function.
Airflow Path Cleaning
Airflow path cleanliness is the next practical step to restore performance. You’ll tackle common minor culprits by inspecting accessible ducts and paths for obvious buildup, bends, or loose joints. Focus on airflow dynamics: how air moves, where resistance rises, and how debris alters pressure. Start with a quick external wipe of vents, then use a brush or compressed air to loosen surface grime without forcing it deeper. Check for kinks, disconnections, or crush points in the ductwork that disrupt smooth flow. Replace or reseal loose connections where you find them. Document findings for future duct maintenance, and schedule deeper cleaning if you notice repeated buildup. This keeps your system responsive, efficient, and aligned with your freedom to DIY.
Tiny Component Wear
Tiny component wear is a common, manageable culprit behind backpressure issues. You’ll spot it in subtle ways: reduced performance, slight noise, or uneven flow. Start with wear indicators like unusual heat, cracks, or glazing on seals, filters, and valves. If you notice these signs, don’t hesitate—plan a targeted component replacement before failure escalates. Track parts that wear fastest in your setup and budget for periodic checks. Use a simple rule: replace at the first clear indicator rather than waiting for a breakdown. The goal is steady, predictable performance, not overhauls. Below is a quick checklist to guide you through safe, proactive steps.
| Area | Indicator | Action |
|---|---|---|
| Filters | Discoloration | Replace |
| Seals | Cracking | Replace |
| Valves | Sticking | Inspect/Replace |
| Bearings | Wear marks | Inspect/Replace |
Clearing Clogged Filters and Strainers
Start by checking and cleaning the filters to remove buildup that blocks flow. Inspect the strainers for any debris or clogs, then clear them out and reassemble. Finally, test the system to confirm flow and performance.
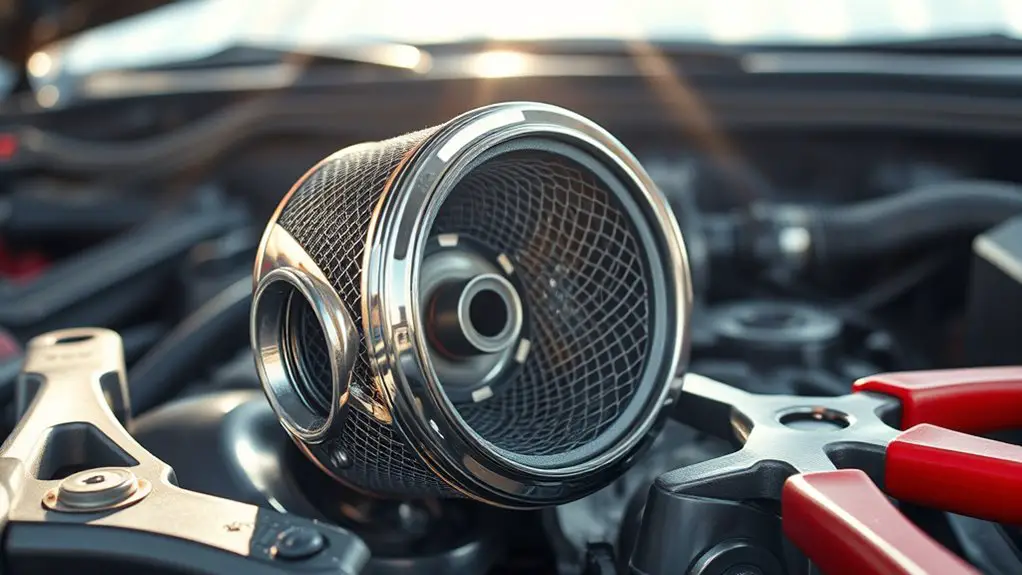
Check and Clean Filters
If you notice a drop in performance, begin by checking and cleaning the filters and strainers. Start with the obvious: locate the access panel, power down safely, and inspect the filter housing. Identify the filter types in your system—spillover reeds, mesh screens, cartridge units—and note their placement. Remove each filter carefully, avoiding landmines of dust. Rinse reusable mesh or screen filters with clean water; for cartridges, follow the manufacturer’s guidance and avoid harsh solvents. Let components dry completely before reassembly. During reassembly, confirm a snug fit without overtightening. This step supports proper flow and reduces strain on the pump. Regular filter maintenance prevents premature wear and keeps performance consistent. Schedule routine checks and keep a simple log to stay ahead of issues.
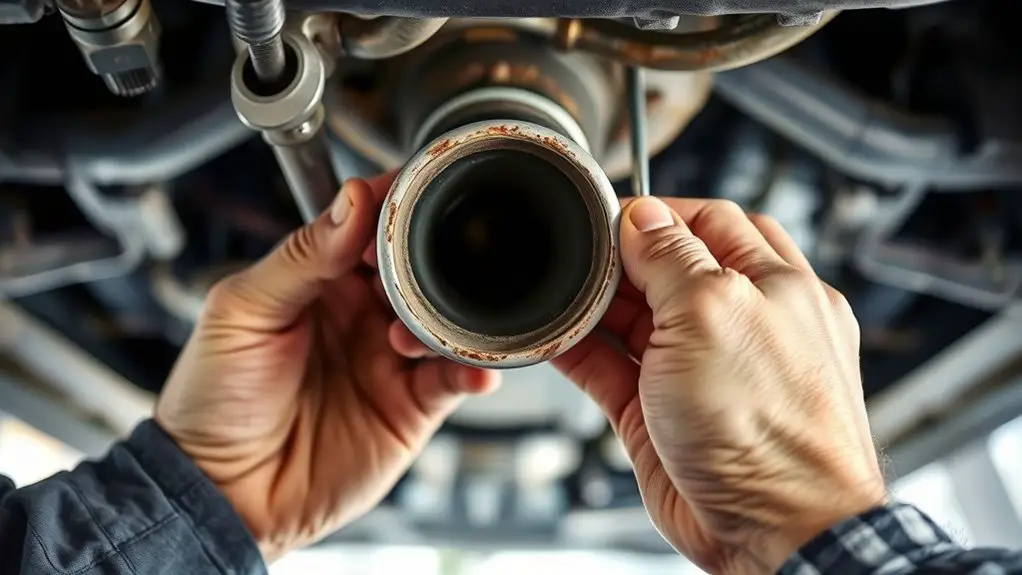
Inspect Strainers for Debris
Clear debris from strainers by inspecting them up close and removing any blockages. You’ll keep flow steady and backpressure low when you verify every screen, basket, and screen cap looks clear, then clean as needed. This is strainer maintenance in action, and it pays off with predictable performance and less surprise shutdowns.
1) Inspect visually, feel for buildup, and remove debris promptly to prevent volume creep and pressure spikes.
2) Rinse with the appropriate solution, recheck seals, and confirm a snug fit to avoid leaks and recontamination.
3) Log findings and schedule proactive debris removal intervals to sustain freedom and consistent throughput.
Stay precise, stay proactive, and trust your hands to keep the system clean and responsive.
Reassemble and Test Flow
Having cleared debris from strainers, you’ll now reassemble the components and confirm the flow by testing the system. Reinstall housings, seals, and any gaskets in the correct orientation, then secure fasteners to spec. Before powering up, inspect for leaks and verify seals are seated evenly. Return valves to their normal positions and ascertain flow paths are clear. Start with a low system pressure or bypass test to observe how flow resumes. Monitor gauges for steady, expected readings and listen for abnormal noises that signal misalignment. If flow remains inconsistent, recheck filter clearances and strainers for any remaining debris. Document readings, noting flow dynamics and pressure regulation performance, so you can adjust future maintenance intervals and keep the system operating at peak efficiency.
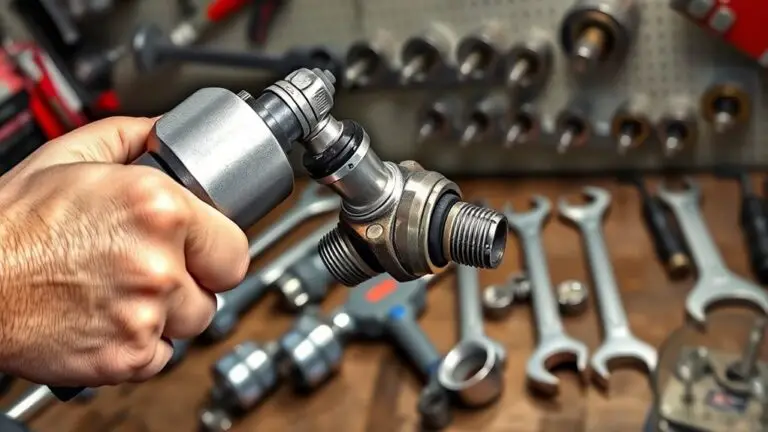
Inspecting and Rebalancing Valves for Optimal Flow
Inspecting and rebalancing valves is key to restoring even flow across a hydronic system. You’ll verify that each zone valve is open to the correct degree and that flow matches design intent. Use a flow meter or boiler gauge to spot disparities, then adjust with minimal turns to avoid overshoot. Focus on valve alignment and how it affects overall balance, not on heavy-handed tweaks.
1) Check alignment: confirm handle position corresponds to the intended valve opening, and straighten misaligned stems to guarantee predictable response.
2) Measure and adjust: compare supply and return pressures at representative points, then tweak each valve in small increments for steady flow optimization.
3) Document settings: note final positions so future work remains precise and reversible, aiding quick rebalancing when ducts or loads shift.
Keep movements slow, leverage accurate tools, and re-check after each change to sustain flow optimization.
Tuning Pump Settings Safely to Restore Balance
When you tune pump settings, start by confirming the system’s design intent and then adjust with small, measured changes to avoid overshoot. You’ll target pump calibration and precise pressure adjustments, keeping changes incremental and test-driven. Prioritize stability over speed; use a stepwise approach, logging readings after each tweak. If you notice pressure swings, pause, recalibrate, and recheck the baseline before continuing. Document the final settings and how they map to observed flow balance. Avoid aggressive changes that cascade into new imbalances.
| Step | Action |
|---|---|
| 1 | Verify design intent and current operating range. |
| 2 | Make a small adjustment and measure pressure response. |
| 3 | Confirm balance; repeat only if needed. |
This method respects your desire for freedom by avoiding risky moves and focusing on controlled, intentional calibration. Remember: pump calibration and careful pressure adjustments are about reproducible results, not quick fixes. If balance remains elusive, seek professional guidance.
Simple Fluid Level and Airlock Troubleshooting
Water in the system can throw off flow balance just as surely as improper calibration, so start by quick checks for fluid level and any airlocks. You’ll want clear readings and no trapped pockets that slow or spike pressure. If you suspect a fluid level issue, verify mirrors or sight glass with a clean surface and correct tank orientation. For airlock issues, gently vent the line near the highest point and tilt lines to encourage bubbles to escape. Don’t force components; pause if resistance increases.
1) Confirm fluid levels are within recommended range and recheck after a brief pump run.
2) Identify and release airlocks at the highest fittings, then re-prime the pump.
3) Reassess flow balance with a small test cycle, watching for sudden changes or noise.
These steps keep you in control, preserving system freedom while guarding against backpressure surprises.
When to Pause and Call a Pro: Warning Signs
If you notice persistent pressure spikes, unusual noises, or a drop in output that your checks can’t explain, it’s time to pause and call a pro. You’re looking for clear warning signs that something’s past your DIY reach. Don’t chase symptoms—spot the pattern and seek expert advice. In practice, treat any sudden change as a red flag, especially if it persists after basic resets, bleeding, or reseating components.
| Warning signs | What to do next |
|---|---|
| Repeated spikes with no cause | Pause, call for expert advice |
| Unusual grinding or hissing | Stop operations, request professional assessment |
| Drops in throughput without reason | Schedule a diagnostic with a qualified tech |
| Hot surfaces or smells | Shut down and contact a specialist |
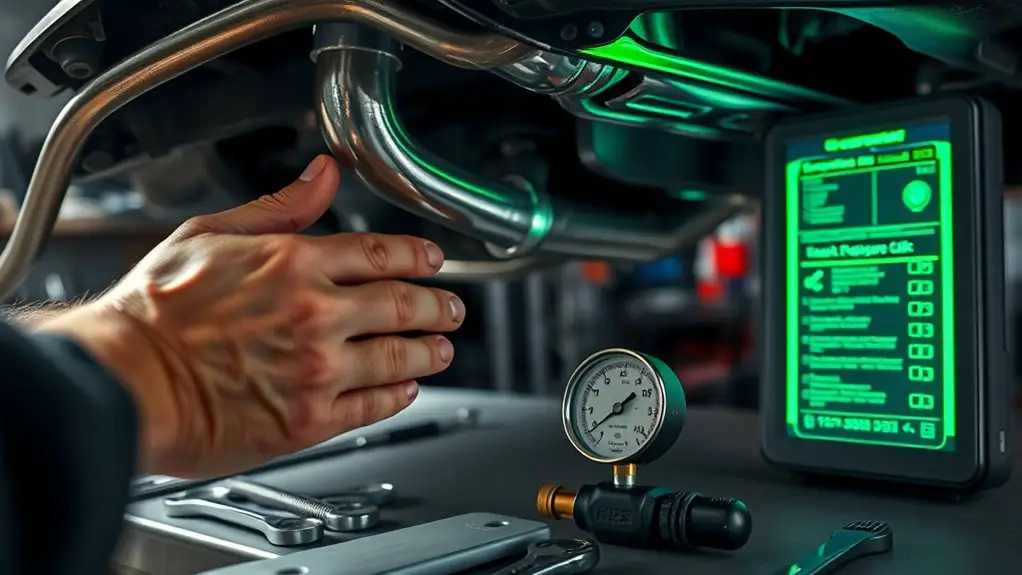
Quick Diagnostics You Can Do Before Scheduling Help
Before pulling the trigger on a pro, run through these quick checks you can do yourself: verify the system isn’t clogged, confirm inlet and outlet lines are clear, and inspect for obvious leaks or loose fittings.
1) Diagnostic tools you already own: grab a flashlight, a tissue test for leaks, and basic hand tools. These enable quick confirmation of airflow paths and seal integrity without guessing.
2) Troubleshooting techniques you can trust: trace the path from source to output, check for kinks or blockages, and verify pressure or flow readings against specs. Small, intentional steps keep you in control.
3) Clear criteria for next steps: if checks reveal a clog, leak, or loose connection, fix it; if nothing obvious surfaces, document symptoms and timeframes, then decide on professional input. This mindset preserves your freedom to act decisively.
How to Communicate Your Issue to a Technician Efficiently
To communicate your issue to a technician efficiently, start with a concise summary of the problem, when it began, and what you’ve already checked. Then list the most noticeable symptoms in plain terms, avoiding jargon. Describe symptoms briefly in a logical order, so the technician can follow your train of thought without guessing. Next, provide a short detailing history: when you first noticed changes, any patterns you’ve observed, and what actions you’ve taken to verify or rule out causes. Include relevant context, such as recent changes in setup, environment, or usage. Prioritize facts over feelings, and cite dates, times, and settings where possible. If you have measurements or readings, share them exactly as recorded. Communicate constraints or goals clearly—what you expect to restore and by when. This approach helps them assess efficiently, plan diagnostics, and decide whether a visit or remote guidance is best. describing symptoms, detailing history.
Frequently Asked Questions
How Long Should DIY Fixes Take Before Seeking Professional Help?
You should seek professional help after about 1 to 2 days if DIY fixes don’t clear the issue, or sooner if you notice signs of urgency like worsening pressure, unusual sounds, or leaks. Think of timeframes for repairs as deadlines you set for yourself, not traps. If progress stalls, don’t wait—trust the pros to restore steady flow. You deserve freedom from guesswork, with practical, precise fixes that keep your system safe and reliable.
Can Backpressure Issues Indicate Pump or Wiring Safety Risks?
Yes, backpressure issues can indicate pump or wiring safety risks. If you notice abnormal high backpressure, you should stop and inspect for failing seals, clogged lines, or overheated motors. This points to potential safety concerns. Check connections, insulation, and safety switches, and don’t push past unusual readings. backpressure causes can warn you of imminent faults; follow safety precautions, isolate power, and consult a pro if readings remain elevated or symptoms persist.
Do Backpressure Problems Affect Water Quality or Contaminants?
Backpressure can hint at water quality issues, but it isn’t proof you’ve got contaminant sources everywhere. You’ll want to test, sample, and compare readings to safe standards. If levels spike, back off and inspect the pump and wiring while you investigate contaminant sources. You’ll address flow limits, then confirm water quality with lab results. In short, monitor, test, and correct both backpressure and potential contaminants to protect your system and yourself.
Is Temporary Backpressure Relief Safe for Continuous Operation?
Temporary backpressure relief isn’t safe for continuous operation. You should treat it as a stopgap, not a long‑term fix. If you run in temporary fixes, you risk equipment wear, reduced efficiency, or leaks under load. Instead, aim for a proper solution and plan maintenance. For continuous operation, monitor pressure, schedule repairs, and upgrade components as needed. You deserve freedom from unplanned downtime, so fix it correctly before you power through a full shift.
Are There Tools I Should Avoid Using for Repairs?
Did you know 60% of DIY fixes fail due to improper tool use? You should avoid using damaged, makeshift, or non-rated tools for repairs. Instead, follow safety precautions and rely on tool recommendations from reputable brands. Don’t improvise with household items, and don’t force fittings. Stay precise: test fittings, check for leaks, follow torque specs, and use insulated gloves. When in doubt, pause and consult a pro for safer, longer-lasting results.