DIY Fixes for Minor Oxygen Sensor Faults and When to See a Pro
You can tackle minor O2 sensor faults yourself with careful safety steps, basic cleaning, and simple electrical checks, but you’ll know when it’s time to call a pro if symptoms persist or readings look inconsistent. Start on a stable, cold engine, disconnect the negative battery, and inspect connectors for corrosion or loose pins. Clean contacts, check the wiring harness, and verify heater circuit continuity with a multimeter. If problems remain, expect a professional diagnosis and clear next steps. More to come if you keep reading.
Diagnosing a Faulty O2 Sensor: Symptoms to Watch For
A faulty O2 sensor can quietly disrupt your engine’s performance, so start with the basics: what symptoms clue you in? You’ll notice fluctuating fuel economy, rough idle, or sudden off-throttle hesitation. Check for a persistent rich or lean exhaust smell, or frequent catalytic converter warmth. Listen for an otherwise smooth engine that pops or stalls when you’re stopped. Dashboard lights may illuminate with a check engine light, signaling a code to pull. For symptom identification, focus on consistency: do symptoms appear only after a cold start or under load? Next, rely on diagnostic tools. Retrieve OBD-II codes, then cross-check live data: O2 sensor voltage should switch between ~0.1 to 0.9 volts, with fast, consistent changes. Compare upstream and downstream sensor readings to gauge sensor health. Record patterns, not guesses. If codes point to sensor or heater failures, plan targeted tests before proceeding with repairs.
Basic Safety Checks Before You Start
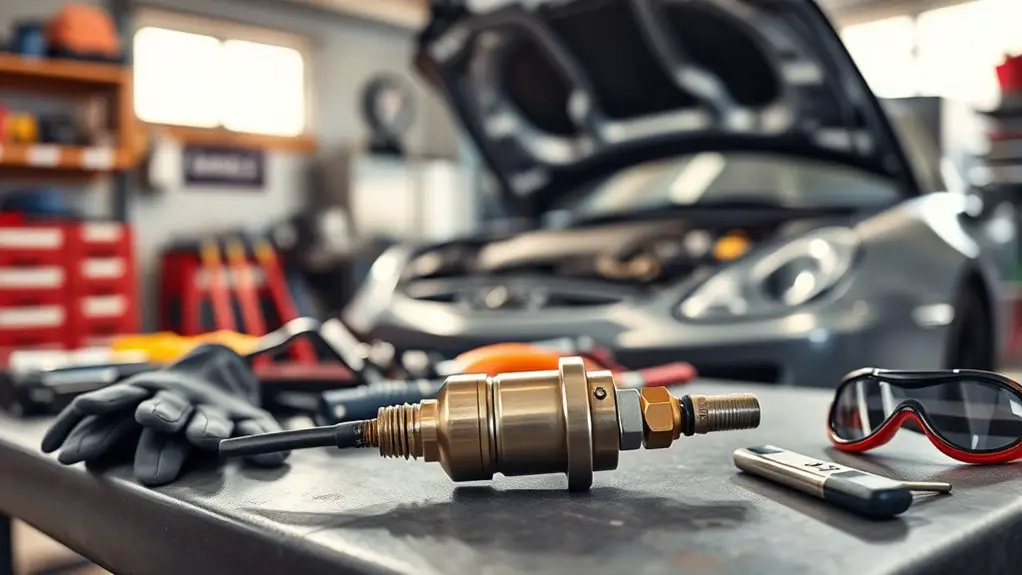
Before you yank parts or reset codes, start with plain safety checks you can’t skip. You’ll approach the job with a plan, not a guess. Verify the vehicle is on a stable surface and the engine cold before touching anything. Gather safety gear: gloves, eye protection, and non-slip footwear. Clear the workspace of clutter and flammable materials, then disconnect the negative battery terminal to prevent shorts. Ventilate the area if you’re indoors. Identify tools and replacement parts ahead of time to avoid delays. Note the correct service manual procedure for the sensor you’re addressing and follow it step by step. Label wires or connectors if you must unplug anything, so you reassemble correctly. Use proper lighting to see terminals clearly, and keep a fire extinguisher within reach. Finally, recheck the area for tools left behind and ascertain everything is secure before you restore power. Safety gear and workspace preparation set the foundation for a calm, confident start.
Cleaning and Inspecting Sensor Connectors and Wires
Start by inspecting the connector condition for corrosion, wear, or loose pins, and note any signs of damage. Clean electrical contacts with a dedicated contact cleaner and a non-shedding brush, ensuring they’re dry before reassembly. Check the wiring harness for fraying, cracks, or pinched sections, and re-seat or replace as needed.
Inspect Connector Condition
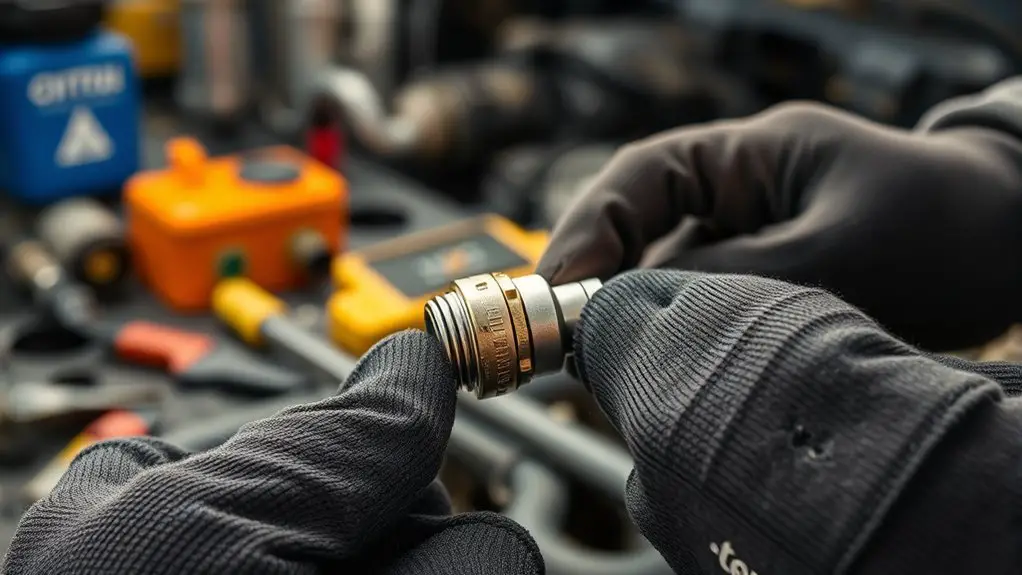
Inspecting sensor connectors and wires starts with a clean, systematic check: inspect for loose or corroded pins, damaged insulation, and any signs of moisture or grime that could disrupt signal integrity. You’ll verify connector types and seating, guarantee locking clips are secure, and note any play or flex where fatigue could appear. Look for discoloration, bent terminals, or pin misalignment that hints at past unplugging. Wipe surfaces with a lint-free cloth if needed, keeping solvents away from seals. Inspect the harness jacket for cracking or brittle sections, especially near strain points. Plan corrosion prevention by addressing moisture ingress and sealing gaps, then document observations for future reference. This approach keeps diagnostics precise while preserving freedom to work efficiently.
Clean Electrical Contacts
Keeping the connectors clean is the next step after checking their condition. You’ll inspect for abrasion, loose pins, and, importantly, signs of contact corrosion. Use a gentle approach: unplug power, then wipe with a clean, dry cloth. For stubborn grime, apply a small amount of electrical contact cleaner and let it dry completely before reconnecting. Avoid solvent soaking or aggressive scrubbing that could bend pins. After cleaning, recheck fit and look for corrosion buildup around terminals. If corrosion persists, replace the affected connector rather than forcing a fix. This preserves sensor accuracy and prevents future fault codes.
| Step | Tip |
|---|---|
| Inspect | Look for corrosion and loose pins |
| Clean | Use electrical contact cleaner sparingly |
| Verify | Reconnect and test sensor response |
Inspect Wiring Harness
Even so, begin by visually tracing the wiring harness for any obvious damage or loose connections. You’ll inspect each connector, noting corrosion, frayed insulation, or cracked housings. Gently unplug sensors one at a time, keeping track of orientation to preserve sensor placement. Clean connectors with a dielectric spray and a lint-free brush, avoiding excessive moisture. Inspect the wire run for chafing or pinched strands; replace damaged sections or secure with proper routing to prevent future wear. Reconnect firmly until you hear a click, then gently tug to confirm seating. Check for consistent voltage and ground paths, evaluating wiring integrity with a multimeter if needed. Reassemble, start the engine, and confirm readings stabilize. Maintain clear sensor placement references for future diagnostics and reliable performance.
Verifying Sensor Electrical Signals With Simple Tools
To verify the sensor’s electrical signals, start with a quick, noninvasive check using a multimeter or a diagnostic tool. You’ll confirm basic voltage behavior before pulling on connectors or wiring. Focus on sensor voltage ranges and smooth shifts, not static numbers alone. Use corrected ground reference and proper illumination to read live data. With a multimeter, probe the sensor signal wire and ground, noting voltage swings as the engine loads and unloads. Verify the heater circuit by testing continuity and resistance if applicable. Don’t confuse a faulty sensor with a poor ground or corroded pin. Document readings to compare against spec sheets and prior logs. If readings are inconsistent, recheck connections, then retest. Below is a concise visual guide to methods and expectations.
| Step | Action |
|---|---|
| 1 | Confirm ground and power |
| 2 | Measure sensor voltage and heater |
When to Replace the Oxygen Sensor Yourself
If your O2 sensor shows persistent rich or lean codes, frequent misfires, elevated fuel trim, or a sluggish catalyst efficiency message, it’s often time to replace it yourself. You’re weighing DIY methods against proper sensor compatibility and long‑term reliability. Begin by confirming the replacement part matches your vehicle’s exact sensor type and connector configuration; cross‑check part numbers and the year, make, and model. Disconnect the battery, then safely locate the sensor, unplug the connector, and remove the retaining fasteners with the correct tool. Avoid forcing fittings or bending wires. Install the new sensor with a clean mounting thread and a fresh gasket or anti‑seize as recommended by the manufacturer. Reconnect the harness, clear codes, and test drive to verify immediate improvement. If you notice persistent drivability issues after replacement, consult a pro. This approach emphasizes precise diagnosis, careful selection, and compatibility‑driven steps to ascertain reliable, frustration‑free results.
Common Pitfalls to Avoid During DIY O2 Work
When you’ve already chosen the right sensor and followed the replacement steps, it’s tempting to speed through the job, but skipping careful prep invites mistakes. Focus on deliberate, tidy workflow to prevent loose connections or misrouted cables. Before any wrench turns, verify tool organization: lay out sockets, torques, pliers, and diagnostics in a logical sequence so you don’t scramble mid‑step. Sensor compatibility isn’t only model numbers; confirm thread size, electrical connectors, and heating element specifications match your vehicle’s harness. Don’t assume you can reuse old seals or clamps—inspect and replace as needed to avoid leaks or faults that return after you finish. Keep the O2 sensor protected from contamination; wear clean gloves and avoid oil or grease contact. Document settings and voltages when you test the system, so future work isn’t guesswork. Rushing undermines reliability; a precise, calm approach yields lasting results and true, independent maintenance.
Signs It’s Time to See a Professional and What to Expect
If your O2 sensor issues persist after basic DIY fixes, it’s time to seek professional help. A tech will verify diagnostics, inspect related systems, and confirm fault code validity. Expect a concise plan with estimated costs, timelines, and recommended next steps.
When to Seek Help
There are clear warning signs that indicate it’s time to seek professional help, and recognizing them early can prevent further damage. You should pursue professional services when symptoms persist after basic checks, when codes recur, or when your diagnostic tools show inconsistent readings. Don’t delay if the sensor’s wiring appears damaged, you hear ticking, or the engine runs unusually rough or rich. A pro will verify calibration, test sensors, and review long-term trends rather than fix symptoms. Expect a clear assessment, not speculation: diagnostic tools, measurements, and a guided plan. You’ll gain a precise cost range, a timeline, and safety precautions. If you value freedom from guesswork, trust trained technicians to interpret data, confirm failures, and recommend targeted repairs rather than band-aid fixes.
What to Expect Next
If symptoms persist after basic checks or diagnostic readings diverge, it’s time to bring in a professional. You’ll hear a clear plan: confirm fault codes, verify wiring integrity, and test the sensor in controlled conditions. Expect a precise assessment, not guesswork, and a timeline you can rely on. The discussion will cover whether your current sensor matches your engine’s needs and if future repairs are likely, avoiding unnecessary parts swaps. You may learn about sensor upgrades that improve reliability or emissions performance, depending on your vehicle and goals. A pro will also outline safety steps, potential warranty considerations, and cost ranges. With this guidance, you’ll decide if sticking with the existing sensor or pursuing upgrades best aligns with your freedom-to-drive priorities.
Frequently Asked Questions
Can DIY Fixes Void My Car’s Warranty on O2 Sensors?
Somewhat, yes—your DIY tweaks can affect warranty implications, especially if the automaker cites altered sensor behavior or non-OE parts. If you modify or bypass sensors, you risk voiding coverage for those components. You should avoid sensor modifications that aren’t documented or approved. Keep records, use OEM parts where possible, and consult your dealer. In short, proceed with caution; any tinkering could trigger warranty exclusions. If in doubt, defer to a pro.
How Long Can You Safely Drive With a Suspected Faulty O2 Sensor?
You should not push past a suspected faulty O2 sensor for long—immediately consider safer driving and plan repairs. If you notice O2 sensor symptoms, reduce highway speeds, avoid hard accelerations, and monitor fuel economy. Driving safety may decline as faults worsen, so drive conservatively and schedule inspection soon. Don’t ignore warning lights. Limit trips until diagnosed, then replace or repair as advised. If performance dips abruptly, pull over when safe and seek professional help.
Are There Home Diagnostic Tools That Don’T Require Car Lifting?
Yes. You can use DIY tools for home diagnostics that don’t require lifting your car. Look for basic OBD-II scanners, code readers, and live data apps. They let you pull fault codes, monitor sensor readings, and spot trends from the passenger seat. Keep sessions methodical: note codes, cross-check with a guide, and clear codes when ready. You’ll gain precise insight, stay self-reliant, and maintain freedom while avoiding unnecessary trips to a shop.
What’s a Rough Cost Range for Professional O2 Sensor Replacement?
You’re looking at roughly $150 to $400 for professional O2 sensor replacement, depending on vehicle make, labor rates, and sensor type. O2 sensor pricing varies by sensor position (upstream vs downstream) and whether a direct-fit or extended-range unit is used. Replacement cost includes diagnostic time, parts, and labor. Expect higher quotes at dealerships; independent shops may offer savings. Ask for a written estimate, confirm warranty, and consider pursuing OEM versus aftermarket parts for value and longevity.
Could Alternator or Vacuum Issues Mimic O2 Sensor Faults?
Could alternator or vacuum issues mimic o2 sensor faults? Yes. You’ll notice erratic idle, poor fuel economy, and false check-engine light cues when alternator symptoms or vacuum leaks upset engine load signals. Methodically, test alternator voltage and inspect vacuum hoses for cracks, leaks, or loose connections. If readings vary with RPM, suspect alternator or vacuum problems rather than o2 sensor failure. Maintain freedom to troubleshoot basics, then consult pro if faults persist.