DIY Fluid Services That Save Money and Avoid Transmission Fluid Burnt Smell
DIY fluid services save money and curb transmission fluid burnt smells by following a precise, methodical plan. Start with evaluating need using symptoms, service history, and clear indicators like level, color, and odor. Use the right fluids, matched to OEM specs, and a careful drain‑and‑fill routine to avoid overfill. Equip yourself with PPE, leak pans, calibrated gauges, and a spill kit. Document every step and check for leaks or odors afterward—you’ll find more steps to optimize results ahead.
Assessing When a Fluid Service Is Right for Your Vehicle
Determining when a fluid service is appropriate hinges on a few clear signals: the vehicle’s current service interval, symptoms you’ve noticed, and the expected operating conditions. You’ll perform a disciplined vehicle performance assessment, focusing on changes in shift feel, smoothness, and response latency. Monitor fluid color, odor, and level as objective indicators rather than assumptions. Fluid service indicators emerge when measurements deviate from factory specifications or your usual baseline, even if the car otherwise runs fine. Consider mileage, recent use (toul, towing, extreme heat), and the fluid’s degradation signs—darkening, foaming, or grit at the dipstick. Documentation of prior services helps you distinguish normal wear from mounting risk. Use a structured checklist to decide whether to defer or proceed, aligning with your goals for reliability and freedom from surprise breakdowns. When in doubt, prioritize a conservative assessment to protect long-term vehicle performance, then plan the service window accordingly. This approach supports a precise vehicle performance assessment.
What Fluids You Should Consider Replacing and Why
You should consider replacing fluids that show signs of wear, contamination, or depletion, since fresh fluids support proper lubrication, cooling, and hydraulics. Common candidates include engine oil, transmission and coolant fluids, brake fluid, power steering fluid, and differential or transfer fluids, each with specific service intervals and condition indicators. Replacing these fluids when the evidence points to compromise reduces wear, maintains performance, and helps prevent costly failures.
Fluids Worth Replacing
There are several fluids you should consider replacing because they lose protective properties or degrade performance over time, even if the vehicle seems fine. In this instance, focus on fluid types that directly affect lubrication, cooling, and seal integrity. Transmission fluid, engine oil, coolant, brake fluid, and power steering fluid are prime examples where aging compounds, contamination, and additive depletion reduce effectiveness. Replacing them promptly preserves protection margins and helps prevent costly failures. Look for symptoms like metallic sounds, glazing, overheating, or foaming as signals to test and compare fluid benefits. Use precise, evidence-based criteria: viscosity under load, contamination levels, and moisture content. This approach supports a freedom-minded, proactive maintenance mindset without unnecessary fear or speculation.
Reasons to Replace Fluids
Fluid quality degrades with time, contaminants accumulate, and additive chemistry fades, so you should replace fluids that directly affect lubrication, cooling, and sealing to preserve performance and prevent failures. You’re evaluating fluids that experience daily stress: transmission, engine, coolant, brake, power-steering, and hydraulic systems. Replacement is warranted when fluids show excessive color change, viscosity drift, foaming, or unusual smells, all signs of fluid degradation and potential corrosion. Fluid contamination from particulates, water ingress, or fuel dilution accelerates wear and reduces efficiency. Prioritize fluids with clear service intervals and documented performance. Regular replacement reduces sludge buildup, maintains sealing integrity, and supports consistent heat transfer. Your goal is reliability, reduced downtime, and predictable operation, achieved through timely, evidence-based maintenance.
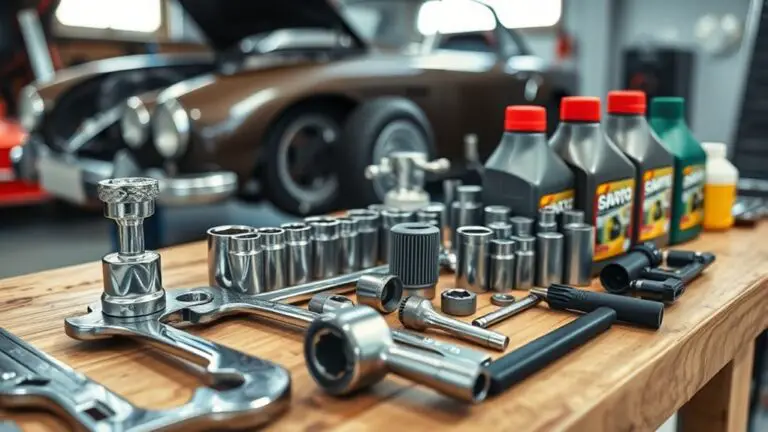
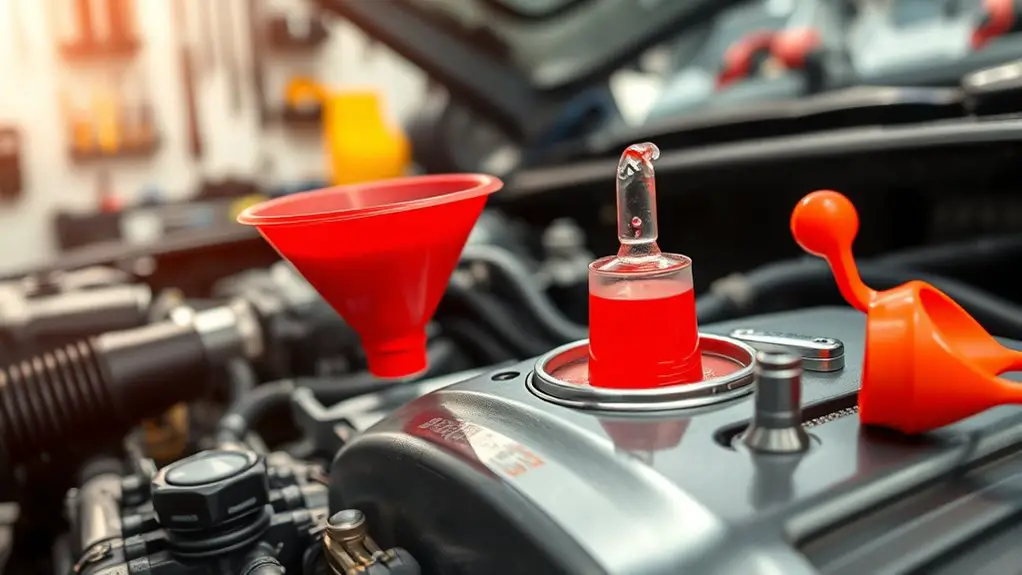
Tools and Safety Gear for Safe DIY Fluid Work
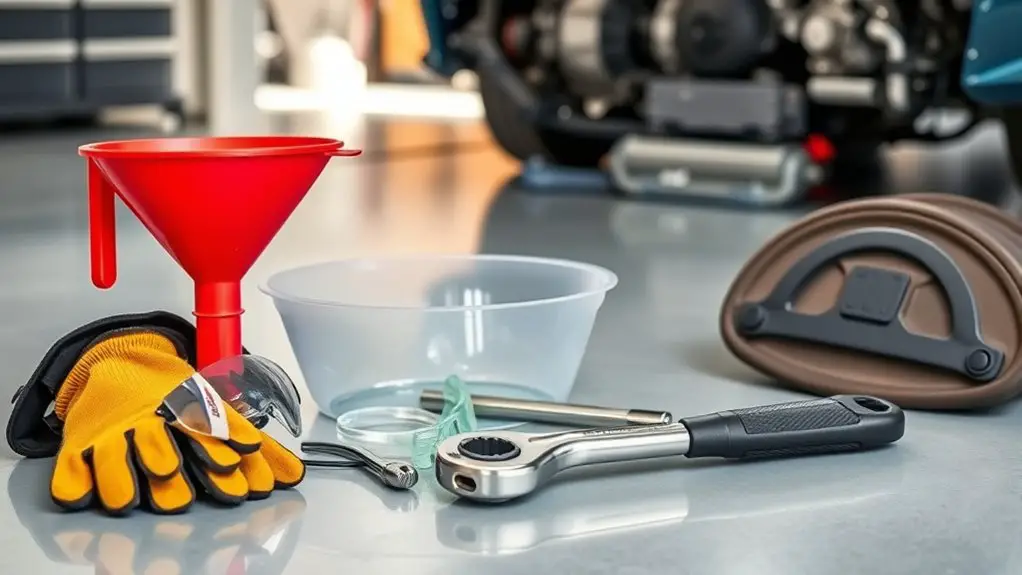
Before you start, gather purpose-built tools and PPE designed for fluid work, because proper equipment reduces spills, exposure, and injury. You’ll want safety equipment that fits your task and environment, including chemical-resistant gloves, splash goggles, and a snug, flame-resistant apron. Use essential tools designed for fluid handling: calibrated fluids hoses with secure fittings, a leak-free catch pan, and a capable funnel to minimize drips. Have a pressure- and temperature-rated container for measuring and pouring to prevent mishaps. Keep a spill kit and absorbent pads within reach, plus a durable flashlight or headlamp for low-light spaces. Label all containers clearly and store them upright to avoid leaks. Inspect tools for wear before use and replace damaged items promptly. Maintain a clean workspace, establish a dedicated fluid area, and follow manufacturer instructions for each device. This disciplined setup supports safer work and supports your freedom to complete tasks efficiently.
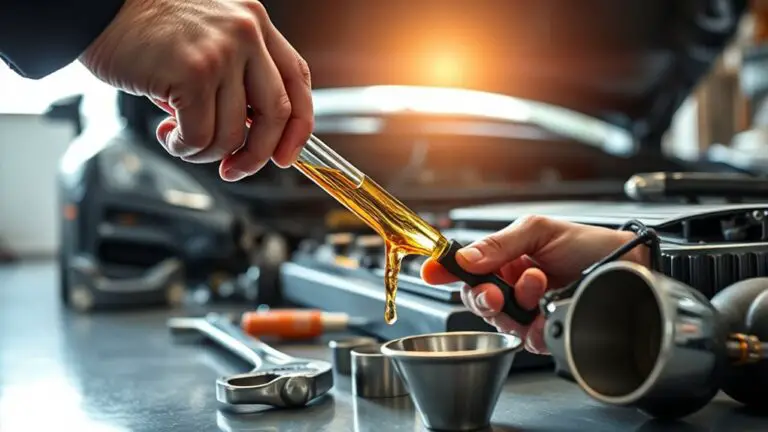
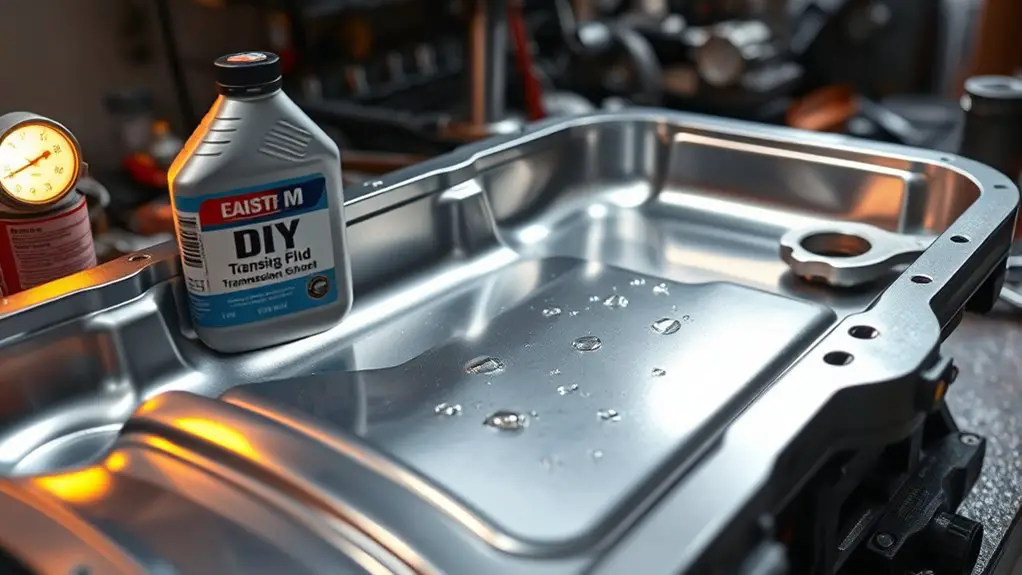
Step-By-Step Drain-And-Fill Procedures Without Overfilling
To drain and fill without overfilling, start with a calm, systematic plan: verify the exact fluid capacity, confirm the correct grade and subtype, and place calibrated measuring tools within easy reach. You’ll keep fluid levels steady by timing fills with measured increments and checking the dipstick or sensor readings as you go. Precision matters: avoid guesswork, document each reading, and stop when you approach the target range without exceeding it.
- Prepare your workstation, establish baseline fluid levels, and perform a gradual drain to the minimum safe level before reintroduction.
- Refill in small, measured portions, pause to verify fluid levels, and use calibrated tools to confirm accuracy at each step.
- Complete the process by rechecking levels, inspecting for leaks, and logging the final reading to guarantee spill prevention.
This methodical approach supports freedom of control while remaining evidence-based and efficient.
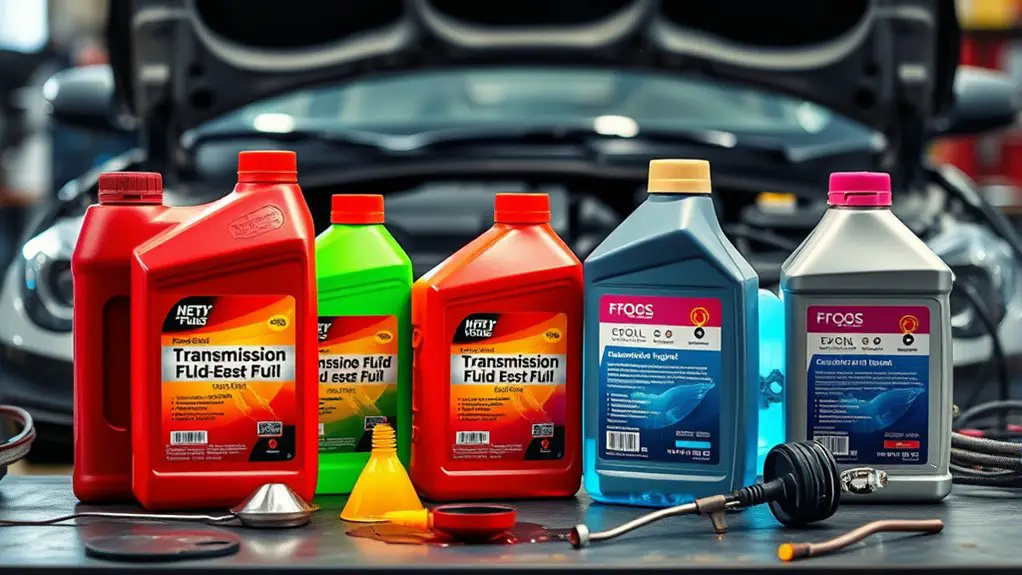
Choosing the Right Fluids: Specifications, Brands, and MPG Impact
Choosing the right fluids starts with matching specifications to your system’s requirements and understanding how those choices can affect MPG. You’ll compare OEM specs, viscosity, additive packages, and temperature ratings before selecting any product. Rely on documented fluid compatibility to confirm that the chosen fluid works with seals, gaskets, and metals in your transmission. Brand claims matter, but independent tests and manufacturer datasheets provide the real signal on fluid performance. When you evaluate viscosity, note that lighter grades can reduce drag but may compromise film strength in high-load conditions; heavier grades can improve protection yet raise internal friction. Your goal is a balance that preserves efficiency without sacrificing protection. Consider updated fluid formulations and cross-reference with service intervals to gauge MPG impact over time. Document results from trial runs to refine future choices. You’ll benefit from a disciplined approach that respects fluid compatibility and fluid performance as core criteria.
Preventing Aftertaste: Reducing Odor and Burn Smell During Servicing
When servicing systems, odor and burn smells are best prevented by controlling temps, ventilation, and material choices from the outset; localized hotspots and improper venting are common sources of lingering aftertaste. You’ll reduce risk by aligning fluid properties with system requirements, monitoring temps, and selecting compatible seals and hoses. Evidence supports that consistent venting paths and stable ambient temperature minimize reactive byproducts and odor persistence. Implementing odor elimination techniques at each stage lowers the chance of burned notes during servicing, while fluid compatibility checks verify that chosen additives won’t degrade components or create scent carryover post-service.
- Establish target temperature ranges and maintain uniform heat distribution throughout servicing work.
- Verify fluid compatibility checks for all materials, seals, and line plastics before introduction.
- Map venting paths to prevent pockets and guarantee complete purge of fumes and residues.
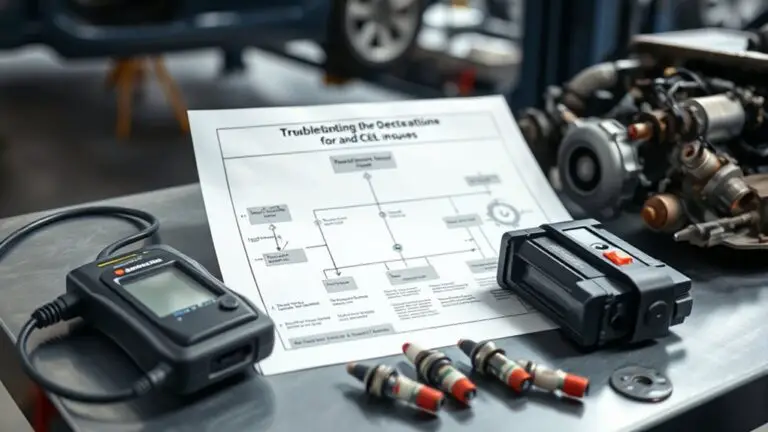
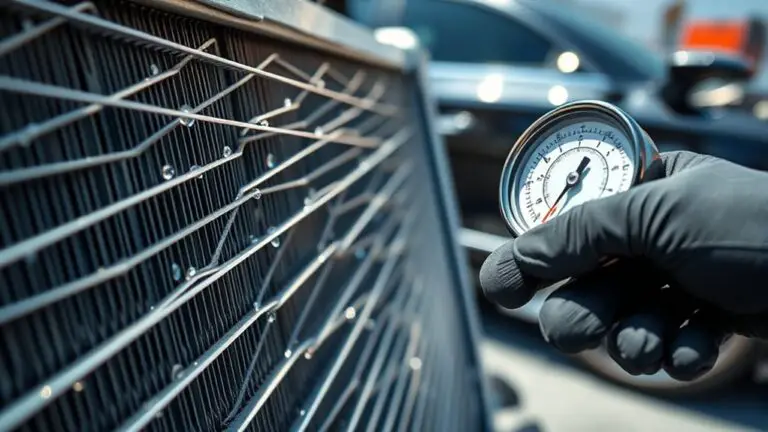
Common Pitfalls and Troubleshooting Post-Service Smells
Post-service smells can stem from lingering contaminants, improper venting, or incompatible fluids, so you should start by identifying whether odors align with known Post-service Odor Causes. Use a pressure test as a clue: abnormal pressure changes or leaks point to seal or line issues, while steady, normal readings suggest odor sources are elsewhere. Look for Fresh Fluid Signs, such as correct color, consistent clarity, and absence of foaming, to confirm you’ve cleared the service path before resuming operation.
Post-service Odor Causes
Even a seemingly clean job can leave behind odors if a few key variables aren’t addressed, so diagnosing post-service smells requires a systematic check of airflow, moisture, and residual residues. You’ll identify specific odor sources by mapping scent paths, then test each potential source against objective criteria, not assumptions. By isolating the variables, you can confirm whether smells stem from ventilation, lingering fluids, or surface residues rather than a broader system fault. Document findings and compare against baseline measurements to guarantee repeatability.
- Verify airflow patterns and vent integrity to rule out stagnant pockets as odor sources.
- Assess moisture levels in seals, gaskets, and exposed surfaces to prevent damp, mold, or chemical off-gassing.
- Inspect residual fluids and cleaning residues for trace scents that linger despite cleanup.
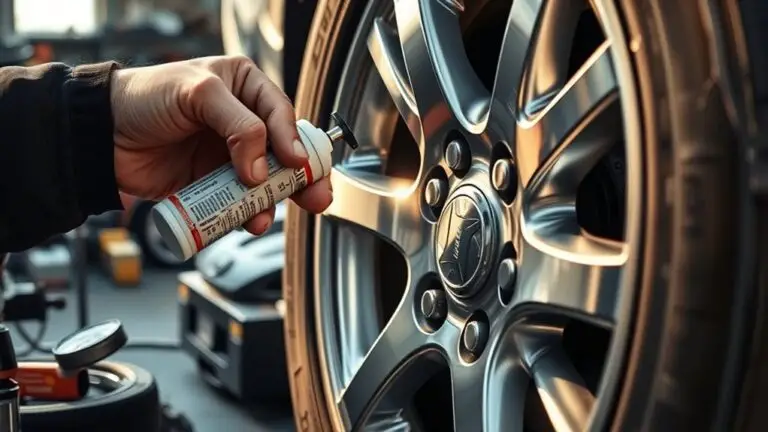
Pressure Test Clues
Pressure tests can reveal odor sources that aren’t obvious from visual checks. You’ll approach the test methodically: seal the system, apply the established pressure, and monitor for stability over the required duration. A sudden pressure drop signals a leak pathway you must map, not guess. Document the timing and magnitudes, then isolate sections to narrow the source. If you observe a gradual decline without a sharp drop, recheck connections and fittings for micro-leaks, using leak detection spray or inert tracer fluids as needed. Record ambient conditions, since temperature shifts can mimic leaks. After each adjustment, re-pressurize and recheck. Only proceed with confidence—if evidence remains inconclusive, pause, revisit earlier steps, and verify that all seals and gaskets meet OEM specifications.
Fresh Fluid Signs
Fresh fluid signs can mislead if you don’t separate normal variation from real issues. After service, you’ll assess post-change odors and behavior with discipline: compare fluid color and fluid consistency to baseline data, not impressions. If color shifts toward dark or amber or viscosity changes beyond expected, flag potential overfill, contamination, or worn seals. Correlate signs with temperature, driving style, and recent maintenance to avoid false positives.
- Track color and clarity changes over 24–72 hours; abrupt shifts merit testing rather than assumption.
- Note viscosity, flow, and smear on dipstick or sight glass; inconsistency indicates possible leaks or incorrect fill.
- Confirm smells align with fluid type; burnt or sour notes usually point to degradation or contamination, not just heat.
Maintenance Schedule Tips to Extend Fluid Life and Performance
A solid maintenance schedule is essential for extending fluid life and maintaining performance; by organizing tasks into regular intervals, you can detect wear, prevent contamination, and keep systems operating at peak efficiency. Start with a baseline: record fluid change dates, mileage or hours, and tested fluid properties. Prioritize intervals aligned with manufacturer specs, then adjust based on usage, climate, and contamination risk. Use a simple calendar or checklist to cue inspections for leaks, seals, and filtration efficacy. Schedule quick tests for fluid color, odor, and viscosity, and document results to guide future decisions. Tie maintenance to performance goals: smoother shifts, stable temperatures, and consistent pressures. Emphasize proactive changes over reactive fixes—flush or replace fluids before degradation impacts performance optimization. Maintain traceable records to support diagnostics and resale value. This disciplined approach reinforces fluid maintenance, reduces downtime, and helps you sustain freedom through reliable operation.
Frequently Asked Questions
Are DIY Fluid Services Legally Allowed Everywhere?
Yes, not everywhere. Legal regulations vary by country, state, and locality; you’re responsible for knowing your area’s requirements. You can follow DIY guidelines, but you must respect licensing, environmental, and safety rules. Symbolically, you’re steering a ship with a weathered compass. Before you begin, check official sources, obtain any needed permits, and follow evidence-based practices. Your freedom hinges on compliance—legal regulations exist to protect you. Use careful, precise steps, and document adherence.
How to Dispose of Used Fluids Responsibly?
You dispose of used fluids responsibly by taking them to recycling centers or certified hazardous-waste facilities. Check local regulations first to confirm drop-off days, container requirements, and whether you must separate fluids. Transport them in sealed, leak-proof containers. Never pour them on the ground or down drains. Bring receipts or records if required. By following local regulations and using recycling centers, you reduce environmental impact and protect public health.
Will DIY Changes Affect Warranty Coverage?
No—DIY changes can affect warranty coverage if they void specific terms or aren’t performed correctly. You should expect potential warranty implications if a dealer shows improper fluid levels, leaks, or damage linked to DIY work. Keep meticulous service records, including parts, fluids, brands, and dates, to support your case. Follow factory specs and documented procedures whenever possible. If in doubt, consult the vehicle manufacturer’s guidelines to protect your freedom to repair while maintaining coverage.
Can DIY Services Harm Seals or Gaskets?
Yes, DIY services can harm seals or gaskets if done improperly. You might cause seal degradation or gasket wear by over-tightening fittings, using incompatible fluids, or contaminating the system. Rely on correct specifications, purge procedures, and clean tools to minimize risk. Document every step, monitor for leaks, and prioritize gradual fluid changes. If you notice seepage or odor, stop and reassess; ongoing issues could indicate seal degradation or gasket wear needing professional inspection.
Which Additives Should Be Avoided in DIY Flushes?
Avoid additives that attack seals: avoid harsh solvents and abrasive cleaners. You should skip universal additives that promise miracles and aren’t proven, and be wary of other “miracle” formulas. Instead, opt for careful, evidence-based choices. If you’re flushing, use synthetic alternatives vetted for compatibility, and never mix incompatible products. You’ll want to follow manufacturer guidelines, document results, and monitor performance so your system remains reliable and free of unnecessary wear.