DIY: Installing Aftermarket Stereo on a Daily Driver Without Triggering Project Failing Mid-Upgrade
To avoid a mid‑project derailment, plan your upgrade in clear steps: define goals, budget, and timeline; verify vehicle compatibility and fuse locations; and map power, ground, speaker, and accessory wires with labeled adapters. Work cleanly with separate power and signal runs, solid grounds, and proper crimping. Test fit before permanent mounting, and document every setting. Stay within legal limits and respect safety systems. If you stick with this approach, you’ll uncover more practical details ahead.
Planning Your Aftermarket Stereo Project
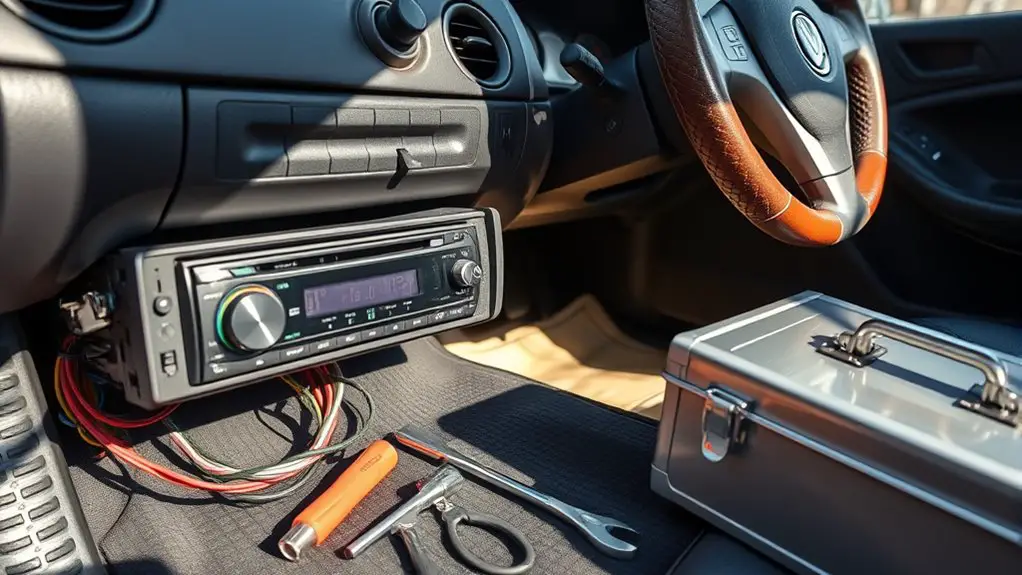
Planning your aftermarket stereo project starts with a clear scope and safe, practical steps. You’ll define goals, set a realistic timeline, and map milestones to avoid mid-upgrade stalls. Start with a written scope: what features matter most, how much performance you expect, and how you’ll test results. Outline constraints like vehicle compatibility, warranty implications, and electrical safety. Next, assess budget considerations to allocate funds for head unit, speakers, and installer fees, while leaving room for unforeseen needs. Create a procurement plan: prioritize essential components, then schedule purchases to align with progress. Identify tool requirements early—basic hand tools, a multimeter, and possibly harness adapters—so you’re not delaying work for missing equipment. Safety stays central: disconnect the battery, protect the interior, and work in a well-ventilated area. Finally, establish success criteria and a rollback plan in case you encounter compatibility issues, ensuring you maintain control and momentum throughout the project.
Choosing the Right Harnesses and Wiring
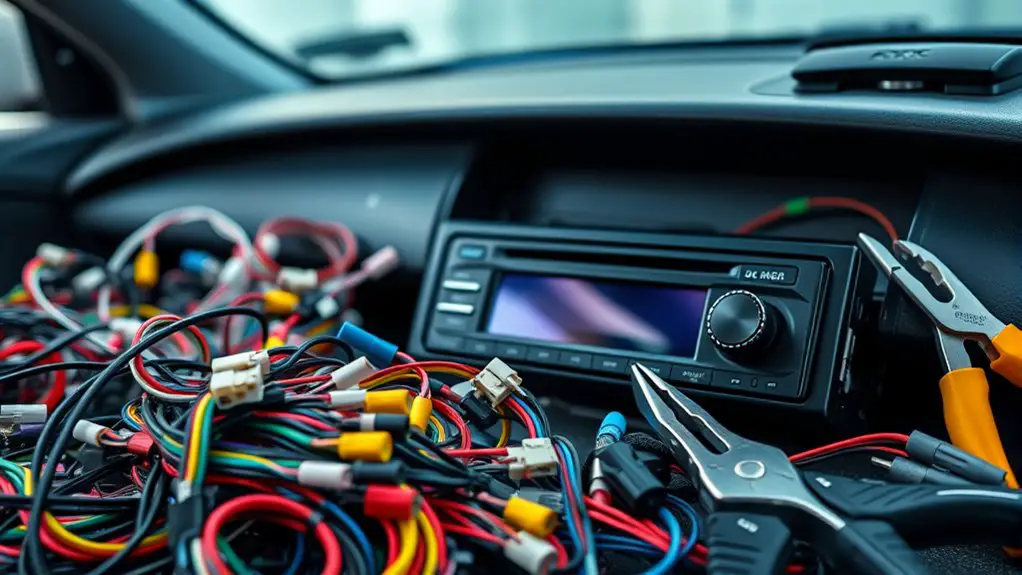
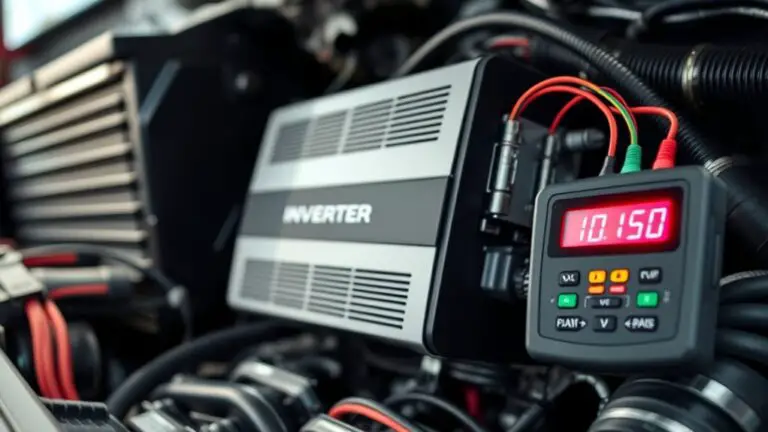
Choosing the right harnesses and wiring starts with matching components to your vehicle and head unit, then verifying compatibility with any factory features you plan to retain. You’ll assess harness compatibility early, identifying OEM connectors and required adapters. Prioritize wiring colors that match the harness, and note any deviations to prevent mispins. Keep a minimal, precise plan: map power, ground, speaker, and accessory wires to their destinations, and confirm dimming, steering wheel controls, and factory amp integrations if they matter to you. Use adapters that retain safety features and fuse locations. Follow labeled diagrams, label every connection, and test progressively.
| Step | Focus |
|---|---|
| 1 | Vehicle-harness fit |
| 2 | Wiring color mapping |
| 3 | Retained features check |
Safety-minded simplicity: verify fuse ratings, avoid mixed grounds, and don’t force connectors. Freedom comes from knowing you’re mechanically clear, electrically correct, and ready to move forward.
Wiring Basics and Safe Installation Techniques
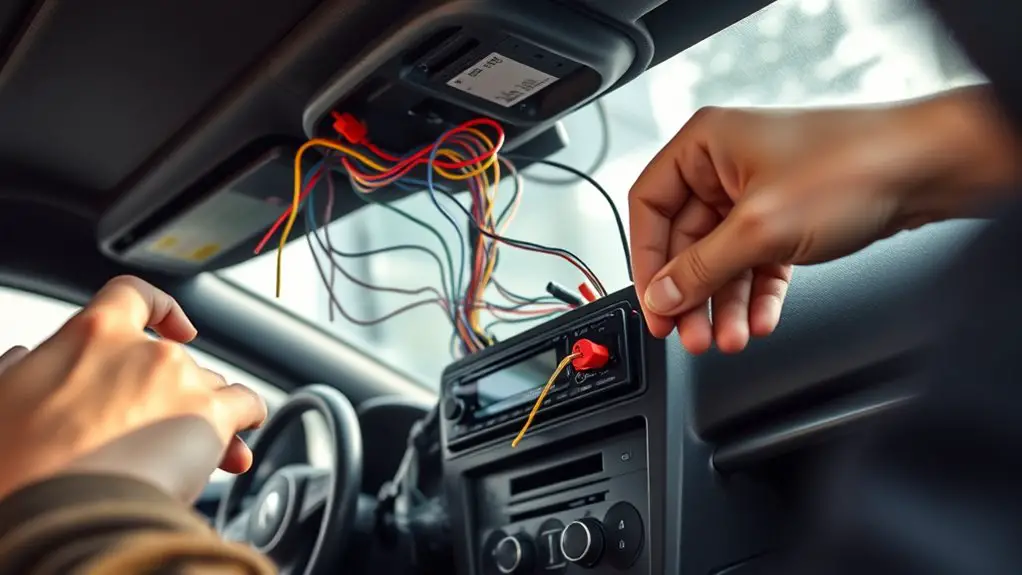
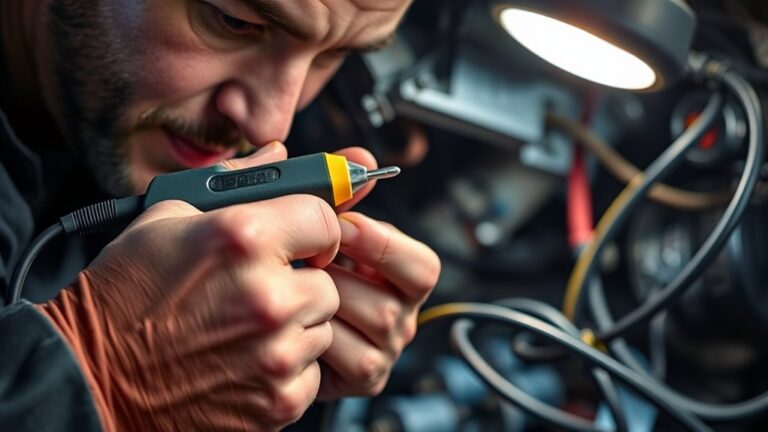
Now that you’ve lined up the right harness and mapped the basics, you’ll focus on wiring basics and safe installation techniques. Start with clean, labeled connections and a clear path for wires, avoiding sharp edges and heat sources. Use wiring diagrams to confirm polarity, fuse locations, and speaker/amp outputs before cutting or tapping anything. Ground terminals must be solid and unpainted, ideally metal-to-metal with a star washer or mounting bolt. Route power and signal cables separately to minimize interference; keep ignition and accessory lines away from audio signals. When torqueing terminals, apply steady, even pressure and double-check crimp quality with a quick pull test. Always use the correct installation tools—crimpers, wire strippers, and a multimeter for continuity and voltage checks. If you’re unsure, pause and reassess rather than forcing a connection. Safety first keeps your daily driver reliable and your freedom intact.
Avoiding Common Pitfalls During the Upgrade
Even with the best plans, curb your optimism and spot common upgrade pitfalls early to keep the project smooth and safe. You’ll avoid drama by pre-flagging stereo compatibility issues, confirming harness compatibility, and verifying grounded power routing before you cut or splice anything. Stay disciplined with your installation tools checklist to prevent last-minute scrambling.
| Step | Risk to Watch | Mitigation |
|---|---|---|
| 1 | Mismatched harness | Verify stock-to-aftermarket adapter compatibility |
| 2 | Power ground errors | Double-check ground point, fuse rating, and battery isolation |
| 3 | Inaccurate dash fit | Test-fit before permanent mounts; trim only as needed |
| 4 | Poor antenna/signal | Confirm antenna adapter and RF shield integrity |
| 5 | Insufficient wiring length | Plan routes, label, and secure with proper clips |
Keep momentum by documenting every connection, test in a powered-off state, and respect safety margins. This mindset supports freedom without compromising integrity or legality. Stay precise, deliberate, and ready to adapt.
Testing, Finishing Touches, and Legal Considerations
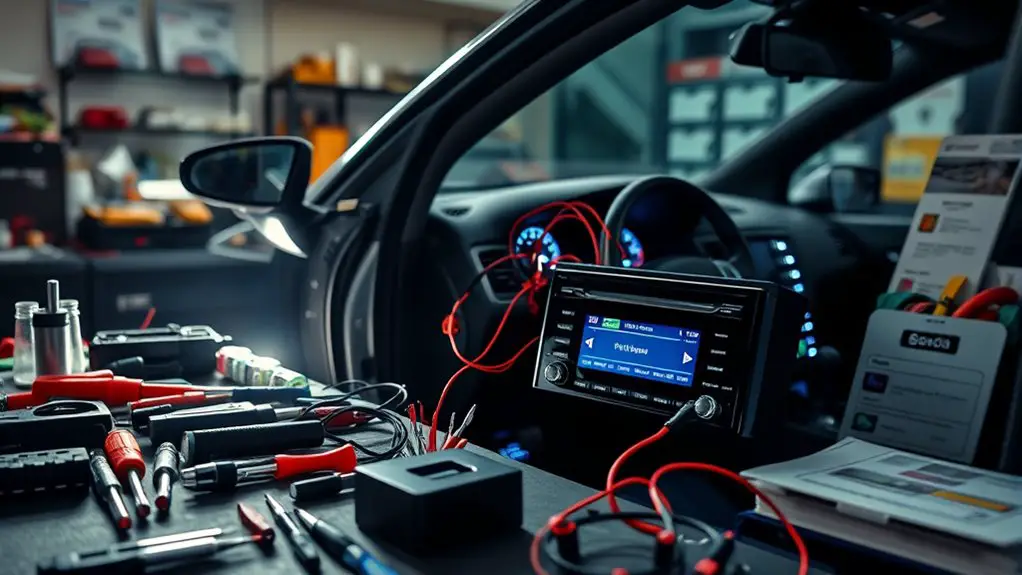
As you bring the install toward completion, meticulous testing, finishing touches, and mindful legal considerations keep the project on solid ground. You methodically verify power draws, harness integrity, and antenna routing to prevent rattles and interference. Sound quality becomes the benchmark: test across genres, balance EQ, adjust crossovers, and confirm that fades and fades back in without distortion at high volume. Finishing touches focus on secure harness ties, dash trim alignment, and weatherproofing where applicable, guaranteeing reliability in daily use. Document all settings and results so future work remains traceable and reversible if needed. Legal compliance matters stay front and center: respect local noise ordinances, avoid modifying safety systems, and make certain the installation won’t obscure airbags or critical indicators. Maintain a conservative approach, back up factory functionality, and rehearse a safe test drive. Freedom to customize rests on disciplined execution, astute listening, and adherence to rules that protect you and others on the road.
Frequently Asked Questions
How Long Does a Typical Aftermarket Stereo Installation Take?
Typical aftermarket stereo installation takes about 2 to 4 hours for a straightforward job. You’ll save time with a clean workspace, labeled harnesses, and preassembled adapters. Plan for 30–60 minutes for dashboard removal and wiring, plus 30–60 minutes for mounting and testing. Stay safety-conscious: disconnect the battery, avoid loose connections, and double-check grounding. Time estimates may vary by vehicle, but with careful installation tips, you’ll complete the project efficiently and enjoy the freedom of your upgraded setup.
Will This Upgrade Affect Factory Warranty Coverage?
“Beauty is in the eye of the beholder,” and yes, this upgrade can affect warranty coverage. You’ll want to check your factory warranty’s terms for aftermarket parts; there are warranty implications and coverage limitations. If you install correctly and preserve OEM interfaces, many manufacturers keep policies intact, yet voids arise if non-approved components or improper wiring trigger issues. You should document procedures, use approved harnesses, and consult your dealer to stay safety-conscious and free to customize.
Can I Install Without Removing the Dash Panels?
Yes, you can install without removing dash panels, but expect limited access. Start with dash removal alternatives like loosening trim screws and prying gently to reach connectors. Use proper dash-macking tools and avoid forcing panels. Plan stereo mounting options that keep weight balanced and vents clear. Work methodically, disconnect the battery, and follow OEM harness paths. Prioritize safety, avoid shortcuts, and document wiring. You’ll gain freedom with careful steps and clean, secure mounting.
Do Iphone and Android Audio Integrations Differ Significantly?
Yes, they differ, but not dramatically. You’ll find iPhone tends to emphasize seamless wireless integration and carplay-style features, while Android offers broader USB, Bluetooth, and file‑type support. Audio compatibility is usually strong for both, but installation challenges can rise with platform-specific apps, cables, and DACs. You’ll want to plan for compatibility checks, strain relief, and safe wiring. If you want freedom, test before finalizing, and choose adapters that match your preferred ecosystem.
What’s the Best Way to Hide Aftermarket Wiring Neatly?
To hide aftermarket wiring neatly, route cables along existing harness channels, prioritize low-visibility spots, and use cable organizers. Start with wiring management basics: label runs, clip them away from moving parts, and avoid sharp edges. Use loom or split loom, zip ties, and adhesive mounts to keep cable organization tidy. Keep power lines separate from signal lines, and secure all connectors. This approach emphasizes safety and freedom to customize without clutter.