DIY: Installing Suspension Bushings on a Daily Driver Without Triggering Heated Seat Install Electrical Issues
To DIY suspension bushings on a daily driver without tripping heated-seat circuits, start by isolating power safely: disconnect the battery, wait for capacitors to discharge, and cover exposed wires. Inspect fuses and grounds, then secure the car on stands. Use a clean, methodical approach: loosen grips, apply penetrating oil, press out old bushings, clean mounts, install new bushings with sleeves, and torque to spec. Confirm power stability, then test drive briefly to catch any electrical interference—more steps follow if you continue.
Assessing Symptoms and Prep for Suspension Bushing Replacement
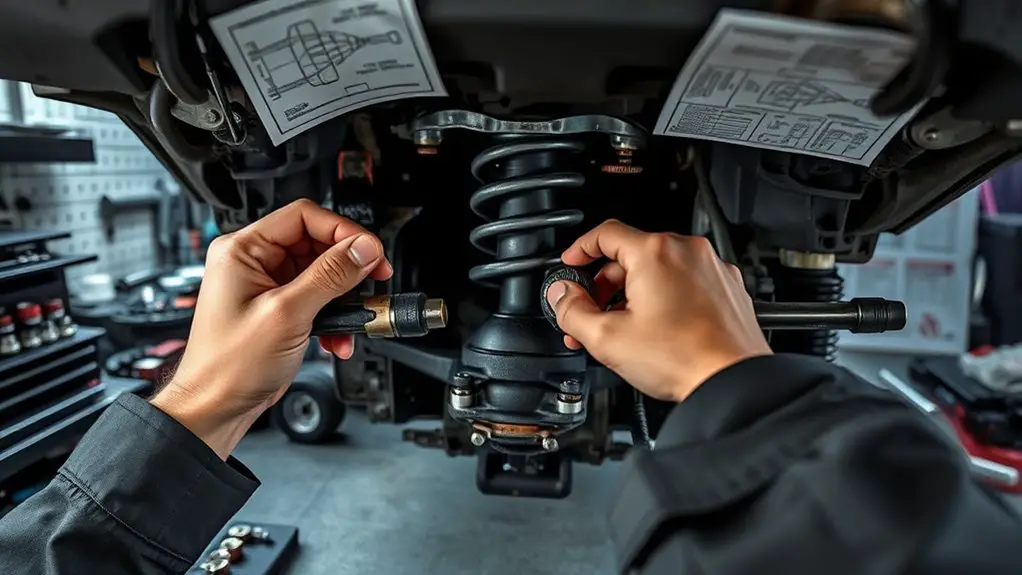
Common symptoms of worn suspension bushings include clunking noises during bumps, excessive wheel or body movement in corners, biased tire wear, and vague steering feedback. You’ll start by noting what you’re experiencing on varied roads, then compare to known suspension symptoms. Gather basic tools and a clean workspace, marking fasteners and noting torque specs from your service manual. Inspect control arms, sway bar links, and pivots for play by hand, lifting the vehicle safely to check for looseness. If you detect binding, torn rubber, or misalignment, prioritize bushing wear as a possible culprit. Verify related components, such as the ball joints and tie rods, aren’t contributing to the symptoms. Document mileage, driving style, and recent impacts to guide replacement intervals. Prepare replacement bushings matched to your model, and plan a controlled sequence for removal and installation. Clear, methodical steps help you restore stability while preserving freedom to drive confidently.
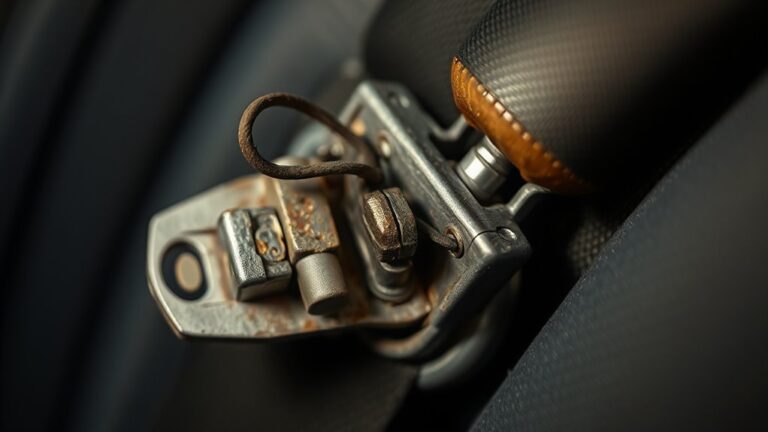
Isolating Power and Protecting Electrical Systems Before Work
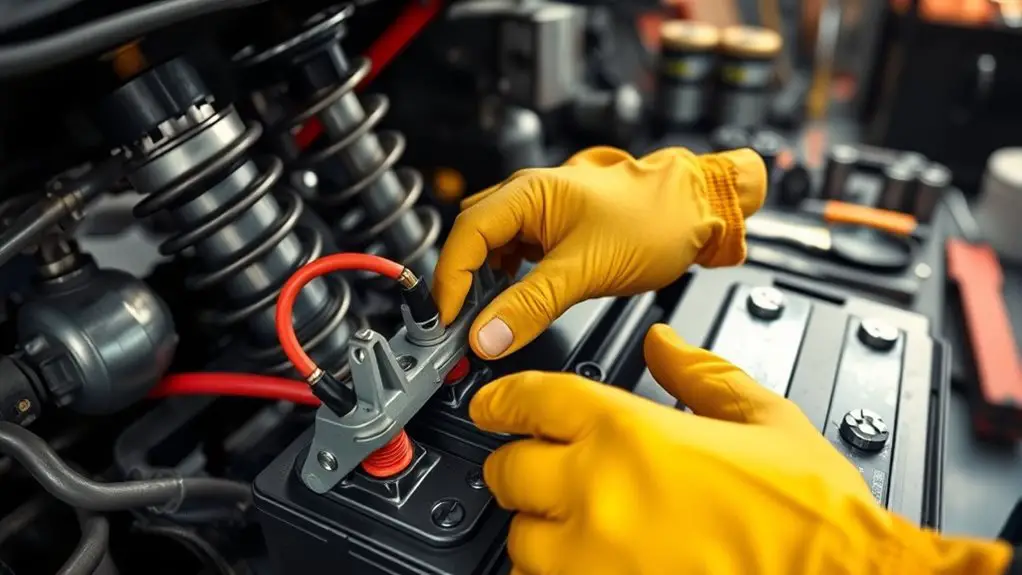
Before you plunge into removal, power down the system and disconnect the battery to prevent shorts or unanticipated airbag or ECU activity; this step is nonnegotiable for safe work and future reliability. You’ll focus on power isolation and electrical protection to keep circuits from waking up mid‑task or feeding back into sensitive modules.
Before you plunge into removal, power down the system and disconnect the battery to prevent shorts or unanticipated airbag or ECU activity.
- Create a safe barrier: disconnect battery, remove key, and wait a few minutes for capacitors to discharge.
- Shield exposed wiring: cover harnesses with insulated blankets or wrap to prevent accidental contact and heat transfer.
- Verify grounds and fuses: inspect main fuses, relays, and chassis grounds to guarantee clean power paths and easy fault tracing.
This approach minimizes risk, preserves seat and ECU integrity, and keeps your freedom to drive unencumbered. Maintain a calm, methodical pace, double‑check every step, and document any abnormal readings. Power isolation and electrical protection set the foundation for a clean, confident install without drama.
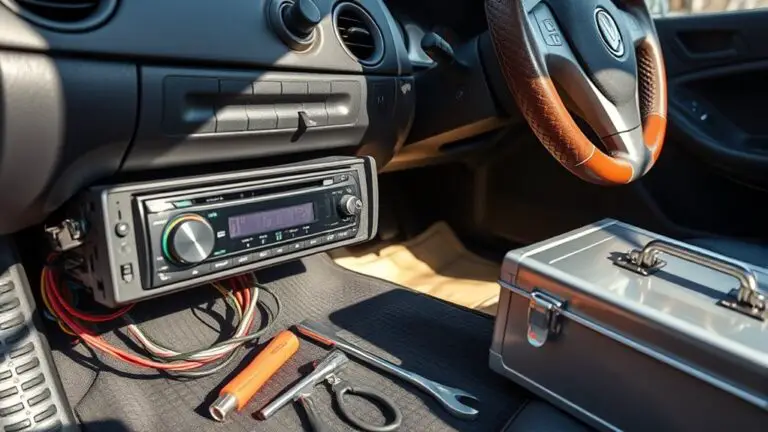
Tools, Materials, and Safety Steps for a Daily Driver
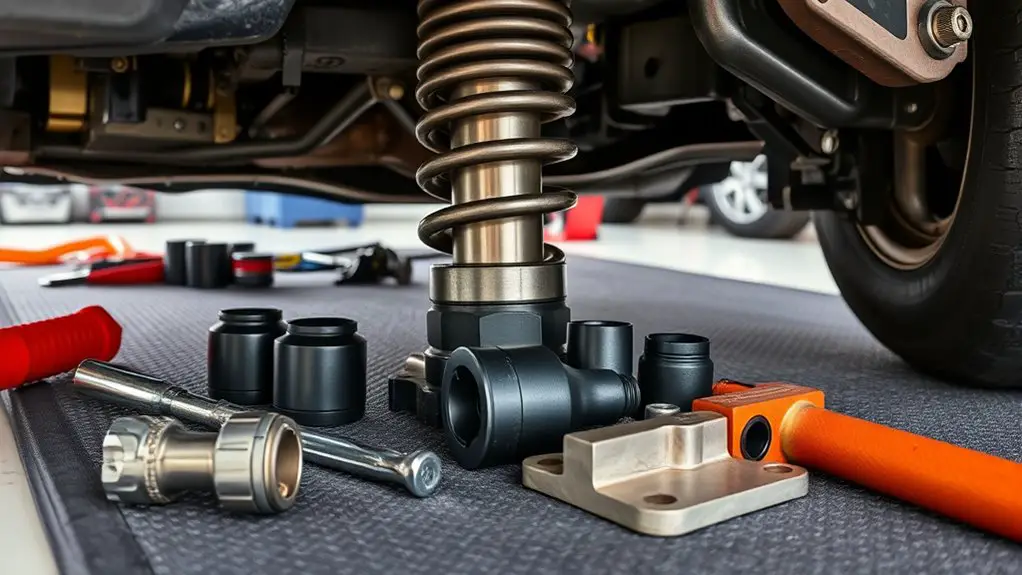
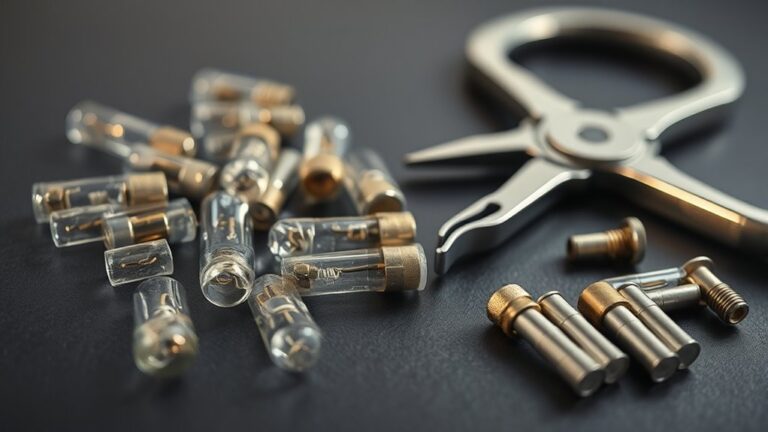
To tackle the DIY suspension bushings safely and effectively, you’ll need a focused kit of tools, a clear list of materials, and a simple safety routine you can follow on a daily-driver. Start with a compact tool set: ratchet, metric sockets, breaker bar, torque wrench, jack stands, and a floor jack. Add pullers, pry bars, rubber mallet, bearing press if needed, penetrating oil, and thread locker. Materials should cover the bushing kit, lubricant, sleeves or sleeves-compatible spacers, and cleaning solvent. Safety steps: disconnect the battery, wear eye protection, gloves, and keep a fire-safe area; secure the vehicle on firm stands; work in a well-ventilated space; never work beneath a lifted, unsupported car. Know your suspension types and matching bushing materials to avoid mismatches. Keep a simple parts checklist, label fasteners, and document torque specs for your daily-driver. Stay precise, stay organized, stay free.
Step-by-Step Procedure for Replacing Suspension Bushings
Replacing suspension bushings is a methodical, step-by-step process. You’ll approach it with focus and precision, choosing the right suspension types and bushing materials for your daily driver, then methodically disassemble, replace, and reassemble with minimum fuss. Begin by safe-guarding the area, lifting the vehicle, and supporting the control arm. Remove fasteners, release tension, and separate the old bushings using penetrating oil or a press if needed. Inspect surrounding components for wear and clean mounting surfaces before new parts go in.
- Precision fits: align bushings correctly to avoid binding
- Clean, dry contact surfaces for predictable performance
- Reassemble with correct torque specs and seated, not over-tightened
Next, reinstall the control arm, torque fasteners to spec, and verify smooth movement by hand before lowering. Track alignment and ride height after installation, then road-test gently. Remember, selecting the right suspension types and bushing materials guarantees durability and freedom in your daily drive.
Post-Install Checks and Troubleshooting Without Electrical Interference
After you’ve completed the bushing replacement, the next step is to verify everything’s functioning correctly without triggering any electrical interference. You approach this with a calm, methodical checkplan: confirm accessory power stays steady, doors and lights respond normally, and the seat heater circuit remains inactive unless explicitly engaged. Begin with electrical diagnostics basics: verify fuses are intact, scan for codes, and inspect ground points near the suspension area for looseness or corrosion. Move to the chassis tests—drive at a low speed and listen for new creaks or clunks, then test cornering, braking, and acceleration to ascertain motion feels consistent. If you notice odd behavior, isolate the trigger by reverting to a known-good wiring path and recheck connections. Document every reading and timestamp results. Use targeted troubleshooting techniques: swap suspected components, re-seat connectors, and re-run diagnostics. End with a quick road test to validate reliability before daily use.
Frequently Asked Questions
Will Replacing Bushings Affect ABS or Traction Control Systems?
Replacing bushings can affect ABS or traction control only if you install the wrong type or misalign components. If you stay within bushing types suited for your model and follow careful installation techniques, your systems should remain unaffected. Do you know how to verify tolerance and sensor clearance before reassembly? You’ll want to test steering feel, brake response, and wheel speed data after, ensuring calibration isn’t disturbed. Precision matters for predictable, confident driving freedom.
Can DIY Bushing Work Trigger Airbag or Seat Heater Circuits?
Yes, DIY bushing work can trigger airbags or seat heaters if you cut power or disturb airbag/seat electrical circuits. You should disconnect the battery, avoid pinching wires, and follow proper installation procedures. Use bushing types suited to each mounting point, and adhere to safe installation techniques to prevent accidental deployment. Keep water-tight, loom-wrapped wires, and test circuits from a safe state after completion. Prioritize methodical steps and verify all systems before road use.
Should I Recalibrate Tire Alignment After Bushing Replacement?
Yes, you should recalibrate after replacing bushings. Think of your stance as a compass—alignment adjustments restore it after the suspension shifts. Start with an alignment check, then adjust toe, camber, and caster as needed. Compare results across bushing types you used, because stiffness differences affect geometry. Document torque specs, recheck after a test drive, and fine-tune. This keeps your handling precise, confident, and aligned with your freedom-loving, practical mindset.
How to Test for Hidden Wiring Damage Post-Install?
You should perform a wiring inspection first, then check circuit continuity across suspected areas. Start by visually inspecting harnesses for pinches, chafing, or near-hot components. Gently wiggle connectors and resecure to original routing. Use a multimeter to verify circuit continuity from power to ground, noting any unexpected resistance or open lines. If readings deviate, trace and repair damaged insulation before restoring panels. Document findings and test-drive cautiously, monitoring for any intermittent faults.
What Warranty Considerations Apply to DIY Bushing Jobs?
Warranty implications for DIY repairs vary by manufacturer and region, so you’ll want to check your policy details. If you modify suspension components yourself, some warranties may be voided or limited, especially if failure traces back to the DIY work. Document everything, use OEM torque specs, and keep receipts. You should still maintain records of parts and professional inspection if needed. Understand coverage gaps, then decide if DIY repairs align with your risk tolerance and freedom to customize.