
DIY Troubleshooting Flow for Non-Hv Charger Comms Error
To troubleshoot non-HV charger comms errors, you’ll follow a disciplined, stepwise flow. Start by ensuring both charger and device are shut down, de-energized, and safe. Inspect cables and connectors for cleanliness and damage, then verify seating and compatibility of voltage, current, and charging standards. Isolate variables by swapping cables, ports, and adapters, and reproduce the issue under controlled conditions. Document results, perform targeted replacements when necessary, and expect deeper fixes if the issue persists beyond basic checks. You’ll uncover more with careful continuation.
Understanding Non-HV Charger Communications Basics

Non-high-voltage (non-HV) charger communications are the simplest form of device-to-charger dialogue, handling basic handshakes, status queries, and voltage/current negotiations. You’ll focus on how a charger and device establish a baseline, then maintain a predictable exchange. The core concept is straightforward: define roles, set timing, and confirm capabilities before any power transfer. You’ll map the interaction into discrete steps: negotiate voltage, confirm currents, and verify safe operation through status bits. Communication protocols are the blueprint for these exchanges, detailing message formats, timing windows, and error codes. You’ll assess how signals travel along leads and within connectors, noting that signal integrity governs reliability under real-world conditions. Small changes in impedance, reflections, or crosstalk can disrupt handshakes. By isolating variables and validating each phase, you preserve control over the conversation, ensuring devices respond consistently and safely while preserving the freedom to iterate improvements.
Safety Precautions Before Troubleshooting

Before you begin troubleshooting, shut down the charger and the device, disconnect all power sources, and discharge any residual energy to safer levels. You’ll proceed with care, using a deliberate, analytical mindset to minimize risk. Safety equipment—gloves, eye protection, and insulated tools—must be in place before touching any components. Identify potential electrical hazards and address them through controlled steps rather than guesswork. Maintain clear boundaries between powered and unpowered states, and verify de-energization with a suitable tester before proceeding.
| Column A | Column B | Column C |
|---|---|---|
| PPE on | Power off | Probe safely |
| Lockout | Grounded | Inspect for hazards |
| Column A | Column B | Column C |
| Verify isolation | Use insulated tools | Avoid metal jewelry |
This approach emphasizes disciplined, measured actions. Avoid rushing, never bypass procedures, and document deviations. Your goal is to reduce risk while maintaining progress. If uncertainty arises, pause and reassess. Prioritize safety equipment and awareness of electrical hazards to sustain freedom through informed, responsible troubleshooting.
Quick Visual and Physical Inspection of Cables and Connectors
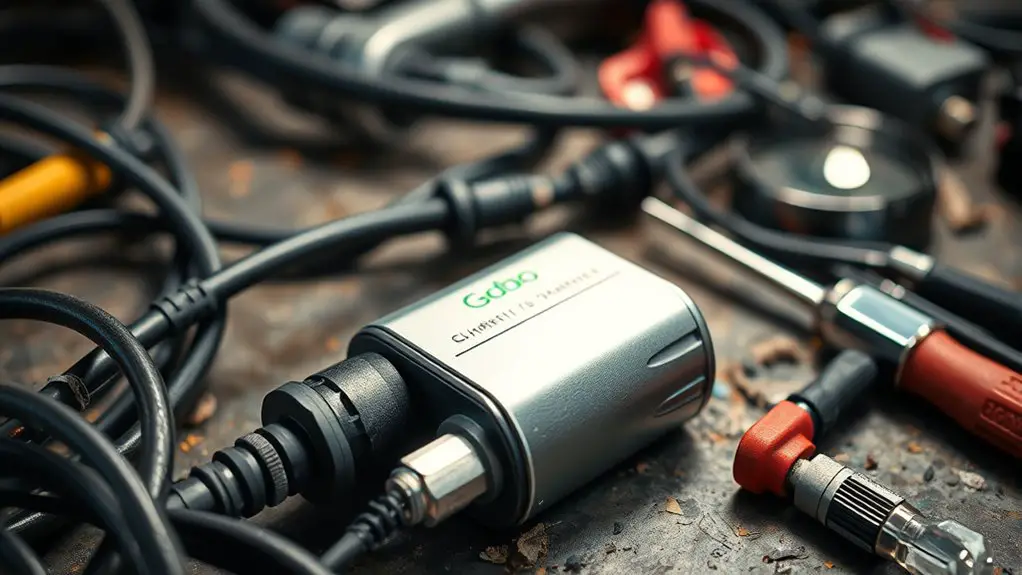
You’ve secured the prior safety steps, and now you’ll perform a quick visual and physical inspection of cables and connectors. You’ll assess integrity, cleanliness, and fit, focusing on reliability and future freedom from fault. Begin with a calm, systematic scan, noting any obvious damage, pinch points, or exposed conductors. You’ll verify that cable types match device and charger requirements, avoiding mismatches that create resistance or heat. Inspect connectors for bent pins, missing latches, or rough surfaces, then test seating depth and retention to guarantee solid contact. Document any irregularities before proceeding, so you retain control over the flow.
- Check cable types and confirm compatibility with the charger and device
- Inspect connector cleanliness, removing debris without force
- Assess strain relief, bends, and overall cable condition
- Confirm secure, undamaged connections at both ends
Verifying Charger and Device Compatibility Settings
To verify charger and device compatibility settings, start by confirming that the charger’s output ratings align with the device’s accepted input range and charging protocol. You’ll compare voltage, current, and power limits against the device requirements, noting any strict or negotiable thresholds. Check if the charger supports the device’s required charging standard and negotiation method, as described in the charger specifications. If a mismatch appears, document the delta and assess whether the device can tolerate a lower or higher input within safe bounds. Validate the device’s requirement for any communication handshake or authentication step and whether the charger advertises compliant profiles. Ascertain firmware or software on both ends isn’t restricting compatibility. Maintain a clear record of results and any assumptions. This procedure minimizes ambiguity, preserves freedom to choose within safe margins, and provides actionable direction for aligning charger specifications with device requirements without unnecessary detours.
Isolating the Issue: Cables, Ports, and Adapters
Cables, ports, and adapters can be subtle failure points, so start by validating each component in isolation. You’ll inspect cable types, test alternative cables, and confirm that each connector seats fully without wiggle. Next, evaluate port conditions on both charger and device—look for bent pins, debris, or damaged housings, and verify that contact surfaces are clean. If a port appears questionable, substitute a known-good adapter or cable to isolate the variable. Maintain a controlled swap cadence to avoid confounding results.
- Verify cable types and gauge compatibility with both devices
- Inspect ports for debris, loose pins, or visible damage
- Swap with known-good cables and adapters to test stability
- Confirm both ends seat firmly and lock or click into place
Reproducible Test Scenarios to Narrow Down Causes
You start by outlining reproducible test scenarios that isolate variables and repeatable steps. Then you narrow down causes by comparing results across controlled conditions and documenting exact inputs, outputs, and timings. Finally, you use the outcomes to map the failure to a specific component or communication step, refining your hypothesis with each iteration.
Reproducible Scenarios
Reproducible test scenarios are the backbone of narrowing down charger comms errors; they let you isolate variables and confirm root causes. You pursue repeatable steps, documenting every variable so patterns emerge, not guesses.
- Identify consistent error patterns across identical setups
- Swap one variable at a time to observe changes
- Record timing, devices, and firmware for each run
- Compare near-miss events to confirm common solutions
You maintain calm, objective analysis, avoiding assumptions. By focusing on repeatability, you reveal how each element influences comms, and you map error patterns to concrete fixes. This discipline yields actionable insights rather than conjecture, guiding you toward efficient, repeatable resolutions. Your aim: reduce ambiguity, accelerate resolution, and preserve freedom to troubleshoot without unnecessary detours.
Narrow Down Causes
To narrow down causes effectively, start from the reproducible test scenarios you’ve already established and gradually introduce controlled variations that illuminate root failures. You’ll swap one variable at a time, noting whether the error codes shift or persist. Keep measurements consistent: timing, voltage levels, and device states should be recorded alongside results. If a variation affects behavior, mark it as a potential cause; if not, deprioritize. Consider signal interference: introduce or block plausible sources to see if error codes recur or vanish. Map outcomes to a concise hypothesis log, updating your confidence levels accordingly. Narrowing focuses your diagnostic effort, reducing noise. When patterns emerge, validate with a final, minimal-impact test that confirms the root issue without full-system disruption. Freedom here means disciplined, clear, repeatable inquiry.
Recommended Corrective Actions and When to Replace Components
You should start by checking component wear indicators to gauge remaining useful life before proposing any corrective steps. If indicators show degradation or if diagnostic replacements trigger alerts, plan timely replacements rather than ad hoc fixes. Always follow safe handling guidelines to minimize risk during inspection and replacement.
Component Wear Indicators
Component wear indicators are critical for determining when corrective actions are warranted. You’ll assess signs of degradation, matching them to documented wear indicators and your component lifespan estimates. When indicators cross defined thresholds, proceed with predefined corrective actions rather than improvising. Approach is systematic: observe, quantify, decide, act, then re-evaluate.
- Identify visible wear signs and correlate with manufacturer thresholds
- Track performance drift against baseline measurements
- Compare wear indicators to expected lifespan envelopes
- Schedule timely replacement or recalibration to maintain safety and efficiency
This mindset preserves autonomy: you decide based on objective data, not assumptions. By respecting wear indicators, you sustain reliability while maintaining freedom to troubleshoot with confidence, ensuring non-hv charger comms remain aligned with real-world wear and material limits.
Diagnostic Replacement Triggers
Diagnostic replacement triggers define the exact conditions under which a charger’s components should be swapped, based on observed faults, reliability data, and documented failure modes. You assess failure signals like intermittent communication loss, degraded response times, and sporadic handshakes, then map them to candidate replacements. Diagnostic tools guide measurements of voltage rails, impedance, and logical health flags, ensuring data-driven decisions rather than guesses. Replacement strategies emerge from trend analysis, MTBF estimates, and field reliability reports, enabling you to prioritize parts with the highest impact on safety and performance. You implement planned swaps, documenting root causes and test results to validate the remedy. This disciplined approach reduces downtime and misdiagnosis while preserving system integrity and user autonomy in ongoing maintenance.
Safe Handling Guidelines
Safe handling guidelines for corrective actions and component replacement emphasize controlled procedures, documented steps, and personal safety. You assess risks, isolate power, and use safe practices to minimize harm. Follow a written checklist, confirm equipment is de-energized, and verify tool compatibility before work. When in doubt, replace suspect parts with known-good components, and document outcomes for traceability. Use proper handling tools to avoid damage to connectors and modules, and store removed parts securely until disposal or testing. Adhere to timing, temperature, and isolation requirements to prevent inadvertent re-energization. If measurements deviate, pause and re-evaluate before proceeding.
- Safe practices
- Handling tools
- Documentation
- Replacement criteria
Frequently Asked Questions
How Do Non-Hv Chargers Handle Intermittent Communication Timeouts?
42% of non-HV chargers show occasional timeouts under load, illustrating intermittent reliability. You handle this by focusing on communication protocols and timeout strategies. When a timeout occurs, you retry with exponential backoff, log events, and switch to a safe fallback mode. You verify handshake integrity, monitor CRCs, and confirm clock drift isn’t causing drift. You design the flow to minimize disruption, preserving control, safety, and user autonomy while pinpointing root causes quickly.
Can Firmware Updates Impact Charger-Device Negotiation Behavior?
Firmware updates can impact charger-device negotiation; yes, they can. If a update changes timing, supported profiles, or security handshakes, negotiation issues may arise until revisions align. You should verify version compatibility, test power-class offerings, and review handshake logs after updates. Confirm fallback firmware is available, and document any deviations in behavior. By validating each parameter, you preserve control while embracing improvements. Stay disciplined in testing, and monitor for unexpected renegotiations or stalls.
Do Environmental Factors Affect Non-Hv Charger Comm Stability?
2 in 3 chargers show some drop in reliability under harsh conditions. Yes: environmental factors affect non-hv charger comm stability. You’ll see fluctuations when temperature, humidity, and electromagnetic noise rise, so you should monitor for latency spikes and packet loss. Track environmental impacts with precise logs, then compare against baseline to isolate issues. Stay methodical: identify thresholds, test under controlled changes, and confirm trends before committing to fixes that preserve communication stability and freedom to operate.
What Logs or Measurements Best Indicate a Comm Fault?
You ask: what logs or measurements best indicate a comm fault? Use communication logs and diagnostic measurements as your primary indicators. Track timestamps, error codes, retries, and handshakes, noting any timeouts or CRC failures. Correlate voltage, current, and impedance with state changes and beacon intervals. Document anomalies with precise conditions, durations, and retries. You’ll spot patterns—repeated resets, mismatched IDs, or unexpected response shapes—that reveal where the fault lies and guide targeted troubleshooting steps.
Is There a Safe Method to Test With Sacrificial Adapters?
Yes, there is a safe method: use sacrificial testing only with clearly marked, purpose-built adapters and strict gating. Keep adapter safety at the forefront, verify current, voltage, and insulation limits, and never bypass safety features. Conduct controlled trials, monitor heat, and disconnect at signs of stress. Use coincidence to pace observations—step, measure, record, compare. If anything looks off, halt. This approach errs toward caution and documented procedure.