DIY Troubleshooting Flow for Non-Hv Charging Port Damage
Start with power and cable checks: verify the outlet isn’t tripped and voltage matches your device, try a different wall adapter, and inspect the charging cable for wear. Then inspect the port for debris, corrosion, or loose pins, cleaning gently with a dry brush and isopropyl alcohol if needed. Test with a known-good cable and adapter to isolate variables, and assess port alignment and contact stability. Keep symptom notes; if issues persist, you’ll uncover the next steps as you continue.
Checking Power and Cable Integrity
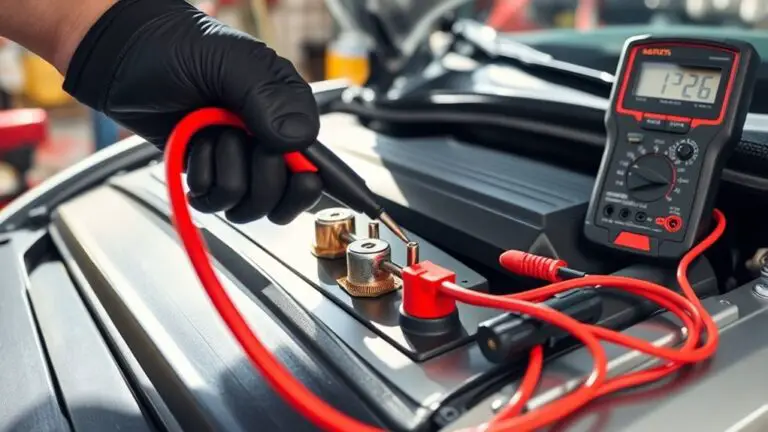
Make certain the power supply and charging cable are functioning before suspecting the port. You’ll test core elements first to avoid chasing phantom faults. Confirm the outlet provides steady power and isn’t tripped by a GFCI or breaker. Try an alternate wall adapter if available, guaranteeing voltage matches your device’s spec. Inspect the cable for visible wear, fraying, kinks, or loose connectors; even subtle damage can cause intermittent power delivery. If you have a removable cable, test with another unit to rule out a worn connector or poor contact. Check for signs of power loss during use, such as sudden resets or flashing indicators. Verify the charging port mate is clean and seated fully when you reconnect, but don’t force connections. Document any patterns: extended charging times, inconsistent acknowledgement of charging, or partial power delivery. When power delivery remains unreliable, you’ve narrowed the scope toward the port or its immediate path, not external components.
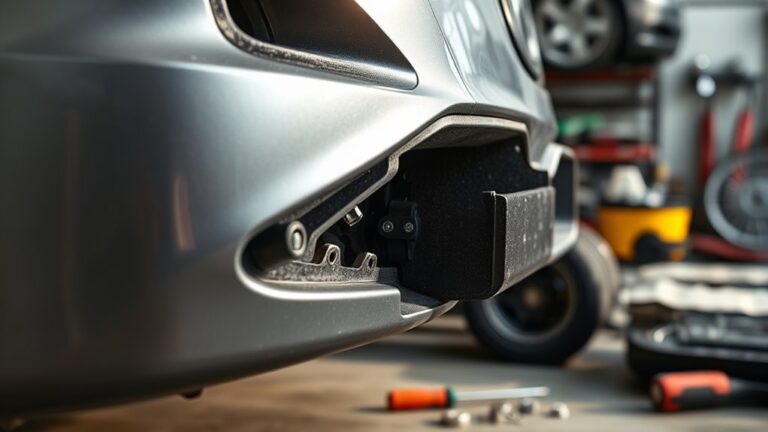
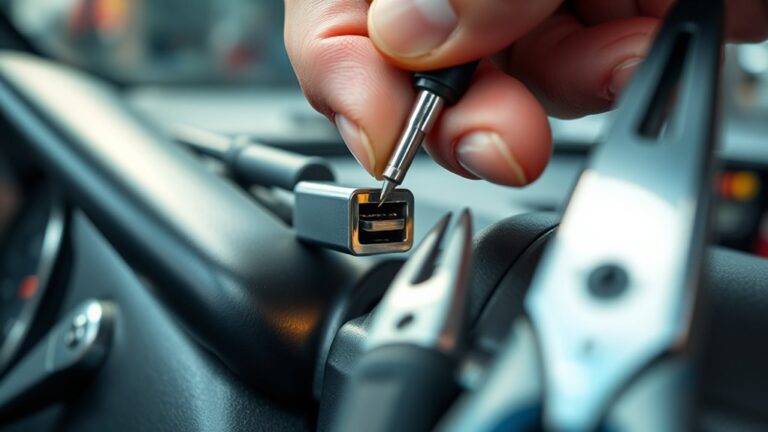
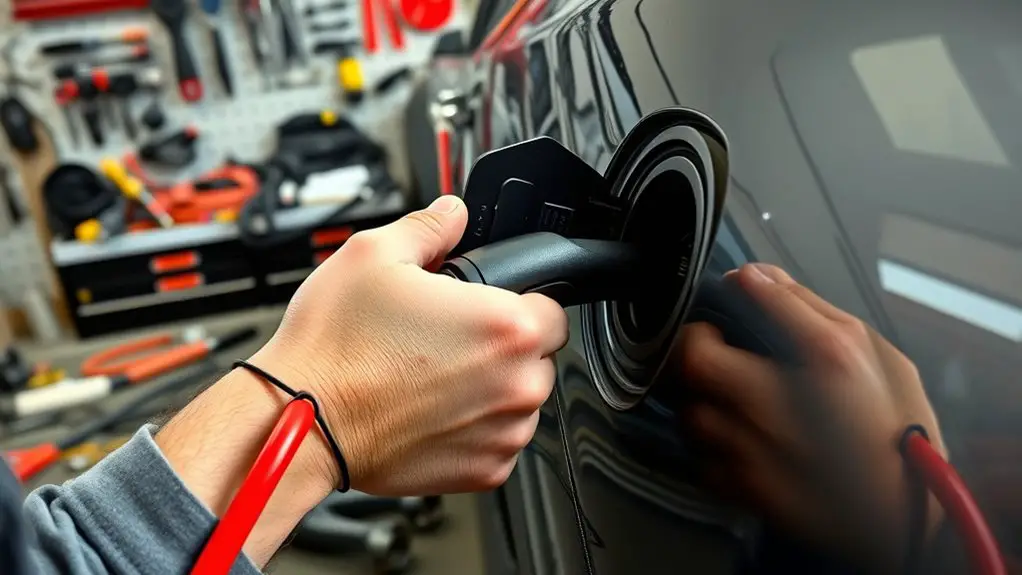
Inspecting the Charging Port for Debris and Damage
Begin by inspecting the port itself for debris, corrosion, or loose pins; even tiny particles or bent contacts can block or misalign power delivery. You’ll look for lint, dust, or corrosion along the metal contacts, and verify pins sit straight. If you see corrosion, avoid force; note it for replacement considerations later. Use a gentle approach: a dry, soft-bristled brush clears loose debris; if necessary, a small amount of isopropyl alcohol on a microfiber swab can assist, then let it dry completely before testing. Do not insert sharp tools that could bend or pierce contacts. Document any irregularities so you can compare after cleaning. Focus on cleaning techniques that remove grit without damaging plating. Port inspection should be systematic, not rushed. Table: | Area to check | Clean techniques | |—|—| |Contacts |Brush, IPA swipe | |Cavity |Compressed air (short bursts) | |Seal |Inspect for moisture | |Debris |Gently dislodge, recheck | |Torque |Ensure connector seats evenly |
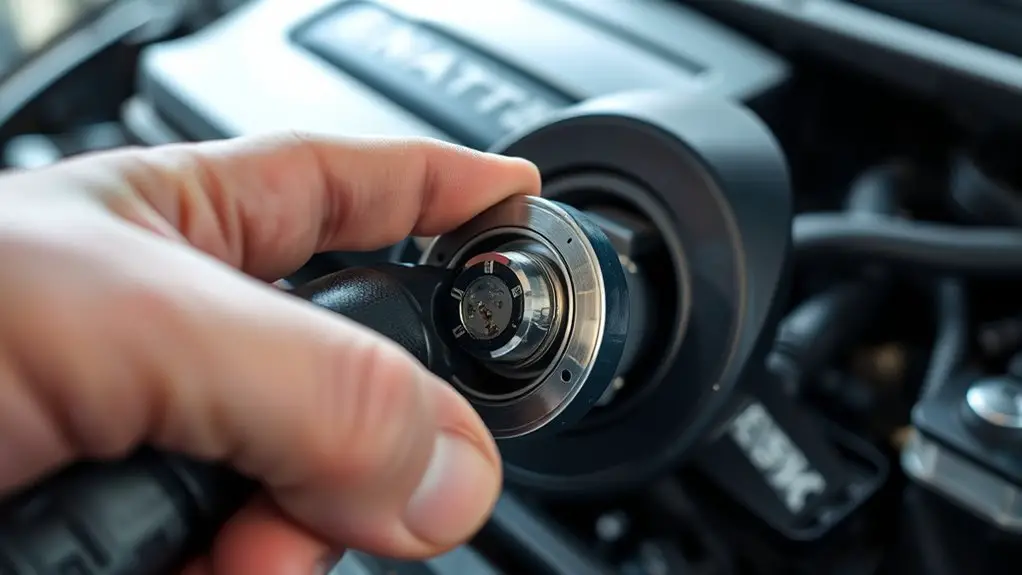
Testing With a Known-Good Cable and Adapter
Now that the port is clean and checked, you’ll test with a known-good cable and adapter to confirm where the issue lies. Begin with a primary, non‑volunteer test: plug the known-good cable into the device, then attach the adapter you trust. Observe whether charging initiates, flickers, or remains absent. If the device shows a steady charge, the problem likely isn’t the port itself. Next, swap in a known-good adapter to isolate variables; note any change in behavior. If charging still fails, consider cable compatibility: some devices demand specific USB standards, peak current profiles, or cable gauges. Keep tests controlled: use a single adapter at a time, and rotate cables only after completing a full cycle. Document outcomes succinctly. If results are inconsistent, the issue may lie with the port’s internal contacts or power delivery negotiation, rather than a defective cable. Your goal: identify whether the root cause rests with cable compatibility or adapter quality.
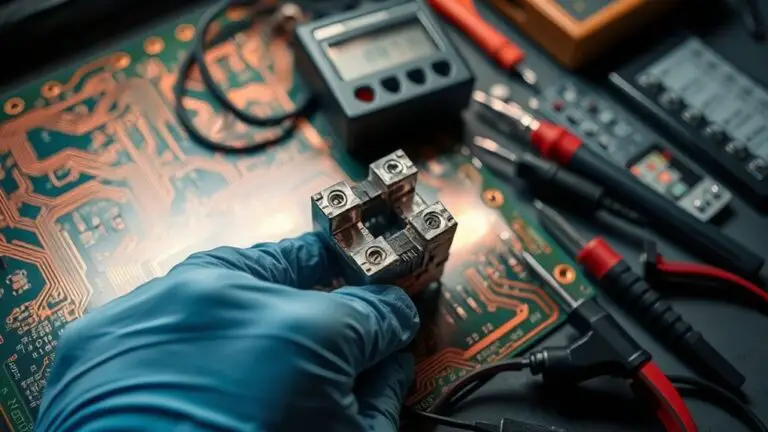
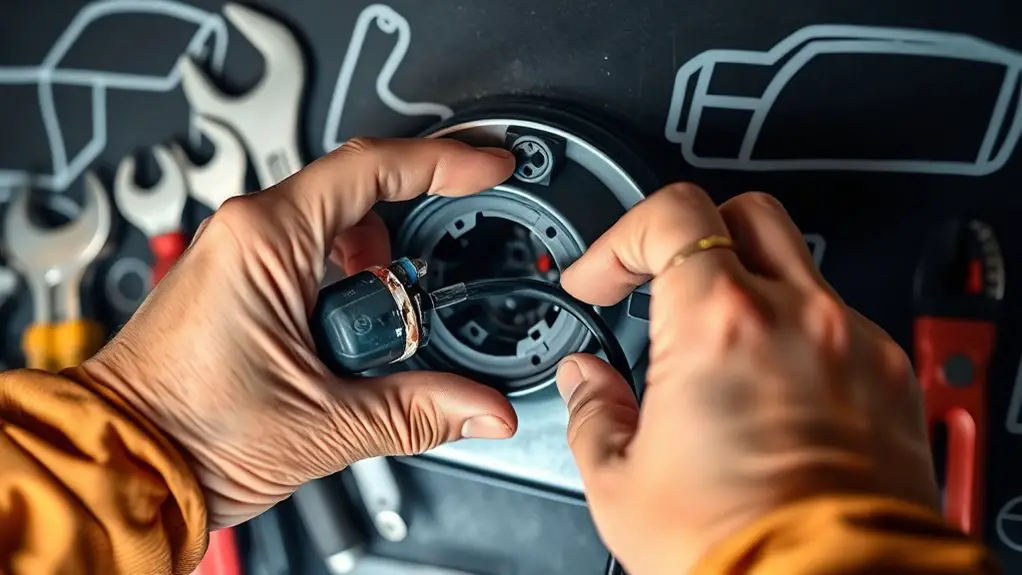
Assessing Port Alignment, Pins, and Loose Connections
If the device still won’t charge after testing with known-good cables and adapters, start by inspecting the port itself for alignment, pin integrity, and any loose connections. You’ll want to observe whether the receptacle sits square to the housing and whether any pins appear bent, recessed, or corroded. Gently probe for wobble—excess movement can signal a loose socket. Use a bright, focused light and a magnifier if needed, so you can spot micro-impacts or debris that could disrupt the contact surface. Check the inner walls for plastic tabs or metal shards that might misalign the plug. Confirm that each pin engages smoothly with the corresponding conductors, noting any intermittent contact. If you detect misalignment or bent pins, plan careful port repair or component replacement. Address any foreign particles through precise cleaning, but avoid forcing the plug. Document findings for future reference, and recognize when connection issues require professional evaluation.
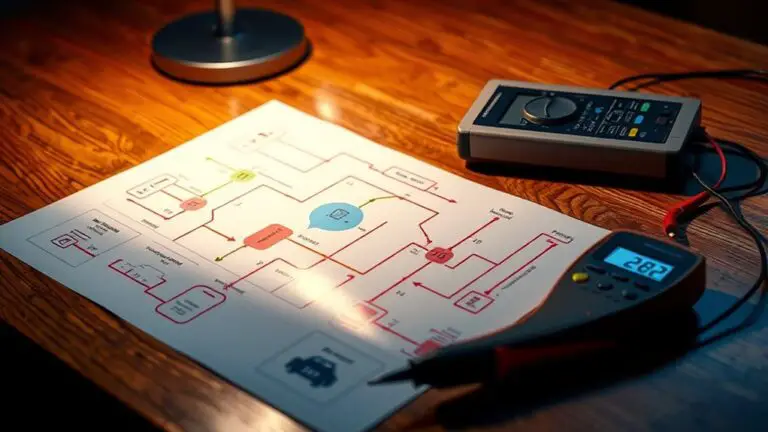
Documenting Symptoms and Deciding on When to Seek Professional Help
Tracking symptoms methodically helps you decide when to seek professional help. You’ll document what you see, hear, and feel during every test, building a clear picture of fault progression. Use a symptom checklist to standardize observations, focusing on charging behavior, port stability, and heat generation. Note dates, attempts, and outcomes to create a repair timeline that informs urgency and scope.
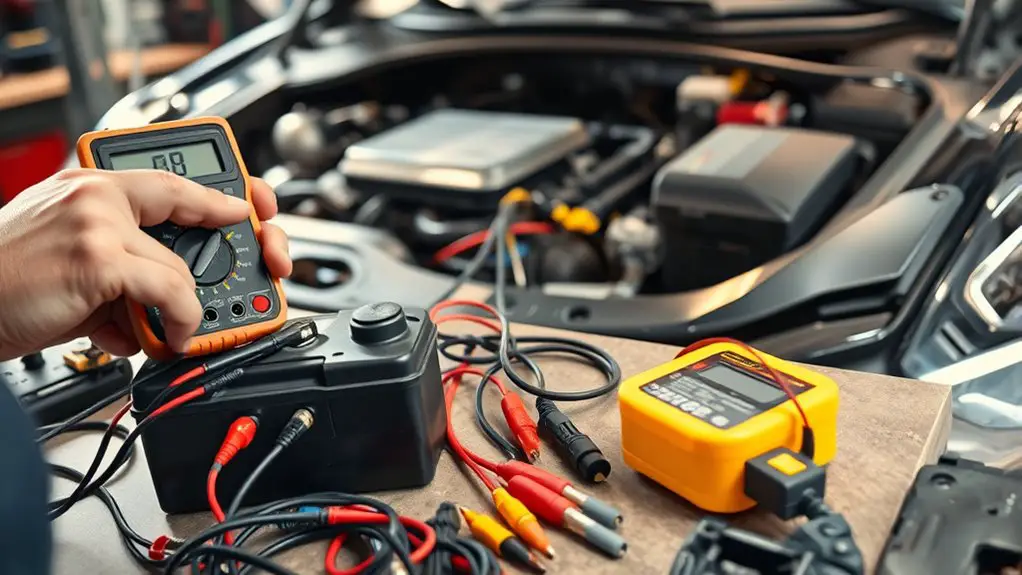
- Use objective measurements where possible (voltage, resistance) to avoid guesswork.
- Record intermittent issues and repeatable faults separately for clarity.
- Track if symptoms worsen after retries or specific adapters.
- Set a decision threshold: if symptoms persist beyond your self-directed repairs, consult a pro.
A precise record helps you avoid over- or underreacting. If the symptom checklist shows persistent or escalating problems, plan a professional evaluation rather than forcing a risky, DIY fix. This approach preserves safety and keeps your freedom to choose informed care.
Frequently Asked Questions
Can a Dented Port Still Charge Intermittently?
Yes, a dented port can still charge intermittently. You’ll likely see inconsistent dented port functionality, where alignment shifts under movement or vibration. To address intermittent charging issues, inspect for debris, looseness, or bent pins, and test with a known-good cable. If charging remains erratic, power off, reseat the connector, and try a different port or charger. Seek professional repair if performance doesn’t stabilize to avoid further damage.
Will Software Updates Fix Charging Port Issues?
Software updates won’t fix physical charging port damage. If the port is flaky, you might see intermittent charging caused by software conflicts or firmware glitches, but hardware wear remains the root cause. You should isolate software issues by testing with a different cable and charger, then check for app or OS bugs that throttle charging. If problems persist, consult a technician for port repair or replacement to restore reliable power delivery.
Do Power Bricks Affect Non-Hv Charging Differently?
A power brick can affect non-HV charging differently. It might fail to negotiate the right voltage, reducing charging efficiency or causing intermittent starts. In one hypothetical case, you notice slower topping up when using an older brick than a newer, compatible one. Power brick compatibility matters; mismatches can spike heat or drop current. You should test with a known-good brick, monitor charging efficiency, and verify the port’s response to guarantee safe, reliable charging.
Can Magnetic Adapters Damage the Port?
Yes, magnetic adapters can damage the port. You should expect potential magnetic interference and accelerated connector wear as the adapter sits near sensitive contacts. To protect yourself, avoid prolonged use, test with a known-good charger, and inspect for looseness or misalignment after each connection. If you notice heat, arcing, or looseness, stop using it. Consider replacing with a shielded, non-magnetic option to preserve port longevity and maintain freedom of movement.
Is There Safe DIY Glue for Loose Pins?
“Where there’s a will, there’s a repair.” You should not rely on glue for loose pins; it’s risky and temporary. Instead, seek epoxy alternatives designed for electronics, or consult a pro for pin alignment. If you must proceed, avoid obvious glue near contacts, and guarantee proper insulation and curing. You’ll preserve safety and freedom by prioritizing proper repair over quick fixes, using precise tools, correct polarity, and tested, manufacturer-approved methods.