Electrical Troubleshooting Flowchart for Radio Not Working
When troubleshooting a non-working radio, start by identifying symptoms like weak reception or distortion. Check the power source for secure connections, inspect fuses for damage, and confirm voltage with a multimeter. Examine the antenna for physical issues and test audio output for functionality. If problems persist, consider internal components or seek professional help, as complex issues often require expertise. There’s more to uncover that can help you effectively resolve your radio issues.
Identifying the Symptoms of a Non-Working Radio
Have you ever wondered why your radio isn’t functioning? Identifying the symptoms of a non-working radio is essential for efficient troubleshooting. One common issue is radio signal problems; if you’re experiencing weak or no reception, it’s likely that the antenna or internal components are compromised. This can lead to significant audio distortion, making it impossible to enjoy your favorite broadcasts.
Additionally, if you hear intermittent static or garbled sound, there may be interference from other electronic devices or a malfunction in the radio’s circuitry. Pay attention to any unusual noises that deviate from normal operation, as they may indicate deeper issues.
Lastly, check the tuning dial; if it doesn’t respond or feels jammed, it could be a mechanical failure affecting the signal reception. Understanding these symptoms will empower you to take the next steps in restoring your radio’s functionality.
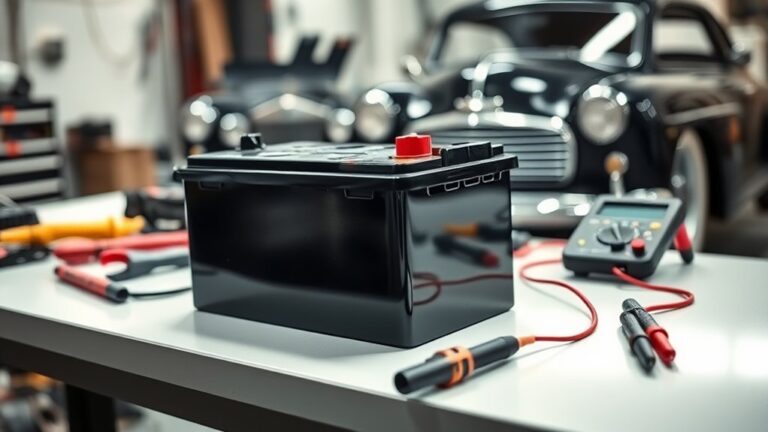
Checking the Power Source

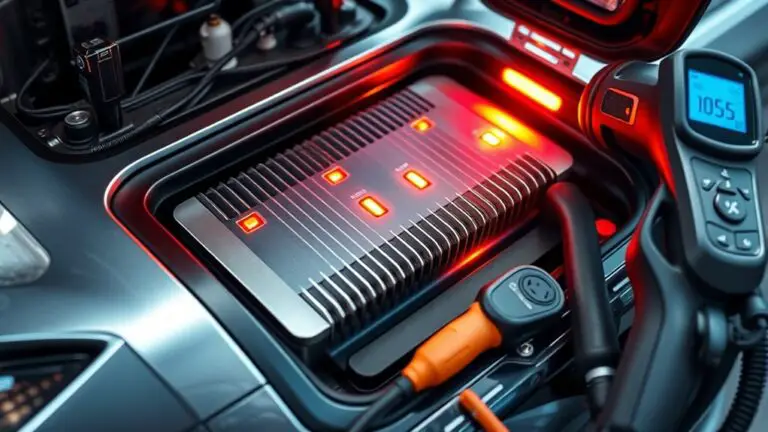
When troubleshooting a non-working radio, start by verifying the power connections to guarantee everything is securely attached. Next, inspect the power source voltage with a multimeter to confirm it meets the device’s specifications. These steps are essential for diagnosing potential power-related issues effectively.
Verify Power Connections
Before proceeding with any troubleshooting steps, it’s essential to verify the power connections, as even minor disruptions can lead to significant issues in electrical systems. Start by checking the power supply to guarantee it’s functioning correctly. Inspect the power cord for any visible damage and ensure it’s securely connected to both the outlet and the radio. If you find any issues, consider replacing the power supply or the cord if necessary. Additionally, don’t overlook the fuse; a blown fuse may require replacement to restore functionality. Verify you’re using the correct fuse type to avoid further complications. By confirming these connections, you’ll eliminate potential power-related problems before moving on to more complex troubleshooting.
Inspect Power Source Voltage
Checking the power source voltage is essential for guaranteeing your electrical system operates efficiently. First, you need to measure the voltage at the power source using a multimeter. Confirm the voltage matches the specifications required by your radio. If the voltage is too low or too high, it indicates a problem that could lead to malfunction. Voltage stability is vital; fluctuations can damage components or cause intermittent issues. If you find instability, inspect for loose connections, damaged cables, or failing power supplies. Addressing these issues will restore the necessary voltage levels. By verifying the power source voltage, you can eliminate one of the most common problems affecting your radio, paving the way for a reliable and uninterrupted performance.
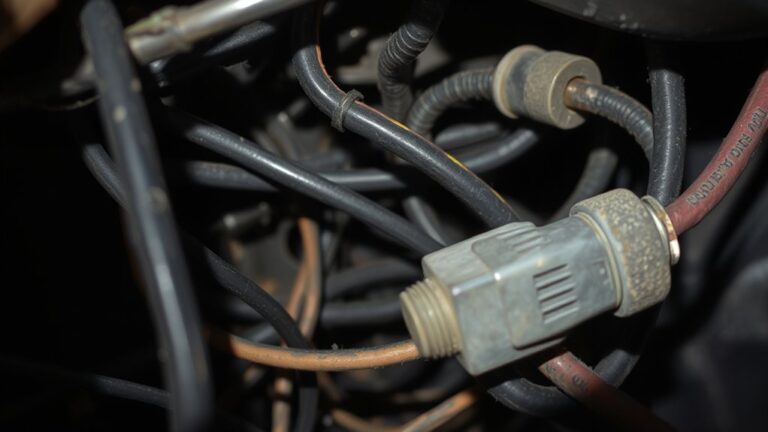
Inspecting the Fuses and Connections

Inspecting fuses and connections is essential to diagnosing electrical issues effectively, as faulty components can disrupt the entire system’s function. Begin by checking the various fuse types relevant to your radio; they’re often the first line of defense against electrical faults. Ascertain that connection integrity is intact, as loose or corroded connections can lead to significant malfunctions.
- Identify and test any blown fuses.
- Confirm that fuse ratings are appropriate for the system.
- Inspect for signs of corrosion on terminals.
- Check wire connections for tightness and damage.
- Use a multimeter to verify continuity across connections.
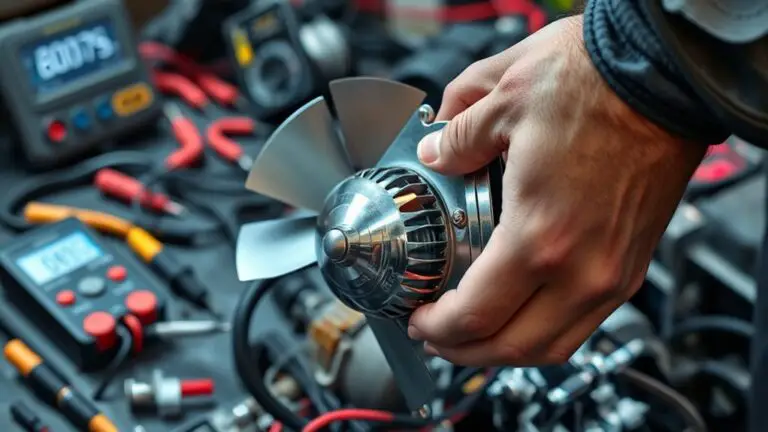
Examining the Antenna
Once you’ve guaranteed that fuses and connections are in good condition, the next step involves examining the antenna, as it plays an essential role in signal reception. There are various antenna types, such as dipole, loop, and Yagi, each designed for specific frequencies and environments. Assess the physical condition of the antenna; corrosion or damage can greatly affect signal strength.
Ensure it’s securely mounted and oriented correctly, as misalignment can lead to weak or nonexistent signals. If you’re using an external antenna, check for obstructions like trees or buildings that could impede reception. For portable radios, extending the antenna fully can enhance performance.
You might also consider testing the antenna with a signal strength meter to quantify its effectiveness. Understanding the relationship between antenna type and signal strength will empower you to make informed adjustments, optimizing your radio’s performance.
Testing the Audio Output
How can you guarantee that your audio output is functioning correctly? To identify potential output issues, you’ll need to conduct thorough audio testing. This process involves several key steps to confirm your radio produces sound effectively.
- Check the volume settings; verify it’s not muted or set too low.
- Use a known working audio source to validate the output.
- Inspect speaker connections for any loose or damaged wires.
- Test with headphones to determine if the issue lies within the speakers.
- Observe for any distortion or static that may indicate further problems.
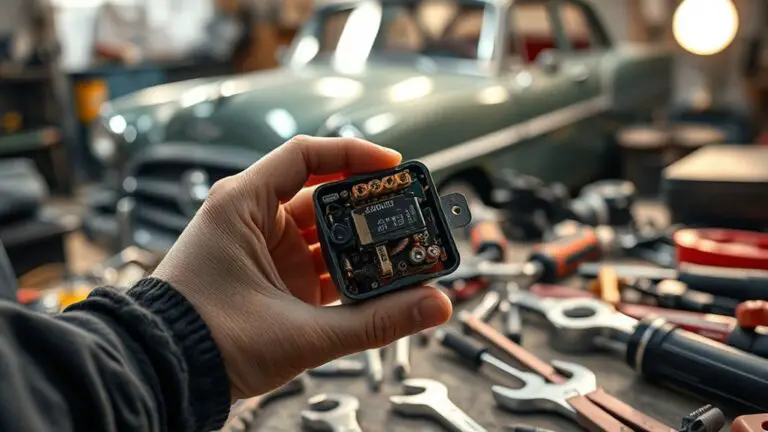
Evaluating Internal Components
When evaluating internal components, it’s vital to start with inspecting circuit connections for any signs of corrosion or damage. Next, testing the power supply will help guarantee that the correct voltage is being delivered to the system. Finally, analyzing antenna functionality is essential for confirming ideal signal reception and overall device performance.
Inspect Circuit Connections
Although circuit connections may appear intact, hidden issues within internal components can lead to significant electrical failures. It’s vital to evaluate the connection integrity against circuit diagrams to identify discrepancies.
Consider the following aspects during your inspection:
- Loose solder joints that might disrupt the flow of current.
- Corroded connectors affecting the signal transmission.
- Frayed wires causing intermittent connections.
- Faulty capacitors that can create short circuits.
- Damaged circuit traces that may not be visible at first glance.
Test Power Supply
Is your power supply delivering the necessary voltage and current? Begin your troubleshooting techniques by measuring the output voltage with a multimeter. Check the specifications against the radio’s requirements; any deviation could indicate a failing power supply. Next, assess the current output—if it’s insufficient, the radio won’t function correctly. Inspect any visible damage to components, such as capacitors or rectifiers, which may affect performance. If you’re using a battery, verify it’s charged and properly connected. For AC power supplies, test the wall outlet to confirm it’s operational. Document your findings to trace patterns that may reveal deeper issues. By confirming your power supply, you’ll eliminate one of the most critical components before moving on to other potential problems.
Analyze Antenna Functionality
Evaluate the antenna’s functionality by inspecting both its physical condition and internal components. Understanding various antenna types is essential, as they can greatly affect signal strength.
- Check for any visible damage or corrosion.
- Measure continuity in the antenna’s wiring and connectors.
- Assess the alignment and positioning of the antenna; it should be unobstructed.
- Test for signal reception using a signal strength meter; compare results across different frequencies.
- Inspect internal components, such as baluns or amplifiers, for proper operation.
Seeking Professional Help if Necessary
When electrical issues persist despite your troubleshooting efforts, it’s essential to recognize when to seek professional help. Engaging in DIY repairs can sometimes exacerbate the problem. If you’ve exhausted your resources, consider professional assistance for your radio’s electrical issues.
Here’s a quick reference table to help you decide:
| Condition | Action | Reason |
|---|---|---|
| No power to the radio | Seek troubleshooting services | Potential internal component failure |
| Consistent static noise | Consult a technician | May indicate complex signal interference |
| Unresponsive controls | Request professional help | Could involve intricate wiring issues |
Frequently Asked Questions
What Tools Do I Need for Radio Troubleshooting?
For radio troubleshooting, you’ll need a multimeter to measure voltage, resistance, and current. This tool’s essential for diagnosing electrical issues. Additionally, mastering soldering techniques is vital for repairing or replacing components on the circuit board. A good set of wire strippers and connectors will help you make secure connections. Having a small screwdriver set handy can also assist in accessing the radio’s internal parts easily, ensuring you can address any problems effectively.
How Can I Avoid Damaging My Radio During Repairs?
To avoid damaging your radio during repairs, always follow safety precautions like disconnecting power sources before starting. Use proper repair techniques, such as grounding yourself to prevent static discharge. Handle components gently and use appropriate tools to avoid physical damage. Keep a clean workspace to prevent accidental short circuits. If you’re unsure about a repair, consult manuals or seek professional help to guarantee you maintain your radio’s functionality and integrity.
Are There Common Mistakes to Avoid When Troubleshooting?
When troubleshooting, you should steer clear of common pitfalls and potential troubleshooting errors. First, don’t plunge in without a detailed diagnosis; jumping to conclusions can lead to missed issues. Next, avoid overlooking simple solutions—often, it’s the small stuff that trips you up. Finally, make certain you’re using the right tools; improper equipment can complicate repairs. Staying systematic and patient helps prevent frustrating faults and fosters a smoother repair experience.
Can I Fix My Radio Without Technical Knowledge?
You can fix your radio without technical knowledge, but it’ll be challenging. Start with basic radio repairs, like checking the power source and connections; often, loose wires or dead batteries are the culprits. Use troubleshooting tips like consulting online guides or video tutorials for step-by-step assistance. While it’s possible to make minor repairs, complex issues may require professional help. Embrace the learning process, and you might surprise yourself with what you can achieve!
Where Can I Find Replacement Parts for My Radio?
You can find replacement radio parts at various electronic suppliers, both online and in physical stores. Think of it like searching for treasure; the right components can make your radio shine again. Websites like Digi-Key and Mouser offer a wide range of parts, while local electronics shops might have what you need too. Always check compatibility with your specific model to guarantee you’re getting the right items for a successful repair.