How a Clogged Vacuum Actuators Leads to Low Refrigerant Pressure and How to Clean It
A clogged vacuum actuator can’t create or modulate the refrigerant vacuum correctly, so seals don’t seat properly and refrigerant flow drops, lowering system pressure. Start by verifying actuator response to control signals, then inspect for debris, misalignment, and worn seals. Clean exterior with isopropyl alcohol, loosen grime at joints, and blow passages clear at low pressure. If dirt or sticking persists, replace the actuator and recheck pressures. With proper steps, you’ll uncover and fix the root cause and improve performance. More details await.
Diagnosing Vacuum Actuator Symptoms and Low Refrigerant Pressure
Diagnosing vacuum actuator symptoms and low refrigerant pressure requires a methodical approach. You’ll start with vacuum actuator diagnostics to confirm actuator movement correlates with commanded signals, noting any lag, partial travel, or hysteresis. Next, inspect the actuator’s diaphragm integrity, linkage alignment, and mounting allowance for binding or wear that might mimic electrical faults. Concurrently perform refrigerant pressure analysis to establish baseline pressures and detect deviations that signal undercharged or overcharged conditions. Use a manifold gauge set to capture high and low side readings during steady-state operation, while the system runs through its normal cycling. Correlate observed actuator response with refrigerant pressures; inconsistent actuator motion paired with abnormal pressures suggests a system control or bleed issue rather than a simple leak. Document ambient and engine temperatures, as they influence pressure readings. Maintain precise records, compare against service specifications, and avoid assumptions—rely on direct measurements from vacuum actuator diagnostics and refrigerant pressure analysis.
How Clogs Affect Vacuum Readings and Seal Performance
Clogs restrict vacuum flow, which skews readings you rely on to gauge actuator function. They also alter seal contact area and pressure differentials, degrading seal performance under load. Understanding these shifts helps you interpret readings accurately and target the right area for cleaning or replacement.
Vacuum Reading Impact
When clogs restrict the flow in vacuum lines, readings on the gauge can drift from true values and mask seal degradation. You’ll see apparent stability even as pressure falls elsewhere, which complicates diagnostics. A partial blockage reduces signal fidelity, making it harder to distinguish vacuum leaks from normal fluctuations. In practice, readings may underreport abrupt drops caused by sudden seal wear, leading you to delay actuator maintenance. For reliable assessment, correlate gauge data with system current and refrigerant load, and track trends over time rather than single snapshots. Maintain clean lines and verify that fittings aren’t introducing artifacts. Accurate interpretation depends on consistent measurement technique; treat readings as one part of a broader diagnostic, not the sole proof of condition.
Seal Performance Effects
Even with a partial clog, vacuum readings can misrepresent seal performance, since restricted flow dampens transient responses that indicate leaks or seal wear. You’ll notice apparent pressure stability while seal integrity actually degrades, risking unnoticed leaks. Pathways stay narrow, so you miss sudden shifts that reveal worn actuators. Focus on correlations between readouts and actuation cycles to gauge real seal status. Regular actuator maintenance becomes your first line of defense against undetected failures. Use precise diagnostics to separate genuine seal issues from sensor lag, avoiding false confidence. Seal integrity hinges on clean passages and responsive valves. Schedule maintenance checks that verify seating, gasket condition, and actuator alignment.
| Factor | Impact |
|---|---|
| Readout latency | Masks leaks |
| Cleaning cadence | Restores response |
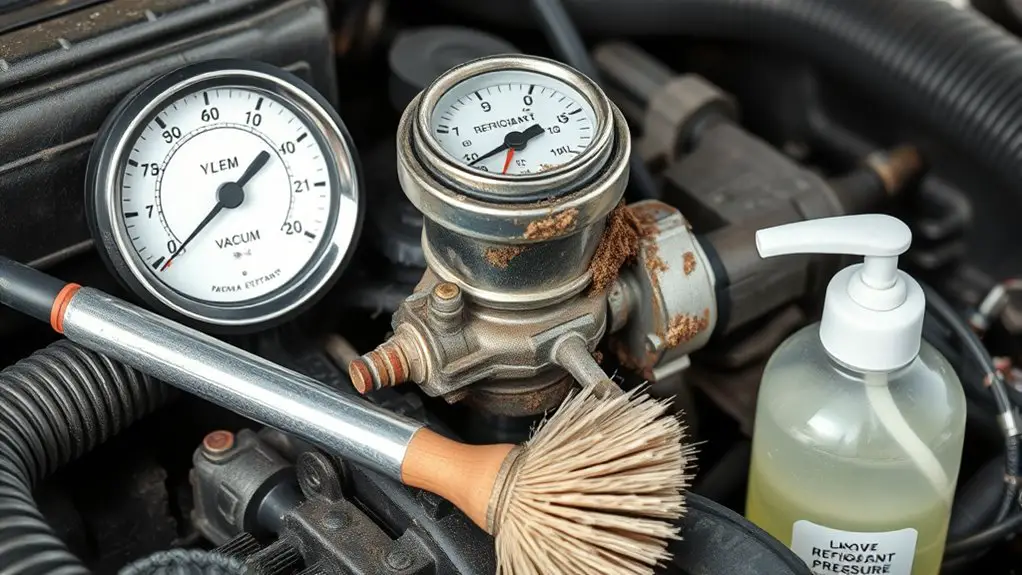
Tools You’ll Need to Inspect the Vacuum System
To inspect the vacuum system effectively, you’ll need a few essential tools: a handheld vacuum gauge or automotive manometer, a basic DVOM (digital volt-ohm meter) for sensor checks, a smoke machine or mist tester to reveal leaks, and a set of service ports and adapters compatible with common vanes and hoses. With these vacuum tools, you can verify pressure behavior, confirm actuator motion, and map hose integrity without guesswork. Keep a minimal kit: pressure reference adapters, an insulated flashlight, diagnostic clips, and calibrated hoses. For safety, have cleaning supplies on hand to wipe fittings and prevent contaminant transfer. Use the DVOM to check sensor voltages and ground references after cycling the system. A smoke test helps you localize leaks without disassembly. Document findings methodically: note readings, observed leaks, and adapter compatibility. This groundwork reduces trial-and-error and supports precise maintenance decisions.
Step-by-Step: Locating the Vacuum Actuator and Lines
Begin with a systematic scan of the engine bay or HVAC housing to pinpoint the vacuum actuator location, then trace the primary vacuum line from the source to each branch. You’ll identify the actuator by its linkage, hoses, and mounting points, noting nearby vacuum ports and the source valve. Use inspection techniques to confirm continuity: visually inspect for cracks, detach at the connector, and gently wiggle hoses to detect looseness. Map the main line first, then follow each branch to actuators controlling blend doors, diverter doors, and pressure switches. Mark every junction, take reference photos, and label suspected sections for later testing. Check for obstructed or kinked lines, loose clamps, and corrosion at fittings. If you feel resistance when sliding a probe, pause and recheck orientation. Maintain a clean working area, document findings, and plan targeted tests. This approach keeps you focused, precise, and prepared for the next steps.
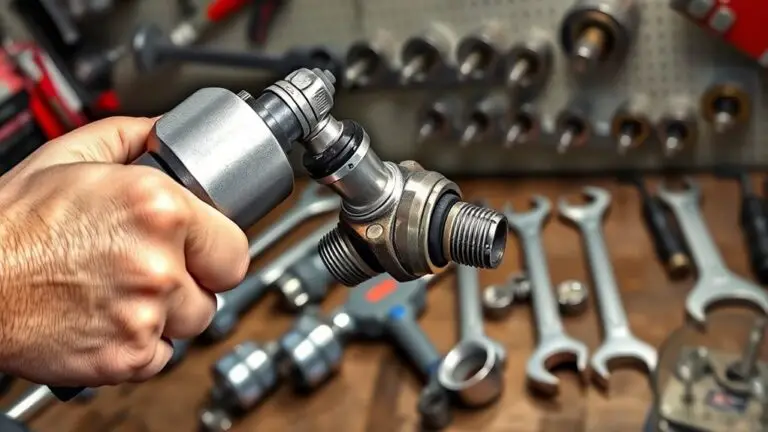
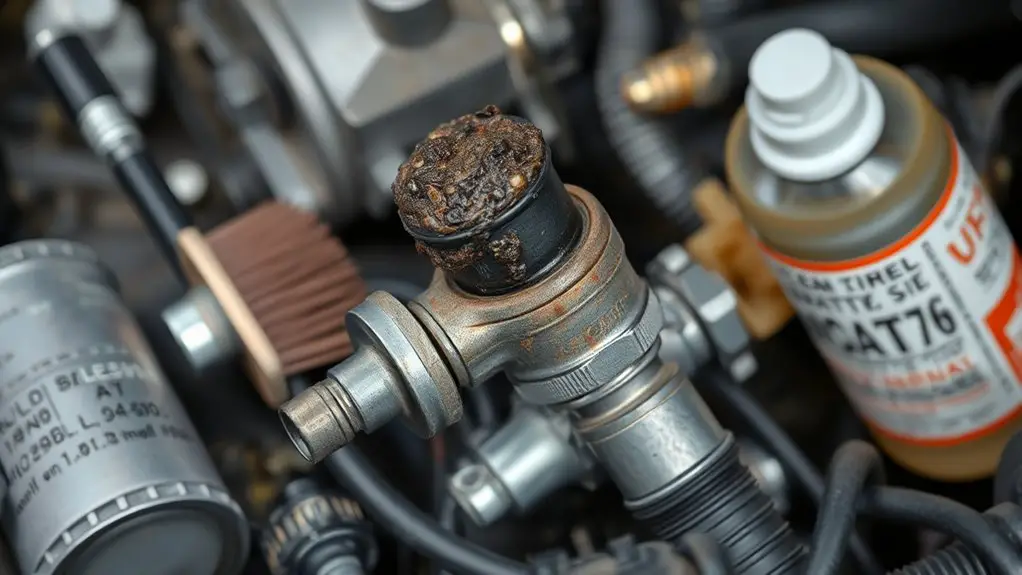
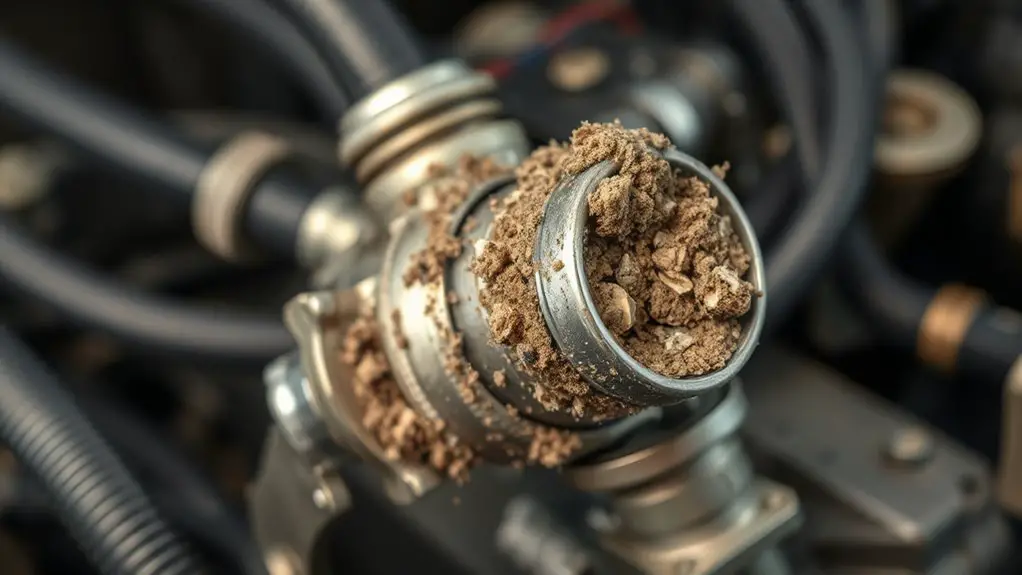
Cleaning Methods for a Stuck or Dirty Vacuum Actuator
If a vacuum actuator is stuck or dirty, start with a careful inspection to determine if debris is blocking movement or if seals are compromised, then prepare a targeted cleaning plan. Begin with a clean workstation, disconnect power, and label any vacuum lines. Use a lint-free cloth dampened with isopropyl alcohol to wipe exterior surfaces, avoiding seals. Inspect the rod end for corrosion or scoring; if present, note severity but do not force movement. For stubborn grime, apply a small amount of penetrating lubricant to joints, then cycle the actuator gently by hand to loosen deposits. Blow out passages with compressed air at low pressure, keeping the nozzle angled away from seals. Employ precise, gradual cleaning techniques rather than brute force. After cleaning, recheck seals and test for smooth travel. Document findings and maintenance actions for future actuator maintenance, ensuring reliability and freedom from recurring sticking.
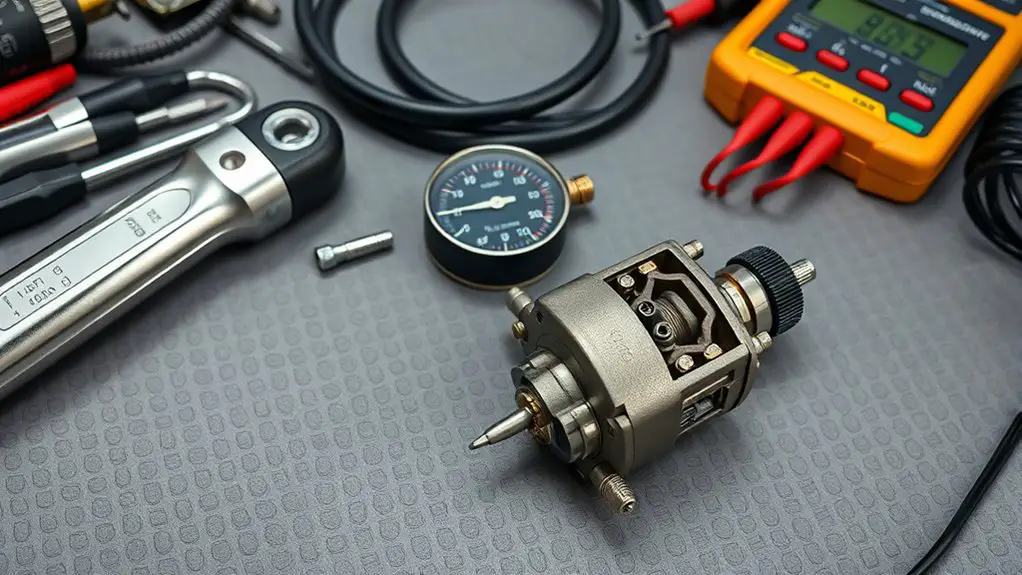
Replacing the Vacuum Actuator: When and How
Replacing the vacuum actuator is necessary when inspection after cleaning reveals persistent sticking, recurrent leaks, or degraded seals that cleaning alone can’t remedy. In this case, you proceed with a targeted replacement rather than reworking components indefinitely. Begin by confirming compatibility: model number, mounting pattern, and electrical connector type must match the replacement unit. Disconnect power and isolate the vacuum line, then remove mounting fasteners and detach the actuator without disturbing adjacent links. Inspect the vacuum circuit for collateral wear, replacing gaskets or o-rings if needed to preserve seal integrity. Install the new actuator, torque fasteners to spec, and reconnect the vacuum line and electrical connector. Recheck alignment and verify smooth operation through its full travel. After installation, document the replacement signs and update maintenance logs under vacuum actuator maintenance. This approach minimizes downtime, restores response accuracy, and reduces recurring failures from degraded components.
Verifying System Pressure and Recovery After Cleaning
After cleaning, verify that system pressure has returned to specification and confirm there are no leaks in the vacuum circuit; this assures the actuator and valves respond accurately under normal operating conditions. You’ll perform pressure verification by stabilizing the system with the correct refrigerant charge and monitoring gauge readings at the high- and low-side ports. Note any sustained deviations from the manufacturer’s spec, and repeat measurements after a short rest to rule out transient fluctuations. During the recovery process, ascertain the vacuum is fully recovered to the recommended base level and that the pumpdown completes without alarms. Inspect seals, fittings, and connections for tightness, listening for hiss or watching for creeping pressure changes. Confirm that the relief devices remain inactive under normal load, and log the results for traceability. If readings align with spec, you’ve validated readiness; if not, re-assess suspected leaks and repeat pressure verification until cleared.
Preventive Care to Avoid Future Clogs and Pressure Drops
Preventive care starts from the way you handle cleaning and charging routines, so you don’t repeat issues that cause clogs and pressure drops. To minimize future problems, implement a disciplined preventive maintenance plan. Schedule routine checks of vacuum lines, actuators, and seals for signs of wear, corrosion, or debris buildup. Keep an organized log of cleaning intervals, refrigerant charges, and system pressures to spot trends early. Use clean, calibrated tools and avoid introducing contaminants during servicing. Establish regular inspections of filter elements and inlet screens, replacing them before flow restriction occurs. Verify that vacuum actuators respond promptly to control signals and that no vacuum leaks develop at joints or fittings. Document any deviations and correct them before they propagate. By adhering to preventive maintenance and regular inspections, you preserve performance, reduce downtime, and sustain ideal refrigerant pressure without sacrificing your freedom to work efficiently.
Frequently Asked Questions
Can a Clogged Actuator Cause Leaks Beyond the Seals?
Yes, a clogged actuator can cause leaks beyond the seals. When an actuator sticks or jams, shaft movement stresses adjacent joints, increasing seal wear and potential micro-tears. This can undermine seal integrity, allowing refrigerant to escape even without major component damage. Regularly inspect for binding, replace worn seals, and verify fittings. Prioritize actuator lubrication, proper torque, and test for leaks after cycling to guarantee actuator leaks aren’t compromising system performance.
Do Vacuum Readings Directly Indicate Refrigerant Charge Level?
No, vacuum readings don’t directly indicate refrigerant charge level. They reflect system pressure conditions and can hint at leaks or airflow issues. You’ll correlate vacuum pressure with refrigerant flow during evacuation and when diagnosing, but a full charge is best verified with precise gauges and recovery data. Monitor vacuum pressure trends, watch for rising pressures, and confirm with a calibrated manifold readout. Use caution: accurate charging requires proper procedure and recovery standards.
How Often Should Vacuum Lines Be Inspected During Maintenance?
You should inspect vacuum lines every 6 months as part of a maintenance schedule. You’ll check for cracks, leaks, and hardening, replacing components as needed. During the vacuum line inspection, verify that seals are intact and readings stabilize within spec. This practical cadence keeps system integrity, supports accurate refrigerant assessments, and respects your freedom to trust the process. Stay consistent, document results, and adjust the maintenance schedule if you encounter frequent deviations.
Will Cleaning Solvents Affect Nearby Electrical Components?
Yes, cleaning solvents can affect nearby electrical components if they vaporize or seep into crevices. You should keep solvents away from wiring, terminals, and sensors, use only minimal amounts, and ascertain ventilation. Use solvent-safe, non-corrosive formulations and wipe surfaces dry before reassembly. Protect electrical components with shields or barriers, and inspect for residue after cleaning. If you’re unsure, power down, isolate circuits, and consult manufacturer guidelines to prevent damage.
Can I Reuse a Vacuum Actuator After Cleaning or Must I Replace It?
A simple truth: you can reuse a vacuum actuator if cleaning was thorough and no seals or housings were damaged. Check vacuum actuator lifespan by inspecting for cracks, corrosion, or stiffness after cleaning effectiveness testing. If any doubt remains, replace it. You should test for leaks, guarantee actuator moves freely, and verify system pressures. This keeps your setup reliable and gives you the freedom to push forward. If compromised, don’t risk it—swap it.