How to Avoid Safety System Conflicts Post-Upgrade When Retrofitting Turbo Kit
To avoid safety-system conflicts after a turbo retrofit, start with a full sensor, ECU, and wiring map to align all interfaces before any hardware changes. Verify power, grounding, and bus communication, then document tolerances and failure modes. Assess sensor-ECU pairings, fault codes, and latency, and baseline all signals under stock conditions. Choose a kit that preserves ABS, traction, and stability logic, and plan stepwise tuning with thorough post-install checks. If you keep going, you’ll sharpen the safeguards even further.
Understanding Common Safety System Conflicts After Turbo Retrofit
When upgrading a vehicle’s safety system to support a turbo retrofit, conflicts typically arise from mismatched sensor data, altered alarm thresholds, or timing shifts between modules. You’ll assess how sensor compatibility affects integration, identifying where signals diverge from expected ranges. Next, map each module’s safety protocols to a unified baseline, documenting permissible variances and failure modes. You’ll adopt a methodical approach: verify power, grounding, and communication buses first, then confirm synchronous timing across controllers. If a sensor reports out-of-spec values, you’ll isolate whether the fault is environmental, calibration-related, or due to hardware incompatibility. You’ll recalibrate thresholds with the least intrusive adjustment, preserving original safety intent. Maintain a strict ledger of changes, tests, and outcomes to guarantee repeatability. This disciplined process reveals where conflicts originate and how to resolve them without undermining system reliability. By prioritizing sensor compatibility and safety protocols, you preserve freedom while safeguarding function and compliance.
Vehicle-Specific Sensor and ECU Interactions to Check
You should verify Sensor-ECU mappings for your specific vehicle to guarantee signals align with the upgraded system. Next, perform systematic checks of how each sensor interacts with its ECU to detect any mismatches or lag that could trigger conflicts. Finally, document observed discrepancies and adjust mappings or interfaces to maintain predictable, safe behavior across all safety subsystems.
Sensor-ECU Mapping
Sensor-ECU mapping must be approached systematically, since each vehicle combines specific sensors with a unique ECU interpretation and vice versa. You’ll catalog sensor configurations across the powertrain, braking, and safety domains, then map each signal to its ECU parameter. Approach is iterative: verify lane-keeping, throttle, and ABS expectations against documented ranges, not assumptions. You’ll record nominal values, tolerances, and cross-checks for sensor voltage, frequency, and response time. Maintain traceability between as-built hardware and ECU parameters to detect drift after upgrades. Expect subtle shifts in thresholds when turbo kit changes load profiles; adjust calibration only with verified data. Document deviations, assess risk impact, and validate with closed-loop tests. This disciplined mapping yields predictable behavior without compromising freedom or safety.
System Interaction Checks
System interaction checks focus on confirming that vehicle-specific sensors and ECUs respond cohesively after upgrades. You methodically verify sensor-ECU pairings, ensuring signals align with the turbo kit’s expected behavior. Start with baseline readings from stock configurations, then compare after the retrofit to detect deviations. Inspect communication buses, wake-up sequences, and fault codes across modules, documenting each discrepancy. Prioritize critical subsystems: braking, stability, throttle, and ignition. Evaluate timing, latency, and priority handling to confirm deterministic responses under load. Use controlled tests that reproduce driving scenarios, logging results for trend analysis. This approach supports system integration by mapping interactions and confirming predictable outputs. For conflict resolution, outline corrective steps, verify re-testing, and confirm robustness before road deployment.
Assessing Fault Codes and Diagnostic Trouble Codes (DTCs)
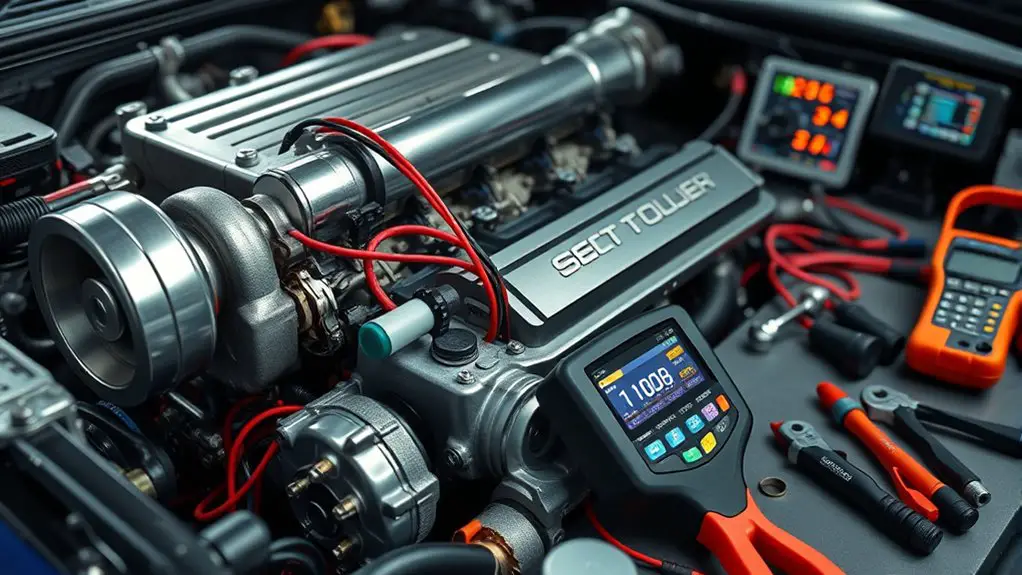
Fault codes and Diagnostic Trouble Codes (DTCs) are the gateway to understanding post-upgrade safety system behavior. You approach the data with structure: identify, categorize, and verify each alert before acting. Begin with fault code analysis to surface root causes rather than chase symptoms. Document code groups, potential gray areas from turbo integration, and any changes in sensor inputs, wiring, or control logic. Next, perform diagnostic procedures that align with your vehicle’s manual and applicable service information. Confirm codes against live data, check for pending codes, and observe freeze-frame data to pinpoint timing and condition. Separate benign fault codes from those signaling real risk to braking, steering, or stability systems. Establish a decision tree: are codes transient or persistent, isolated or system-wide? Maintain traceability of findings and respect safety margins in testing. End with a concise action plan, prioritizing codes that directly affect post-upgrade safety.
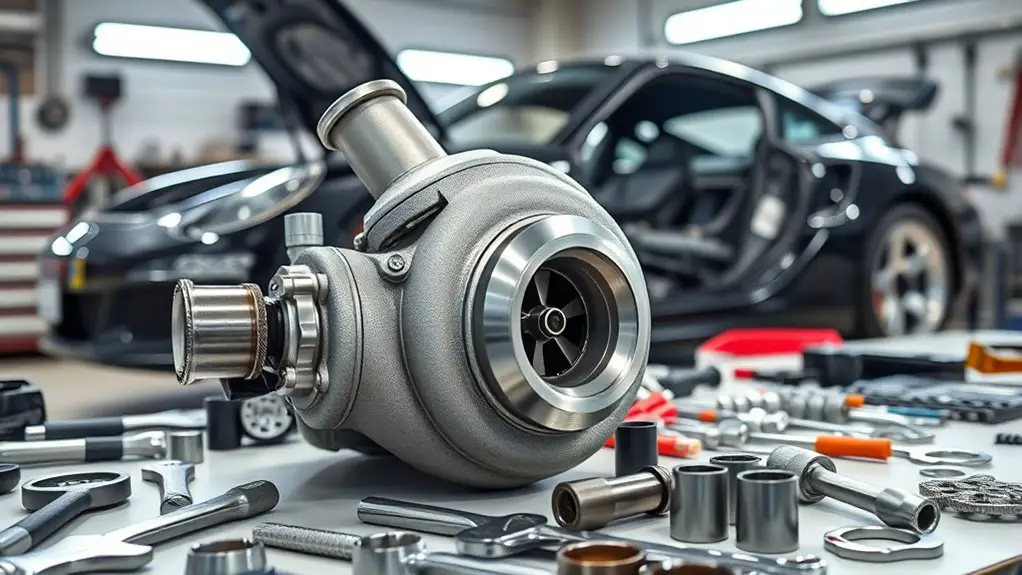
Selecting a Turbo Kit That Aligns With Your Car’s Safety Features
To start, you’ll evaluate how a turbo kit fits with your safety-first priorities, ensuring the kit’s performance goals align with your car’s protective features. You should assess compatibility with existing systems, verifying that controls, sensors, and fail-safes remain coherent and functional. This kit-to-car alignment sets the foundation for reliable upgrades and minimizes risk of safety system conflicts.
Safety-first Turbo Fit
Choosing a turbo kit that respects your car’s safety features is essential for reliable performance gains; this involves evaluating both the kit’s integration capabilities and how your vehicle’s systems will respond under boost. You’ll assess sensor compatibility, ECU recalibration needs, and fail-safes without assuming perfect compatibility. Prioritize modules that preserve lane, traction, and braking responses, so turbo safety remains intact under load. Map out a stepwise validation: baseline diagnostics, controlled boost testing, and incremental monitoring of temps, pressures, and knock. Favor kits with transparent documentation and verifiable safety margins. This approach supports performance reliability while you retain control over risk. In short, your choice should balance ambition with disciplined verification, ensuring your upgrade respects engineering limits and your freedom to push responsibly.
Compatibility With Systems
If you’re selecting a turbo kit, you must first evaluate how it integrates with your car’s safety features, guaranteeing sensors, ESC, braking, and driver-assistance systems remain reliable under boost.
In this section, you assess compatibility systematically. Prioritize sensor integration and compatibility with backups, calibrations, and fault reporting. Ascertain system diagnostics can detect anomalies without false positives. Confirm that braking control, stability systems, and lane/collision aids are not degraded by added turbo dynamics. Verify wiring, ECU reflashing procedures, and harness routing won’t interfere with safety modules. Prepare a documentation checklist to compare kits against your vehicle’s safety profile. Anticipate re-tuning needs and observe how diagnostic codes align with OEM conventions. Your aim is a safe, freedom-preserving upgrade, with transparent, repeatable validation.
| Criteria | Verification |
|---|---|
| Sensor integration | Confirm compatible sensors and fault reporting |
| System diagnostics | Ascertain OEM-style fault codes remain accurate |
| ESC compatibility | Validate stability algorithms under boost |
| Driver aids | Test ADAS continuity post-upgrade |
Kit-to-Car Alignment
Aligning a turbo kit with your car’s safety features requires a structured, criterion-driven approach. You evaluate compatibility not by hype but by measurable alignment between kit capabilities and factory safeguards. Begin with a clear risk map: where safety sensors, ECU logic, and driveline limits intersect with boosted airflow, torque, and cooling. Prioritize kit options that document installation precision and repeatable tolerances, then verify mounting interfaces, sensor precedents, and harness routing won’t trigger false positives. Assess calibration needs, ensuring the kit’s mapping respects anti-skid, stability controls, and braking assist thresholds. You’ll want demonstrable test results, not promises. Documented alignment checks, torque specs, and stepwise verification become your trail guide. In short, choose a kit that harmonizes with the car’s safety architecture through disciplined, measurable alignment.
The Importance of Proper Tuning and Calibration Strategies
A careful tuning and calibration strategy is essential to prevent safety system conflicts after an upgrade, because even small mismatches can cascade into false positives, missed detections, or degraded performance. You’ll approach this analytically, defining objectives, acceptable tolerances, and measurable signals before you touch the hardware. Begin with baseline data collection: log inputs, responses, and timing under stock conditions, then compare against post-upgrade behavior. Use structured tuning techniques to adjust gain, thresholds, and response curves in incremental steps, validating changes against objective criteria rather than impressions. Pair tuning techniques with rigorous calibration methods, ensuring sensors, actuators, and controllers share coherent reference frames and timing. Document each change, quantify impact, and revert quickly if a rule is violated. Maintain conservative safety margins, adopt repeatable test procedures, and validate under varied loads and temperatures. This disciplined process preserves system integrity while preserving the freedom to push performance within clear, verifiable limits.
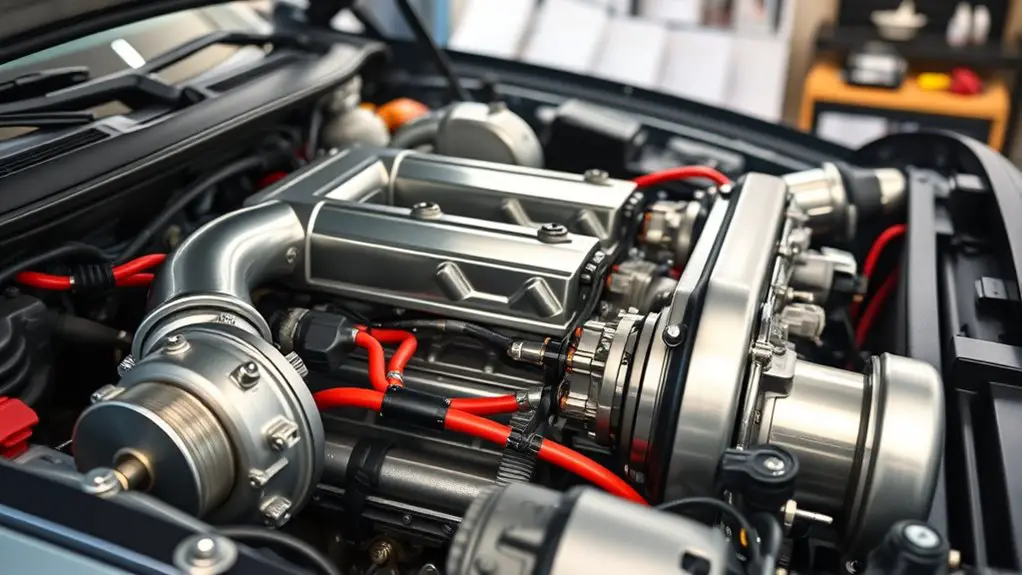
Upgrading Wiring, Grounds, and Battery Management for Stability
Upgrading wiring, grounds, and battery management is a precision exercise aimed at stability and longevity. You approach this methodically: map power paths, isolate sensitive modules, and document every change. Begin with a clean harness plan, labeling critical feeders for ignition, sensors, and the turbo kit’s ECU. Wiring upgrades should minimize impedance, reduce EMI, and preserve battery voltage under load; use appropriately gauged copper, shielded runs, and dedicated circuits for high-current devices. Grounds matter: establish a star-ground topology, verify continuity, and guarantee robust chassis bonding at a single reference point. Battery management requires stabilization of voltage sag during peak demand; install a reputable BMS, confirm charging compatibility, and relocate the battery with vibration isolation to prevent intermittents. Perform parallel testing: monitor voltage rails, current draw, and load transients before and after changes. Maintain a changelog and recheck safety-system wiring to prevent conflicts, then proceed with confidence and freedom. Wiring upgrades and battery optimization focus sustainment over time.
Verifying ABS, Traction Control, and Stability Assist Compatibility
With the wiring and battery groundwork fresh in place, you’ll want a disciplined approach to verifying ABS, traction control, and stability assist compatibility. Begin with a structured checklist: confirm sensor wiring integrity, guarantee ECU firmware matches the turbo kit’s communication profile, and validate lightweight grounds to prevent noise. Prioritize ABS calibration as a calibration step, not a cosmetic tweak; small deviations can cascade into unexpected braking behavior. Next, evaluate traction compatibility by simulating loss of rear and front traction scenarios on a controlled surface, noting how the system moderates wheel slip without oversteering into instability. Use diagnostic tools to monitor wheel-speed signals and brake-pressure responses in real time. Document any discrepancies, repeat tests, and correlate results to fault codes. Maintain a conservative baseline, compare against factory maps, and avoid aggressive reprogramming until you’re confident in stability margins. Precision now saves conflicts later.
Step-by-Step Installation Best Practices to Prevent Conflicts
To prevent conflicts, follow a disciplined, step-by-step installation process that prioritizes wiring integrity, secure connections, and clear communication with the ECU’s profiles. You’ll map every sensor, loom, and digital input before cutting any harness, ensuring traceability and minimal signal interference. Next, verify compatibility with turbo performance goals by referencing vehicle wiring diagrams and labeling each junction for future diagnostics. Use OEM-grade connectors and heat-resistant sleeves; avoid ad-hoc splices that can introduce latency or corrosion. Establish a clean ground strategy and document voltage paths to prevent phantom feedback loops. Calibrate control modules in increments, testing gradual load changes to confirm stable standby states. Maintain a change log so future technicians can interpret revisions quickly. Adhere to safety regulations by aligning firmware updates with documented procedures and using approved tools. Precision today prevents failures tomorrow, letting your upgrade deliver reliable power without compromising system integrity or operator control.
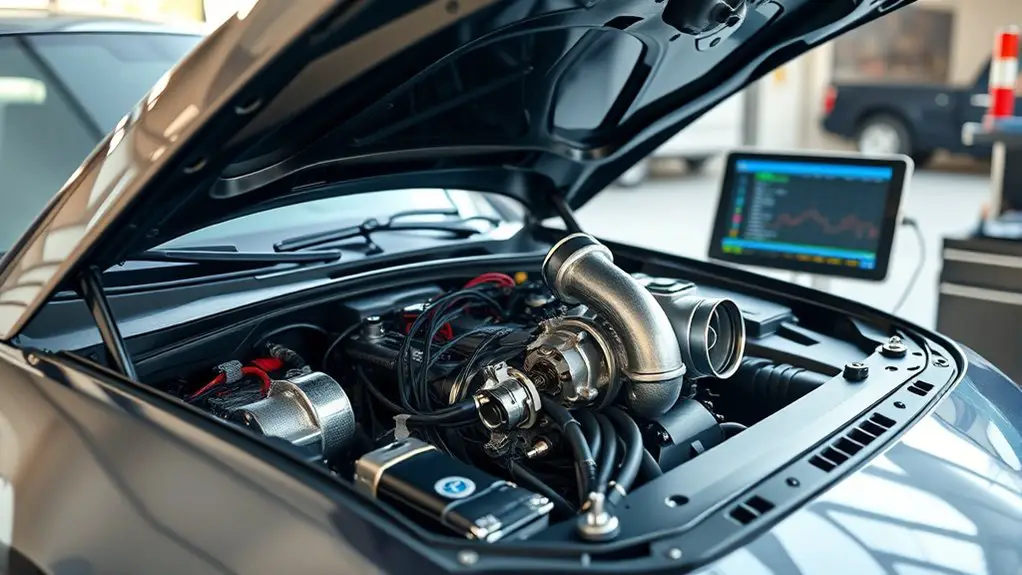
Post-Upgrade Verification: Road Testing and Recalibration Checklist
After completing the upgrade, begin road testing and recalibration by establishing a structured verification sequence that validates performance under real-world loading. You will execute a planned, data-driven approach to post upgrade testing, focusing on repeatable conditions and objective metrics. Start with baseline measurements: throttle response, torque delivery, and feedback from safety systems under varied speeds and loads. Document calibration changes with justification, and verify no unintended interactions between upgraded components and existing controls. Use controlled trials to assess thermal behavior, fuel economy, and transient stability, recording deviations and aligning them with expected ranges. Prioritize calibration importance by iterating parameter tweaks only after confirming reproducible results. Maintain rigorous logging for traceability, ensuring you can reproduce outcomes. Conclude with a concise pass/fail criteria, plus a risk assessment highlighting any residual conflict potentials. This disciplined process preserves freedom by clarifying limits, not hiding them, and supports confident operation across conditions.
Frequently Asked Questions
How Do Safety Systems Detect Turbo-Induced Interference?
Safety systems detect turbo-induced interference by monitoring sensor feedback and comparing it to expected baselines. You’ll see deviations in pressure signals, turbo pressure spikes, or timing mismatches that trigger fault codes or limiter activation. Your analysis should quantify threshold shifts, isolate noisy channels, and validate with repeatable tests. If you’re systematic, document correlations between sensor feedback changes and control loop responses, then adjust calibration to maintain integrity while preserving the freedom to push performance.
Will OEM Sensors Require Calibration After Turbo Install?
Yes, OEM sensors often require recalibration after a turbo install. You’ll perform sensor recalibration to align readings with the turbo integration, ensuring safety trims stay intact. Start with a baseline scan, then adjust fuel, timing, and fault codes as you verify live data. You’ll document tolerances, verify throttle and boost responses, and confirm OEM diagnostic readiness. This methodical check preserves reliability while you pursue freedom through controlled, precise power.
Can Aftermarket ECUS Disable Safety Features?
Yes, aftermarket ECUs can disable safety features if not programmed correctly. You should assess aftermarket compatibility, verify that safeguards remain active, and avoid disabling essential limits. Start with precise ecu programming, restoring OEM fail-safes where required, and documenting every change. You’ll want to balance performance gains with reliable protection, ensuring the system monitors critical inputs. Maintain traceable calibration steps, test thoroughly, and only proceed when you’re confident the safety features stay engaged under all conditions.
Do ABS Modules Adapt to Boosted Throttle Signals?
Abs modules don’t magically adapt to boosted throttle signals; they reference wheel speed and ABS logic, not boosted demand. You’ll see degraded calibration if you push torque beyond stock tuning, so you should map ABS thresholds carefully. Your approach should be methodical: test incremental throttle changes, verify wheel lock protection, and confirm consistency under boosted performance. In practice, expect altered throttle response and plan for re-tuning to maintain safety margins and driver freedom.
What Warranty Impacts Arise From Safety Conflicts?
“Where there’s a will, there’s a way.” You’ll find warranty limitations and liability issues can tighten after safety-system conflicts surface. You should document corrosion, modifications, and timelines, then proactively consult the maker’s policy before modifying. Next, assess risk, isolate failures, and preserve receipts. Your approach should be methodical: quantify impact, trace fault origins, and communicate promptly. You’ll protect freedom to customize while respecting coverage boundaries and minimizing surprises from warranty disputes.