How to Clear False Codes and Stop Can’t Read OBD Codes From Returning
To clear false codes and prevent them from coming back, start by confirming the code with a reliable scanner and note the exact fault and conditions. Inspect and reseat all related connectors, test supply and ground at the sensor, and clean any affected parts like the MAF with a non-residue cleaner. Re-scan to confirm no pending codes, then drive under varied conditions to guarantee stability. If issues recur, review wiring, routes, and potential sensor drift—more steps await.
Diagnosing Why False OBD Codes Appear
False OBD codes often appear when the diagnostic data stream is corrupted or misinterpreted by the onboard computer. You’ll start by confirming the issue isn’t a transient glitch: note when codes pop up, how long they persist, and any correlating driving conditions. Next, inspect for false code triggers that can arise from electrical noise, poor grounding, or shared circuits that mislead the processor. You should verify sensor signals against expected ranges and cross-check with live data while the system is in a stable state. If a sensor malfunction is suspected, observe whether readings drift, spike, or settle erratically under steady conditions. Rule out communication faults by testing the data link, ensuring proper baud rate, and inspecting connectors for corrosion or damage. Document findings with objective measurements, then repeat tests after any corrective action. Remember, precise diagnosis prevents unnecessary repairs and preserves your freedom to rely on trustworthy diagnostics.
Verifying Sensor and Connection Integrity

If you suspect sensor or connection faults, start by verifying physical integrity and electrical continuity. Begin with a visual scan for damaged wiring, loose connectors, frayed insulation, and corroded pins; document any anomalies. Move to connection testing by gently reseating connectors and ensuring locking tabs engage fully. Use a multimeter to measure voltage supply and ground references at the sensor while the system is commanded to operate; record readings and compare against manufacturer specs. Check for consistent signal output under varying loads or RPM, noting any intermittent drops. Inspect harness routing for excessive bends, heat exposure, or interference from aftermarket components. Perform a baseline test with known-good sensors if available, to isolate the fault source. Keep your approach systematic: test, record, repeat. This disciplined sensor troubleshooting and connection testing process reduces guesswork, improves diagnostic accuracy, and minimizes false OBD codes by confirming integrity before deeper remediation.
Cleaning MAF, MAF/DPF, and Related Sensors
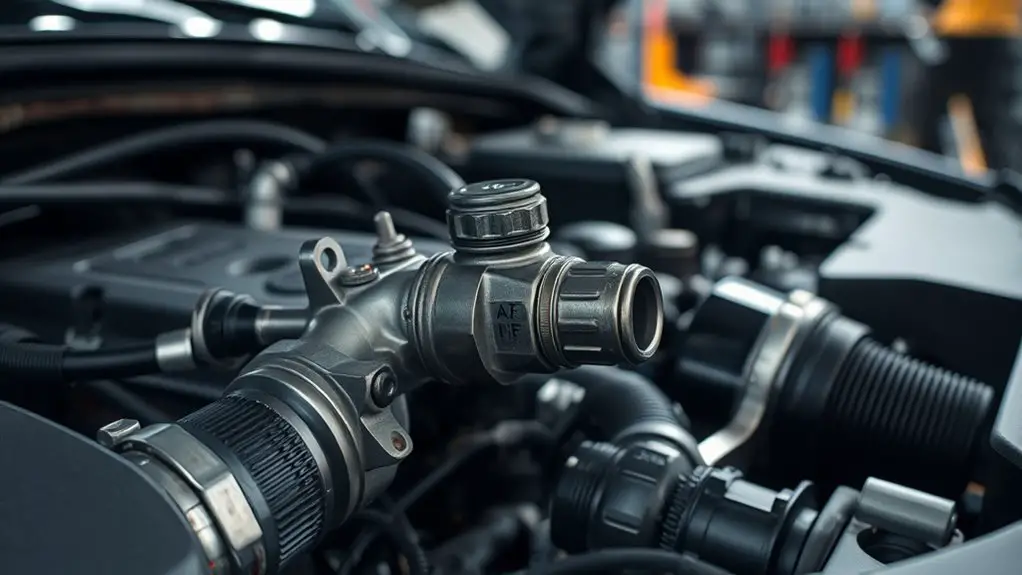
Begin by ensuring the engine is off and cool, then remove access covers or air intake ducting as needed to expose the mass air flow (MAF) sensor and any related sensors connected to the intake system. You’ll inspect for contamination, references, and secure connections before cleaning. Use a dedicated, non-residue spray designed for MAF surfaces; avoid touching delicate filaments. Apply the cleaner in a light, even pass, allowing a brief dry time before reassembly. Do not spray electrical contacts directly; protect them with tape if needed. After cleaning, recheck wiring and housings for gaps or leaks that could skew readings. For broader intake health, consider maf sensor cleaning in conjunction with ductwork inspection, and review related sensors (MAP, IAT) for drift or deposits. If you’ve encountered DPF issues, note that dpf regeneration techniques influence exhaust backpressure and sensor readings. Validate results with a drive cycle, and monitor for recurring codes to confirm stability.
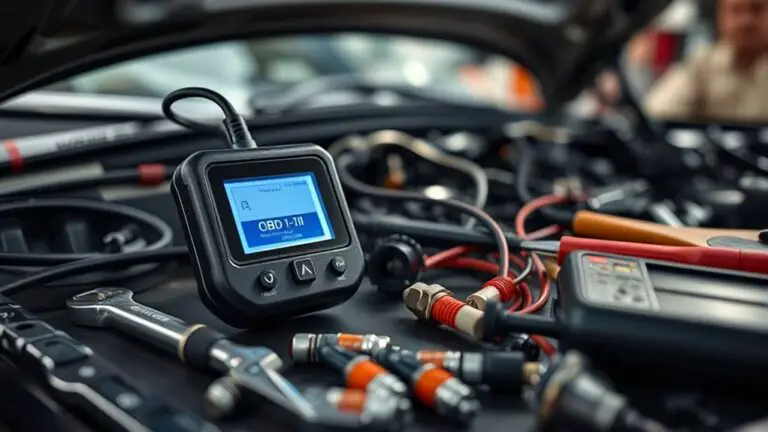
Selecting and Utilizing the Right OBD Scanner
Choosing the right OBD scanner starts with defining your needs: which codes you’re tracking, how much live data you want, and whether you need Bluetooth or wired connectivity. You’ll evaluate OBD scanner features like data type (PIDs), real-time graphing, freeze-frame viewing, and RPM, TEMP, and fuel-trim clarity. Prioritize scanner compatibility with your vehicle’s make, model, and year; some tools work only on certain OBD-II protocols. Assess build quality, screen readability, and battery life if you’ll use it on the go. Look for robust app support and frequent updates, since software free and paid options affect ongoing reliability. Verify that the device stores history you can export, and that it integrates with your preferred platforms. Favor scanners with clear error codes and suggested fixes, but verify claims with independent reviews. In practice, test a trusted model in-store if possible, ensuring trusted data flow, a stable connection, and consistent performance across sessions.
Clearing Codes Properly and Confirming They’re Gone
When you clear codes, you’re not just erasing symbols—you’re resetting the vehicle’s readiness status and confirming the issue is truly resolved. The process starts with verifying the exact fault codes from your scan tool, then documenting the original readings for cross-checks. Use a reputable scanner to perform a controlled code clearing, ensuring no residual pending codes remain. After erasing, immediately re-scan to confirm there are no stored codes or pending faults. This step is essential for legitimate error confirmation and to avoid false safety warnings. Record the timestamps, screen messages, and any live data that supported the repair. If codes reappear, re-evaluate the root cause rather than assuming a transient glitch. Your goal is durable results, not quick fixes. By coupling deliberate code clearing with thorough error confirmation, you maintain transparency, trust in the repair, and the freedom to drive with confidence.
Common Causes of Read Errors and How to Prevent Them
Common read errors typically stem from hardware, software, or data interpretation issues, not faulty codes themselves. You’ll improve reliability by auditing measurement paths carefully. Start with hardware: inspect for faulty wiring and corroded connectors; loose grounds or voltage drops can mimic genuine faults. Next, evaluate sensors and actuators—sensor misalignment or improper mounting alters input signals, producing inconsistent readings. Verify wiring diagrams against actual harness layouts, and test continuity with a multimeter, looking for shorts, opens, or degraded insulation. Software accuracy matters: verify your ECU firmware and scanning tool are current; outdated interpretations can misclassify data. Data interpretation is key; confirm the diagnostic thresholds match your vehicle’s specifications and that you’re reading real-time data instead of stale logs. Prevent recurrence by implementing routine cable management, secure mounting, and periodic sensor calibration checks. Document findings, replace worn components promptly, and re-test to confirm stable readings before concluding a fault is present.
Practical Road Tests to Verify Fixes Hold Up
To validate fixes, you should run targeted road tests that specifically stress the repaired systems and replicate common driving scenarios. Record objective outcomes—emission indicators, readiness monitors, and diagnostic codes—before and after the repair to assess durability. Use repeatable procedures to gauge road-test validity and quickly distinguish temporary versus lasting improvements.
Road-Test Validity
Road-test validity is best established by practical, controlled driving demonstrations that confirm fixes withstand real-world conditions. You’ll evaluate changes under variable road conditions and over diverse test routes to guarantee reliability beyond lab settings. Precision comes from consistent procedures, documented outcomes, and repeatable steps that mirror everyday driving. You want evidence that the fix remains effective across speeds, loads, and weather, not just in ideal scenarios.
- Follow standardized test routes that couple highway, urban, and rural segments to expose edge cases.
- Log responses across varying road conditions, noting any return of symptoms or new fault indicators.
- Reproduce results after reapplication of fixes, confirming durability before declaring success.
Fix Durability Checks
Fix durability checks use practical road tests to prove fixes hold up under real-world conditions. You approach this with a clear plan: define durability standards, select representative driving scenarios, and document outcomes objectively. Begin by outlining testing protocols—reproduce typical fault conditions, run the vehicle across varied speeds, loads, and climates, then monitor OBD behavior over time. Collect quantitative data: fault recurrence rate, time to reinitiate codes, and any ancillary malfunctions. Use standardized logs, repeatable cycles, and controlled variables to minimize bias. Compare results against durability standards, noting any deviations and their causes. If failures occur, adjust the repair method and retest until success criteria are met. Record everything, then publish a concise summary to guide others seeking lasting fixes rather than temporary workarounds.
Frequently Asked Questions
Can False Codes Recur After Long-Term Driving Cycles?
You bet—false codes can recur after long-term driving cycles, especially if underlying sensor behavior remains inconsistent. About 15% of misreads persist after repeated cycles, so you’re not imagining the risk. When falseCode triggers reappear, inspect sensor wiring, vacuum leaks, and O2 sensor health. Long term effects include inconsistent feedback to your ECU, which may affect fuel trim. You’ll improve reliability by addressing root causes, testing with scans, and confirming repairs across multiple drive cycles.
Do All OBD Scanners Read Freeze Frame Data Accurately?
Do all OBD scanners read freeze frame data accurately? Not always. You’ll find freeze frame accuracy varies by scanner model and ECU communication. Some readers capture or interpret data differently, revealing scanner limitations under certain conditions. To stay precise, compare multiple devices, verify timestamps, and cross-check with vehicle manuals. Rely on evidence-based tests and document discrepancies. You’ll gain confidence by recognizing scanner limitations and selecting tools that align with your needs for freedom and reliability.
Can Weather Affect Sensor Data and Code Readings?
Like weather shaping a shoreline, yes, weather conditions can affect sensor data and code readings. You’ll see changes in sensor performance as temperature, humidity, and voltage swing influence accuracy, response time, and stability. You should verify, calibrate, and cross-check with reliable references, ensuring proper heater control, shielded wiring, and correct ground. Gather evidence, log fluctuations, and differentiate real faults from environmental drift. You’ll maintain trust in readings by methodical testing and disciplined interpretation.
Are There Models With Known OBD Read-Out Quirks?
Yes—there are models with known OBD read-out quirks. You’ll find model variations in how dashboards report codes, and some vehicles show sensor compatibility gaps with certain diagnostic tools. To verify, test multiple tools and cross-check with manufacturer data. Rely on OBD quirks evidence from reputable sources, and document any inconsistent readings. This evidence-based approach helps you identify true faults and avoid chasing false positives, preserving your freedom to diagnose confidently.
Should You Reset ECU After Major Component Replacement?
Yes—resetting the ECU after major component replacement is often beneficial. You should perform an ECU reset to guarantee the new part is correctly learned and avoid lingering fault codes. Consider component replacement timing and follow manufacturer guidance; some systems require drivability checks after programs complete. You’ll experience clearer fuel trim, smoother idle, and reliable adaptations. ECU reset benefits include proper recalibration, while you verify efficiency through data logs and road tests for freedom-loving efficiency.