How to Diagnose Battery Won’t Hold Charge in a Sedan and Fix It
A good way to diagnose a sedan battery that won’t hold a charge is to test health and charging first. Start with a load test to see how the battery holds voltage under load, then check the alternator’s output with the engine running and at 2,000 rpm. Inspect belts and connections for wear or corrosion, and perform a parasitic draw test to spot hidden drains. If you find faults, replace faulty parts and verify under load; more tips await you.
Checking Battery Health With a Load Test

A load test checks how your battery performs under real operating stress. You’ll connect a load tester to the battery and simulate cranking and accessory use while monitoring voltage and current. This isn’t about guessing; it’s about measurable response under peak demand. Begin with a clean, charged battery and note the resting voltage. Then apply the load for a standardized period, usually a few seconds, and observe the voltage drop. A healthy battery stays within expected ranges; a rapid sag signals weakness. Record the minimum voltage and compare it to the manufacturer’s specs to assess battery lifespan prospects. If the voltage recovers quickly after the load is removed, the issue may lie elsewhere, but persistent underperformance points to aging cells or internal resistance. Use the results to decide whether to replace or keep servicing. A reliable test helps you maintain freedom by avoiding false starts and keeping your sedan dependable.
Verifying Charge System Performance

To verify charge system performance, start with an alternator output check to confirm proper voltage and current delivery. Then run a parasitic drain test to guarantee no excess power is drawn when the vehicle is off, and finally verify grounding integrity to prevent resistance or voltage loss. These steps establish a baseline before further diagnosis of charging or electrical issues.
Alternator Output Check
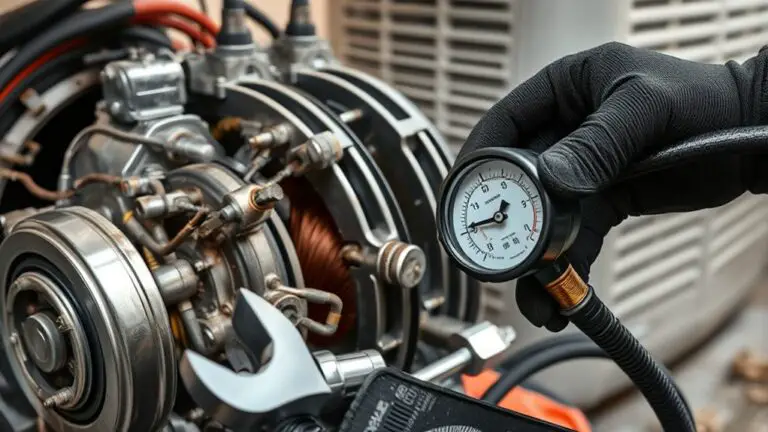
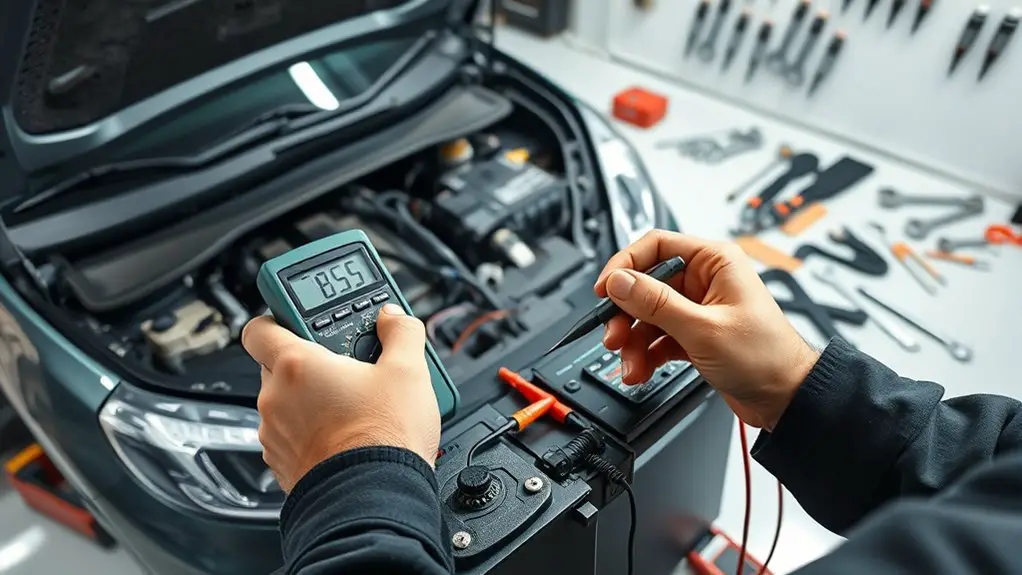
If the battery is running low or the vehicle shows charging warnings, start by confirming the alternator is producing sufficient voltage and current. You’ll test with a digital multimeter at the battery terminals, aim for 13.8–14.4 V with the engine running, and note current flow as you rev to 2,000 rpm. Check voltage regulation by gradually loading the system (lights on, AC on) and watching for voltage drift. If the reading stays within range, alternator testing passes; if not, inspect belts, connections, and the alternator itself.
| Step | Action | Expected Result |
|---|---|---|
| 1 | Measure voltage at idle | 13.8–14.4 V |
| 2 | Rev to 2,000 rpm | Stable within range |
| 3 | Load test | Slight dip, then recovery |
Parasitic Drain Test
After confirming the alternator is putting out the right voltage, it’s time to assess the parasitic drain that can still sap a healthy battery when the car is off. You’ll measure the current draw with the ignition off, doors closed, and everything except essential systems asleep. Use a high-impedance ammeter in series with the battery cable, noting the baseline rate and any unexpected spikes. Typical parasitic drain should be in the tens of milliamps; anything higher points to a battery circuit or switch remaining energized. If you detect excess draw, systematically disable circuits one by one or pull fuses to isolate the culprit. Document readings, then recheck after any fixes. This test confirms if the car’s off-state load is within acceptable limits and explains abnormal discharge.
Grounding Integrity Verify
Grounding integrity directly affects how the charging system performs, so start by verifying solid battery ground connections and a clean chassis return path. If the ground strap looks corroded or loose, replace it and recheck voltage drop between battery negative and chassis. Confirm a low-resistance path; measure continuity with a multimeter from the battery negative to a known frame ground. Electrical grounding must be tight under all loads, so run a quick wiggle test while the engine is cranking to spot intermittent contacts. A solid ground reduces parasitic drain and stabilizes charging voltage, helping the alternator and cables deliver consistent current. If issues persist, inspect grounding points at the engine block and body mounts for corrosion and tightness.
- Check ground strap integrity and secure connections
- Verify chassis-to-battery ground with voltage drop testing
- Inspect all major grounding points for corrosion and tightness
Inspecting the Alternator and Belt Condition
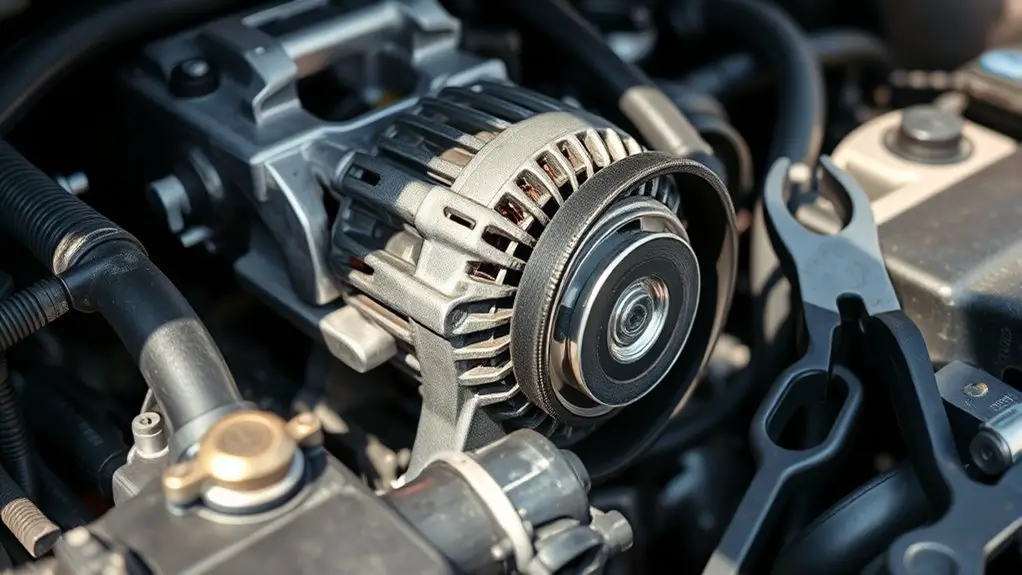
To inspect the alternator and belt, start by safely testing the belt’s condition and tension, then check the alternator’s output with a multimeter or a charging system tester. You’ll look for a cracked, glazed, or oil-soaked belt, plus proper sag and clean pulley rims. If the belt shows wear, replace it to restore consistent belt tension and prevent belt slipping. With the engine off, inspect the alternator for damaged wiring, corroded terminals, and a loose mount. Start the engine and listen for high-pitched squeals indicating slippage or bearing wear. Measure the charging voltage at the battery with the engine running; you should see about 13.8 to 14.6 volts. If voltage is low or erratic, test the alternator’s current output under load or rule it out with a dedicated charging system tester. Address any faults promptly to sustain alternator performance and keep the battery from draining during driving.
Testing for Parasitic Electrical Draw
Parasitic draws can drain a healthy battery even when the engine isn’t running, so after checking the belt and alternator you’ll want to verify there isn’t an electrical parasite pulling current.
To test, disable the vehicle’s interior lights and note if they still dim after a minute. Use a digital multimeter in amperage mode, connecting between the battery and ground with the key off. Expect a small baseline draw; typical parasitic draw is under 50 milliamps in modern cars. If you see a spike beyond that, you’ve pinpointed the likely offender. Document each step, then recheck with doors closed and all electronics at rest. Protect yourself from shocks by wearing gloves and disconnecting power when needed. Once you identify a culprit, you can methodically isolate it by reactivating systems one by one, watching for a rise in draw. This approach keeps your diagnostic focused and efficient, guiding you toward practical fixes.
- Rule out common electrical components first
- Recheck measurements after each adjustment
- Record findings for future reference
Evaluating Battery Cables and Connections
First, inspect the cable terminals for corrosion, looseness, or damaged ends, and clean or replace as needed. Next, verify the ground strap connection is secure and free of rust or gaps. Finally, confirm all clamps are tight and the cables are routed away from heat sources to prevent future issues.
Inspect Cable Terminals
Start with a visual check of the battery terminals: look for corrosion, discoloration, or loose fittings on both the positive and negative posts.
Inspect cable termination for signs of wear or looseness. If you see any greenish crust or a powdery residue, clean and reseat terminals to restore conductivity. Confirm the terminal nuts are snug but not overtightened, which can strip threads or damage posts, addressing terminal tightness.
- Check for cable corrosion at the clamps and clean with a wire brush if needed
- Verify both positive and negative clamps grip the posts firmly
- Reseat and retighten clamps after cleaning, testing for solid electrical contact
Check Ground Strap Connection
A solid ground strap connection is essential for a reliable electrical return, so start by locating the engine block or chassis ground strap that runs from the battery negative to the vehicle frame. Once found, inspect for corrosion, fraying, or loose fasteners. Remove the strap end and clean both contact points with a wire brush or abrasive pad, ensuring bare metal shines through. Reattach firmly, torque to spec, and test for a solid ground by checking voltage drop to the chassis; it should be minimal. Look for any paint or coating under the strap that could insulate the connection and remove as needed. Perform ground strap maintenance routinely and address any looseness promptly. This is part of a thorough ground connection inspection to prevent stray charging issues.
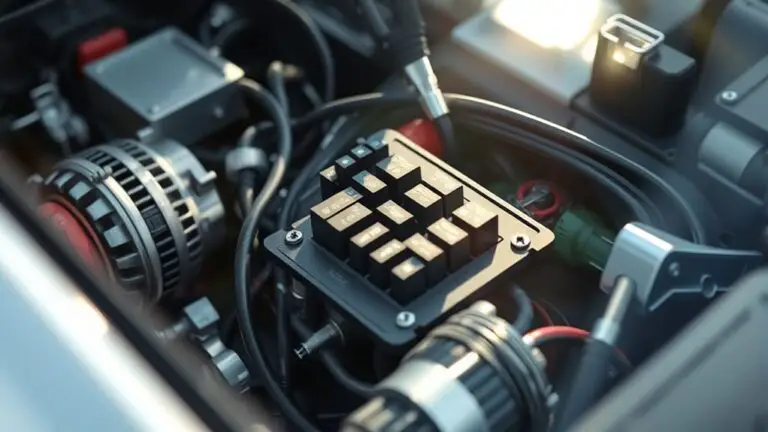
Diagnosing Bad Starter and Related Components
If the engine won’t turn over, the starter is often the culprit, but you should verify related components before replacing it. You’ll assess the starter motor and its connections first, then check the electrical path. Look for loose cables, corrosion, or damaged insulation at the battery, fuse box, and starter terminals. Listen for a clicking sound when you turn the key; repeated clicks can signal solenoid issues rather than a failed motor. Test the starter motor’s voltage with a multimeter and confirm the solenoid engages smoothly; a stuck solenoid can prevent cranking even if the motor spins.
- Inspect starter terminals and clean corrosion; tighten any loose connections.
- Test voltage across the starter and inspect the solenoid’s operation with the ignition in a cranking position.
- Rule out parasitic drains or a weak battery as contributing factors before deciding on replacement.
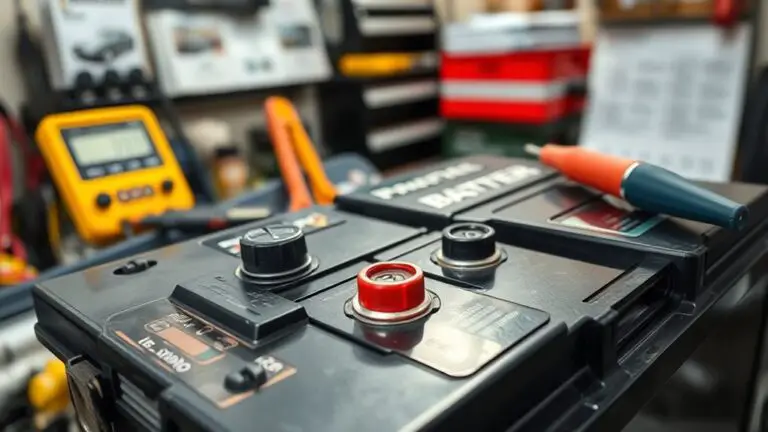
Determining Battery Type and Compatibility
To narrow down the right battery for your sedan, you’ll first confirm the type and compatibility your vehicle requires. Start by checking the owner’s manual or the manufacturer’s label under the hood for battery specifications, including cold-cranking amps (CCA), reserve capacity, and group size. Note the required voltage (most cars use 12V). Next, verify compatibility testing results with your car’s electrical system—cross-check polarity, terminal orientation, and size to ascertain a proper fit. If you own the vehicle, record the exact battery group size and minimum CCA your engine needs, then compare with aftermarket options. Be mindful of lead-acid versus AGM or lithium upgrades, as they affect charging behavior and warranty. When shopping, prioritize batteries that meet or exceed the listed specifications. Finally, perform a quick fit check in the engine bay and confirm the connectors align snugly for reliable engagement and charging performance.
Replacing or Repairing Faulty Parts
When a component shows signs of failure, replace or repair it promptly to restore reliability and prevent collateral damage to the electrical system; start by confirming the exact part name, model, and its proper specs before proceeding. You’ll want to evaluate which path makes the most sense: battery replacement options that fit your sedan’s profile, or targeted repairs for the failing part. Begin with testing to confirm fault causation, then compare costs, downtime, and long-term impact. If replacement is chosen, verify compatibility, warranty terms, and installation requirements. If repair seems viable, ascertain parts are tested post-service and that the system functions under load. Document the process for future reference and avoid unnecessary downtime. Prioritize reputable service providers and transparent pricing.
- battery replacement options
- repair service recommendations
- performance verification after service
Preventive Steps to Avoid Future Drains
Preventive steps start with a simple, disciplined routine: regularly inspect and maintain the charging system, electrical loads, and battery health to head off parasitic drains. You’ll keep the battery thriving by basic checks and mindful usage. Start with a quick electrical system overview: verify alternator output, battery terminals, and cables for corrosion or looseness. Then map loads that persist after ignition— radios, lights, and onboard electronics—and reduce or reprogram them if possible. Practice routine battery maintenance tips like cleaning terminals, ensuring proper electrolyte levels where applicable, and testing voltage under load. When you park, disconnect nonessential accessories or use a smart charger to maintain charge without overcharging. Schedule seasonal care: inspect belts, fuses, and the starter circuit; replace worn parts promptly. Document findings, track patterns, and follow up. This disciplined approach minimizes surprises while preserving freedom to drive confidently.
Frequently Asked Questions
How Can I Tell if Battery Failure Is Cold-Weather Related?
Yes—cold weather often snaps it, so you can tell if battery failure is cold-weather related by checking for slower cranking, dimming headlights, and a weak charge during cold starts. Measure battery performance with a load test and voltmeter; you’ll likely see reduced voltage in frigid temps. Inspect for corrosion and verify terminals are tight. If issues persist, consider a battery with higher cold-cranking amps and keep it charged in winter.
Can a Weak Battery Still Test Within Spec?
A weak battery can still test within spec, but that’s misleading, like a quiet drum before a storm. You’ll want to compare battery life against expected performance and use proper testing equipment. If the readings sit near the edge of the spec, trust your gut and recheck under load. You’re aiming for reliable starts, not fancy numbers. Budget time for a fresh test with real-world load, then replace if needed.
Do Battery Brands Affect Long-Term Reliability in Sedans?
Battery brands do affect long-term reliability in sedans. You’ll want careful battery selection and a fair brand comparison to avoid early failures. Start by checking cold-cranking amps, reserve capacity, and warranty terms. Compare brand options on performance history, customer reviews, and dealer support. You’ll value consistency and good after-sale service. In your decision, prioritize proven reliability over flashy price, and document the specs for easy future reference. This keeps your charging system steady and your ride confident.
What’s the Safe Way to Dispose of an Old Battery?
Disposal first: don’t trash it. You should take the old battery to a certified recycling center or auto-repart shop offering recycling options. The objection—it’s inconvenient—won’t hold you back: many retailers return batteries for free. By recycling, you reduce environmental impact and keep hazardous materials out of landfills. If you’re unsure where to go, call your local waste authority or search for nearby auto parts stores. You’ll feel liberated, knowing you did the responsible thing.
Can Maintenance-Free Batteries Ever Require Replacement?
Yes—maintenance-free batteries can require replacement. You’ll notice battery lifespan shrinking beyond its expected range, and you’ll spot replacement indicators like persistent slow cranking, frequent jump starts, or the battery failing a load test. If you see these signs, replace the unit rather than chasing phantom faults. Maintain performance by checking terminals, keeping it charged, and using the right alternator output. Trust the indicators, act promptly, and you’ll preserve reliability and freedom on the road.