How to Diagnose Charging Warning Light in Compact Car
To diagnose the charging warning light in your compact car, start by inspecting the battery for corrosion and testing its voltage (12.4-12.7 volts). Next, check the alternator; it should output 13.8-14.2 volts. Examine electrical connections for wear and verify all fuses related to the charging system are intact. Don’t overlook the serpentine belt for cracks or proper tension. For accurate diagnostics, using diagnostic tools can provide valuable insights into ongoing issues. You’ll uncover more essential steps to resolve this problem.
Understanding the Charging Warning Light

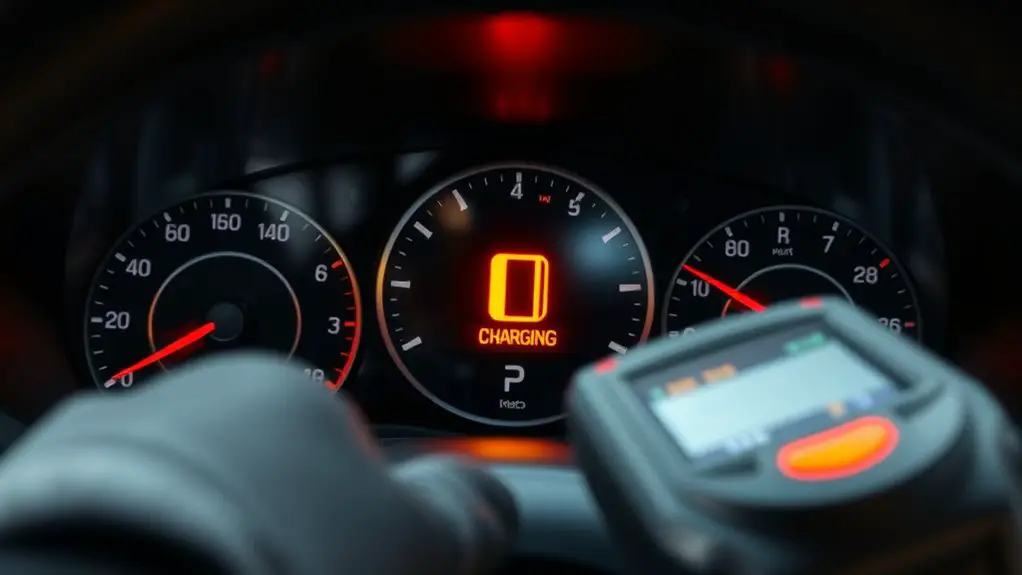
When you see the charging warning light illuminated on your compact car’s dashboard, it signifies a potential issue with the vehicle’s charging system. This system is essential for maintaining battery health and ensuring your car runs smoothly. The warning light may indicate a malfunction in the alternator, which generates electricity to recharge the battery while the engine operates. Alternatively, it could point to a problem with the battery itself, such as a poor connection or deterioration. It’s important to recognize that ignoring this warning can lead to a complete loss of power, leaving you stranded. Understanding the implications of this warning light empowers you to act swiftly, preserving your freedom on the road. Regular maintenance checks can help prevent these issues, ensuring that your charging system remains functional and reliable. Take note of this warning light; it’s your vehicle’s way of communicating critical information about its electrical health.
Common Causes of the Charging Warning Light
When the charging warning light illuminates, it’s often due to a faulty alternator or issues with battery connections. A malfunctioning alternator may not effectively charge the battery, while loose or corroded connections can disrupt the electrical flow. Identifying these common causes is essential for restoring your vehicle’s electrical system.
Faulty Alternator Issues
A faulty alternator is often the primary culprit behind the charging warning light illuminating on your dashboard. This essential component generates electrical power, and when it malfunctions, it can lead to insufficient voltage output. A failing voltage regulator may also contribute to this issue, causing fluctuations that can trigger the warning light. Common signs of alternator failure include dimming headlights, electrical accessories malfunctioning, or unusual noises. If you suspect your alternator is at fault, don’t hesitate to evaluate an alternator replacement. Ignoring these indicators can lead to battery drain and further electrical problems, jeopardizing your driving freedom. Addressing alternator issues promptly guarantees your compact car remains reliable and ready for the road ahead.
Battery Connection Problems
Faulty alternators aren’t the only reason the charging warning light might illuminate; battery connection problems can also play a significant role. If you notice the light, first check for battery corrosion, which can impede electrical flow. Corrosion often appears as a white, powdery substance around the terminals, and you can clean it using a mixture of baking soda and water. Additionally, make certain that the battery terminals are tight; loose terminals can cause intermittent connections, leading to charging issues. Use a wrench to secure the clamps, but be careful not to overtighten. By addressing these battery connection problems, you can often resolve the warning light issue and make certain your compact car operates smoothly.
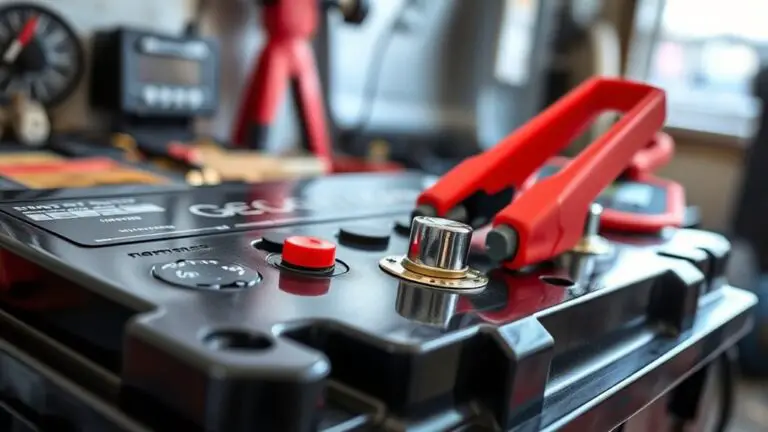
Checking the Battery Condition
To accurately assess your battery’s condition, start with a visual inspection for signs of corrosion or physical damage. Next, test the voltage output using a multimeter, ensuring it falls within the ideal range of 12.4 to 12.7 volts when the engine is off. Finally, check the battery connections for tightness and cleanliness, as poor connections can lead to charging issues.
Visual Inspection of Battery
Inspecting the battery visually is an essential step in diagnosing a charging warning light issue in your compact car. Start by checking for any physical damage, like cracks or leaks, which can indicate a failing battery. Look for signs of corrosion on the terminals; this can disrupt the connection and affect performance. Confirm that the terminals are clean and securely fastened—loose connections can lead to charging problems. Regular battery maintenance, including cleaning and applying corrosion prevention measures like terminal protectors, can extend your battery’s lifespan. Also, check the battery’s age; most batteries last around three to five years. If you notice significant wear or damage, it might be time to evaluate a replacement to prevent further issues.
Testing Voltage Output
While visual inspections are essential, testing the voltage output of your battery is a significant step in evaluating its condition. Using a voltage meter, you can determine if your battery is functioning properly. First, verify the vehicle is off, then connect the voltage meter leads to the battery terminals. A healthy battery should read between 12.4 to 12.7 volts.
| Voltage Range | Condition |
|---|---|
| 12.4 – 12.7 volts | Good |
| 12.0 – 12.3 volts | Needs Charging |
| Below 12.0 volts | Replace Battery |
If your output testing reveals low voltage, it might indicate a failing battery or other electrical issues. Always prioritize safety when conducting these tests.
Checking Battery Connections
Before diving into further diagnostics, it’s vital to check the battery connections, as loose or corroded terminals can lead to charging issues. Start by inspecting the battery terminals for any signs of corrosion, which appears as a white or greenish residue. If you see corrosion, it’s important to clean it off using a mixture of baking soda and water. Confirm the terminals are tight; you should be able to wiggle them slightly without much effort. Regular battery maintenance, including cleaning and checking connections, can help prevent future problems. Once you’ve secured the connections and addressed any corrosion issues, you’ll set a solid foundation for diagnosing other potential problems related to the charging system.
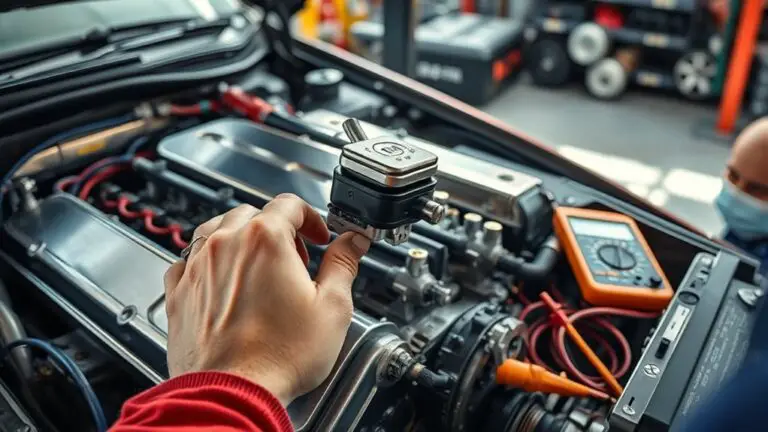
Inspecting the Alternator
The alternator acts as the heart of your car’s electrical system, generating power to recharge the battery and supply energy to various components. To inspect the alternator, start by checking its performance. A faulty alternator may fail to produce adequate voltage, affecting charging efficiency. You can use a multimeter to measure the voltage output; it should ideally be between 13.8 and 14.2 volts while the engine’s running.
Next, listen for unusual sounds like grinding or squealing, which can indicate worn bearings or a failing rotor. Visually inspect the alternator for signs of damage, such as cracks or corrosion. Verify the drive belt is in good condition and properly tensioned, as a loose or worn belt can hinder alternator performance. If you notice any red flags during your inspection, consider seeking professional assistance to maintain your vehicle’s electrical system and guarantee peak functionality.
Examining Electrical Connections
Electrical connections serve as the vital pathways for current flow within your vehicle’s charging system. To diagnose a charging warning light, you’ll need to thoroughly inspect the wiring harness for any signs of wear, fraying, or corrosion. Check each connector for tightness and verify there aren’t any loose wires that could interrupt power distribution. Ground connections are equally important; a poor ground can cause erratic behavior in the charging system. Make certain to examine the grounding points for rust or dirt, which can impede electrical flow. Clean any oxidized connections with a wire brush or contact cleaner to restore conductivity. Confirm that all terminals are secure and free from moisture, as this can lead to intermittent connections. By verifying reliable electrical connections, you set the stage for a well-functioning charging system, allowing your compact car to operate smoothly and efficiently.
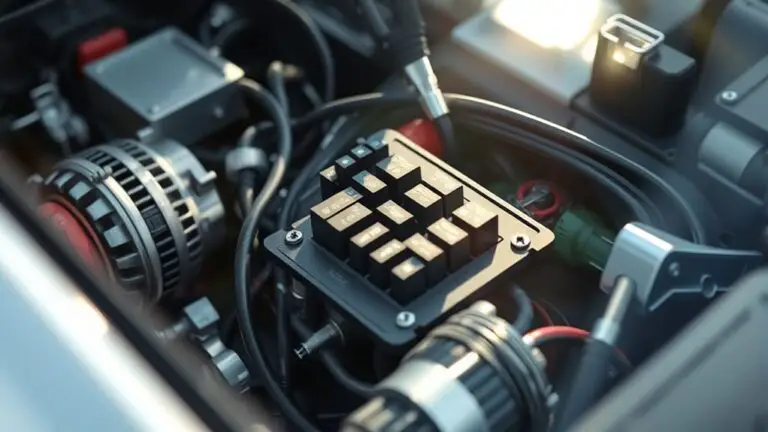
Testing the Fuses
Although you may have confirmed that the wiring connections are intact, testing the fuses is an essential next step in diagnosing the charging warning light issue. Begin by consulting your vehicle’s manual to identify the specific fuse types and their locations. Common fuses related to the charging system include the alternator and battery fuses.
Use a multimeter to check the fuse ratings; verify they match the specifications listed in the manual. A blown fuse can interrupt the electrical flow, triggering the warning light. Carefully remove each fuse and inspect it visually for damage or burnt elements. If you find a faulty fuse, replace it with a new one that matches the original’s rating.
After replacing any blown fuses, recheck the charging system to see if the warning light remains illuminated. This straightforward test can greatly narrow down the issue, giving you a clearer path forward.
Assessing the Serpentine Belt
When you’ve ruled out fuses as the source of the charging warning light, it’s essential to assess the serpentine belt’s condition. A worn or loose belt can hinder the alternator’s performance, triggering that warning light. Start by visually inspecting the belt for cracks, fraying, or glazing.
Next, check the belt tension. An improperly tensioned belt can slip, diminishing the alternator’s output. Use a belt tension gauge if available, or press on the belt with your fingers; it shouldn’t deflect more than half an inch.
Here’s a quick reference table to help you:
| Condition | Symptoms | Action Required |
|---|---|---|
| Cracks or fraying | Visible damage | Replace the serpentine belt |
| Loose tension | Slipping noise | Adjust tension |
| Glazing | Shiny surface | Replace the serpentine belt |
Ensure the belt’s in good shape for peak performance.
Utilizing Diagnostic Tools
Utilizing diagnostic tools can greatly streamline the process of identifying the cause of a charging warning light in your compact car. By employing the right equipment, you can pinpoint issues more efficiently. Here are a few key tools to evaluate:
Utilizing the right diagnostic tools can efficiently identify the cause of your compact car’s charging warning light.
- Diagnostic software: This can read fault codes from your vehicle’s computer, providing insights into electrical issues.
- Multimeter usage: A multimeter helps you measure voltage and current, allowing you to check the battery and alternator’s functionality.
- OBD-II scanner: This tool connects to your vehicle’s diagnostic port, offering real-time data and error codes.
Using these tools not only aids in diagnosing problems but also empowers you to understand your vehicle’s health better. Remember, accurate diagnostics lead to informed decisions, giving you the freedom to make repairs yourself or seek further assistance if necessary.
When to Seek Professional Help
After performing initial diagnostics with the appropriate tools, you may find that the issue persists or is beyond your expertise. If the charging warning light remains illuminated despite your efforts, it’s vital to seek help from professional mechanics. Ignoring persistent warning indicators can lead to more severe electrical issues, battery failure, or even engine problems.
Consider professional assistance if you notice unusual noises from the alternator, significant voltage drops, or if the battery doesn’t hold a charge after testing. These symptoms often require specialized knowledge and equipment that you might not have.
Additionally, if you’re unsure about interpreting diagnostic codes or electrical schematics, don’t hesitate to consult experts. They can provide a thorough analysis and guarantee your vehicle’s electrical system operates efficiently, allowing you the freedom to drive without worry. Prioritize safety and reliability by relying on professional insights when necessary.
Frequently Asked Questions
Can a Faulty Battery Trigger the Charging Warning Light?
Yes, a faulty battery can definitely trigger the charging warning light. If your battery health is compromised, it can affect the entire charging system, causing voltage irregularities. As the battery struggles to maintain charge, the alternator may not receive the necessary power to operate efficiently, leading to that warning light. So, if you notice it illuminating, it’s essential to check your battery’s condition and guarantee the charging system’s functionality.
How Often Should I Check My Car’s Electrical System?
You should check your car’s electrical system at least twice a year. Regular battery maintenance is essential, as it prevents unexpected failures. During these checks, perform an electrical inspection to assess the battery’s condition, connections, and overall performance. If you notice any signs of corrosion or wear, address them immediately. Staying proactive about these inspections gives you the freedom to drive confidently, knowing your car’s electrical system is in top shape.
What Other Warning Lights May Indicate Charging Issues?
If you’re seeing warning lights like the battery icon or the ABS light, it might indicate charging issues. These lights often signal low battery voltage or problems with electrical connections. Don’t ignore them; they could lead to more significant issues down the line. Regularly checking these indicators can help you maintain your car’s electrical system and guarantee you have the freedom to drive without unexpected interruptions.
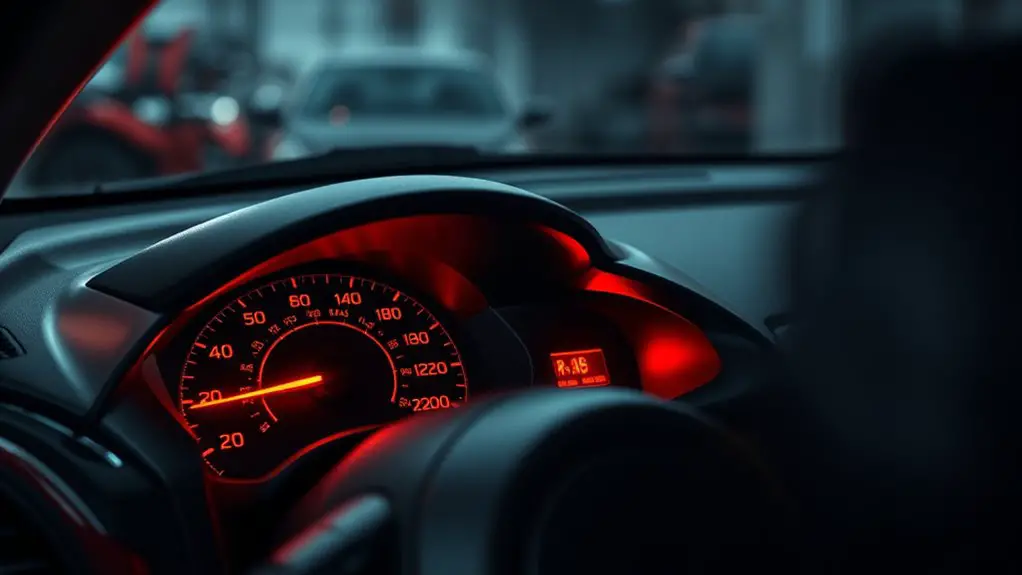
Is It Safe to Drive With the Charging Warning Light On?
It’s not safe to drive with the charging warning light on. Ignoring it poses significant driving risks, as it indicates potential issues with your car’s electrical system. Continuing to drive could lead to a dead battery, loss of power steering, or complete engine failure, compromising your safety and that of others on the road. If this light illuminates, it’s best to pull over and address the problem before driving further.
How Can Temperature Affect Charging System Performance?
Temperature extremes can notably impact your car’s charging system performance. At high temperatures, thermal effects can lead to increased resistance in electrical components, causing reduced efficiency. Conversely, cold temperatures can thicken battery fluids, impairing chemical reactions essential for charging. If you’re experiencing fluctuations in charging efficiency, it’s vital to reflect on how these temperature variations might be affecting your vehicle’s components, as they can lead to premature wear or even failure of the charging system.