How to Diagnose Collapsed Strut in a Compact Car Suspension
A collapsed strut in a compact car shows as abrupt ride changes, uneven road feel, and persistent bottoming. Start on level ground, apply the parking brake, disconnect the battery, and gather safety gear. Perform a focused undercarriage check for leaks, misalignment, and damaged boots, then listen for clunks while gently moving the suspension. Verify fasteners and mounting points, compare against spec, and plan a controlled replacement. Post-repair, recheck torque, alignment, and tire wear to confirm the fix and proceed with confidence. You’ll uncover more details next.
Symptoms of a Collapsed Strut in a Compact Car

A collapsed strut in a compact car typically manifests as abrupt changes in ride quality and handling. You’ll notice uneven road feel, persistent bottoming, and a tendency to lean or sway through corners. Strut noise may appear as metallic creaks or clunks over bumps, signaling internal seal or piston damage. In steady-state driving, ride comfort deteriorates, with increased vertical motion that transmits pavement irregularities directly to the chassis. Front or rear suspension will show asymmetric responses, where one corner reacts slower or more abruptly than the opposite, indicating a loss of damping control. Tire wear can become uneven due to altered camber and alignment behavior caused by a failed strut. You’ll also observe a reduced ability to maintain consistent steering input because the suspension no longer resists roll or dive effectively. Prioritize inspection if these symptoms persist, as early confirmation guides safer, targeted remedies without unnecessary part speculation.
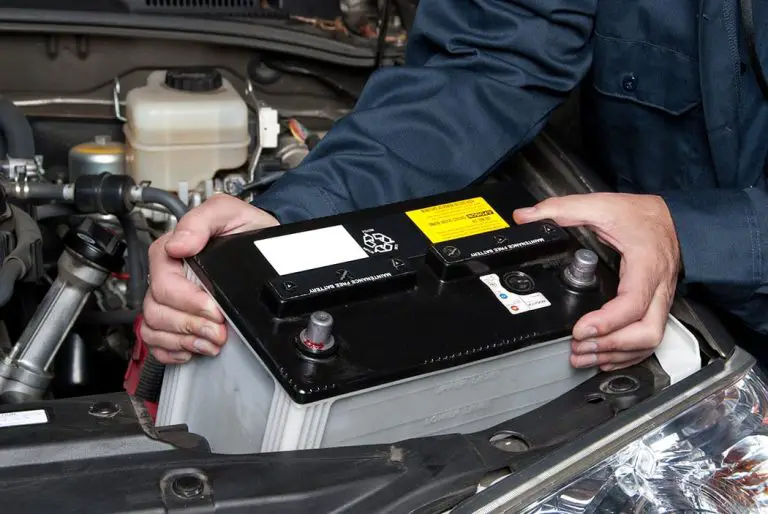
Safety Steps Before Inspections
Before you inspect, take control of safety by preparing the vehicle and your workspace. You’ll establish clear boundaries that prevent surprise moves during inspection. Begin by securing the car on level ground, engage the parking brake, and place wheel chocks. Disconnect the battery if you’ll access under the hood or near electronic subsystems; this reduces incidental shorts. Gather essential safety gear, and verify it’s in good condition: gloves, eye protection, and closed-toe footwear. Arrange lighting to illuminate undercarriage areas without casting blind spots. Clear the inspection environment of unnecessary tools and debris to minimize trip hazards. If you’ll raise the vehicle, use a rated jack and supported stands, never rely on the jack alone. Maintain a calm, controlled workflow, documenting any hazards as you encounter them. Communicate with household helpers or coworkers about planned steps. Confirm that the area remains undisturbed during the inspection phase that follows.
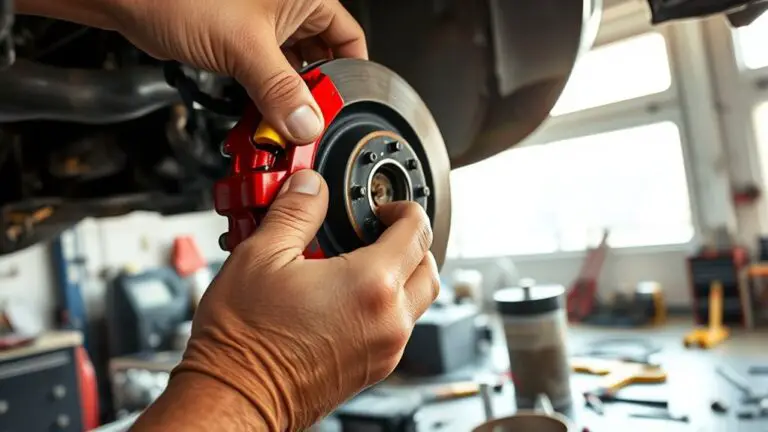
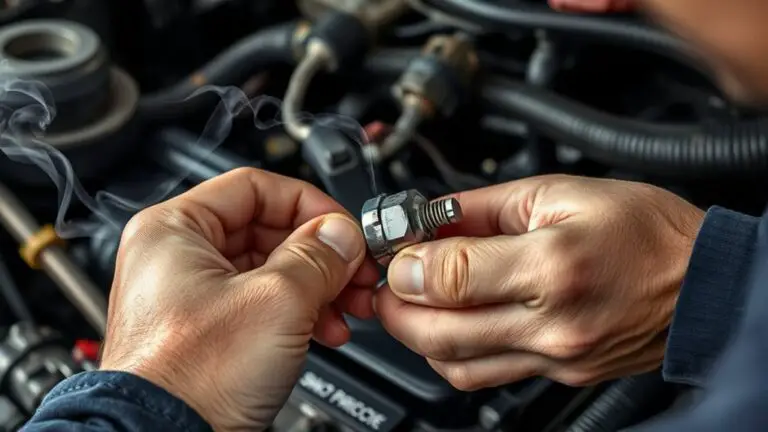
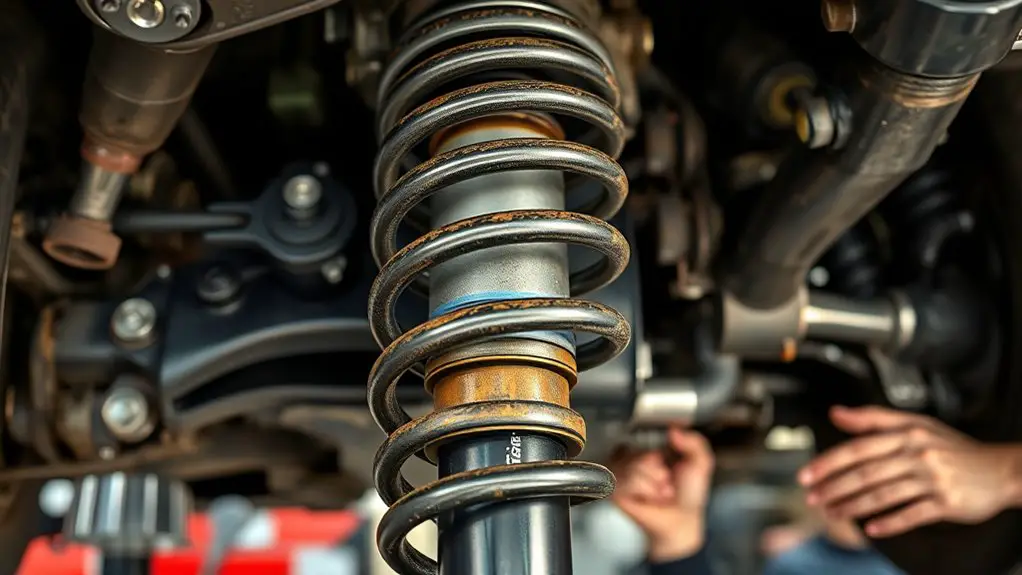
Visual and Physical Inspection Techniques
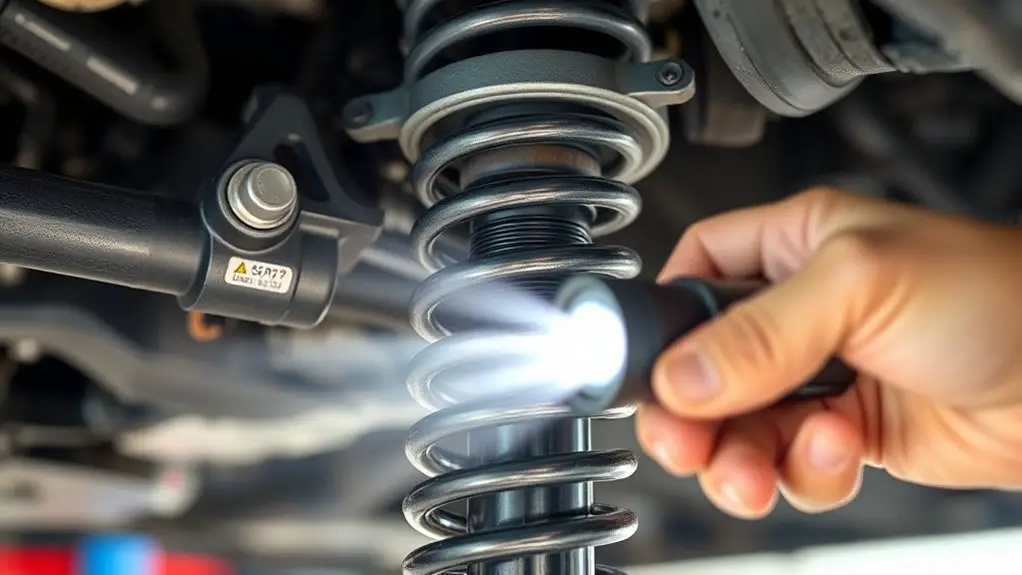
Begin with a systematic sweep of the undercarriage, looking for obvious deformation, leakage, or corrosion, then verify component alignment and fastener integrity by comparing to manufacturer specs or known good references. You’ll perform a focused visual pass across springs, mounts, bushings, and joints, noting any oil traces, rust, or torn rubber. Probe for play by hand where safe, and listen for abnormal suspension noise or binding during gentle gravity movements. Document strut wear signs such as damaged dust boots, uneven coefficient wear, or leaking seals, and correlate with ride feel. Use lighting and a mirror to inspect inaccessible faces, and cross-check left/right symmetry. Track bolt torque, integrity, and any missing hardware as you go. Table summarizes quick checks:
| Area | What to inspect |
|---|---|
| Boots & seals | Cracks, seepage, torn dust covers |
| Mounts & bushings | Cracks, looseness, excessive deflection |
| Connections | Fastener torque, alignment, corrosion |
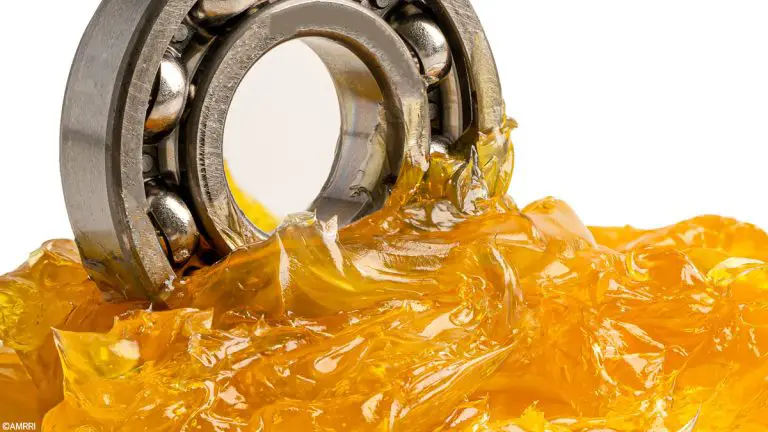
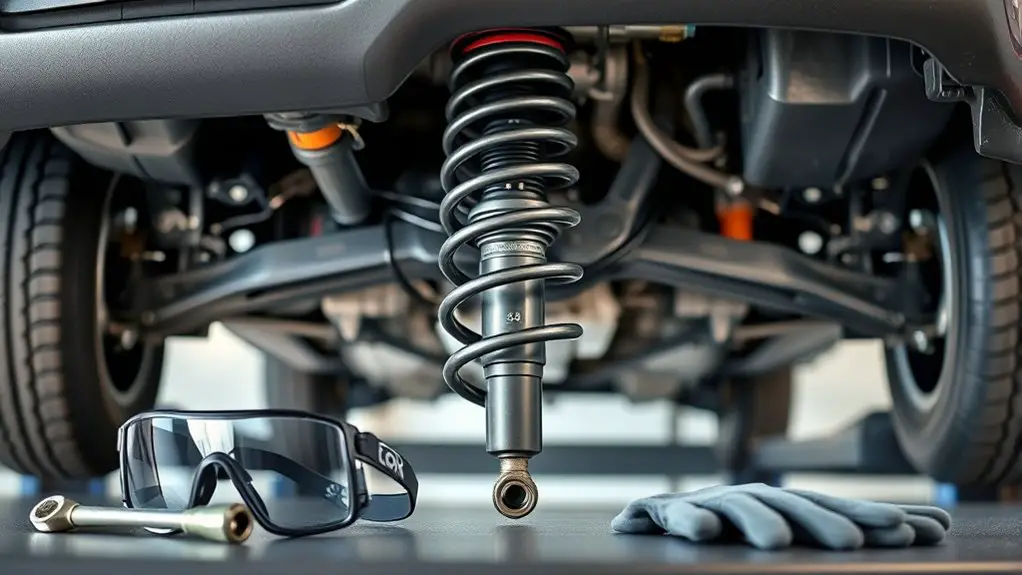
Tools and Replacement Process Overview
You’ll assemble a focused set of diagnostic and replacement tools, then follow a disciplined sequence: secure the vehicle, relieve load, access the strut, and perform the swap using torque specs from the manufacturer. You’ll rely on diagnostic tools to confirm the collapse cause and to validate alignment after reinstall. Select replacement components matched to your specific model, including strut, mounts, nuts, bolts, and any required hardware. Use a torque wrench calibrated to the manufacturer’s specs, a jack stand setup, and appropriate pry or extraction tools to minimize component damage. A magnetic tray keeps fasteners organized, while a breaker bar and impact tool help with stubborn fasteners. Inspect mounting points for corrosion or wear as you disassemble. Document batch numbers and part revisions for traceability. Precision matters: avoid over-tightening, verify rotor and brake components are clear, and recheck torque after initial run. Proper tooling and disciplined steps protect performance and safety.
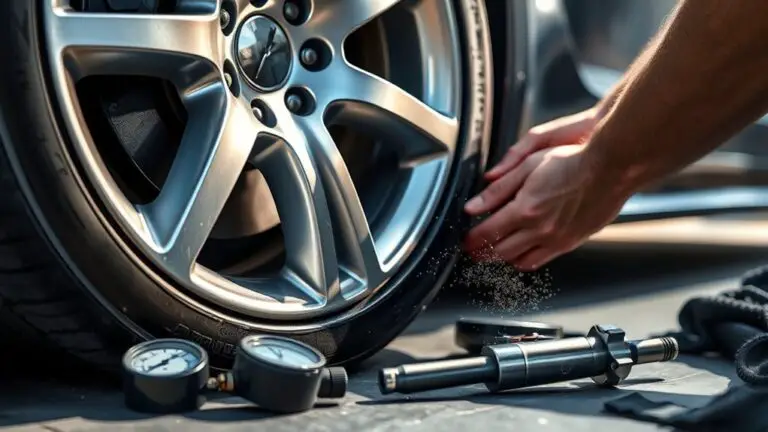
Post-Repair Checks and Tire Health Impacts
Once the repair is complete, verify the system’s integrity by performing a controlled post-repair checklist, focusing on fastener torque, vehicle alignment, and brake clearance, then inspect tire health and ride quality for any signs of imbalance or contact. You’ll assess tire alignment to confirm the updated toe and camber settings align with manufacturer specs, ensuring even tread wear and steering response. Next, examine suspension wear indicators: check bushings, control arms, and strut mounts for residual play or cracking that could skew dynamic behavior. Conduct a cautious road test at moderate speeds to feel for pull, steering wheel offset, or vibration that suggests misalignment or binding. Confirm brake clearance across the entire rotor arc to prevent rubbing during compression. Finally, review tire pressure consistency and inspect tread for unusual cupping or feathering. Document any deviations, plan corrective steps if necessary, and maintain a record for future diagnostics and routine maintenance.
Frequently Asked Questions
How Long Does a Typical Strut Replacement Take?
Typical strut replacement usually takes 1.5 to 3 hours, depending on your car’s design and your access to a lift. You’ll pace through strut installation steps, torque specs, and alignment checks, while you monitor repair duration to avoid overruns. You’ll want to loosen fasteners, swap assemblies, and reassemble carefully, then reset or align the suspension. If working solo, expect longer; if you’ve got a helper and proper tools, the job goes smoothly.
Can a Collapsed Strut Affect Fuel Efficiency?
Yes, a collapsed strut can affect fuel efficiency. When strut performance degrades, you’ll experience increased rolling resistance and poorer aero dynamics, forcing the engine to work harder and burn more fuel. You’ll likely notice higher fuel consumption, especially at steady highway speeds. Inspecting suspension geometry and replacing worn components restores peak fuel economy. Monitor tire pressure, alignment, and suspension load to maintain peak strut performance and minimize unnecessary fuel consumption.
Are OEM Parts Mandatory for Replacement?
No, OEM parts aren’t mandatory, but there’s a reliability edge. You can use OEM alternatives that meet or exceed original specs, yet you should scrutinize strut quality, warranty, and load ratings. You’ll want verified compatibility with your compact car’s suspension geometry and damping curves. If you pursue OEM alternatives, choose reputable brands, compare performance data, and document replacements. Precision installation and alignment matter as much as part choice for long-term safety and freedom on the road.
Will Driving With a Collapsed Strut Cause Tire Wear?
A collapsed strut will accelerate tire wear if you continue driving. The excessive sag alters tire alignment, causing uneven tread contact and uneven wear patterns. You’ll also hear suspension noise from reduced damping. Stop driving as soon as possible and inspect for leaks, damaged mounts, or bent components. Address the issue promptly to restore proper tire alignment and eliminate suspension noise; otherwise, wear worsens and steering precision degrades. Make certain you replace worn parts and verify alignment after repair.
Can a Temporary Fix Mask Underlying Suspension Damage?
Yes, a temporary fix can mask underlying suspension damage. You’ll want to avoid relying on it, because issues can worsen and compromise handling. Start with a thorough suspension inspection, noting leaks, worn bushings, and bent components. Then evaluate whether temporary solutions address symptoms or just buy time. If damage exists, plan proper repairs rather than shortcuts, prioritizing safety. You deserve freedom, but also a precise, methodical approach to maintain control and reliability.