How to Diagnose Coolant Reservoir Crack in a Gasoline Car Cooling System
To diagnose a cracked coolant reservoir in a gasoline car, start with a thorough visual check for cracks, dampness, or staining around the reservoir and cap. Inspect hoses and neck for cracks, bulges, or wear, and guarantee clamps are tight. If you see or suspect a leak, perform a pressure test with the system cool and compare the gauge to spec. Watch for persistent dampness or rising coolant levels after refills, and note symptoms that warrant professional help soon. More steps await.
Identifying Common Signs of a Cracked Coolant Reservoir
Common signs of a cracked coolant reservoir are usually easy to spot and warrant prompt attention. You’ll notice sudden coolant loss without obvious leaks, often accompanied by low-itch flicks of the dash or a coolant warning light. Inspect for bright, unusual puddles under the engine bay that aren’t oil or fuel stains. You may detect a sweet or syrupy odor if coolant escapes and vaporizes near hot surfaces. Visually, cracks or cloudy discoloration on the reservoir walls can indicate steady seepage. Pay attention to the coolant color—any change, especially a pale or milky tint, may signal contamination or mixing with oil. At rest, the reservoir placement should be stable; wobbling or flexing under pressure implies a compromised seal or mounting. Check for white crust on the cap or threads, a sign of evaporative loss. If you observe these signs, plan a cautious, systematic inspection to confirm integrity before driving.
Tools You May Need for the Inspection
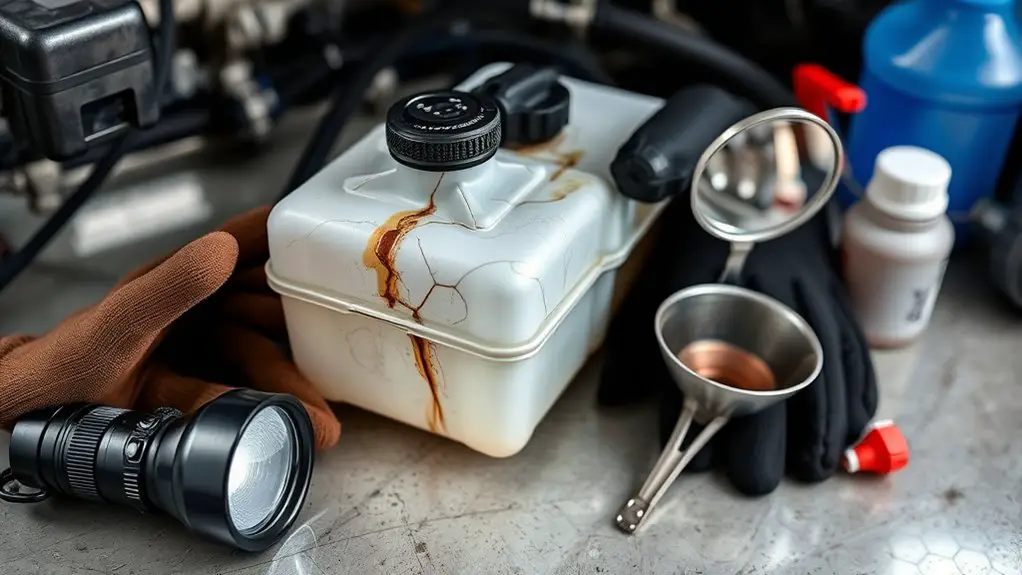
To inspect a cracked coolant reservoir effectively, assemble a focused set of tools tailored to identifying leaks, verifying connections, and inspecting mounting points. You’ll want a flashlight for glare-free viewing, a small mirror, and a clean rag to wipe surfaces without introducing debris. Bring a transparent plastic tray to collect drips and a spare funnel for controlled topping during tests. Have a pressure tester compatible with your cooling system’s neck and cap—this helps confirm leaks beyond normal cap seepage. Include a coolant hydrometer or refractometer to assess coolant types and concentration if you’re sampling. Carry basic hand tools to loosen clamps and brackets, plus insulated pliers for hose work. Don’t overlook gloves and eye protection. Document observations with a notepad or mobile notes. Knowledge of reservoir materials and how they respond to heat aids interpretation, while recognizing how different coolant types influence swelling, cracking, or seepage.
Visual Inspection: Exterior and Cap Area
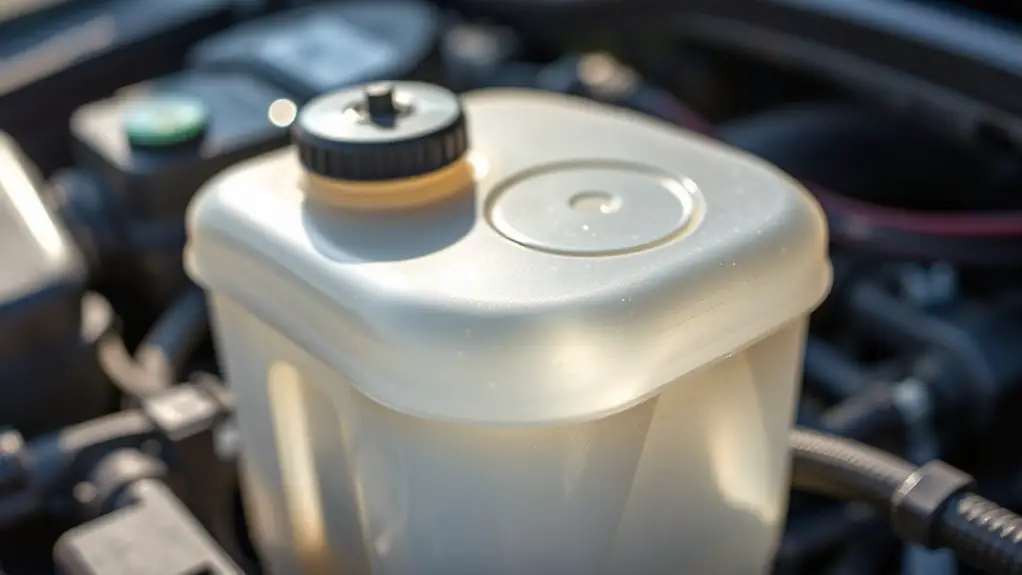
You’ll start by inspecting the exterior for signs of a crack, noting any hairline to obvious fractures and their location on the reservoir. Check the cap area for cracks, warping, or chipped threads, and verify the seal’s condition for possible seepage clues. Look for visible leaks around the cap, including staining or dampness, as these hints guide you to the most likely failure points.
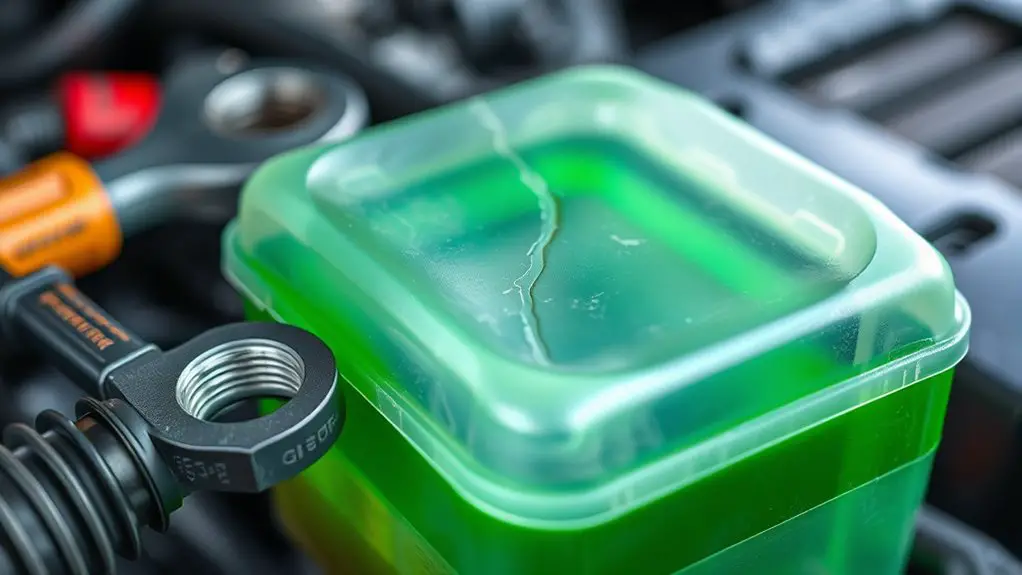
Exterior Crack Signs
If you spot a crack or fracture along the coolant reservoir’s outer shell or around the cap, it’s a clear indicator to inspect the area closely for depth, length, and any seepage. Exterior signs demand a disciplined scan: note hairline splits, gouges, or chalky edges that hint at structural failure. Trace any coolant discoloration along seams, which can reveal micro-leaks before they grow. Check the cap rim for cracking or distorted seating, as improper seals exaggerate flow issues. Observe the surrounding plastic for deformities from heat cycles, and verify mounting points aren’t stressed. Temperature fluctuations can amplify superficial flaws into leaks, so compare consistent color and glow under light. Document findings, then proceed with cautious pressure tests if needed.
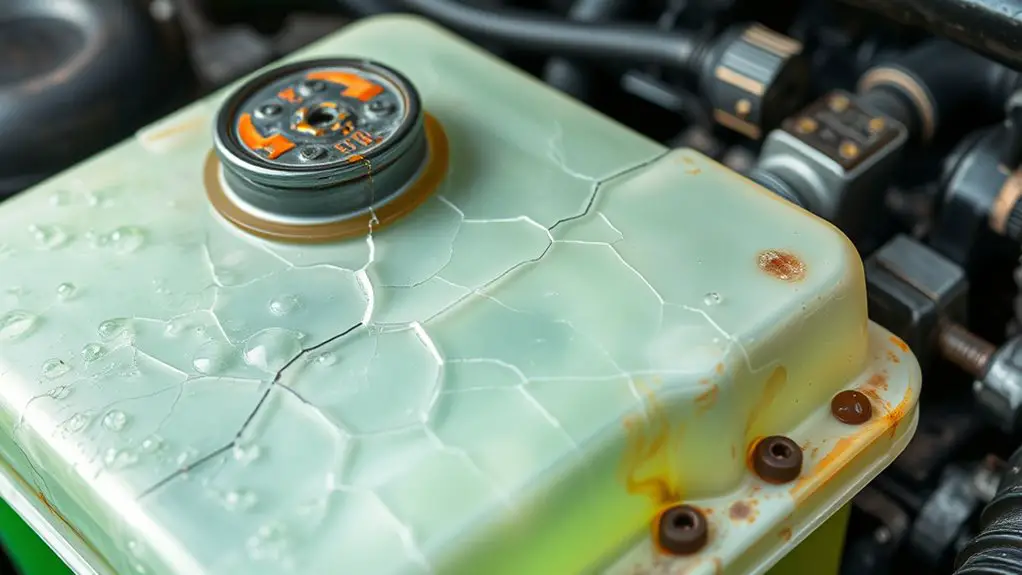
Cap Area Clues
Cap area clues come into focus once exterior signs are noted: inspect the cap rim and its seating for cracks, warping, or distortion that could compromise seal integrity. You assess whether a tight fit is achievable, if threads grip smoothly, and whether the cap seats evenly without gaps. Look for discoloration or residue hinting at heat or chemical interaction with the cap seal, and note any damage to the cap’s plastic or metal components. A compromised cap area can alter pressure release behavior and hint at internal issues. Cap seal and seating condition guide your next steps, especially if you suspect retained pressure or slow venting under load.
- Check cap seal integrity and seating alignment
- Inspect for cracks, warping, or distortion
- Observe seating consistency during installation
- Note evidence of altered pressure release behavior
Visible Leaks Hints
Visible leaks often reveal themselves at the exterior and cap area, where damp spots, crusted residue, or staining trace the path of escaping coolant. You inspect with calm efficiency, noting any fresh moisture along the reservoir body, hose joints, and cap threads. Look for thin, shiny film or chalky crust that marks recent seepage. Pay attention to discoloration on the cap seal, under the overflow nipple, and at the radiator neck near the reservoir connection. For crack detection, isolate the area by cleaning a small section, then recheck after running the engine briefly. For leak identification, compare multiple points around the cap area during both cold and hot states. Document findings with photos and timestamps to guide further diagnostic steps.
Checking Hoses and Neck for Cracks or Wear
To inspect for cracks or wear, start at the hoses and the neck where the reservoir connects. You’re checking for pliability, cracks, swelling, and hardened spots that betray age or stress. Focus on seams, clamps, and the hose ends that attach to the neck. This is hose integrity and neck inspection, performed with calm attention to stress points and movement.
- Inspect hose run for cracks, bulges, and soft, spongy areas that indicate weakening.
- Check clamps for looseness, rust, or corrosion that could allow leaks at the connection.
- Examine the hose ends and neck lip for edge wear, cracks, or baking from heat exposure.
- Look for signs of contamination, such as residue or staining near connections, which can mask true wear.
If you find damage, plan replacement or careful reseating now. Maintain a steady, diagnostic cadence to preserve cooling performance and freedom of choice.
Pressure Testing the Cooling System Safely
Pressurizing the cooling system must be done carefully to identify leaks without masking them. You’ll begin by gathering a compatible pressure tester and a fresh quick-connect adapter. Attach the pressure gauge to the radiator cap port or the system’s service port, ensuring a clean, seating seal. With the engine cool, don’t exceed the manufacturer’s recommended test pressure—usually near the coolant system’s operating pressure, not much higher. Slowly apply pressure, watching the gauge for stability. If the needle climbs or bleeds down abnormally, stop and inspect hoses, clamps, and the reservoir neck for seepage. Use a flashlight to spot fine leaks you might otherwise miss. Document any drops and retest after tightening or replacing faulty components. Always follow safety precautions: no open flames, gloves, eye protection, and a vented area. Return to the vehicle you own with a clear record of findings before driving it again.
Interpreting Symptoms: Leaks, Steam, and Coolant Levels
You’ll start by noting any visible leaks around the reservoir or hoses, and track their location to determine possible crack points. Next, assess any steam present near the engine bay and compare it with coolant level readings to gauge if pressure loss aligns with a leak. Finally, check the coolant reservoir level and color for signs of dilution or overheating, documenting changes to correlate symptoms with potential crack-related loss.
Visible Leak Clues
Visible leaks offer the first clues to a cracked coolant reservoir: a wet surface, dried coolant crust, or damp spots around the tank indicate seepage.
- Look for fresh staining near hose connections and the cap
- Note coolant color as it pools or dries, which hints at contamination
- Inspect the reservoir rim and seams for hairline cracks
- Assess radiator condition indirectly by spotting drip patterns that bypass the cap
Why this matters: early signs guide you toward targeted checks without disassembling everything. If you see persistent dampness after runs or refills, assume a leak path exists and plan tests accordingly. Maintain accuracy in observation, then correlate findings with the system’s pressure and temperature behavior for a concise diagnosis.
Level and Steam Signs
When coolant level is low or fluctuates unexpectedly, or steam fogs the engine bay, these signs point to leaks or a compromised reservoir system rather than mere evaporation. You’ll verify by checking coolant levels in the reservoir with the engine cold, noting any consistent drop over days. Inspect for seepage at the reservoir cap, hose connections, and plastic seams, and compare current levels to a known reference mark. If levels drop while the engine isn’t overheating, suspect a leak or a cracked reservoir. Observe steam release during running; persistent vapor near the cap or hose indicates pressure loss or gasket failure. Record temperatures and coolant viscosity if accessible, and pursue a pressure test to quantify leakage rate, then plan targeted repairs.
When to Seek Professional Help and Next Steps
If you notice coolant loss, gurgling sounds, or visible damage near the reservoir, consider whether professional evaluation is needed rather than continuing to drive. Recognize when to seek professional help: signs of leaks, overheating, or cracked plastic require expert assessment to avoid engine damage. After initial assessment, discuss repair options with a technician to understand costs, timelines, and risks. Your goal is a precise, safe resolution that preserves performance and freedom of use.
- Assess urgency: stop driving if pressure rises or coolant pours out.
- Obtain professional assistance to confirm crack extent and system integrity.
- Review repair options, including reservoir replacement, hose checks, and cooling system pressure testing.
- Plan a repair path with cost estimates and a return-to-service timeline.
Next steps focus on verified diagnostics, parts compatibility, and a documented plan. Prioritize safety, reliability, and transparent communication with the shop to restore trust in your cooling system.
Frequently Asked Questions
Can a Cracked Reservoir Cause Coolant Contamination of the Engine Oil?
Yes, a cracked reservoir can lead to coolant contamination entering the engine oil. You should check for milky oil, loss of coolant, pressure drops, and unusual exhaust while inspecting the reservoir and hoses. Use a dipstick, look for emulsified fluid, and test with a coolant dye or oil analysis. If contamination is present, stop driving, drain and flush the system, replace seals, and fix the crack before any further damage occurs.
How Does Ambient Temperature Affect Crack Visibility in Reservoirs?
Satire upfront: you’d think ambient temperature is plotting mischief, but it’s really your optics that miss the mark. In short, ambient temperature affects crack visibility: heat expands plastics, cooling contracts, making cracks more or less apparent with time and lighting. You assess with clean, dry surfaces, good illumination, and a consistent heat source. Document changes, compare before/after runs, and note that crack visibility improves under mid-range temps, not extremes. Stay methodical, vigilant, and free-spirited in diagnostics.
Do Dealership Warranties Cover Coolant Reservoir Cracks?
Do dealership warranties cover coolant reservoir cracks? It depends on your policy, but usually, damage from normal wear isn’t covered. You’ll want to verify warranty coverage specifics with the dealership, then review your contract for exclusions and limits. Contact the service department to confirm whether coolant reservoir failures due to manufacturing defects or leaks qualify under warranty coverage. If not, ask about dealership policies on diagnostic fees and potential goodwill repairs.
Can You Drive Short Distances With a Cracked Reservoir Safely?
Short trips aren’t safe; don’t drive with a cracked reservoir. You’ll risk overheating, loss of coolant, and sudden engine damage. Start by inspecting for steam, pale coolant, or drops; check hoses and clamps for leaks. If any signs appear, tow or call road service. Prioritize safety concerns, monitor temperature gauge, and don’t push your luck. Seek a repair, replace the reservoir, and verify cooling system integrity before resuming driving.
What Are Hidden Cracks Detectable Only During Engine Running?
Hidden cracks that show only when the engine runs are often due to pressure shifts. You’ll want a controlled pressure test with the cap off and the system warmed to operating temperature, observing for a sudden loss of coolant or a mist at seams. Listen for a hiss, inspect for faint leaks around the reservoir, hoses, and seals. If you detect any hidden leak, stop driving and address the crack promptly.