How to Diagnose Frequent Rim Bend and Permanent Solutions
Frequent rim bends usually come from impact or overload, so start with a precise inspection. Spin the wheel to note runout, then check the rim for obvious defects, cracks, or distorted spoke holes. Verify bead seating and tire mounting torque, ensuring the bead sits evenly on both sides. Measure lateral and radial deviation to assess safety margins. If damage exceeds factory tolerances, replace the rim or upgrade components. Keep documenting measurements; more targeted steps await below.
Common Causes of Rim Bends
Common rim bends are usually caused by impact or load stress. You assess the root with precision, identifying how energy transfers through rim materials and how wheel design handles it. A collision with a pothole, curb, or debris can initiate a dent, a flat spot, or a partial fracture, especially if your rim materials are light or thin. Repetitive loading from high-speed braking or heavy payloads compounds the effect, gradually worsening the bend. You examine rim geometry, noting whether the bend aligns with spoke tension changes or is offset from the rim’s centerline. Wheel design features—bead seat width, flange height, and spoke hole pattern—influence vulnerability and recovery potential. Material properties matter: stiffer, tougher rims resist deformation better under impact, while more ductile alloys may deform more noticeably before failure. You document findings, linking observed damage to probable causes, and prepare a targeted plan for prevention and future handling.
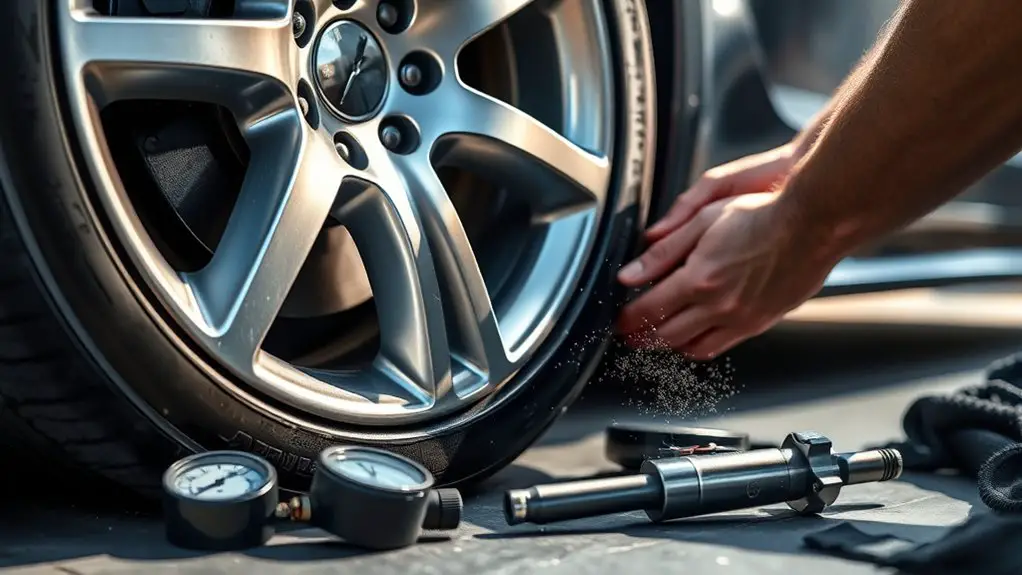
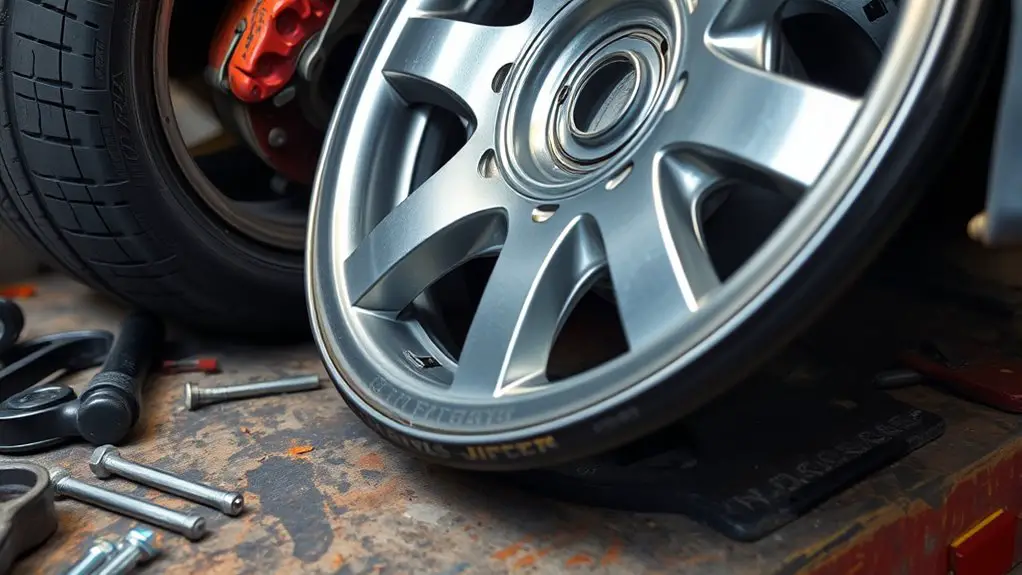
Visual Inspection and Wheel Trueness Check
Visual inspection and a wheel true go hand in hand: you start by checking for obvious defects, run your eyes along the rim’s profile, and note any deviations from the intended shape. You’ll methodically scan for flat spots, dents, or buckle, and verify consistency around the circumference. Move from a visual pass to a diagnostic one: spin the wheel slowly to observe runout and listen for irregularities that hint at deformation. Use a straight edge or caliper to compare straightness against the rim’s centerline, recording any off-axis geometry as precise rim measurement data. For wheel alignment, assess perpendicularity to the hub plane and ascertain symmetry between left and right sides. Document all findings with concise measurements and obvious narrations of where variance exists. Keep the process repeatable: repeat checks after minor adjustments, documenting changes. The result is a clear baseline for corrective action and informed planning for permanent solutions.
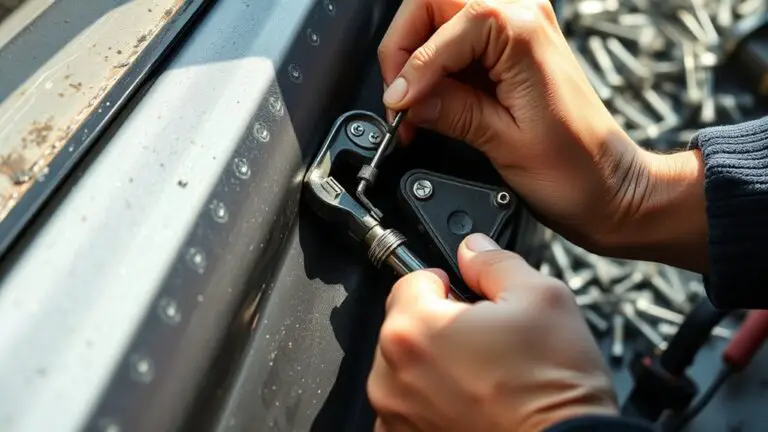
Tire Mounting and Bead Seating Troubleshooting
You’ll start with precise bead seating checks and verify that the tire bead fully engages both sides of the rim before inflation. Follow mounting torque best practices to guarantee even seating and prevent bead leaks, adjusting torque per manufacturer specs. Use controlled inflation and audible/visual cues to confirm seating, then document any irregularities for further diagnosis.
Bead Seating Techniques
Bead seating is the process of getting the tire bead to seal securely on the rim during mounting and inflation. You approach this with a plan, not guesswork, ensuring every step reinforces reliability. Inspect bead seating surfaces for wear, corrosion, and debris, then perform bead cleaning to remove contaminants that could misalign the seal. Verify the rim bead seats are true and free of imperfections before you inflate. Use steady pressure and monitor the bead contact along the entire circumference; a consistent seal indicates proper seating. During tire inflation, avoid rapid bursts that can cause bead damage or rim distortion. Listen for the sharp, even pop that signals seating completion. Document observations, noting any irregularities that could lead to future rim bend issues. Maintain focused, methodical execution for lasting performance.
Mounting Torque Best Practices
Mounting Torque Best Practices: apply the correct torque when mounting tires to guarantee bead integrity and rim safety, using a calibrated torque wrench and manufacturer-recommended values. You methodically verify torque specifications before seating, avoiding over- or under-tightening that can compromise bead seating. Follow consistent mounting techniques, ensuring even force distribution around the bead. Document values and conditions for traceability, and check rim surface cleanliness to prevent slippage. Use torque patterns that minimize runout and avoid sudden shocks during seating. Maintain your freedom to inspect and adjust as needed, focusing on reliability and safety.
| Objective | Outcome |
|---|---|
| mounting techniques | reliable bead seating |
| torque specifications | consistent, safe mounting |
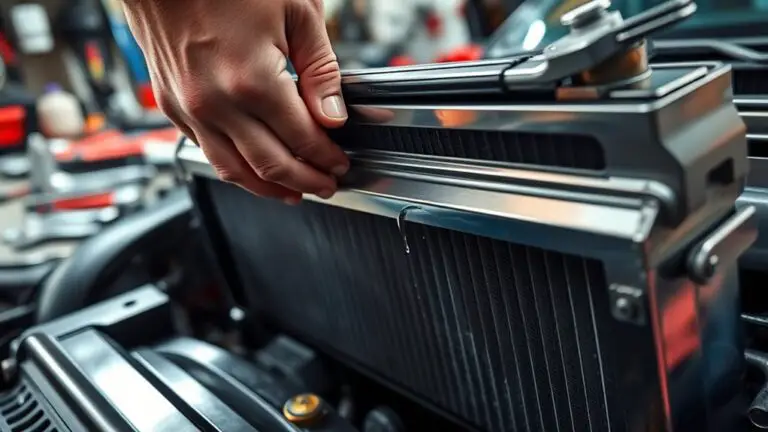
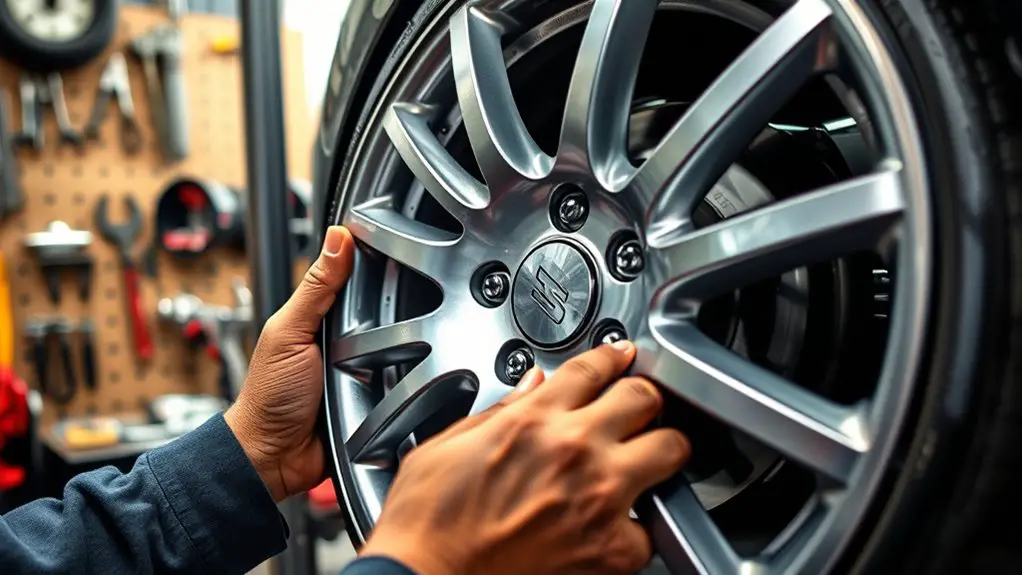
Impact Damage and Repair Options
Impact damage to a rim can range from minor dings to noticeable bends that affect wheel alignment. You’ll assess precision factors first, then choose a path that preserves performance and freedom of use. Your goal is a clear impact assessment that guides safe repair decisions, without overcorrecting.
- Inspect for structural integrity: check for hairline cracks, spoke-hole distortion, and trapped impacts that compromise wheel balance.
- Evaluate runout and chamber: measure lateral and radial deviations, then verify tire seating and bead integrity before any repair technique.
- Choose repair techniques wisely: prioritize safe corrections, using professional balancing, spoke re-tensioning, or rim straightening only when within factory tolerances.
Approach repairs with a deliberate sequence, documenting measurements and outcomes. If damage exceeds mount tolerances or affects safety, replace the rim rather than attempt risky fixes. Track evidence for future diagnostics, and maintain a focused mindset: accurate assessment, appropriate technique, and uncompromised freedom to ride confidently.
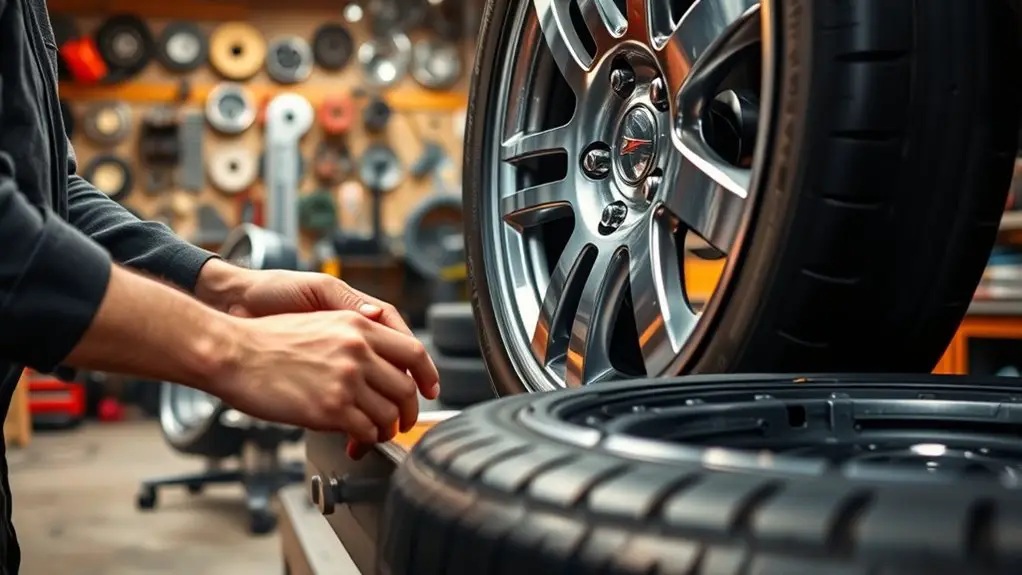
Preventive Maintenance and Upgrade Paths
Preventive maintenance is about staying ahead of wear and damage, so you extend rim life and preserve performance. You’ll adopt a disciplined routine that targets predictable stress points, minimizes downtime, and keeps weight balance consistent. Start with regular visual checks for cracks, corrosion, and spoke tension, then verify wheel trueness and runout with a caliper or gauge. Document every inspection to spot trends and plan timely interventions. For preventive strategies, schedule seasonal lubrication of spoke nipples where applicable, clean rotor and braking surfaces, and replace worn seals before leakage becomes a problem. Maintain correct tire pressure and load distribution to avoid uneven rim stress. When considering upgrade options, prioritize components that improve stiffness-to-weight ratio, heat dissipation, and rim durability without sacrificing ride quality. Pair upgrades with compatible hubs and tires, ensuring installation torque is precise. This methodical approach gives you reliable performance, reduced risk of sudden failures, and greater riding freedom.
When to Seek Professional Help and Maintenance Schedule
Regular checks after preventive maintenance reveal when a rim issue isn’t just wear but signs that professional assessment is warranted. You’ll know it’s time for a professional evaluation when symptoms persist beyond basic adjustments, or when abnormal vibration and pull won’t normalize with routine tweaks. Establish a clear maintenance frequency and stick to it—the goal isn’t perfection, but consistent safety and performance. Below is a practical approach to decide if a specialist is needed.
Regular checks show when rim issues need a pro, not just wear or tweaks. Maintain a steady inspection cadence for safety.
- Schedule a professional evaluation if any rim bend persists after two rechecks or if you hear unusual creaks during light loads.
- Set maintenance frequency for inspections every 6–12 weeks during high-use periods, then adjust based on driving conditions and tire wear.
- Seek urgent assessment if you notice cracks, audible grinding, or sudden steering anomalies, rather than delaying care.
This disciplined cadence balances freedom with reliability, ensuring proactive care without overchecking.
Frequently Asked Questions
How Does Rim Bend Affect Wheel Alignment and Handling?
Rim bend affects wheel alignment by altering camber, toe, and caster subtly, which in turn degrades wheel performance and steering response. You’ll notice pull, vague center feel, and uneven tire wear as you drive. Methodically check for runout, recheck alignment after fixes, and confirm torque specs. You’ll preserve control, maintain confident steering, and enjoy freer driving as your wheel performance returns to spec, with precise, responsive handling guiding every maneuver.
Can Rim Bends Occur Without Visible Tire Damage?
Rim bends can occur without visible tire damage. You might notice subtle pull, vibration, or steering wobble before any tire mark appears. Check tire pressure and inspect wheel materials for cracks, cracks near spokes, or deformities. Use precise gauges and a straight edge to confirm true rim. Maintain proper tire pressure to reduce stress. If you detect flex or out-of-roundness, replace damaged rim or upgrade materials, balancing for safe, liberated handling.
Are Aftermarket Rims More Prone to Bending Than OEM?
Yes, aftermarket rims are more prone to bending than OEM, if you consider aftermarket quality and rim durability. You’ll want to assess fit, material, and manufacturing tolerances with a methodical eye. You seek freedom, but precision matters—check your supplier’s specs, steel vs. aluminum, thickness, and spoke configuration. Compare warranties and impact testing data. In practice, choose reputable brands, verify balance and runout, and avoid extreme offsets or aggressive tires that stress rims during impact.
What Is a Safe Recentering Technique for Slightly Bent Rims?
Did you know 1 in 20 wheels experience slight runout at some point? A safe recentering technique starts with a thorough rim inspection: check for cracks, buckle, or sharp bends, then mark the high spot. Use a calibrated wheel balancer or the classic truing method with a rubber mallet, applying gentle, controlled taps to the low areas. Stop if you see cracking, and seek pro service. Prioritize gradual, precise adjustments over force.
Do Road Hazards Cause Bead Seating Issues Beyond Bends?
Road hazards can cause bead seating issues beyond bends, yes. You assess the situation by inspecting for bead leaks, unusual tire movement, and air loss patterns. Start with a controlled pressure check to confirm tire pressure consistency, then measure bead seating along the rim. Inspect for road debris lodged between bead and rim. If necessary, reseat with proper equipment, ensuring tire pressure is stabilized to the recommended spec during therapy and test.