How to Diagnose Radiator Leak in a Gasoline Car Cooling System
To diagnose a radiator leak in a gasoline car, start with a dry visual inspection of the radiator, hoses, clamps, and cap for cracks, moisture, or staining. Check coolant level and color, then perform a controlled pressure test using the radiator cap’s rating, watching for drops. Use a UV dye and blacklight if needed to trace leaks, and confirm with a reservoir level test during heat soak and cooldown. If issues persist, you’ll uncover more steps ahead.
Signs of a Radiator Leak to Watch For
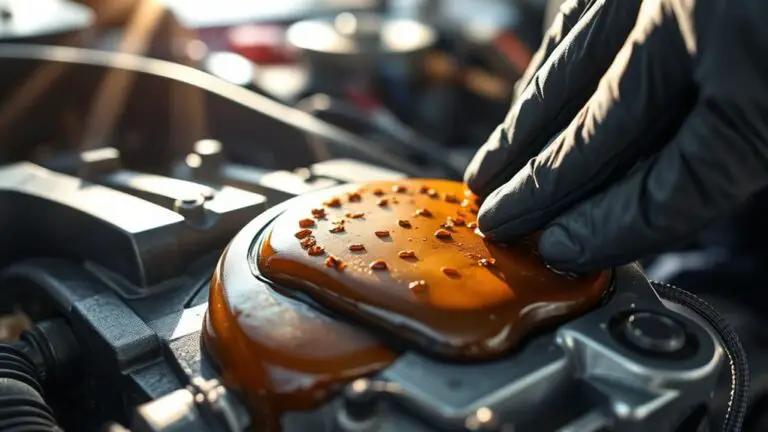
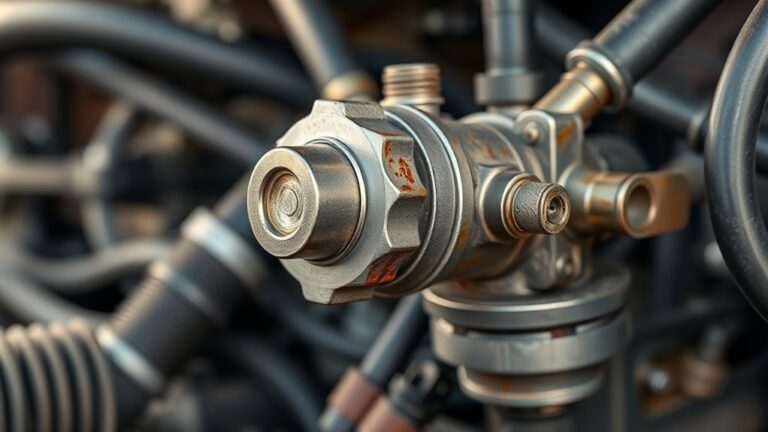
Often, you’ll notice signs of a radiator leak before a dramatic failure occurs. You’ll learn to identify early indicators with disciplined attention and clear criteria. Common leak symptoms include sudden drops in coolant level, persistent puddling beneath the vehicle, and visible wetness or staining around the radiator core, hoses, or cap. Monitor temperature gauge behavior: unexplained overheating or erratic readings signal coolant loss or circulation restriction. Look for white, green, or amber residues at joints, clamps, and seams, which indicate dried coolant residue from minor leaks. During a top-down visual inspection, note any cracks, corroded areas, or loose fittings that compromise sealing integrity. Perform a controlled visual inspection technique by cleaning surfaces first, then inspecting for moisture after engine cools. If you detect any of these cues, document locations and symptoms, plan a safe inspection, and proceed to targeted diagnostics. Maintain safety gear, and avoid fuel or ignition sources near coolant leaks.
Safe Inspection Techniques for Your Cooling System
Safe inspection of your cooling system starts with a disciplined, step-by-step approach that minimizes risk and maximizes diagnostic accuracy. You’ll verify system status, observe coolant color, and plan tests without forcing components beyond their design. Maintain clean work, PPE, and a controlled environment to avoid burns or splashes.
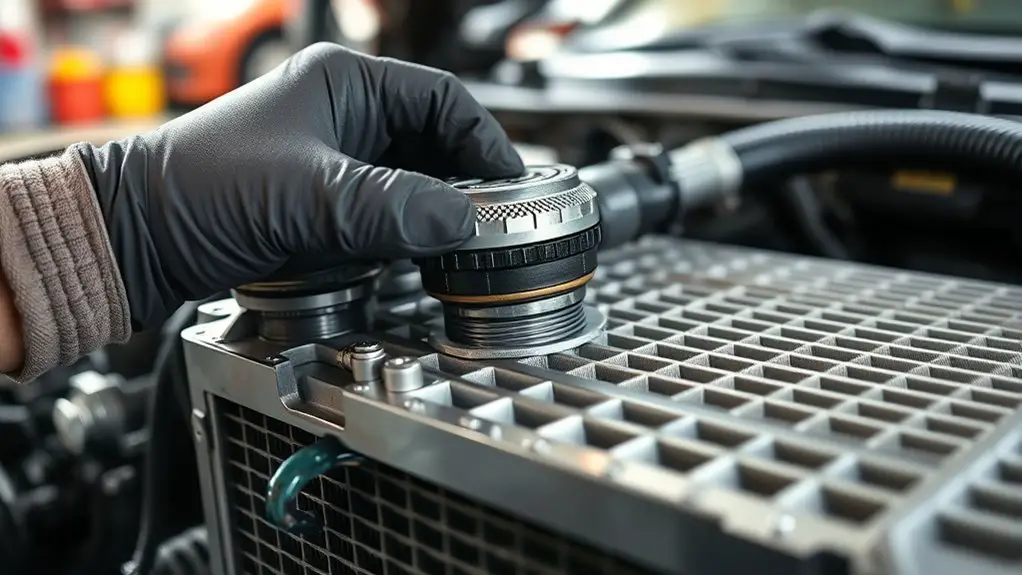
1) Pressure testing protocol: recap the radiator cap rating, pressurize gradually, watch for steady pressure decay, and record any drops that indicate a leak path. Never exceed the specified pressure or open the system hot.
2) Visual and odor checks: inspect hoses, clamps, and the radiator core for signs of seepage. Note discoloration or sweet smells that accompany coolant leaks.
3) Coolant color assessment: compare in the reservoir and on sample leaks to your spec sheet; abnormal hue or turbidity can signal contamination or dilution.
4) Documentation and safety: log observations, maintain closed test procedures, and remove heat sources before touching cooling components.
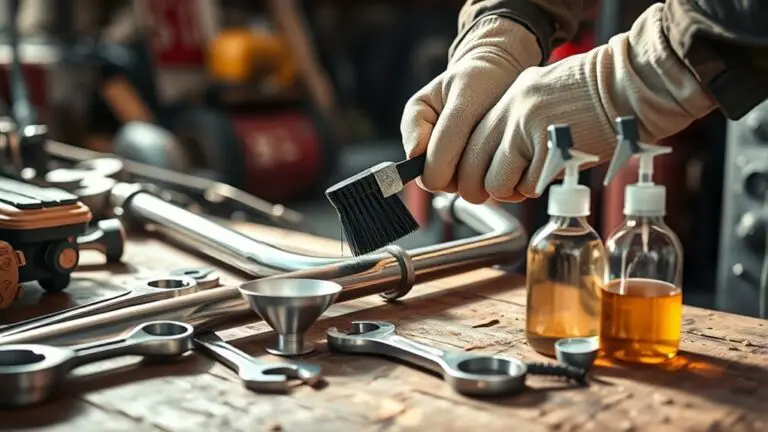
Simple Tools and Methods to Locate Leaks
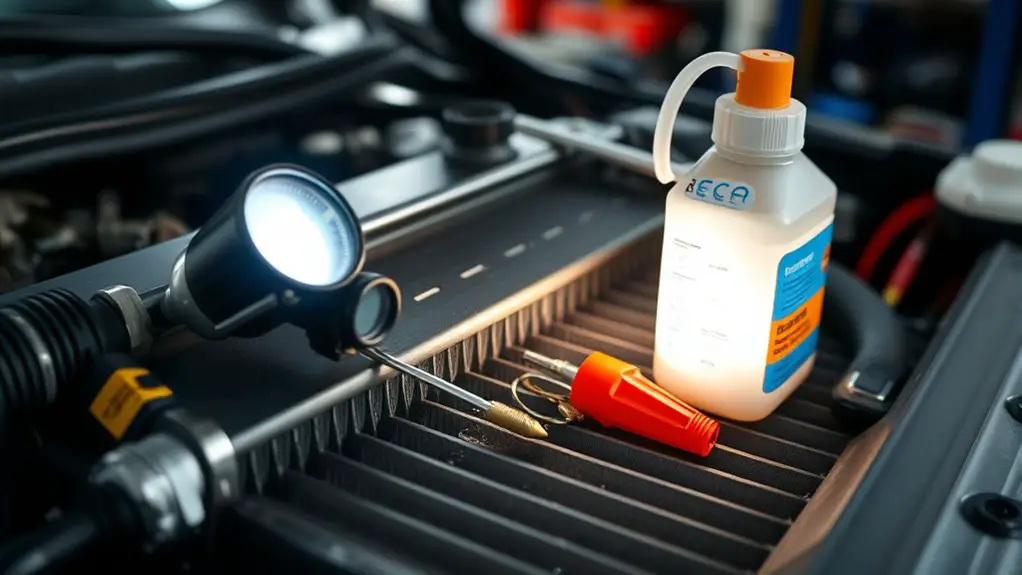
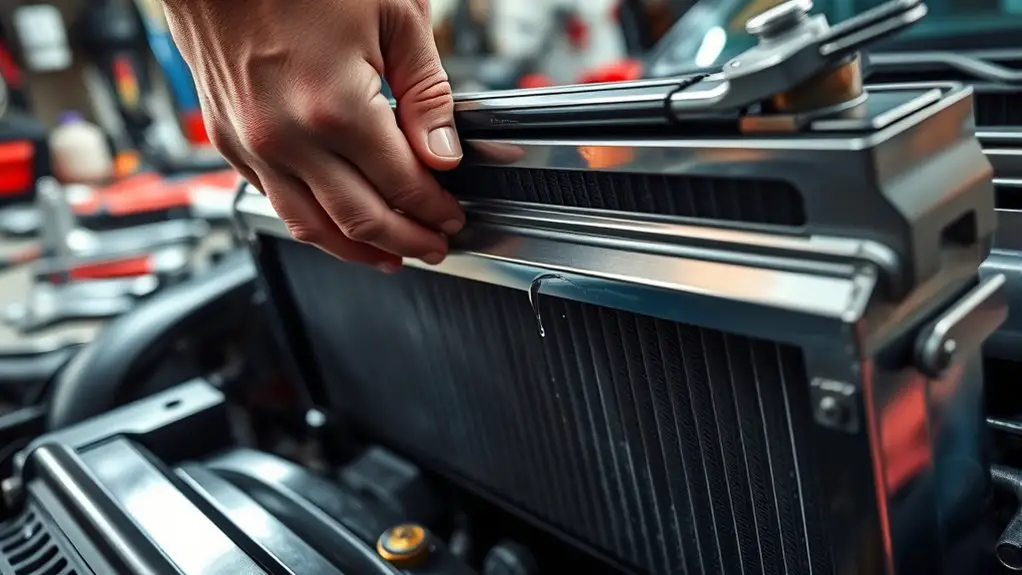
Simple tools and methods to locate leaks start with a systematic, low-risk approach that you can repeat across vehicles. You’ll begin with a dry visual inspection, wipe fittings, hoses, and the radiator to reveal fresh residue or dampness. Use a clean flashlight to follow hose lines and look for hairline cracks, loose clamps, or seepage at seams. For leak detection, introduce a controlled pressure test: with the cooling system cold, seal the radiator cap and attach a compatible pressure tester to the radiator neck or reservoir. Observe the gauge and maintain spec pressure for several minutes, noting any drop that indicates a leak. If you don’t see a pressure loss, perform a trace with UV dye and a blacklight—watch for glowing droplets at joints. Document findings clearly and avoid opening the system until pressure testing confirms a proper safe state. Safety first: never pressurize a hot system.
Differentiating Leaks From Other Cooling System Issues
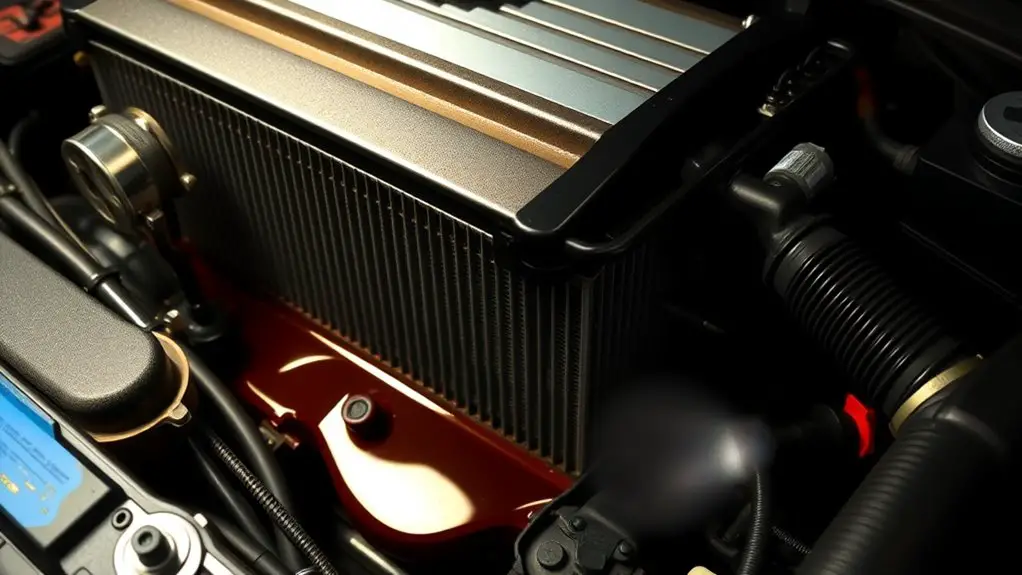
After identifying potential leaks with the methods from the prior section, you must distinguish true fluid loss from other cooling system issues that can mimic leaks. You’ll rely on precise checks to avoid misdiagnosis and unnecessary repairs. Focus on observable symptoms, partial temperature inconsistencies, and consistent coolant color changes that don’t track with external seepage. Use a controlled pressure test to confirm loss versus evaporation, and monitor radiator cap integrity, hose connections, and fittings under load.
1) Confirm coolant color consistency across recovered samples to rule out contamination or dye leakage masquerading as a leak.
2) Perform a pressure test at specified psi, noting any gradual drop or rapid fluctuations and correlating with temperature cycling.
3) Compare reservoir level behavior during engine heat soak and cooldown to distinguish fluid loss from expansion or air pockets.
4) Inspect for non-fluid indicators like dampness, white powder, or corrosion that signal related issues rather than a true leak.
When to Seek Professional Help for a Radiator Leak
If you notice persistent coolant loss, recurring pressure tests indicating a true leak, or signs of overheating despite prior fixes, it’s time to call in a pro. You’ll evaluate when to consult based on symptom consistency, sensor readings, and escalation thresholds, not on guesswork. A professional assessment provides calibrated diagnostics, including pressure decay tests, infrared thermography, and dye tracing, to locate hidden leaks and assess radiator integrity. Do not delay if you observe rapid coolant decline, cracked hoses, or rust and corrosion on radiator cores. Seek help when you detect steam, sweet coolant odor, or foam in the reservoir, which signal cross-system interactions needing expert interpretation. Ascertain safe parking, disconnect battery if instructed, and avoid attempting pressurized tests beyond your training. Trusted technicians will document findings, estimate repair scope, and recommend replacement vs. repair paths. This guidance emphasizes precise decision points for timely, safe maintenance aligned with your freedom to drive confidently.
Frequently Asked Questions
Can a Damaged Radiator Cap Cause Overheating Without Leaks?
Yes, a damaged radiator cap can cause overheating without visible leaks. If the cap fails to seal, pressure drops, boiling point falls, and coolant circulation becomes ineffective. You’ll notice rising temps, narrowed heater output, and erratic thermostat readings. Inspect the radiator cap for worn gasket, cracks, or vent blockage. Replace with the correct pressure rating to prevent overheating issues. After replacement, monitor temps, coolant level, and system pressure to confirm proper operation.
Do Radiator Leaks Always Require Engine Timing Belt Checks?
No, radiator leaks don’t automatically mandate timing belt checks, but you should assess both together. If you notice a persistent leak, perform leak detection first to locate coolant loss sources, then inspect the timing belt area for contamination or degradation. Use proper precautions, depressurize the system safely, and replace any damaged components. Schedule belt inspection at service intervals, and avoid risky runs until you’ve ruled out timing belt wear that can impact engine timing.
Can You Drive With a Small Leak to Reach a Repair Shop?
Yes, you can, but only if the leak is minor and you monitor closely. Start the drive with coolant levels checked and the cap secured, then proceed slowly. Track leak severity and pull over if you notice rapid temperature rise, steam, or a loss of visibility. Keep a roadside toolkit handy, and plan a repair stop at the shop. Safety first: don’t exceed safe ranges or drive with a hot engine.
Is a Coolant Smell Inside the Cabin a Sign of a Leak?
Yes, a coolant odor inside the cabin can indicate a leak. If you notice the scent, check for coolant pools, green/orange fluid, or damp carpet. Inspect hoses, the radiator, and the heater core evaporator area for seepage. Don’t ignore cabin symptoms—shut off the engine if you suspect a leak, vent the cabin, and seek service promptly. Safety first: avoid inhaling fumes, and don’t drive long distances with a suspected leak.
Are Dye Tests Safe on Classic or Vintage Cars?
Yes, dye tests can be safe on classic cars when performed correctly. You should use manufacturer-recommended dyes and follow concentration limits, compatible with the cooling system materials. Inspect hoses, seals, and radiator before and after, watching for leaks or dye residues. Use proper PPE and containment to protect yourself and the workspace. Regarding dye test safety, document results, and consider classic car concerns like aging plastics and metal fatigue to avoid harm.