How to Fix Fogging in Headlight Lens on a Sedan Exterior
Fogging on a sedan headlight exterior results from moisture intrusion or temperature differences. First, inspect seals, housing joints, and vent lines for cracks or gaps, and verify vents aren’t blocked. Drying follows: move the headlight to a warm, dry area with vents unobstructed, use a low-heat hair dryer at a safe distance, and recheck after 1–2 hours. If moisture persists, reseal the lens with a continuous adhesive bead and replace degraded gaskets. For longer-term fixes, you’ll gain more insights ahead.
Diagnosing Fogging Causes in Sedan Headlights
Fogging in sedan headlights typically results from moisture intrusion or temperature differentials that condense inside the lens. You quantify the symptom by noting when and where the haze appears, then isolate potential sources with a targeted checklist. Fogging causes often fall into two categories: seal integrity and environmental exposure. Begin by inspecting gaskets, housing joints, and vent lines for cracks, gaps, or displaced seals that permit humidity ingress. Next, assess vent functionality—blocked or failing vents trap moisture inside the assembly, accelerating condensation after rapid temperature shifts. You should also consider glass-to-plastic microcracks or lens distortion that create microchannels for moisture to migrate. Record ambient conditions, vehicle orientation, and cycle duration to identify patterns. Diagnosing issues requires correlating visible fog with the elapsed time and external climate. If fog recurs after drying, recheck seals and vent paths. Accurate documentation and repeatable checks guarantee you address the root fogging causes efficiently.
Safety First: Preparing Your Work Area and Tools
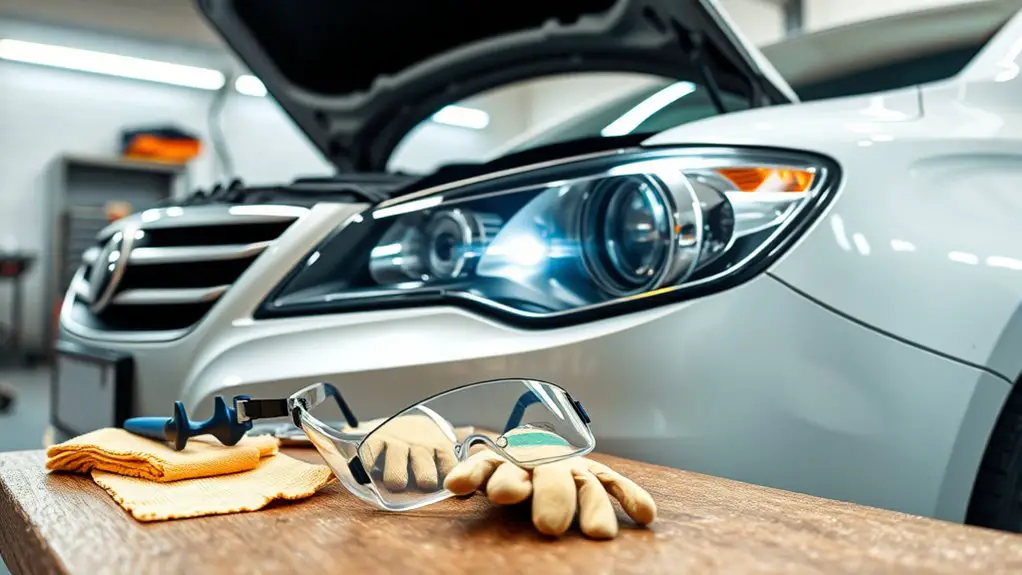
Set up a safe work area with stable lighting, minimal clutter, and a flat, dry surface to contain any spills. Confirm tool readiness by organizing essential items—gloves, eye protection, screwdrivers, pliers, and replacement bulbs or sealant—within reach before you start. Wear appropriate personal protection and verify that the work area is ventilated and free of ignition sources to reduce risk during handling and testing.
Safe Work Area
Before starting, make certain you have a clean, well-lit workspace and all required tools within reach; this minimizes distractions and reduces the risk of errors. You’ll set a deliberate, stable work surface, free of clutter, to prevent slips during handling of lenses and sealants. Maintain consistent lighting conditions to avoid misjudging fogging levels or color mismatch. Organize components by function, separating cleaners, towels, and masking materials. Establish a neutral, vibration-free area to reduce tool bounce and accidental contact.
| Role | Requirement |
|---|---|
| Work surface | Stable, flat, clean; supports lens and carrier without movement |
| Lighting conditions | Even, shadow-free; color-accurate brightness for inspection |
Tool Readiness
To start, verify you have all required tools within reach and organized by function, ensuring you can work hands-free and maintain a clean path for lens handling. You’ll perform deliberate, repeatable tool selection to minimize interruptions, and you’ll group items by task: removal, cleaning, resealing. Keep a dedicated tray for fasteners to prevent loss. Prioritize tool maintenance: inspect blades, adapters, and suction aids for wear, corrosion, and alignment, replacing any damaged components before use. Maintain calibrated accessories and torque references if applicable, and test fitment on a spare surface to confirm secure handling. Document tool checks after each session to support traceability. With disciplined readiness, you reduce risk, improve precision, and sustain freedom to focus on lens restoration rather than tool management.
Personal Protection
When you’re working on fogging in a headlight lens, protective gear and a prepared workspace are non-negotiable: wear safety glasses to shield your eyes from shards and chemicals, gloves to guard your skin from solvents, and a tight-fitting respirator or at least a dust mask if you’re sanding. Prepare a clean, well-lit area with a stable work surface, clamps, and ventilation to minimize inhalation of fumes. Lay out consumables: lint-free rags, microfiber towels, and an approved cleaner. Keep your tools organized to reduce hand movements and errors. Safety gear, eye protection, and a routine check of seals and cords prevent accidents and contamination. Document steps for accountability, and dispose of waste per local regulations.
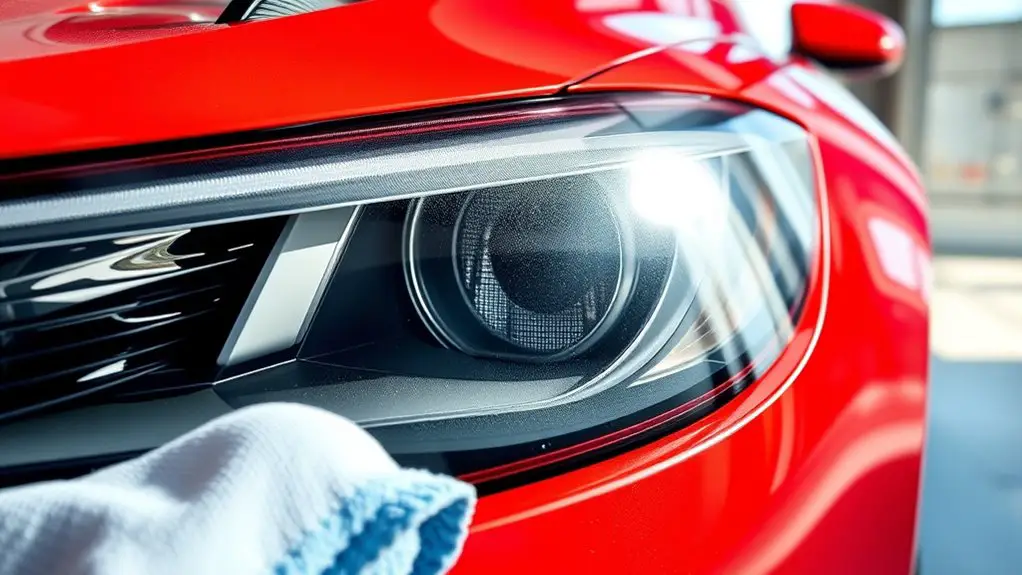
Cleaning Exterior Fog and Cloudiness: Quick Fixes
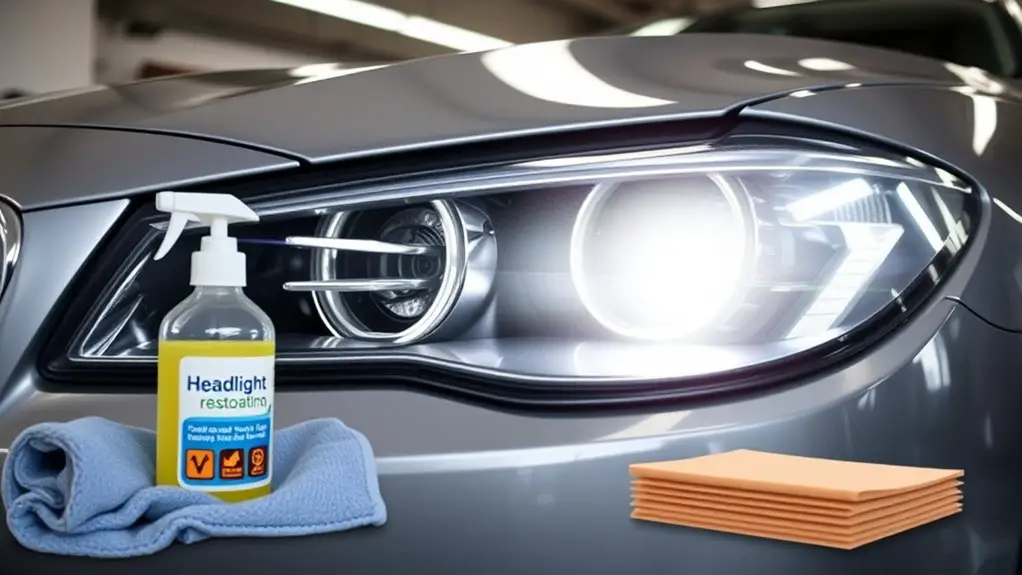
Exterior fog and cloudiness can often be tackled with quick, practical steps that don’t require a full headlight teardown. You’ll perform a targeted exterior clean to restore transparency without dismantling the lens. Start with a microfiber pad and a dedicated plastic cleaner designed for polycarbonate lenses. Apply evenly, with light pressure, to remove surface contamination, then rinse thoroughly. For persistent haze, use a mild polish formulated for headlights to cut oxidation without altering lens geometry. Work in small, overlapping passes and wipe clean between steps. After smoothing, recheck the optical clarity; if fumes or residues remain, repeat the polishing cycle or switch to a finer compound. Seal the surface with a UV-rated protection coating to slow future yellowing. These quick methods align with headlight maintenance principles and are suitable if you’re pursuing foggy headlights restoration without extensive labor. They preserve visibility and support safe, confident driving.
Drying Out Condensation Inside the Lens
Condensation inside the lens indicates moisture ingress that must be removed before any restoration steps; start by relocating the headlight to a warm, dry environment and allowing it to acclimate for several hours. You’ll implement controlled drying to prevent lens stress and mineral residue. Use targeted condensation removal and drying techniques to reduce internal humidity without disassembling essential components.
- Move to a stable room temperature, away from direct heat, and keep humidity low to accelerate evaporation.
- Maintain the headlight upright with vents unobstructed, and monitor for colorless surface mist leaving the lens interior.
- Apply a low-heat hair dryer at a distance, circulating warm air across the lens rim to encourage moisture escape without overheating seals.
- Inspect after 1–2 hours; if haze persists, repeat gentle warm airflow in short bursts and document any changes for future reference.
Proceed with caution; document ambient conditions and confirm dryness before any sealant or coating steps. Condensation removal, drying techniques.
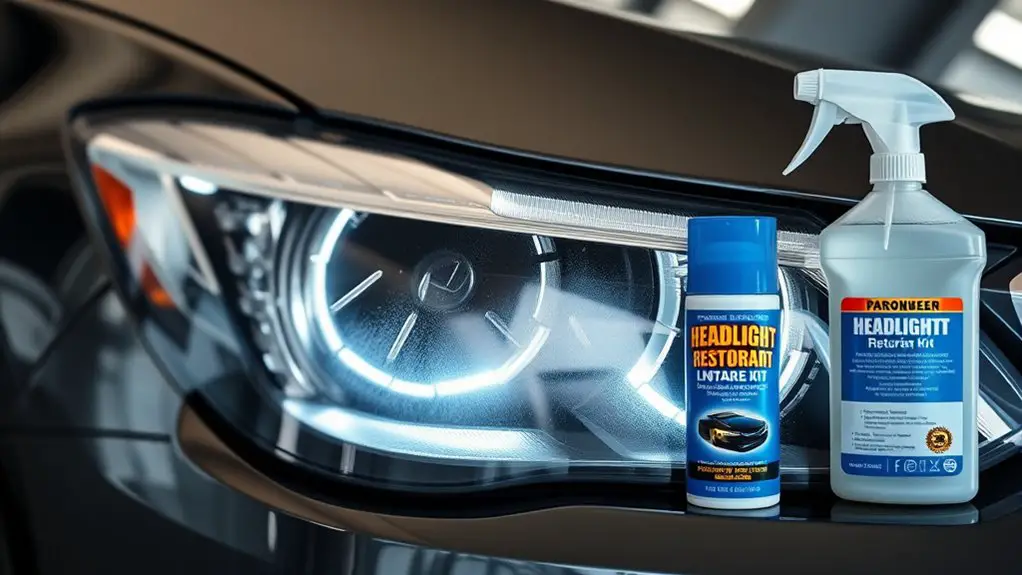
Sealing and Restoring: Replacing Gaskets and Seals
You’ll inspect the existing gasket seals for signs of wear, cracking, or compression set. Replace any degraded seals to restore airtight integrity and prevent future moisture intrusion. This fixes gaps that allow condensation to form and guarantees the lens remains sealed during operation.
Replacing Gasket Seals
Replacing gasket seals is a precise step that stops water ingress and air leaks by restoring the seal between the headlight housing and lens. You’ll select compatible gasket materials and apply appropriate sealant types to form a durable barrier. Precision matters: improper fit or curing can reintroduce fogging.
- Inspect groove, remove old gasket, and clean surfaces to a dry, residue-free finish.
- Choose gasket materials matched to temperature, exposure, and lens chemistry.
- Apply sealant types specified for your headlight model, ensuring a continuous bead without gaps.
- Reassemble housing, then test for leaks by simulating humidity and pressure.
Note: Focus stays on gasket seals; avoid discussing seal integrity restoration beyond this scope.
Restoring Seal Integrity
Restoring seal integrity begins with confirming that gasket surfaces are clean, flat, and free of residue before reassembling. You’ll inspect seal materials for cracks, deformation, or hardening, replacing any compromised elements to maintain weather resistance. Use a compatible adhesive or gasket compound only where specified by the part’s manufacturer. Verify joint surfaces are dry and dust-free prior to seating, then torque fasteners to the recommended specification to prevent leaks without crushing seals. Table emphasizes material selection and performance:
| Material | Expected Weather Resistance | Notes |
|---|---|---|
| Nitrile | High | Mid-range temp exposure |
| Fluoroelastomer | Superior | Automotive-grade |
| Silicone | Good | Broad temp range |
This approach prioritizes sealing integrity and freedom from fogging.
Resealing the Lens: How to Properly Reattach and Seal
Resealing the lens requires meticulous adhesion to a clean, dry surface and the correct sealant choice to prevent moisture ingress. You’ll reattach the lens using controlled steps that preserve optical clarity and structural integrity, focusing on consistency and repeatability. Use proven lens adhesive techniques to minimize air entrapment and guarantee a uniform bead width across the joint. Choose a weather-appropriate sealant with low VOC content and good UV resistance, compatible with the plastic or glass materials in your headlight.
1) Prepare the mating surfaces by deburring, cleaning, and drying thoroughly before applying any adhesive.
2) Apply a continuous, even bead, maintaining a steady hand to avoid gap formation or excessive squeeze-out.
3) Align the lens precisely to the housing, then lightly clamp or fixture until the sealant skins over.
4) Inspect for uniform cure and verify no moisture ingress with a brief functional test.
This approach reflects resealing methods that balance durability with optical performance.
When to Replace the Headlight Lens Assembly
A headlight lens assembly should be considered for replacement when its structural integrity or optical performance can no longer meet safety or regulatory standards. You assess impact on beam pattern, glare, and lumen output, not just cosmetic wear. If cracks, delamination, or moisture intrusion degrade visibility beyond acceptable limits, replacement becomes wise. You’ll weigh the cost, availability, and compatibility of a new headlight replacement versus repairs, recognizing that some assemblies have integrated modules or ballast components that complicate fixes. Examine the assembly lifespan in context: lens clarity degradation, reflector corrosion, seals aging, and electrical connector wear collectively shorten usable life. When replacement is warranted, select a unit that matches your vehicle’s photometric specs, mounting geometry, and regulatory approval. Documentation of proper installation and alignment guarantees peak performance. Consider certified OE or reputable aftermarket options, balancing performance gains against total cost of ownership and long-term reliability. This approach preserves safety while maintaining your vehicle’s intended lighting output.
Maintenance Tips to Prevent Future Fogging
Fogging is easier to prevent than fix, so start with a tight seal and clean, dry lenses. You’ll reduce moisture ingress by incorporating proactive steps that support lasting visibility and performance.
1) Prevention strategies: apply a proper gasket, guarantee housing clips are intact, and verify venting is unobstructed to maintain pressure balance.
2) Regular inspections: examine seals for cracks, check for condensation after cleaning, and test headlight alignment to avoid akimbo moisture pathways.
3) Cleaning discipline: use non-abrasive cleaners and dry microfiber, avoiding solvents that attack plastics or coatings; dry lenses before driving in humidity.
4) Environmental controls: park in shade or a garage, use a dehumidifier in damp conditions, and avoid rapid temperature swings that condense moisture inside housings.
Frequently Asked Questions
Can Fogging Recur After Resealing, and How Often to Inspect?
Fogging can recur after resealing, especially if seal integrity isn’t perfect or if vents allow moisture ingress. After repair, monitor for new condensation during temp shifts. For long-term reliability, perform regular inspection frequency checks—ideally every 3–6 months, or after heavy washing, rain, or highway trips. If you notice fogging again, recheck seals, vent blocks, and gasket seating. Maintain a dry housing, and address moisture sources promptly to minimize fogging recurrence and protect performance.
Are There DIY Risks Damaging the Headlight Electricals?
Yes, there are DIY risks that can damage the headlight electricals if you’re not careful. When you perform headlight maintenance, avoid letting moisture contact bulbs, resistors, or wiring, and don’t pry seals aggressively. Condensation causes can include improper sealing or cracked housings. Work slowly, disconnect power, and test circuits after resealing. If you spot corrosion or burnt wiring, stop and consult a professional to prevent shorts or failed ballast.
Which Sealant Types Work Best for Different Headlights?
You’ll want to choose sealants by lens type: silicone sealants for standard polycarbonate housings, and epoxy adhesives for tougher, UV-exposed assemblies. Silicone offers flexibility and moisture resistance, ideal for sealed beams with minor gaps. Epoxy provides higher bonding strength where joints endure vibrations. Verify surface prep and cure times are correct, and avoid exposing cured layers to heat cycles that can degrade adhesion. Use compatible primers and sealant cartridges for consistent, long-lasting seals.
Does Temperature Swing Impact Long-Term Fogging Prevention?
Temperature fluctuations do impact long-term fogging prevention. When temps swing, condensation can form inside lenses if seals or vents aren’t perfect, so you’ll want robust moisture control and proper ventilation. You’ll notice that maintaining stable interior humidity, improving seal integrity, and using vented housings reduces fogging risk. In practice, monitor ambient and surface temps, minimize rapid heating/cooling cycles, and guarantee any desiccant or moisture barriers stay effective for ongoing clarity.
Can Professional Services Fix Interior Fog Without Lens Replacement?
You can’t fully fix interior fog without lens replacement via professional service. However, some mechanics perform headlight restoration to address interior haze by sealing the lens edges and restoring lens clarity, improving visibility. Expect a precise inspection, moisture removal, and resealing procedures. If interior fog persists after restoration, replacement may be necessary. You’ll benefit from high-quality materials and tests to verify seal integrity, ensuring headlight restoration sustains lens clarity under varied temps and road conditions.