How to Fix Headlight Flicker on a Sedan Exterior
Headlight flicker on a sedan usually stems from power delivery, grounding, or driver issues rather than bad bulbs. Start by inspecting exterior wiring connections for looseness or corrosion, and re-seat plugs firmly while cleaning contacts with electronic cleaner. Check the bulb sockets for corrosion or damage, and replace faulty bulbs or drivers if needed. Verify the charging system—battery at ~12.6V with engine off, 13.8–14.8V when running. If flicker persists, professional diagnostics can reveal hidden faults worth considering.
Diagnose Common Causes of Headlight Flicker

Headlight flicker usually points to an electrical or load issue rather than a faulty bulb. You’ll start by mapping the symptom to likely categories: supply instability, grounding problems, or ballast/driver irregularities. In practice, focus on flicker causes that relate to voltage fluctuations, circuit resistance, and current draw. Verify battery health, alternator charging, and under-hood connections; looseness here often mirrors intermittent light behavior. Next, inspect fuses and relays for heat damage or corrosion, since degraded contacts introduce resistance that compounds voltage drop under load. Evaluate the wiring harness for frayed insulation, cracked sheathing, or chafed routes where movement magnifies resistance. Ground points deserve careful testing: a poor chassis or engine-ground can create inconsistent return paths that appear as flicker. Use electrical troubleshooting steps: measure voltage at the headlight, reference the vehicle’s ground, and note whether flicker aligns with engine rpm. Record findings, isolate the circuit, and prepare a targeted repair plan.
Check and Secure Exterior Wiring Connections
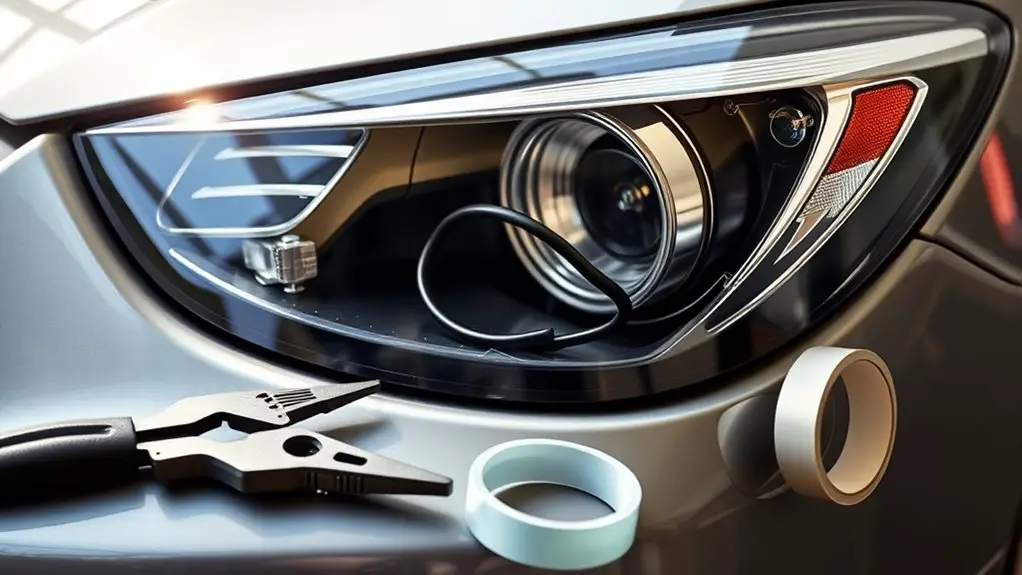
Begin by inspecting all exterior wiring connections related to the headlight circuit, focusing on tightness and cleanliness. You’ll verify the wiring harness routing for any strain, pinching, or abrasion that could disrupt current flow. Disconnect power before handling, then gently test each connector with a multimeter or a simple continuity check to confirm connection integrity. Look for corrosion, bent tabs, or loose terminals, and clean contacts with electronic contact cleaner if needed. Re-seat every plug firmly until a firm click indicates secure engagement. Inspect the harness clamps and grommets for proper grounding and protection from moisture, vibration, and road debris. If you find any loose grounds or exposed conductors, repair or replace the affected section to restore robust connection integrity. Document any compromised connections and avoid reusing damaged components. After reassembly, perform a light, controlled power test to confirm stable operation without flicker, ensuring the wiring harness remains free of strain during normal vehicle movement.
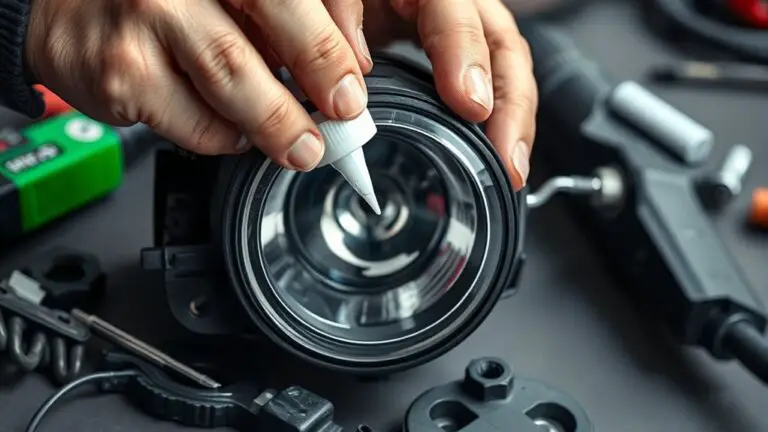
Inspect and Replace Faulty Bulbs and Sockets
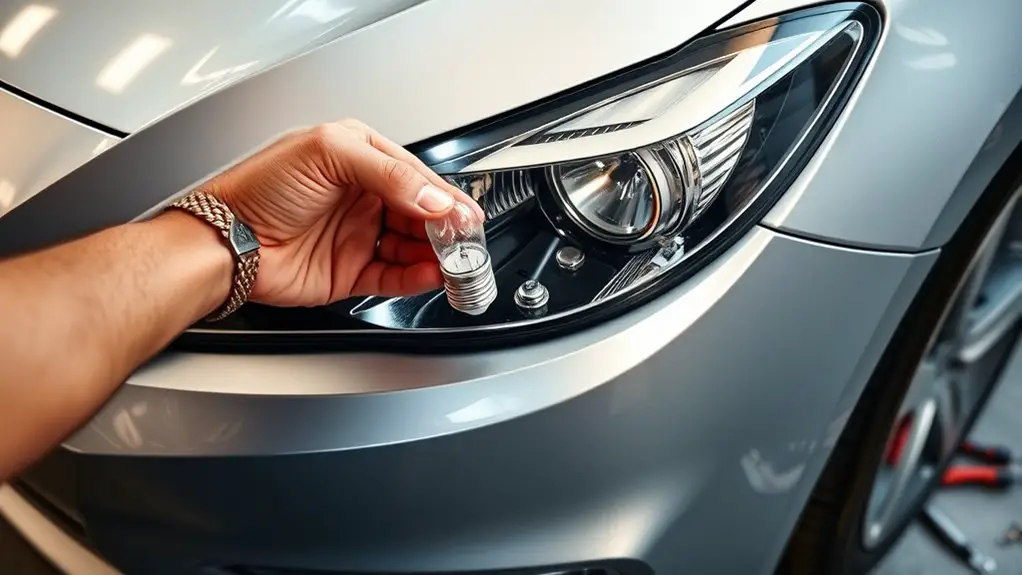
Regardless of the bulb type, start by removing power and accessing the headlight assembly. You’ll inspect for corrosion, wear, and proper seating, then determine if replacement is needed. Focus on bulb types and socket compatibility to guarantee a clean swap without guesswork.
Start by powering down and accessing the headlight, then inspect seating, wear, and socket compatibility before deciding on a replacement.
- Verify the bulb type marked on the assembly or owner’s manual, then compare with the replacement to confirm compatibility.
- Disconnect the connector, remove the old bulb, and inspect the socket for corrosion, burns, or loose pins; clean or replace as required.
- Install a new bulb with a firm, straight seating; attach the connector firmly, avoiding torque that could damage the housing.
- Test for operation and alignment before final reassembly, noting any flicker changes to confirm the fix.
If the new bulb exhibits flicker or the socket shows damage, replace both component sets to maintain reliable performance and electrical integrity.
Test the Charging System and Alternator
To guarantee the electrical system stays stable after replacing components, next you’ll test the charging system and alternator. Start by inspecting the alternator drive belt for wear and proper tension, then jump to a controlled load test. With the engine running, measure voltage at the battery terminals; you should see a steady 13.8–14.8 volts. If it’s lower, the alternator may not be charging efficiently, or there’s excessive parasitic draw. Next, test battery while the engine is off: a fully charged battery should read about 12.6 volts; if it’s sagging, charge or replace it before proceeding. Use a multimeter to check for voltage drop across grounds and positive cables under load. Inspect connections for corrosion, tightness, and cleanliness. If voltage fluctuates beyond spec or drops under acceleration, isolate wiring harnesses and test the alternator’s regulator. Document readings, compare against service data, and plan corrections to stabilize headlight performance now and in future use.
Final Steps: When to Seek Professional Help
If the headlight flicker persists after completing the recommended checks, you should consider professional assessment when symptoms indicate underlying electrical faults or safety concerns. You want clarity, not guesswork, so know when to consult and seek professional assistance before risking ride quality or visibility.
- Assess safety: if flicker accompanies dimming, cracking sounds, or odors, stop driving and call for help.
- Verify system integrity: a pro will inspect wiring, connectors, and harness grounds for corrosion or damage.
- Test under load: professional-grade diagnostics reveal intermittent faults not evident in casual checks.
- Decide on action: after diagnosis, weigh replacement, repair, or component retermination as the most reliable path.
Frequently Asked Questions
Can a Blown Fuse Cause Headlight Flicker?
Yes, a blown fuse can cause headlight flicker. When a fuse is damaged or inadequate, it disrupts the circuit, leading to inconsistent power delivery and intermittent illumination. To address this, perform a fuse replacement with the correct amperage rating from your owner’s manual. Check related electrical issues, including wiring and connectors, and inspect for corrosion. If flicker persists after fuse replacement, consult a professional to diagnose deeper electrical issues.
Do Daytime Running Lights Affect Headlight Flicker?
Did you know that up to 9% of driver-reported flicker is linked to daytime running lights? You should know that daytime running lights do not typically cause flicker; issues stem from wiring, ballast, or alternator load. To assess, check for flicker causes under low beams, verify fuse ratings, and inspect connectors. If symptom persists, test voltage stability and replace aging components. You’ll improve reliability by isolating DRL circuits and ensuring solid grounding.
Can Aftermarket Bulbs Void the Vehicle Warranty?
You should know that aftermarket bulbs can affect warranty coverage. Your vehicle’s warranty implications hinge on whether the install complies with factory specifications and doesn’t cause damage. You must document compatibility, retain original parts, and follow manufacturer guidelines. Check applicable aftermarket bulb regulations in your region and verify with your dealer before changing anything. If a fault arises, you’ll need proof that the modification didn’t cause the issue. Stay precise, methodical, and informed to preserve freedom and protection.
Will LED Headlights Flicker Differently Than Halogen Bulbs?
Like a metronome, your headlights beat with precise timing. Yes, LED headlights flicker differently than halogen bulbs; LEDs can exhibit lower persistence and flicker from driver electronics or PWM dimming, while halogens tend to be steadier but can dim with voltage dips. LED advantages include higher efficiency and longer life, but electronics matter. Halogen comparison shows simpler circuits but lower efficiency. You’ll want proper drivers, dimming control, and clean power to minimize flicker while preserving performance.
How Often Should Headlight Wiring Be Inspected?
You should inspect headlight wiring every 12 months or 12,000 miles, whichever comes first. Follow a methodical checklist: verify connections are tight, inspect insulation for cracks, test for corrosion, and confirm no signs of heat damage. Document findings and plan wiring maintenance as needed. Maintain an evidence-based schedule, and adjust inspection frequency if you operate in extreme climates or under heavy vibration. This disciplined cadence supports reliable lighting and safe, freedom-filled driving.