How to Fix Heated Seat Not Warming in the Family Sedan Interior
Start by turning the heated seat system on and confirming indicator lights or warmth. Then check the fuse for the seat circuit, the control switch, and the relay or module inputs. Inspect the seat harness for wear or loose connectors, and verify ground integrity. Test for voltage at the fuse when heat is activated, and examine the heating pad for damage or delamination. If the issue persists, more detailed diagnostics await to guide targeted repairs.
Checking If the Heated Seat System Is Turned On

To determine whether the heated seat is active, check the vehicle’s climate control or seat heat controls. You’ll confirm status by noting indicator lights, subtle warmth, or seat cushion temperature change within a few minutes. Start with the driver’s seat, then verify passenger seat if applicable. Use the touchscreen or physical dials to locate heated seat settings, typically labeled with a seat icon and heat levels. If you don’t sense warmth after selecting a level, pause to ascertain the system isn’t muted or overridden by climate mode. Consult the user manual for exact button combinations and default startup behavior. Some vehicles require the engine to be running or a door to be closed before power is supplied. If the seat remains cool, recheck fuse banks only after ruling out activation issues; avoid fiddling with power components unnecessarily. Document the observed settings and refer to the user manual for troubleshooting steps.
Verifying Fuses and Power Settings

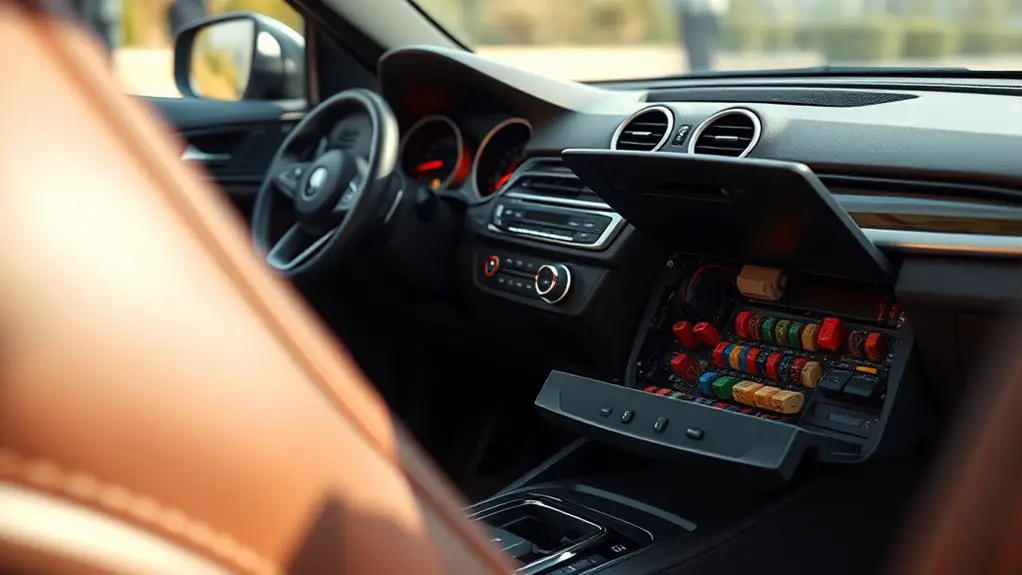
Begin by inspecting the fuse box and power distribution paths for the heated seat circuit. You’ll verify fuse location and gauge, then confirm the circuit is energized when you enable heat. Check the fuse rating against the factory spec; a blown or undersized fuse means the element won’t receive power. If the fuse is intact, test for voltage at the fuse terminal with a multimeter or a reliable test light, ensuring you measure when the seat heat is commanded on. Next, review the power settings in the vehicle’s climate or seat control module; verify the switch position, automatic vs. manual modes, and any seat occupancy or seatbelt logic that could suppress heat. Inspect the relay or control module input/output lines for continuity. If power is present but heat remains off, recheck the relay coil and the power distribution to the seat circuit, then re-test. Remember: precision saves time and keeps you moving.
Inspecting the Seat Harness and Wiring for Wear

You’ll start with a harness condition check, looking for cracks, fraying, or loose connectors that could interrupt power delivery. Inspect the wiring for signs of damage, such as exposed insulation, bent pins, or chafed paths near moving parts. If you spot wear patterns or damaged junctions, document findings and proceed with targeted testing or component replacement.
Harness Condition Check
Before you test the seat, visually inspect the harness and wiring for signs of damage, wear, or fraying. You’ll assess insulation integrity, connector seating, and run-lengths for strain. Check that the seat harness adheres to routing guides and isn’t pinched by seat rails or upholstery. Look for exposed copper, melted insulation, or fragmented loom. Gently tug each segment to confirm there’s no loose or intermittent connection. If you find abrasion or cracking, mark the area and plan a targeted harness repair or replacement. Verify that the seat connector aligns with the harness plug and seats fully with a firm click. Document findings for service notes, and avoid forcing connectors. Precise repairs restore reliability and prevent intermittent warming failures.
Wiring Damage Signs
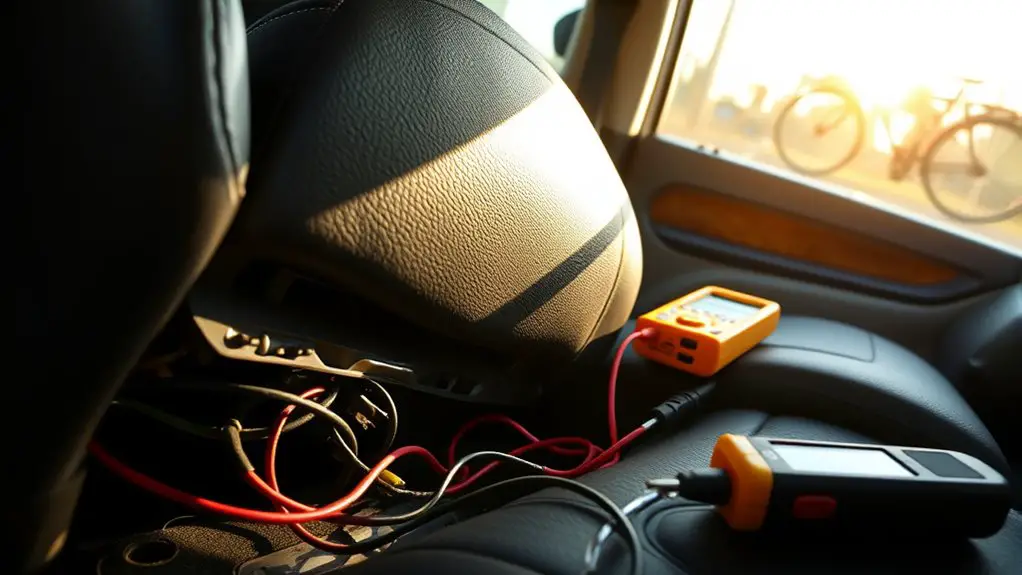
A close look for signs of wiring damage begins with a thorough visual and tactile inspection of the seat harness and nearby loom for abrasion, melted insulation, or exposed conductors. You’ll scan the entire harness run, including connector pins, for pinch damage, corrosion, or bent pins that impair continuity. Check for brittle sleeves, frayed shield, and heat-softened insulation near the seat heater power feed. Gently pull on wires to detect hidden cracks or intermittent grounding paths. Document any oxidation, chafing, or scorch marks, as these indicate overheating, poor connections, or short circuits. Use wiring inspection techniques to verify insulation integrity and continuity with a multimeter. Common wiring issues often trace to tight bends, abandoned loom channels, or degraded pin contacts impacting element resistance and performance.
Testing the Thermostat and Control Module
You’ll start by validating the thermostat’s response to setpoints and ensuring it toggles the heating element as commanded. Next, run a control module diagnosis to check for fault codes, memory errors, and proper CAN/SCADA communication with the seat heater. Finally, perform electrical signal tests to verify correct voltage, current flow, and signal integrity across sensors and outputs.
Thermostat Function Check
To verify thermostat function, start by testing both the sensor and control module under normal operating conditions. You’ll measure actual vs. setpoint temperatures at the seat heater circuit while cycling through typical temperature settings. Watch for consistent readings when you adjust the temperature settings and note any lag or drift. Ascertain sensor resistance stays within spec across a range of ambient temps, and confirm the control module responds promptly to input without fault codes. Perform a quick calibration check: adjust to mid-range, then to high.
If readings deviate beyond tolerance, document the discrepancy and repeat after a brief reset. Precision matters here: thermostat calibration should align with the heater’s response time. Record results for future reference; define acceptable variances and ascertain the system maintains stable temps under load.
Control Module Diagnosis
Control Module Diagnosis: begin by isolating the thermostat and control module as separate fault domains, then verify the module responds to setpoint changes with minimal latency. You’ll test input signals from the thermostat to the control module and observe the seat heater output cadence, timing, and ramp behavior. Document any delayed or errant responses, and correlate them to recent won’t-heat incidents. When you assess control module types, you’ll compare firmware version, calibration data, and known-good behavior across units to identify a mismatch or degradation. If the module shows inconsistent or out-of-spec responses, plan a controlled control module replacement, ensuring compatibility with seat heater wiring harnesses and power management logic. Maintain tight change control and verify result stability after reassembly and test cycles.
Electrical Signal Tests
Building from the control module work, you’ll next verify signal integrity by testing the thermostat-to-module input paths and the resulting heater output timing. You’ll perform precise checks with multimeter testing to confirm voltage and resistance ranges meet spec, and you’ll confirm signal continuity across connectors and harnesses. If readings drift, isolate the faulty leg, reseat connectors, and retest. Timing is critical: guarantee the module triggers the element within expected milliseconds after a request. Document any anomalies and compare them to the service data.
| Channel | Expected Result |
|---|---|
| Thermostat to module input | Continuity present; voltage within spec |
| Output to heater element | Proper timing; resistance within range |
| Ground | Solid continuity |
| Power supply | Stable voltage |
Diagnosing Common Causes for No Heat in Seats
When diagnosing no-heat seats, start by confirming the system is powered and the switch is functioning. You’ll trace common failure paths with a methodical mindset, isolating each potential fault without guesswork. Begin with power delivery: verify fuses, relays, and the seat connector at the harness; listen for a relay click and inspect for corrosion. Next, inspect seat cushion materials and wiring: damaged fabric, frayed wires, or pinched insulation can disrupt current flow, so untangle harnesses and look for heat-ready paths. Consider heated seat types and their control modules; a malfunctioning module may shut heat off altogether. If seat temperature sensors exist, verify they read within spec and aren’t shorted or displaced. Confirm ground integrity, as a poor ground mimics open circuits. Document voltage drop across the cushion and compare to factory values. By systematizing checks, you pinpoint faults efficiently and avoid unnecessary assembly work.
Quick Fixes You Can Try Beforepooling a Pro
If you’re seeing intermittent heat or a brief warm spot, start with simple, low-risk checks you can do without tools. First, verify that the seat’s power switch and fuse are intact; a loose connection can cause sporadic warming. Next, inspect seat cover materials for excessive compression or shifting that blocks heat elements; a snug, undisturbed surface guarantees even temperature control. Check for obvious signs of damage to the heating pad beneath the fabric; surface wrinkling can indicate delamination, altering heat distribution. If the seat has a removable cover, reseat it to eliminate air gaps that disrupt conduction. Test different temperature levels to determine if the issue is pilot-lighting related or a controller fault. Confirm wiring harnesses are routed away from moving parts and heat sources. If the problem persists, document the affected seat zone, noting any correlation with seat position, and prepare for a professional evaluation, focusing on the interaction between seat cover materials and temperature control.
When to Seek Professional Help and What to Tell the Mechanic
After the quick checks you’ve just completed, you’ll know whether the issue likely lies with the seat’s control system, heat element, or wiring. You should seek professional help when symptoms persist beyond basic faults, or when you’re unsure about safety risks. A technician can confirm identifying symptoms, diagnose potential malfunctions, and verify proper resistance, grounding, and wiring integrity. Be prepared to describe what you observed, the conditions that trigger heating, and any recent changes to the vehicle’s electrical load. Do not attempt invasive repairs if you notice burning smells, overheating harnesses, or loose connectors. Provide the mechanic with model year, trim, and seat module part numbers if available, plus any error codes from the climate or tech systems. Clearly distinguish between intermittent warmth and complete failure to aid rapid triage. Bring prior service notes and a concise timeline to facilitate an accurate assessment of malfunctions.
After quick checks, determine if the seat heat issue lies with the control, element, or wiring, and seek professional help for persistent or unsafe symptoms.
- When to seek professional help
- What to tell the mechanic
- Symptoms to document
- Relevant vehicle details
- Safety- and liability considerations
Frequently Asked Questions
Can a Faulty Seat Cushion Sensor Prevent Heating From Turning On?
Can a faulty seat cushion sensor prevent heating from turning on? Yes. A seat cushion sensor malfunction can disable the entire heating circuit, so the system stays cold. You’ll want to verify the sensor readings, check for open/shorted wiring, and inspect the harness for corrosion. If the sensor is failing, replace it and re-test. In troubleshooting terms, confirm power, ground, and actuator response, then reset the control module to restore seat warmth.
Do Heated Seats Require Vehicle Battery Disconnects During Repairs?
Yes, you don’t need to disconnect the battery for routine heated seat troubleshooting. You only perform battery maintenance if you’re testing electrical quirks or the system won’t power up. Start with fuses, wiring, and seat connections, then scan for codes. If you must disconnect, do it safely with the ignition off and follow your vehicle’s service manual. Always isolate the battery if you suspect a short during repair.
Will Seat Warmers Work With Aftermarket Seat Covers or Pads?
Ever wonder if seat warmers will work with aftermarket options? Yes, they can, but compatibility hinges on aftermarket compatibility and proper wiring. If you add seat cover insulation, make sure the heating elements aren’t compressed or shorted, and that pads aren’t interfering with switch sensors. Check harness connections, fuse ratings, and controller compatibility. Test each zone, verify current draw stays within spec, and avoid DIY insulation that blocks heat. If in doubt, consult a technician.
Can Climate Control Settings Override Heated Seat Function in Cold Weather?
Yes, climate control can override heated seats in cold weather, depending on the system’s priority logic and temperature settings. If you notice inaccurate warming, set climate control to a comfortable baseline first, then re-enable seat warming. Ascertain climate control isn’t maxing out heat or diverting power to cabin temps. Check the temperature settings for both climate and seats, and verify that seat heat is programmed to a compatible level rather than auto-adjusting away.
Are Seat Heater Relays Prone to Intermittent Failure and How to Test?
Did you know that up to 1 in 5 seat heater complaints stem from relay failures? Relay testing is your first step when you suspect an intermittent failure. You’ll check for proper coil resistance, listen for click during activation, and verify power continuity to the seat pad. If the relay behaves inconsistently, replace it and retest. Confirm wiring harness integrity, and document voltages observed to validate a solid, repeatable heating response.


