
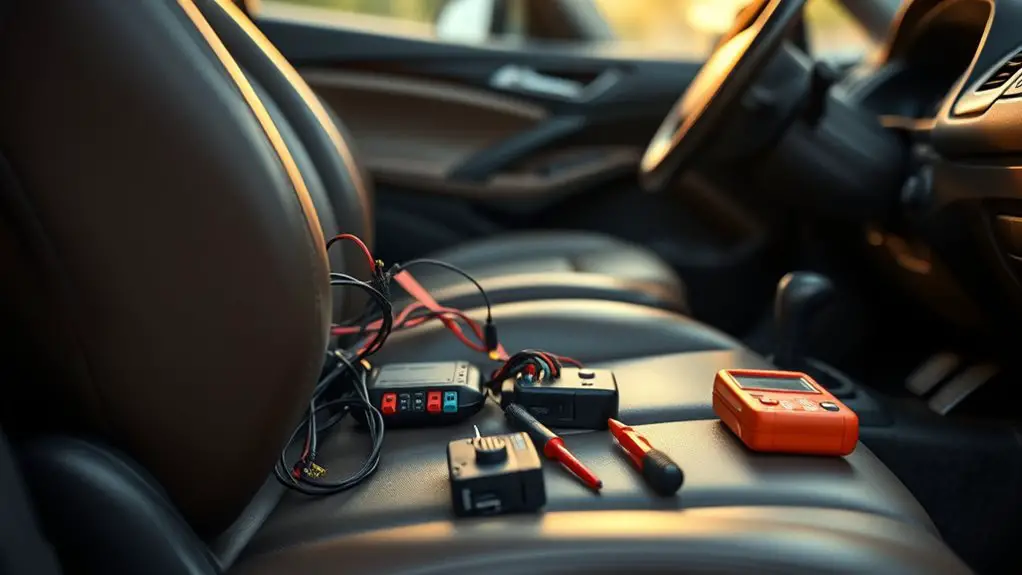
How to Fix Power Seat Not Working in the Family Sedan Interior
Start by confirming power at the seat switch with ignition on, then check the seat fuse and relays for proper operation. Inspect the wiring harness for loose connections, corrosion, or damage. If the fuse is intact and wiring looks solid, bench-test the seat motor and switch: remove the seat from the car, measure motor resistance, and apply a controlled power source to verify rotation and stall behavior. If issues persist, you’ll uncover more steps ahead.
Diagnosing Power Seat Troubles: Common Symptoms and Quick Checks
Common symptoms of power seat issues include stuck, intermittent, or nonresponsive movement and unusual noises during operation. You’ll start with a structured checklist to identify root causes without guesswork. Begin by confirming power at the seat switch: test ignition and battery status, then inspect fuses for the seat circuit. Next, verify the seat’s wiring harness connections are secure and free of corrosion or damage. If the seat glides partially, measure actuator travel and listen for motor hums, noting any abnormal grinding or buzzing. Use a multimeter to check continuity across the switch and motor terminals, comparing readings to the vehicle’s schematic. For intermittent results, inspect the floor loom for pinches or disconnections that interrupt power. Record findings, isolate the problem to the switch, motor, or wiring, and consult “troubleshooting tips” for recommended component tests. Maintain safety by disconnecting power before handling components and avoid forcing components beyond their travel limits. Troubleshooting tips focus on clarity, precision, and repeatable checks.
Safety First: Preparing Your Sedan for DIY Repairs

Before you start any DIY repairs, you must establish a safe work environment and prepare the vehicle to prevent injury or damage; this includes disconnecting the battery, securing the vehicle, and organizing your tools. You’ll adopt a procedural mindset: verify chassis grounding, set parking brake, and use wheel chocks for stability. Identify the work area: remove loose seating surfaces only as needed, avoiding pinch points and airbag zones. Gather safety gear and basic tools beforehand, ensuring fitment and insulation ratings meet task demands. Put on safety glasses, gloves, and a dust mask if needed, and keep a first-aid kit accessible. Work in a well-lit, ventilated space, free of distractions and flammable liquids. Label removed panels for easy reassembly and record torque specs. Maintain a clean workspace by laying a mat to catch debris, and avoid forceful prying. Finally, power down all circuits, and verify de-energization before touching seat mechanisms or connectors.
Inspecting Fuses, Relays, and Wiring for Power Seats
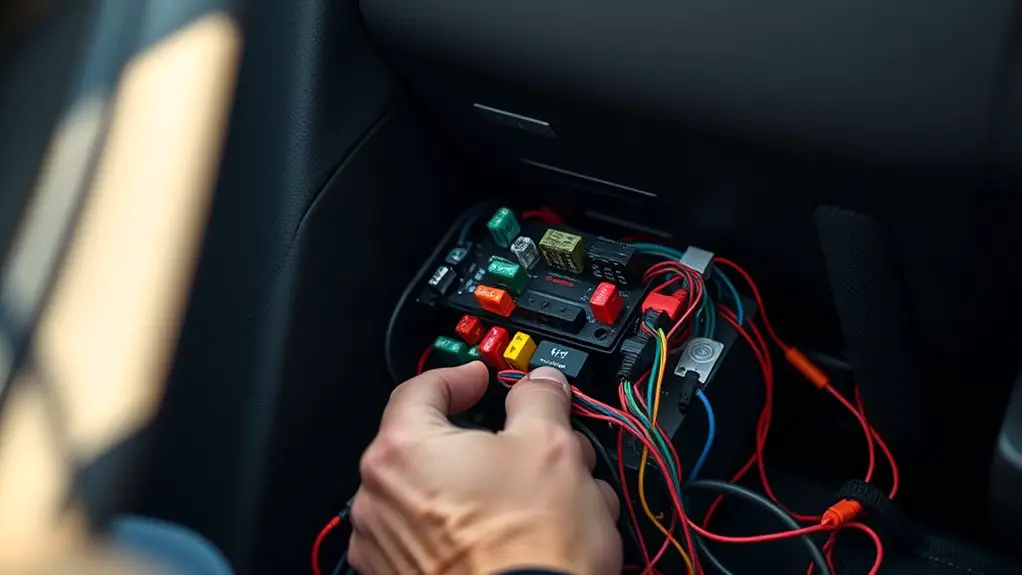
To begin diagnosing the power-seat issue, inspect the electrical path by checking fuses, relays, and wiring related to the seat. Locate the fuse box and confirm the appropriate fuse for the seat circuit is intact, using a known-good fuse as reference. Replace any blown fuse with the same amperage rating, then reseat the fuse in its slot to guarantee reliable contact. Next, inspect relays controlling seat movement; listen for click sounds at activation and verify power at the relay coil and contacts with a multimeter or test light. If the relay sticks or fails, replace it with an automotive-grade part. For wiring, examine harness connections at the seat, under the seat track, and at the fuse box junctions for corrosion, fraying, or loose grounds. Refer to wiring diagrams to trace color codes and accessory feeds, confirming continuity along the path. Recheck all connections after any service. Maintain clean, dry, and secure routing to prevent future faults.
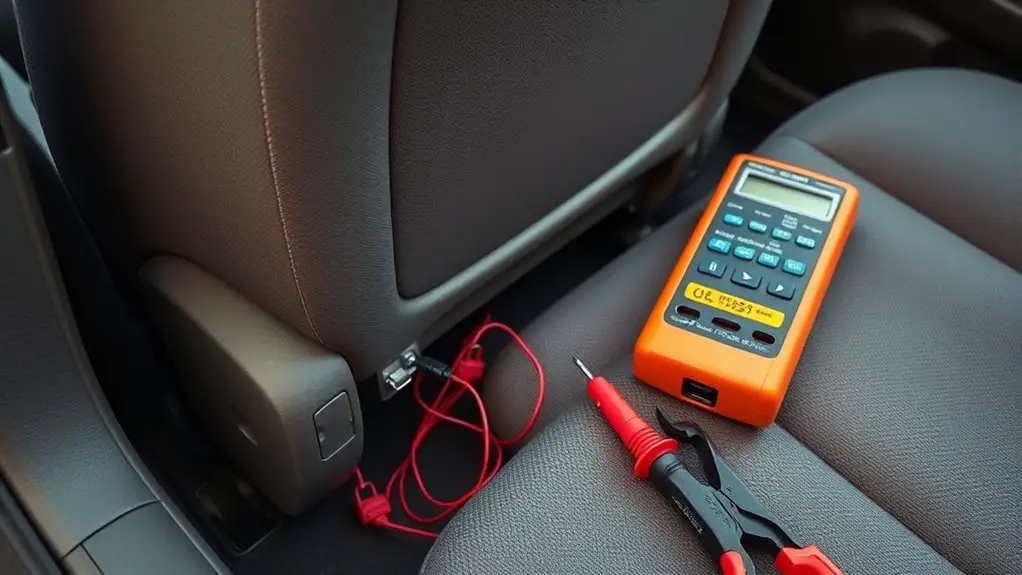
Testing the Seat Motor and Switches: Step-by-Step Procedures
Begin by isolating the seat motor and switch assemblies from the vehicle’s power source, then verify operation with the appropriate test methods. You’ll perform targeted electrical checks to confirm function without chassis load interference. Start with a multimeter to measure resistance across the seat motor terminals; compare results to manufacturer values, noting any deviation that indicates coil or winding damage. Next, apply a controlled supply to the seat motor via a fused test lead, observing rotation direction, speed, and stall behavior. If the motor stalls or runs unevenly, inspect the armature, brushes, and commutator for wear. For switch testing, use a bench power source and a continuity tester or oscilloscope to verify that each position input corresponds to the correct output path. Validate that the switch assemblies don’t short or drift under load, and that edges of travel trigger defined electrical states. Document readings, and proceed only if all metrics meet spec.
When to Call a Pro: Signs It’s Time for Professional Help
If you’re unsure whether the power seat issue warrants a pro, look for clear diagnostic indicators that exceed DIY scope. You should consider persistent failure after verified wiring, sensor errors, or controller faults that resist bench testing. If the seat moves erratically, stops mid-travel with fault codes, or you notice inconsistent positioning across sessions, these are warning signs to escalate. Mechanical binding, unusual noises, or heat from the seat module suggest internal wear beyond quick fixes. When multiple subsystems fail in combination—memory function, recline, and height—professional diagnosis becomes prudent. Budget awareness matters: obtain an upfront assessment that outlines scope, timeline, and outcomes before committing. Expect repair costs to reflect diagnosis, parts, and labor, not just a single component. If precision, safety, and repeatable results matter to you, a pro delivers structured testing, documented results, and verifiable fixes, reducing risk and future outages.
Frequently Asked Questions
Can a Seat Heater Affect Power Seat Movement in Some Models?
Yes, a seat heater can affect movement in some models, but it’s not universal. If the heater draws excess current or shares a circuit with the power seat motor, you may see reduced seat travel or intermittent operation. Check seat heater functionality and power seat compatibility in your vehicle’s wiring diagram. Verify fuses, relays, and connectors are sound, and test with heater off to isolate the issue before proceeding with repairs.
Do Seat Track Lubrication Methods Impact Motor Life?
Yes, proper track lubrication can extend motor longevity. You should perform seat maintenance by cleaning debris, applying a thin silicone-based lubricant to guide rails, and cycling the motor to evenly distribute lubricant. Avoid over-lubing, which can attract grit. Inspect for worn bushings, lubricate pivots, and recalibrate limits if available. This method keeps motion smooth, reduces current draw, and preserves motor longevity, empowering you to troubleshoot confidently while maintaining a freedom-forward, technically precise approach.
Can Interior Moisture Cause Electrical Seat Failures?
Yes, interior moisture can cause electrical seat failures. You should inspect for moisture intrusion, dry affected areas, and assess wiring for corrosion. Look for moisture damage signs near connectors, switch assemblies, and seat motors. If you find electrical shorts, disconnect power, replace damaged insulation, and test circuits with a multimeter. Guarantee proper sealing and venting to prevent recurrence, and verify motor operation after drying. Maintain documentation for future diagnostics and safety compliance.
Will Aftermarket Seat Covers Interfere With the Switchs?
Aftermarket seat covers can interfere with the switchs if they compress the seat foam or obstruct the track sensors, so proceed with caution. You’ll want to verify aftermarket compatibility first, then perform seat cover installation with snug but not tight fit. Remove covers to test switch operation, reseat cushions, and recheck harness clearances. If any binding occurs, adjust or choose a different cover designed for your model. Proceed carefully to preserve OEM functionality.
Are Remote Key Fobs Ever Linked to Seat Position Memory?
Remote programming can link certain seat positions to key fob functionality, but it isn’t universal. You may have to enable memory profiles in the vehicle’s ECU and pair the OEM fob to the seat module. If supported, this lets your buttons recall specific seat/memory settings when you open or start. Follow the service manual precisely, verify fob battery health, and test after each step. Don’t skip safety interlocks, and document each successful programming event.

