How to Fix a Slow Leak on a Compact Car
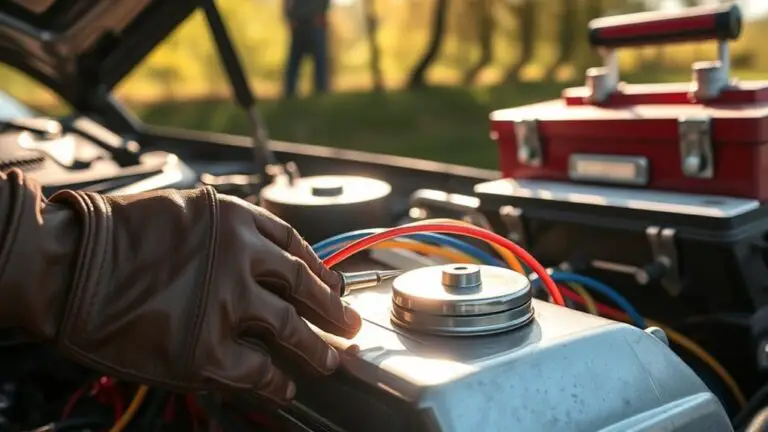
To fix a slow leak on a compact car, start by identifying the source: damp spots, fresh droplets, or stains under the engine bay or along hoses. Clean a baseline, then inspect with a flashlight and soapy water to spot bubbling at joints. Note fluid type by color and smell, and use a pressure test or cap loosened test when warm. Tighten fittings, replace worn clamps, or schedule professional help for persistent leaks; more steps await if you keep exploring.
Identifying the Source of a Slow Leak on a Compact Car
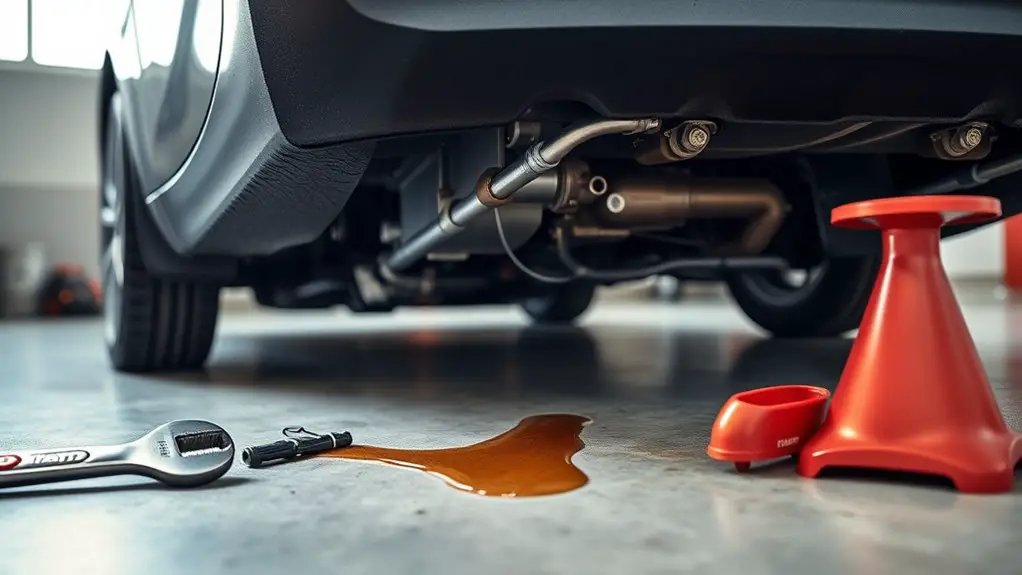
A slow leak isn’t invisible evidence that something’s wrong; it’s a clue you can trace methodically. You’ll begin by noting where you first notice dampness or stains and map it to likely systems. Focus on the engine bay, undercarriage, and wheel wells, since gravity guides leaks to low points. Perform a clean baseline: wipe surfaces, run the engine, and observe with a steady eye for fresh droplets. Use a flashlight to catch fine mist along seams, hoses, and fittings. Leak detection often hinges on color and odor: coolant glows faint green under UV, oil darkens, and fuel carries a sharp, solvent scent. Collect a small sample for fluid analysis if you suspect contamination or mixed fluids; this helps confirm the source without guessing. Prioritize safety: halt activity if you encounter sharp components or slippery floors. A methodical, disciplined approach yields precise, actionable results without unnecessary risk.
Tools and Safety for At-Home Leak Checks
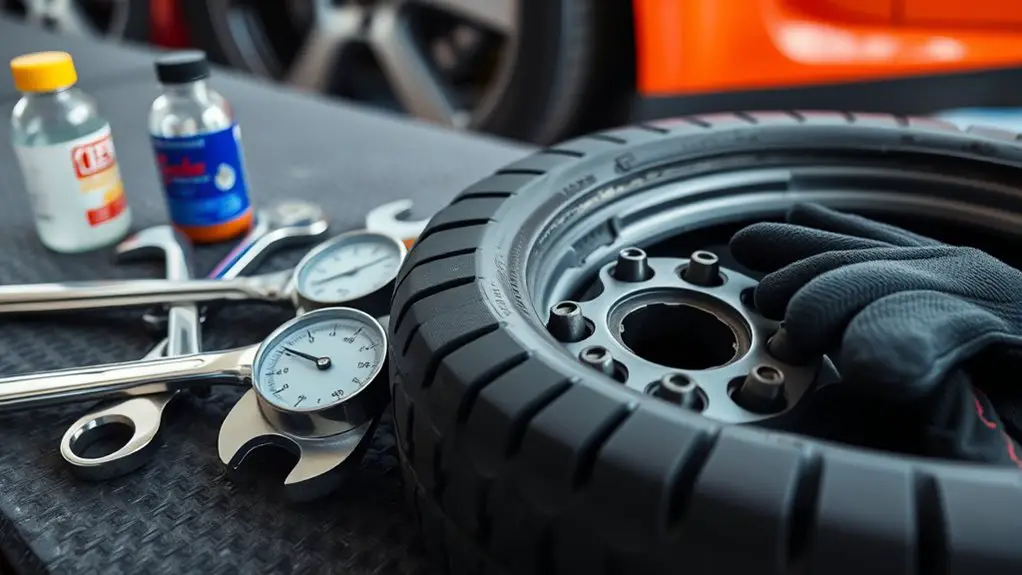
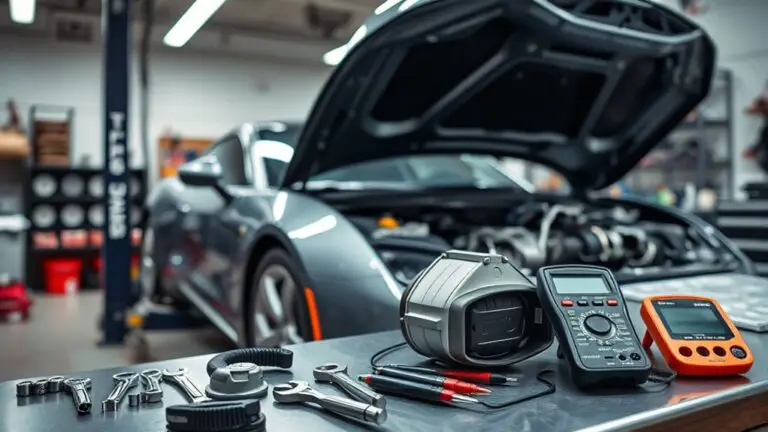
Before you start, assemble the essential safety gear—gloves, eye protection, and a mask if fumes are possible—and verify the work area is well-ventilated. Learn the core leak-testing methods you’ll use, such as pressure checks or visual inspection, and note any tools you’ll need like a compact pump, soapy solution, and clean rags. Keep the process calm and deliberate, following each step in order to avoid misreads or injuries.
Safety Gear Essentials
When you’re checking for leaks at home, assemble a focused set of safety gear and basic tools to minimize risk and guarantee accurate results. You’ll want safety goggles to shield eyes from splashes and debris, a gloves kit for grip and protection, and a sturdy, breathable apron to keep your clothes clean. Pair these with a reliable flashlight, a clean absorbent cloth, and a shallow tray to contain drips. Choose non-slip footwear and a ventilated workspace to reduce slips and fumes exposure. Keep a fire-safe area plan and a first-aid kit nearby. Before you start, inspect gear for wear and replace damaged items. Maintain a calm, deliberate pace, document any findings, and avoid rushing—precision matters as much as safety.
Leak-Testing Techniques
Ever wondered which tests deliver reliable results without specialized equipment? You can start with basic leak detection using soapy water around suspect joints and hoses; watch for continuous bubbles as you run the engine briefly. Then perform pressure testing with the cap loosely on and the system warm, listening for hiss from fittings, which indicates a seal issue rather than a phantom leak. For the radiator, cap off when the engine is cool and pressurize the system with a hand pump to a modest gauge reading, watching for drops over several minutes. Document findings, noting weather and engine state, so you can compare future tests. These steps emphasize safe handling, repeatability, and precise leak detection and pressure testing outcomes.
Reading Fluid Colors and Smells to Pinpoint Leaks
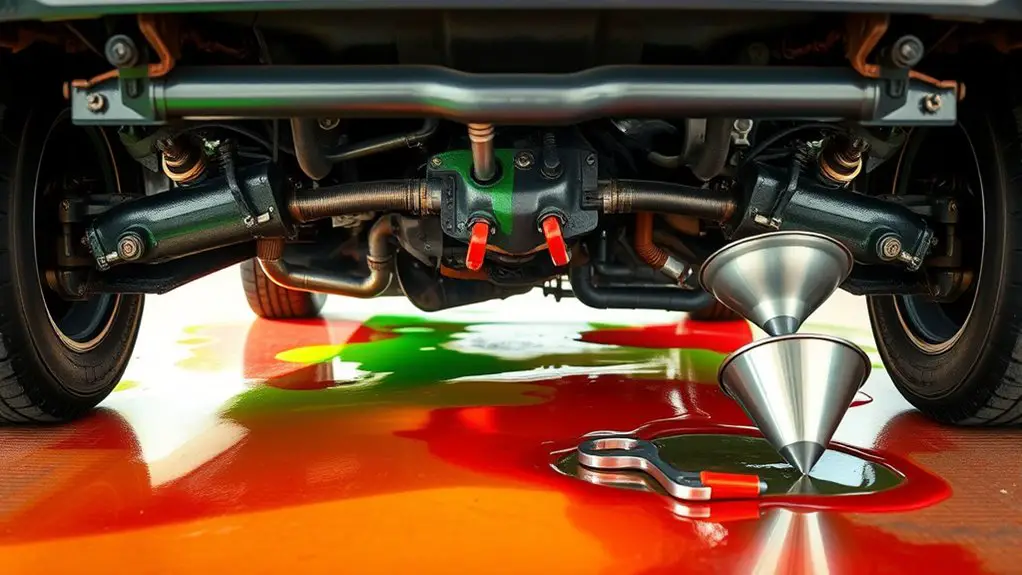
Reading fluid colors and smells helps you pinpoint leaks quickly and accurately. You’ll assess fluid properties and use color significance to separate possibilities. Look for scent clues: sweet, burnt, or acidic notes point to specific systems. Note color shifts, transparency, and viscosity—these details guide your next checks without tearing apart the car. Keep a clean, consistent sampling routine and compare fresh samples with known references. Document each observation with time and location to build a reliable leak profile. Be mindful that lighting affects color perception; use neutral daylight when possible.
| Observation | Fluid Property | Likely Source |
|---|---|---|
| Clear or pale blue | Water or coolant traces | Cooling system or A/C condensation |
| Amber to brown, thin | Engine oil hints | Lubrication system |
| Pinkish red, watery | Transmission fluid or conditioner | Transmission circuit |
| Greenish smear, slick | Coolant additive residue | Cooling system additives |
This method respects your need for freedom while staying precise and practical.
Common Leak Areas: Oil, Coolant, Transmission, and Steering Fluid
You’ll start by noting oil leak indicators and where they commonly appear on a compact car. Use a fluid area map to track likely spots for oil, coolant, transmission, and steering fluid leaks. This approach sets the foundation for targeted inspections and precise diagnostics.
Oil Leak Indicators
Oil leaks are a common sign of trouble under the hood, and spotting them early can save you from bigger damage later. You’ll look for telltale drips under the engine, fresh dark stains on the ground, and pale oily sheen on components after a drive. Focus on consistent patterns rather than one-off spots. Inspect high-leak-risk zones: the oil pan area, valve cover, and oil filter housing. Check for seepage at seals, hoses, and connections during a calm, parked inspection. A systematic approach helps you avoid guesswork. When you notice leakage, perform an oil seal and gasket inspection for reliability. Document findings, clean the area, and monitor diffused leaks after short runs. This disciplined method preserves authority over your repair process and future freedom from sudden failure.
Fluid Area Map
A fluid area map helps you target common leak sources quickly: oil, coolant, transmission, and steering fluid. You’ll identify fluid types and their leak locations by inspecting typical zones, then prioritize checks. This map is a practical reference that keeps you moving toward a fix, not guesswork.
| Fluid Type | Typical Leak Locations |
|---|---|
| Oil | Engine pan, valve cover gasket, oil filter |
| Coolant | Radiator, hoses, water pump, reservoir |
| Transmission | Pan gasket, cooler lines, seals |
| Steering | Power steering rack, lines, reservoir |
Use this grid to verify suspicions, track patterns, and plan your next steps. Keep the focus on fluid types and leak locations to avoid wasted effort and stay confident about the repair path.
Quick At-Home Fixes to Buy Time
If you’re in a pinch, small, temporary fixes can slow a leak long enough to get you safely home or to a shop. Your goal is to buy time without creating new hazards. Begin with a clean surface: wipe away dirt and moisture around the drip point so sealants can adhere. Consider temporary sealants designed for automotive fluids, applied strictly to the affected area per product instructions. Use PPE and work in a well-ventilated space if fumes are possible. For tires or hoses showing minor seepage, DIY solutions like clamps or quick-fix patches may provide momentary containment, but only if they don’t obstruct critical components or warning labels. Never rely on fixes that alter flow or pressure beyond manufacturer tolerances. Monitor the leak after application, noting changes in volume and color. Plan a professional inspection soon, using the fix as a warning signal rather than a permanent solution. Maintain safety margins and lawful road practices throughout.
When to Seek Professional Help for a Slow Leak
Detecting a slow leak isn’t a reason to panic, but it is a signal to act before damage compounds. When you notice pooled fluid, damp underpanels, or a sudden drop in coolant or oil levels, pause to evaluate. If the leak persists after a quick at-home check, it’s time to contemplate professional help. You should seek a professional assessment when leak severity appears beyond minor drips or when you can’t locate the source confidently. A technician will perform a systematic inspection, tracing lines, seals, and fittings, and testing for pressure changes that reveal hidden faults. Don’t wait for signs of overheating, unusual odors, or escalating fluid loss; these indicate greater risk and may lead to costly repairs. Scheduling promptly preserves safety, prevents environment contamination, and protects the vehicle’s reliability. Rely on trained expertise to pinpoint the exact cause, outline repair options, and guarantee proper repair, so you retain freedom to drive with confidence.
Preventative Tips to Reduce Future Leaks and Drips
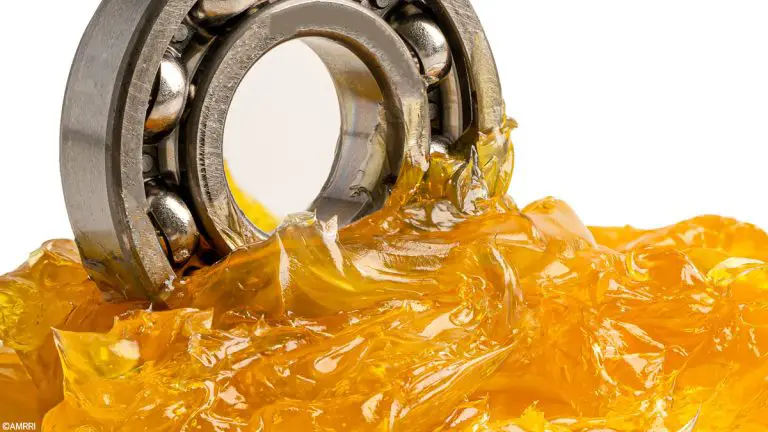
To minimize future leaks and drips on a compact car, start with a proactive inspection and routine maintenance schedule. You’ll build a reliable baseline by checking seals, hoses, and fluid levels monthly, noting any changes. Practice leak prevention by tightening fittings within spec and replacing worn clamps before they fail. Keep an organized record of oil, coolant, brake fluid, and transmission fluid refreshes so you can spot trends early. Use a clean, bright flashlight to inspect hard-to-see areas, and address suspicious discoloration or dampness promptly. Ascertain the cooling system is pressurized and the radiator cap seals properly; replace if you notice heat or pressure fluctuations. Maintain proper fluid maintenance intervals per manufacturer guidance, and don’t mix fluids unless guidelines allow. Park on level ground after servicing to verify leaks aren’t seeping from joints. These steps reduce risk and promote freedom through predictable performance.
Frequently Asked Questions
Can a Slow Leak Invalidate Warranty Coverage on a Compact Car?
Yes, it can affect warranty coverage. If a slow leak is tied to a covered system and the manufacturer or dealer determines neglect or improper maintenance, your warranty policies might void or limit claims. You should conduct routine leak detection steps, document findings, and report issues promptly. Keep records, follow service intervals, and avoid DIY fixes that could be deemed improper. Ask for a written explanation if coverage is denied, and consult your dealer.
How Long Can I Drive With a Suspected Slow Leak Safely?
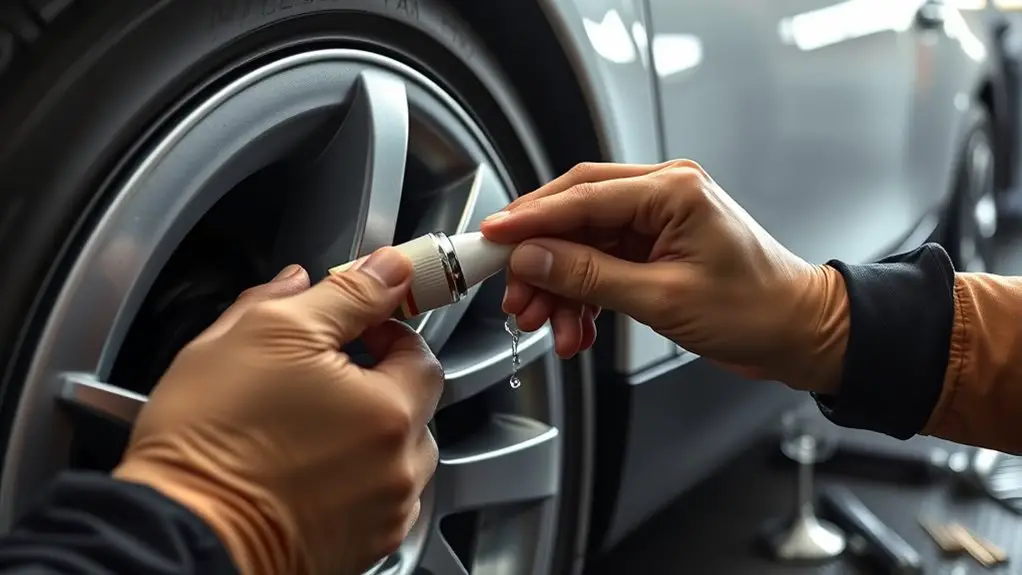
You should not drive far with a suspected slow leak. If you notice loss of tire pressure, stop promptly and inspect. Limit road time until you’ve confirmed leak detection and repaired or replaced the affected tire. In practice, head to a shop for a safe pressure gauge check, then proceed only after tire maintenance confirms all tires stay within recommended PSI. Don’t ignore steadier drops or uneven wear; your safety matters.
Will a Dye-Based Leak Detector Harm My Engine Seals?
Yes, dye-based leak detectors are generally safe for engine seals when used as directed. You should check dye safety guidelines on the product packaging and avoid overuse, since excessive dye can mingle with fluids. If you have sensitive seals or prior damage, test in a small area first and monitor for any irritation or leaks. In most cases, you’ll notice added visibility without harming engine seals, and you’ll know where to service.
Are All Slow Leaks Fixable Without Professional Tools?
A surprising 60% of drivers ignore slow leaks until they cause bigger issues, but yes—many slow leaks are fixable without professional tools. You can tackle DIY repairs by inspecting seals, hoses, and connections, tightening fittings, and cleaning surfaces before resealing. If you can’t identify the source, seek professional help to avoid damage. Practice leak prevention with regular checks and proper fluid levels. Stay precise, methodical, and keep your freedom to fix what you can.
How Does Mileage Affect the Likelihood of Leaks Developing?
Mileage affects leak likelihood: as your odometer climbs, seals and gaskets wear, hoses soften, and connections loosen. You’ll see higher wear in aged components, increasing probability of slow leaks. To manage this, prioritize leak prevention through regular inspections, check for damp spots, and replace aging parts proactively. Stay proactive, document mileage-driven wear, and address signs promptly. This approach preserves performance, reduces risk, and keeps your freedom to drive unburdened by unexpected failures.