How to Perform a Coolant Flush and Why It Stops Overheating on Idle
A coolant flush cleans sludge, rust, and mineral scale from your cooling system, restoring flow and heat transfer so it won’t boil or overheat at idle. Start by letting the engine cool, collect old coolant, and drain the radiator and hoses. Rinse with water or a flush solution, then refill with the correct mix and bleed the air out by running the engine with the heater on. You’ll see steadier temps and fewer leaks; keep going to master the full process.
Understanding Why Cooling Systems Clog and the Benefits of a Flush
Cooling systems clog because coolant mixes with debris, rust, and old oil, creating sludge that restricts flow and reduces cooling efficiency. You’ll notice higher engine temperatures and occasional bursts of overheating when the path between radiator and engine narrows. The most common clogs form where coolant picks up contaminants from wear and corrosion, then settles in corners, elbows, and radiator cores. Over time, mineral scaling from hard water compounds the buildup, further choking passages. A flush helps restore flow by removing sludge, rust, and deposits, returning coolant to its intended circulation. It’s not a cure-all for every fault, but it stops the gradual decline in cooling performance and reduces the risk of sudden overheating on idle or under load. By understanding these dynamics, you gain practical leverage: clear passages, stable temps, and better overall reliability. This knowledge supports your freedom to troubleshoot confidently and keep driving. cooling system, common clogs.
Preparing Tools, Safety Steps, and Vehicle Precautions
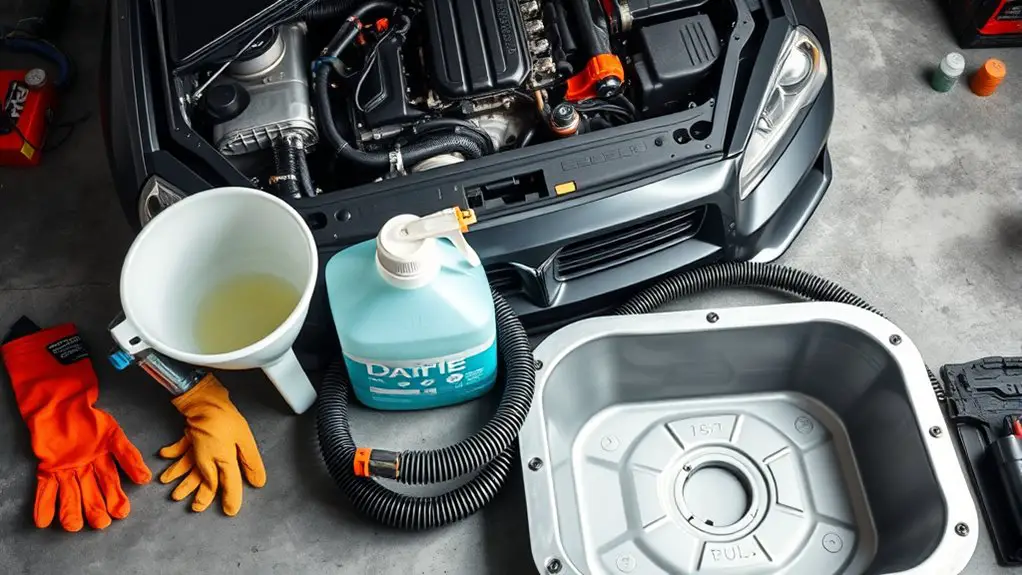
Before you start, gather the right tools and protect yourself and the vehicle; a quick, organized prep prevents spills, injuries, and missteps. You’ll need basic hand tools, a drain pan, jugs for coolant, and shop towels. Wear gloves and eye protection, and work in a well-ventilated area. Check the owner’s manual for your vehicle’s coolant type and capacity, and confirm safe coolant types you can use. Inspect belts, hoses, and radiator caps for wear before touching cooling components. Set the parking brake, place wheel chocks, and verify the engine is cold to avoid burns. Have absorbent material ready for spills and a fire extinguisher nearby, just in case. Note flushing frequency recommendations from your manual or service guide to avoid under- or over-maintenance. By staying organized and deliberate, you protect the system and yourself while laying groundwork for a clean, effective flush that respects coolant types and vehicle needs.
Draining Old Coolant and Flushing the Radiator, Heater Core, and Hoses
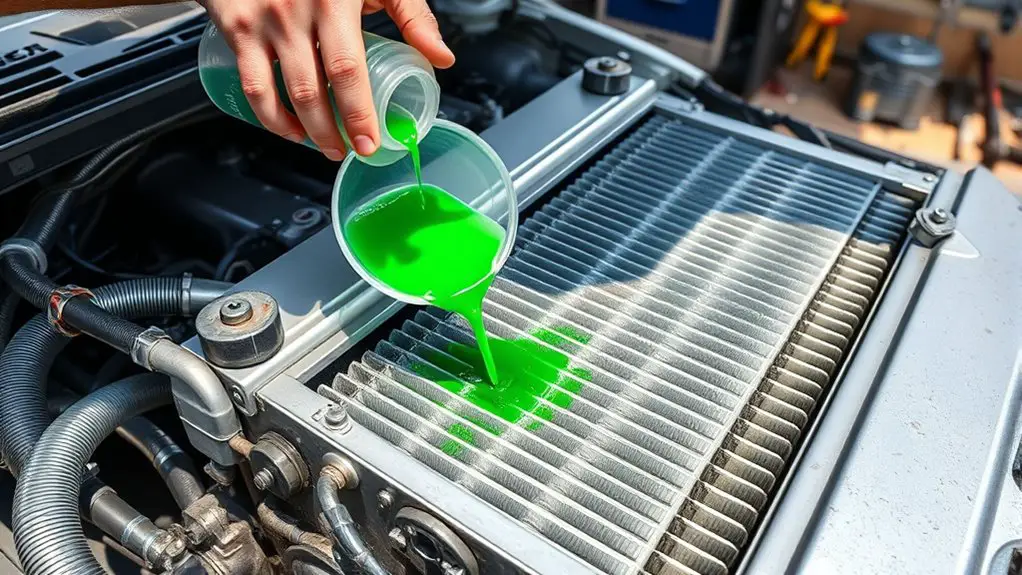
To drain the old coolant and start flushing, begin by placing a drain pan under the radiator drain plug or lower hose, loosen the drain plug to let the coolant flow out, and keep the engine cool while capturing as much as possible. Once draining slows, remove the lower radiator hose or petcock completely to guarantee all fluid exits. Move to flushing techniques by circulating water or a dedicated flush solution through the system, paying attention to the radiator, heater core, and hoses. Inspect for buildup, corrosion, or debris and take note of any cloudy or discolored liquid. After a thorough flush, drain again and rinse with clean water until clear. Then, prepare for the next phase by confirming access points and double-checking hose connections. This step sets you up for effective coolant types selection and a clean path for flow. Inspect clamps and seals, replacing as needed.
Drain the old coolant, flush thoroughly, and verify hoses, clamps, and flow path for a clean restart.
- Identify flow paths and guarantee complete drainage
- Use appropriate flush solution per coolant types
- Recheck hose connections for leaks
- Plan for a clean, thorough final rinse
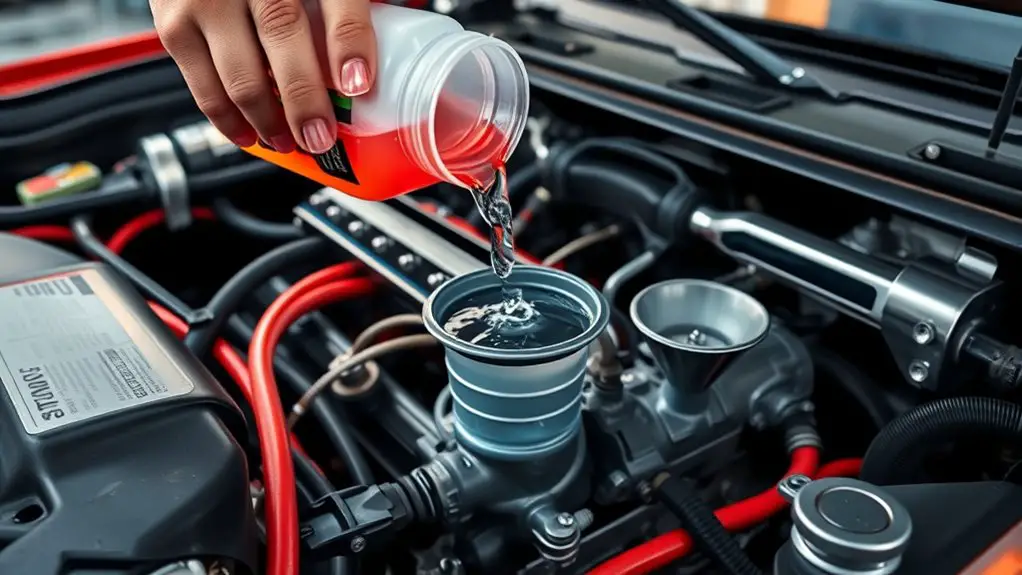
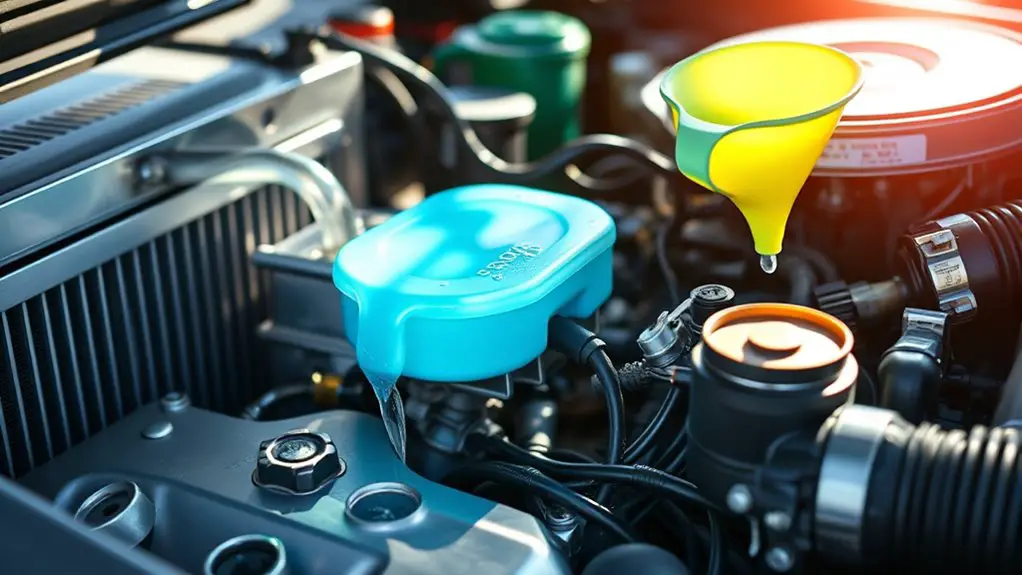
Refilling With the Correct Coolant and Air-Bleed Procedure
After confirming the system is clean and all old fluid has been drained, you’ll refill with the correct coolant mix and complete the air-bleed process. Begin by choosing coolant types recommended for your engine and climate; mix to the manufacturer’s ratio unless your system specifies a pre-mixed solution. Use a clean funnel and steady, slow pours to prevent air ingestion. Maintain gradual fills until the coolant reaches the proper level in the reservoir, then top up at the radiator neck if accessible. Start the engine and let it reach operating temperature with the heater on, watching for bubbles and listening for gurgling as air escapes. Pause to add coolant as needed, repeating the bleed steps until steady, uninterrupted flow returns. Check for leaks and recheck levels once cooled. Finish with a final top-off to the specified mark. Consistent fill techniques prevent air pockets and maintain peak cooling performance.
Signs of Success, Maintenance Tips, and How to Prevent Future Overheating
Once the system’s coolant level holds steady and there’s no sign of leaks, you’ll have confirmation that the flush and bleed were effective, but ongoing maintenance matters just as much as initial success. You’ll spot true signs of success when temperatures stay stable at idle and hoses feel calm to the touch. Look for consistent coolant temps, no bubbles in the reservoir, and no resident odor of antifreeze. For long-term reliability, establish a simple maintenance schedule that fits your use. Keep an eye on hose condition, radiator flow, and cap integrity, and perform regular coolant top-offs between drains. Preventing future overheating comes down to disciplined checks, not dramatic fixes. Build a routine you control, not one that controls you.
- Monitor overheating signs and confirm temps stay within spec.
- Adhere to a practical maintenance schedule without overcomplicating it.
- Inspect hoses, caps, and radiator for wear or leaks.
- Schedule periodic coolant flushes and level tests.
Frequently Asked Questions
Do I Need to Replace the Thermostat During a Flush?
Yes, you should consider replacing the thermostat during a coolant flush. A failing thermostat can mimic other overheating issues, so swapping it improves reliability. This helps thermostat function and grounds better coolant maintenance. You’ll avoid chasing symptoms and gain faster warm-up, steady temps, and fewer idle overheating quirks. It’s practical, precise work you can do yourself, with the right tool and fresh sealant. If in doubt, consult a service manual before proceeding.
Can a Flush Fix a Blown Head Gasket?
Yes, a flush won’t fix a blown head gasket. It won’t seal cracks or stop coolant leaks caused by head gasket failure. The statistic: about 1 in 5 early engine failures involve gasket issues, underscoring why diagnosis matters. You’ll need a proper repair to address a blown gasket, plus fix leaks and any warped surfaces. Rely on professional assessment, then decide on replacement parts and a careful restoration plan for lasting reliability.
How Often Should Coolant Be Flushed for My Car?
You should flush coolant every 2 to 4 years, or per your vehicle’s manufacturer recommendations. Consider coolant lifespan, which varies by formula and climate, and flush frequency based on your driving habits and hard-use conditions. If you notice sludgy fluid, high temps, or inconsistent temps, flush sooner. Regular checks keep cooling efficiency up, protect the system, and support freedom to drive confidently. Keep a reminder to verify intervals in your owner’s manual.
Are There Risks Using Radiator Flush Additives?
Yes, there are risks with radiator flush additives. You might clog passages, loosen rust that jams the heater core, or harm seals if you overdo it. Use trusted products sparingly and follow directions. In radiator maintenance, you’re weighing convenience against potential engine damage. If additives are needed, flush thoroughly and monitor coolant levels. Proper use supports engine performance, keeps you in control, and respects your right to reliable, practical automotive care.
Will a Flush Improve Fuel Economy?
A flush can marginally improve fuel economy, but gains are small and depend on overall engine condition. You’ll notice better coolant efficiency and fewer overheating quirks when the system isn’t clogged. Flushing benefits include restored flow and more consistent operating temps, which help efficiency over time. It’s precise work you can trust, not a magic fix. If you value freedom and practicality, perform it with proper coolant and follow the manufacturer’s specs for best, dependable results.