How to Perform a Coolant Flush and Why It Stops Coolant Temperature Sensor Failure
To perform a coolant flush, you’ll first assess the cooling system, gather all tools, and guarantee the engine is cool. Drain old coolant from the radiator and block, then circulate a flush solution to remove mineral scale and deposits. Rinse, inspect hoses, radiator, and heater core, then refill with the correct mix and coolant. Bleed air until the flow is steady and bubble-free, and verify sensor readings afterward. If you keep going, you’ll uncover more precise steps and tips.
Assessing Your Cooling System and Tools Needed
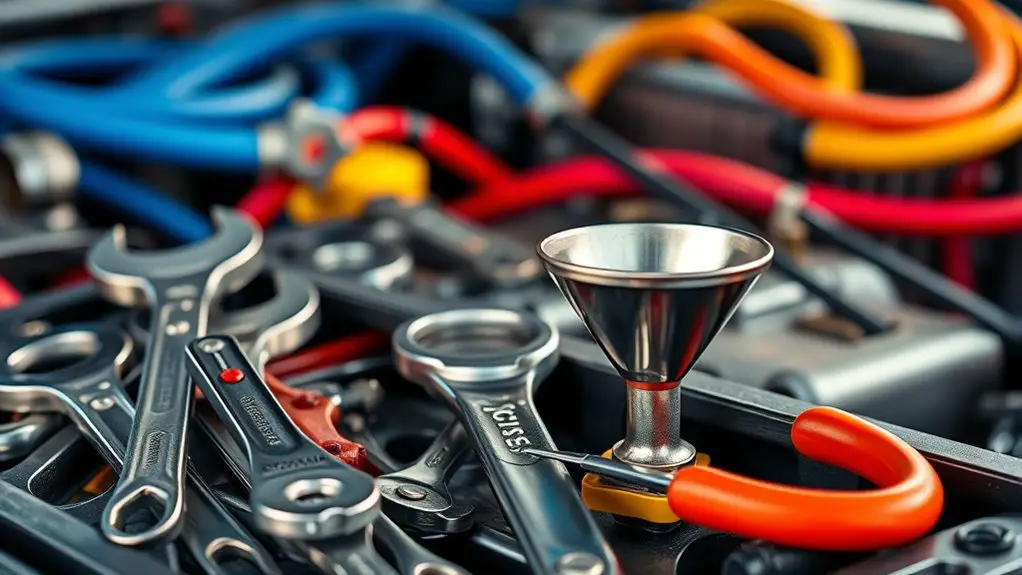
Evaluating your cooling system begins with a clear inventory of components and a plan for diagnosis. You identify hoses, clamps, radiator, reservoir, water pump, thermostat, and fan assembly, noting their condition and accessibility. Next, establish baseline operating parameters: system pressure, temperature ranges, and fan hysteresis. You determine whether you’ll test with engine cold, then progressively warm, observing leaks, corrosion, and flow restrictions. For coolant types, confirm formulation compatibility with your vehicle’s materials and heater core seals, and plan for a matching mixture after testing. Assess the reservoir cap, radiator cap, and pressure relief path for proper sealing and spring tension. Gather necessary tools: socket set, pliers, screwdrivers, funnel, hydrometer or refractometer, thermometer, and a suitable drain pan. Prepare a safe work environment, disconnect the battery if electrical work is anticipated, and implement containment to prevent spills. Document findings, create a diagnostic checklist, and proceed only after confirming access to replacement coolant and compatible additives.
Signs You Need a Coolant Flush
Buildup in the cooling system can raise operating temperatures and reduce efficiency, so you’ll want to assess the causes of that buildup and how it affects flow. When indicators appear—such as overheating, sluggish thermostat response, or frequent coolant loss—you should consider a flush to restore proper cooling and prevent further damage. This discussion covers the sources of buildup, the impact on cooling performance, and clear service indicators to guide your next steps.
Causes of Buildup
When coolant is contaminated or not properly maintained, buildup signs emerge as clogged passages, corrosion deposits, and reduced flow. You’ll want to trace the origin of these symptoms to the causes driving accumulation, then plan a targeted flush. Buildup causes include mineral scale from old tap water, cooling-system additives that misbehaved, and metal surfaces undergoing coolant corrosion. Over time, debris forms isolated pockets that impair heat transfer and raise pressure, challenging pump performance. Regular testing helps you verify concentration and pH, sharpening your preventive steps. Addressing the root causes reduces risk of sensor faults and leaks, keeping your system reliable. A disciplined maintenance routine preserves flow and efficiency, supporting long-term coolant health.
- buildup causes
- coolant corrosion
- mineral scale from water additives
Impact on Cooling
Coolant issues directly impact cooling performance, so you’ll notice changes in heat transfer, temperature stability, and flow behavior as signs you need a flush. In this section, you assess how symptoms reflect underlying fluid dynamics. Reduced coolant efficiency appears as uneven heat removal and hot spots, while elevated intake or outlet temperatures indicate restricted flow. Fluctuations in gauge readings or inconsistent fan activity signal degraded temperature regulation, not just sensor error. You’ll also observe slower heat soak and longer cooldown cycles, implying increased viscosity or particulate blockage. Audible tells—gurgling or sloshing—often accompany flow issues, but rely on measured data for confirmation. This analysis emphasizes methodical checks, ensuring you address root causes, restore coolant efficiency, and reestablish stable temperature regulation through a proper flush.
Indicators for Service
If you notice consistent temperature instability, rising operating temps, or unusual behavior from the cooling system, these are clear indicators that a coolant flush is due. You’ll want to assess signs that point to degraded performance, coated passages, and potential sensor stress. By evaluating coolant types and their condition, you can forecast sensor longevity and target timely maintenance. A precise flush prevents buildup that prompts erratic readings and protects the cooling circuit from corrosion. Follow a methodical approach: inspect hoses, test flow, and verify radiator performance to confirm when a flush is required. This minimizes risk, preserves sensor longevity, and sustains accurate temperature data.
- Visible discoloration or gel buildup indicates degraded coolant types and the need for flushing
- Pressure or cap tests reveal trapped contaminants affecting sensor longevity
- Thermostat and sensor readings diverge from normal patterns, signaling service necessity
Safely Preparing the Vehicle for Servicing
Begin by locating a safe, level workspace and gathering the necessary tools and safety gear; before touching any coolant system, verify the ignition is off, the engine is cool, and the battery is disconnected to prevent accidental starts. You’ll assess vehicle stability, then implement containment measures to prevent spills and slips. Position chocks on both sides of the tires and set the parking brake. Remove jewelry and loose clothing; wear eye protection, gloves, and a long-sleeve top. Disconnect the negative battery terminal to avoid accidental electrical shorts during servicing. Clear the work area of passengers and unnecessary tools. Use a stable, non-slip mat under the vehicle if needed. Retrieve the manual’s guidance on depressurizing the cooling system and follow it step by step. Keep a spill kit ready and know where the fire extinguisher is located. Document procedures for future reference, noting any unusual sounds, smells, or leaks observed during setup. Safety precautions confirmed, you’re prepared to proceed with confidence.
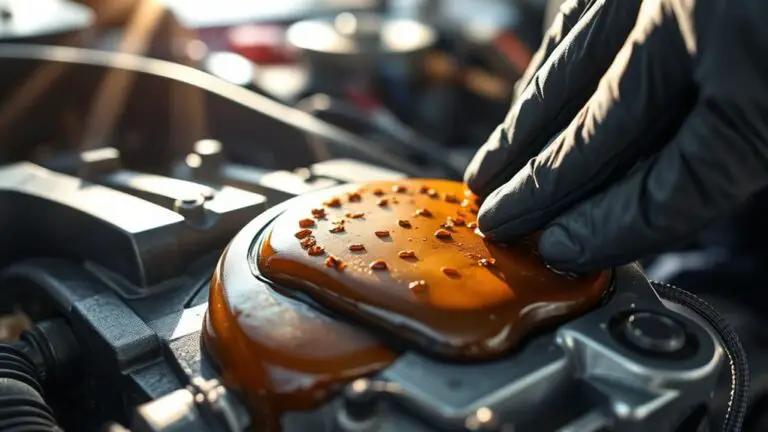
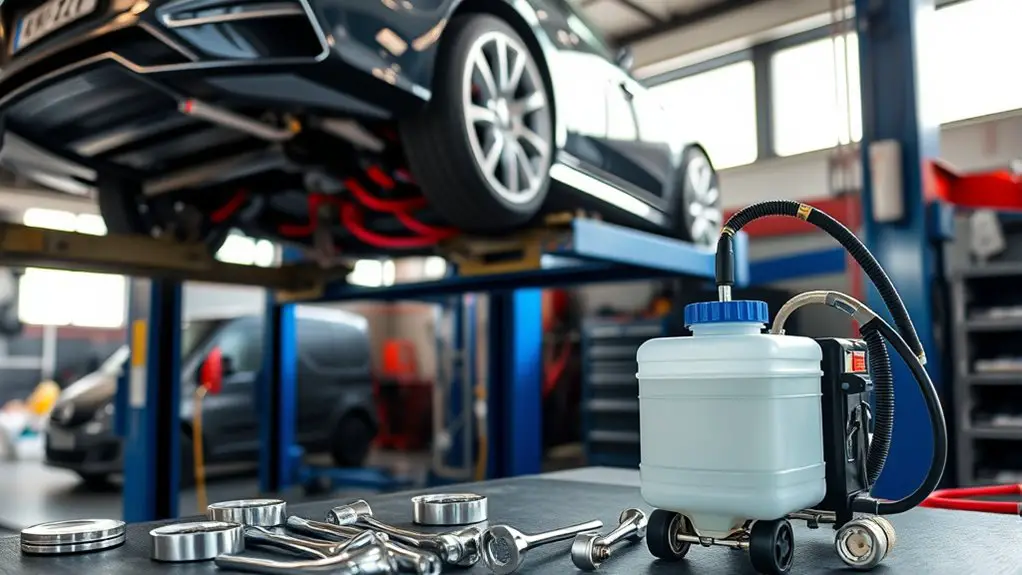
Draining the Old Coolant and Flushing the System
To drain the old coolant, locate the drain valve or plug and position a suitable container to catch the flow. Open the valve slowly to flush out as much coolant as possible, then close it once the flow ceases. Next, prepare to flush the system clean to remove residual contaminants and prepare for refilling.
Drain Old Coolant
Drain the old coolant from the system by placing a drain pan beneath the radiator drain plug or petcock and loosening it to allow flow, then open the radiator cap to relieve pressure and guarantee complete drainage through both the radiator and engine block pathways. You’ll capture all residual coolant, prevent cross-contamination, and prepare for a thorough flush.
- Position the drain pan under the lowest drain point and confirm flow before removal complete
- Open bleed points only if the service manual specifies, to avoid air pockets
- Document the coolant type and remaining volumes for waste disposal and future top-offs
This step sets the stage for correct coolant types handling and effective flushing techniques with minimal spill risk.
Flush System Clean
After draining the old coolant, proceed to flush the system by circulating a flush solution through the radiator, engine, and heater core to remove residual contaminants; monitor flow and temperature to verify complete coverage and avoid air pockets. You’ll verify flow paths, backflush where needed, and ascertain the entire system is clear before refilling. Use coolant additives if recommended by the manufacturer to stabilize chemistry and prevent rust. Document flushing frequency to maintain consistent results and avoid overdoing the procedure. The following table highlights a key point about process control.
| Step | Focus |
|---|---|
| 1 | Confirm flow and purge air |
| 2 | Monitor temps and flush duration |
| 3 | Rinse, inspect, and prepare for refill |
| 4 | Record flushing frequency for maintenance |
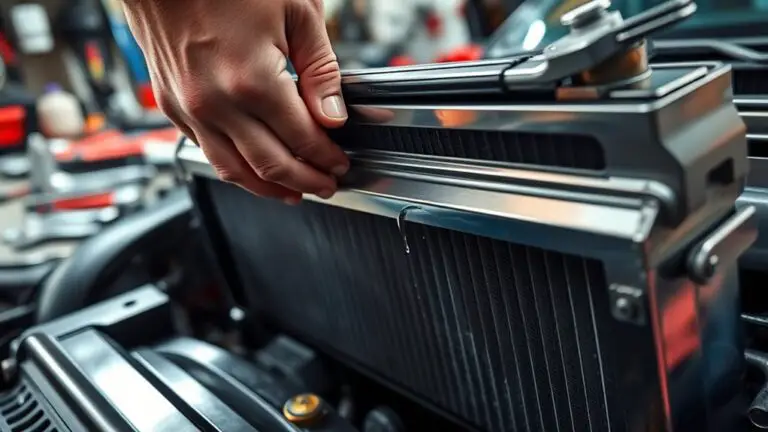
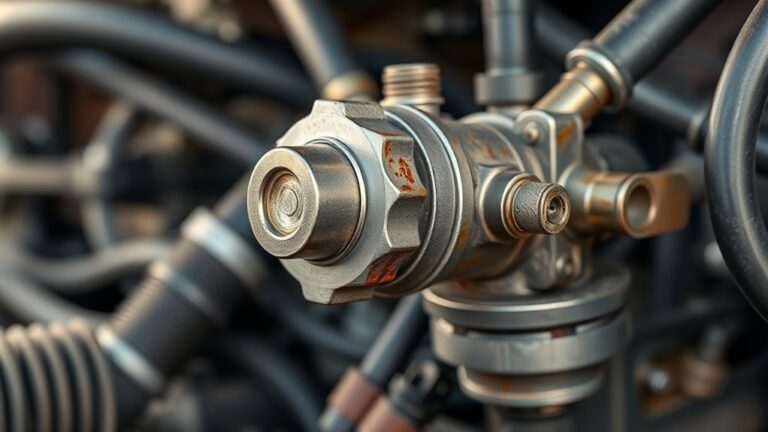
Addressing the Radiator, Hoses, and Heater Core
The radiator, hoses, and heater core are the core pathways for coolant flow, so inspect them for leaks, cracks, or soft spots before starting a flush. You’ll want to assess hose integrity, clamp tightness, and radiator fins for impact damage, since any weakness can undermine cooling performance. Focus on radiator maintenance by checking inlet and outlet connections for corrosion or looseness, and verify heater core lines are clear and secure. When you detect swelling or crust on hoses, plan replacements to prevent future blockages. Use a methodical approach: mark each component, document findings, and address faults before cycling coolant. This reduces flushing risk and preserves sensor accuracy. Keep notes concise, then proceed with confidence to the next stage. A thorough pre-check saves time and supports reliable temperature readings.
- Inspect hoses and clamps for wear and leaks
- Review radiator fins for damage or obstructions
- Confirm heater core connections are secure
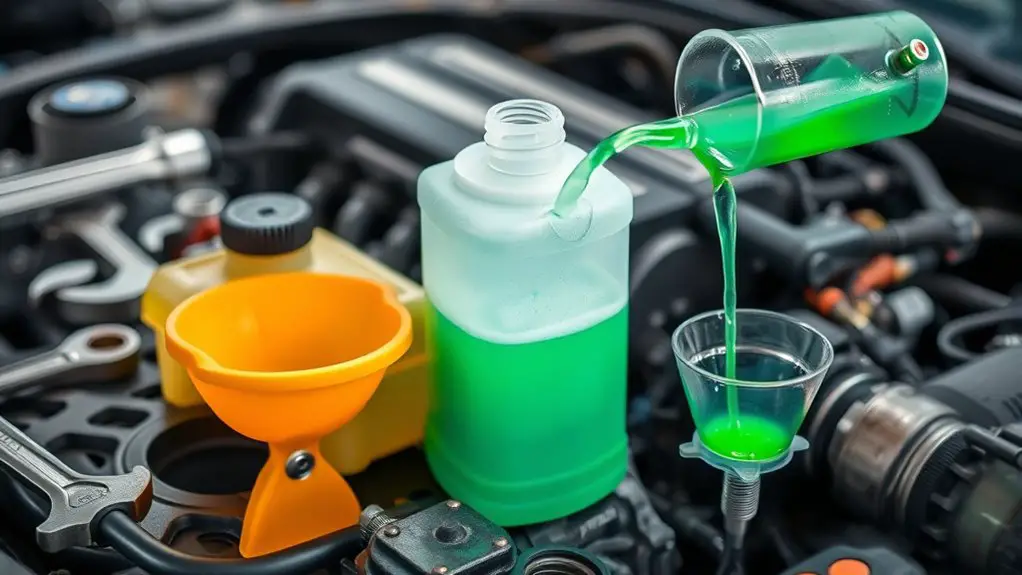
Refilling With Correct Coolant and Mixture
To guarantee reliable cooling after the flush, you’ll refill with the correct coolant and mixture. Choose coolant types compatible with your vehicle’s system and climate. Inspect the label for specifications, including engine compatibility and freeze point. Mix ratios exactly as shown by the manufacturer; use a clean measurement tool and avoid guesswork. If you’re using premixed coolant, confirm it matches your system’s color coding to prevent incompatibility. Prepare a graduated container and a clean funnel to minimize contamination. As you fill, monitor the expansion tank level and fill to the recommended mark when the engine is cold. Replace the radiator cap securely, then run the engine to operating temperature with the heater on to circulate fluid. Recheck for leaks and top off if needed. Record the coolant type and the exact ratio used for future service and maintenance. This disciplined approach reduces risk and supports long-term cooling system reliability.
Bleeding the Cooling System to Remove Air
Bleeding the cooling system to remove air is a precise, step-by-step procedure that affirms coolant circulates without air pockets. You’ll isolate the bleed point, run the engine, and observe the flow until steady, bubble-free coolant emerges. Maintain the engine at operating temperature and monitor the radiator cap, confirming it stays within the specified pressure range. Use the correct coolant mixture and a clear container to collect expelled fluid, verifying it’s clean and free of air. When you see a consistent stream, close the bleed valve and recheck the level after cooling.
- Establish a distraction-free workflow, focusing on sensor cues and flow consistency to ascertain proper coolant circulation.
- Open the bleed at the designated point slowly, then tighten once steady, avoiding forced pressure that could introduce new air pockets.
- Refill to the recommended level, recheck after a heat cycle, and confirm there are no leaks or residual air pockets.
This approach maintains precise coolant circulation and minimizes risk during a flush.
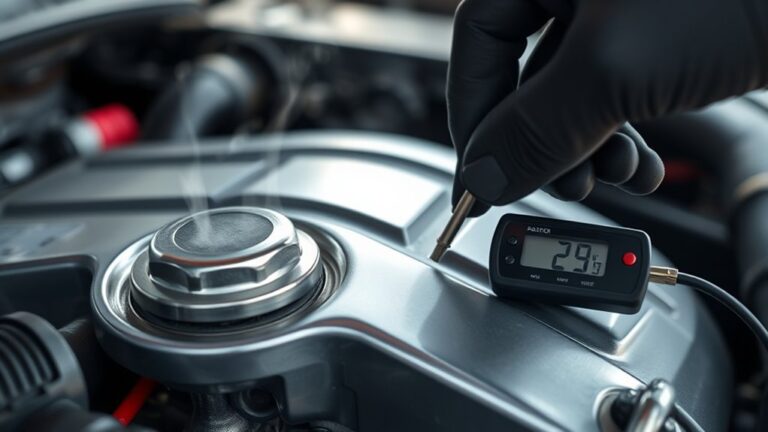
Verifying Temperature Sensor Readings and System Performance
Verifying temperature sensor readings and overall system performance starts with confirming the sensors reflect actual coolant and engine temperatures. You’ll compare live data against known reference points, ensuring the readings track engine load and coolant flow without lag. Focus on temperature sensor accuracy by cross-checking signals from multiple sensors where present, noting any discrepancies between dashboard gauges and scan tool readings. If a sensor reports abnormally high or low values, isolate the path by inspecting wiring, connectors, and grounds for corrosion, looseness, or damage. Next, evaluate coolant sensor calibration to confirm the sensor output matches the coolant’s temperature at standard test points. Use a calibrated thermometer in conjunction with a diagnostic tool to validate sensor data across cold start, idle, and under load. Document deviations, then recalibrate or replace as needed. Conclude with a holistic check: verify heater performance, thermostat response, and radiator flow to confirm smooth, accurate, and reliable system operation.
Maintenance Tips to Prevent Future Sensor Issues
Regular maintenance is your first line of defense against sensor failures, so implement a proactive routine that targets common failure points. You’ll preserve sensor integrity by scheduling regular inspections, confirming electrical connections are clean and secure, and tracking coolant quality over time. Prioritize sensor maintenance by using distilled water and proper mixtures to prevent corrosion and varnish buildup inside housings. Maintain consistent coolant pH and avoid contaminants that accelerate sensor drift. When you flush, verify the temperature sensor’s seating, seals, and harness for wear, and replace any aged components. Document changes and test readings after every service to detect small deviations early. Keep a spare set of OEM-grade connectors and a calibrated thermometer on hand to guarantee accurate verification. Mindful handling reduces failure risk and supports reliable performance, fulfilling your freedom to trust your system’s feedback.
- Schedule inspections, secure connections, and monitor coolant quality
- Verify sensor seating, seals, and harness integrity during service
- Document tests and carry spare connectors for rapid verification
Frequently Asked Questions
Can a Faulty Coolant Temperature Sensor Be Replaced During a Flush?
Yes, you can replace a faulty coolant temperature sensor during a flush. You’ll pause briefly, perform sensor diagnostics, then access the sensor, remove wiring, and install a new unit while you’re circulating coolant. This proactive approach helps accuracy in coolant maintenance and avoids running blind. Guarantee you drain, replace, and reset codes if needed. You’ll verify readings post-install, confirm proper flow, and resume flow to prevent AGR or engine light issues.
Will Using the Wrong Coolant Type Cause Sensor Failure?
Using the wrong coolant type can harm sensor durability and lead to premature failure. Compatibility matters: always verify coolant compatibility with your vehicle’s materials and the sensor. If you mix incompatible formulas, you risk corrosive or abrasive reactions that wear seals and clog passages, stressing the sensor. So yes, wrong coolant can cause sensor failure. Make certain you follow spec sheets, use the correct mix, and maintain proper concentration to protect sensor durability during a flush.
How Often Should a Coolant Flush Be Performed for Modern Engines?
Yes—flush intervals for modern engines typically range every 2 to 5 years or 30,000 to 60,000 miles, depending on manufacturer guidelines and driving conditions. You should follow your owner’s manual, and inspect coolant color, corrosion, and pH. This coolant maintenance supports engine longevity while you monitor for leaks or poor heat transfer. In practice, keep records, use the specified coolant, and schedule service before winter or high-mileage milestones to protect performance and freedom.
Does Sensor Failure Always Indicate Coolant Contamination?
No, sensor failure doesn’t always mean coolant contamination. You could be dealing with sensor malfunction, wiring issues, or circuit faults. If you see erratic readings, test the sensor with a multimeter, inspect connectors, and verify coolant breakdown isn’t causing corrosion. A contaminated coolant can trigger failures, but reliability requires ruling out electrical and mechanical faults first. Systematically isolate causes, then retest to confirm the issue isn’t misinterpretation of sensor data.
Are There Driving Symptoms Before the Sensor Failure Warning?
Yes, you can notice sensor warning signs before the failure hits. You may see slight fluctuations in temperature readings, a creeping needle, or intermittent warning lights. Overheating symptoms include rising engine temperature, reduced power, and occasional coolant smells. If you observe these indications, don’t dismiss them; check coolant levels, inspect hoses, and monitor for air pockets. Address issues promptly to prevent a sensor fault from worsening and to preserve overall cooling system health.