How to Pressure-Test for a Heater Not Working Due to Cooling Issue
To test a heater that’s not working due to a cooling issue, first depressurize and isolate the system, then safety-check for leaks and power off the equipment. Attach a calibrated pressure gauge securely to the service port, note baseline readings, and prepare leak-detect fluid. Gradually pressurize and observe gauge stability; drift indicates leaks, seals, or blockages. Inspect hoses, clamps, and joints; verify heater isolation if pressure drops. If issues persist, you’ll uncover more steps ahead.
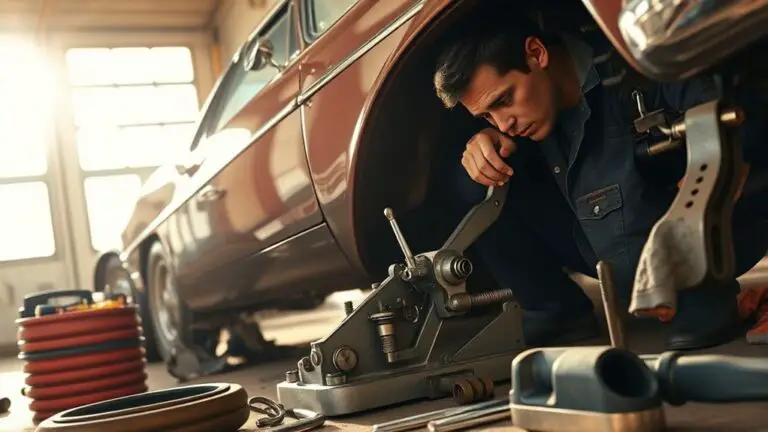
Check Safety Precautions and Gather Tools
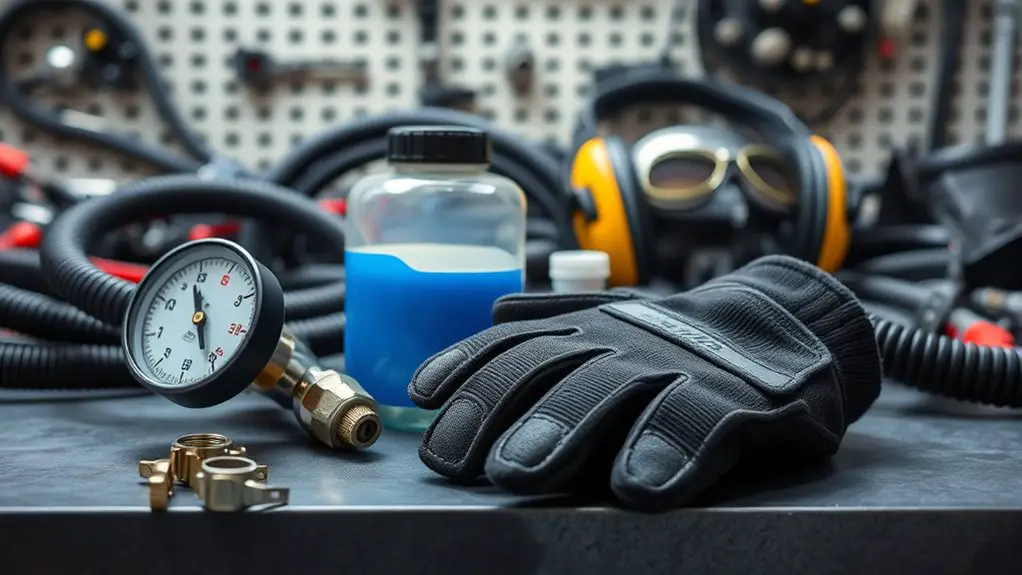
Before you begin, review all safety precautions and gather the necessary tools. You’ll approach this methodically, so establish a plan and verify conditions before touching any component. Safety measures include depressurizing the system, isolating power, and wearing eye protection and gloves. Confirm the heater’s model and pressure-test requirements to avoid incompatibilities. Inspect the area for leaks, misplaced cables, or unsecured parts that could shift during testing. Essential tools consist of a calibrated pressure gauge, a subset of wrenches, screwdrivers, permeation-safe seals, and a clean collection container for any condensate. Prepare a secondary containment tray to catch spills and have a fire-extinguishing device accessible. Document baseline readings and target pressure ranges per manufacturer guidelines. If you’re unsure about any step, pause and consult the manual to prevent damage. Keep the workspace tidy, label all connections, and maintain a clear exit path. Proceed only when conditions are stable and understood.
Understand The Cooling System Layout
Understanding the cooling system layout is essential before pressure testing. You’ll map paths, connectors, and controls to avoid misreadings when diagnosing a heater malfunction. A clear layout helps you predict pressure zones, identify flow direction, and isolate sections without unnecessary disassembly.
Understanding the cooling layout first helps map paths, predict pressure zones, and isolate sections for accurate heater diagnostics.
- Identify primary components: reservoir, pump, heater core, and bypass valves.
- Note control interfaces: thermostats, sensors, and pressure relief provisions.
- Trace return lines and clearances to pinpoint potential bottlenecks and access points.
With the layout in mind, you’ll plan your test sequence, verify system integrity, and determine where to apply pressure without creating new leaks. This foundation lets you distinguish a true heater malfunction from a circulation issue. Maintain focus on safe, controlled steps, recording observations as you go. If uncertainties arise, pause and reassess against the schematic before proceeding. Remember, a precise layout reduces guesswork and speeds accurate diagnosis during the cooling system evaluation.
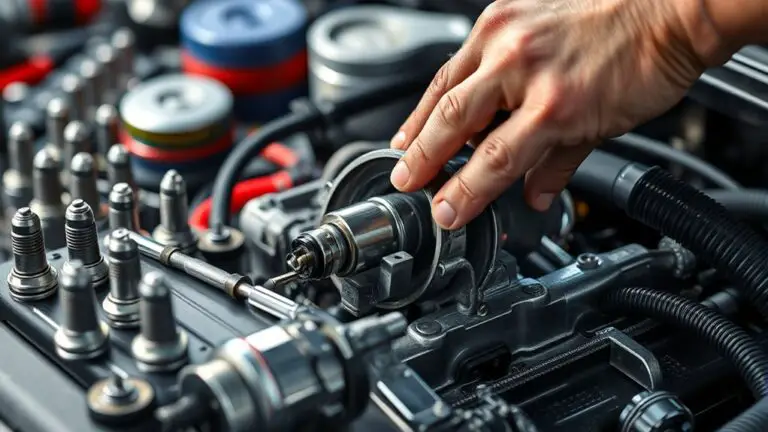
Identify Potential Leak Points and Blockages
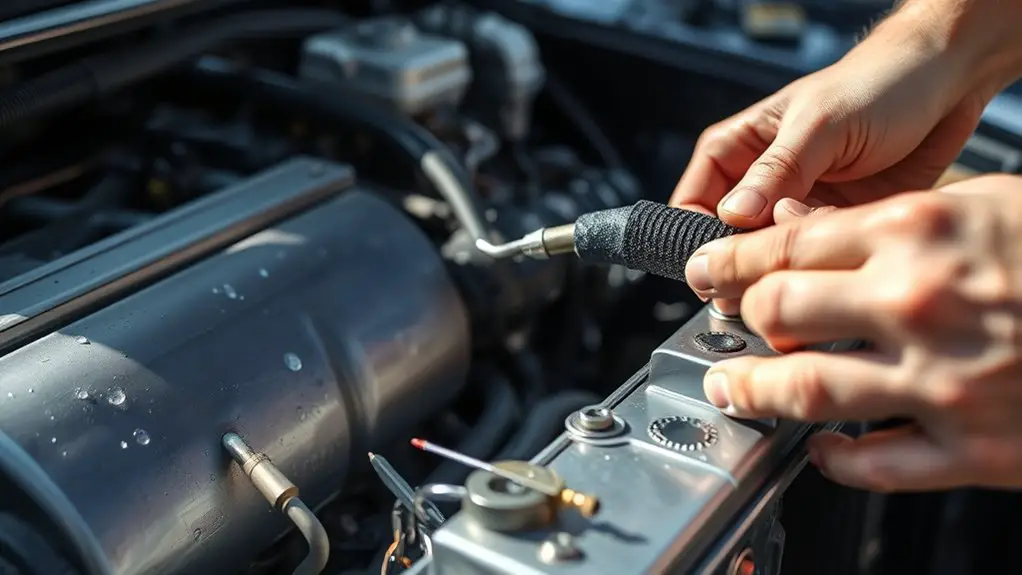
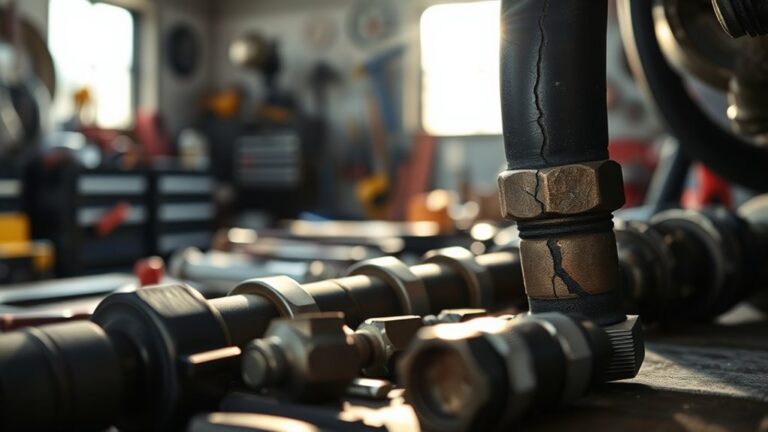
To identify potential leak points and blockages, begin with a systematic inspection of all cooling-system seals, joints, and connections, paying close attention to hose clamps, fittings, and the heater core. You’ll scan for any signs of corrosion, crust, or wetness around seams, then verify hose integrity by feeling for sponginess or hard spots. Focus on clamps and clamps’ serrations, ensuring tight, uniform compression without over-tightening. Trace coolant flow paths from the heater core through every bend, noting any kinked or collapsed hoses that could cause blockage identification. Inspect radiators, tees, and branch lines for debris or scale that could hinder flow. Check valve positions and sensor housings for tightness and proper seating. Use a bright light to spot hairline cracks or seepage at seals. Document findings with precise measurements and observations to guide leak detection and blockage identification, enabling targeted corrective actions without duplicating steps beyond this topic.
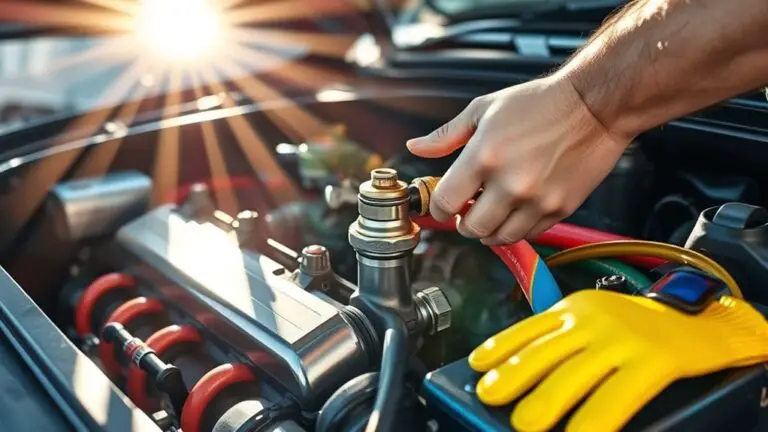
Perform The Pressure Test Step-By-Step
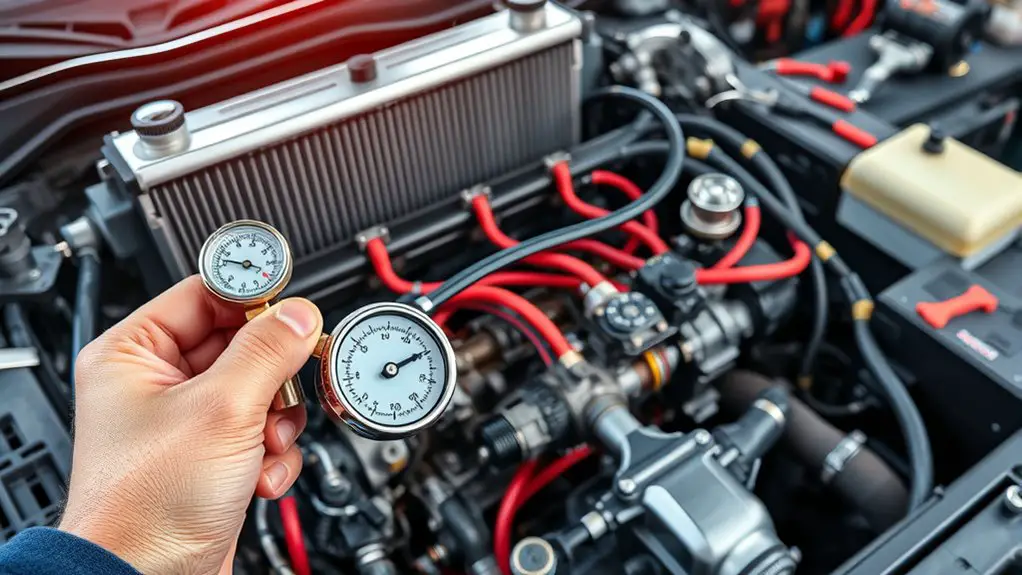
Perform a step-by-step pressure test methodically, starting with safety and preparation: make sure the system is cool, disconnect electrical power as required, and have the proper pressure gauge, adapters, and leak-detect solution ready.
Perform a careful, step-by-step pressure test with cooling, power off, the right gauge and adapters, and leak-detect fluid ready.
- Verify all safety channels are open, and depressurize the line before handling connections.
- Attach the gauge and adapters firmly, check seals, and prepare leak-detect fluid for quick spot checks.
- Proceed to pressurize gradually, noting needle stability and any drift that indicates a leak or restriction.
During the test, stay concise and objective. If pressure drops, recheck fittings, inspect joints, and confirm the heater is isolated from cooling circuits before continuing.
Key steps to focus on:
1) Secure connections and verify gauge accuracy.
2) Apply controlled pressure and monitor for anomalies.
3) Document readings and any observed leaks for effective heater troubleshooting.
Interpret Results and Decide On Next Steps
Once the test data are collected, you’ll interpret the results by comparing observed pressures, stability, and any leak indicators against expected values for the system. Start with a quick review of baseline specs and acceptable tolerances, then verify that pressure stays within those bounds during the test window. If pressures rise or fall outside the range, flag potential blockages, valve mispositioning, or pump performance issues. Check for gradual drift as a reliability signal, not a temporary spike. Inspect joints and seals for any dampness or drop-offs that point to leaks, using diagnostic tools to confirm doubt with measurable evidence. Stability matters: oscillations or rapid fluctuations suggest flow disturbances or sensor calibration needs. Document all findings succinctly, noting exact readings, times, and equipment used. Based on the results, decide on next steps using troubleshooting techniques—adjust, retest, recalibrate, or replace components as warranted. Maintain a concise, auditable trail for maintenance records.
Frequently Asked Questions
How Often Should You Recalibrate Pressure Gauges During Tests?
During testing, you should recalibrate pressure gauges at the start of each shift and after any gauge replacement or suspected drift. In general, follow a strict testing frequency aligned with your QA plan. Pressure gauge calibration should be performed whenever readings seem off by more than an acceptable tolerance. Maintain traceability and document every calibration event. This approach guarantees accurate data, supports safety, and lets you adjust procedures promptly for consistent, reliable results.
Can a Warm Engine Affect Your Pressure Readings?
Yes, a warm engine can affect pressure readings. When it’s hot, gauge fluids expand and sensor seals loosen, skewing results. You’ll want to let the engine cool to a stable temperature before testing, then perform a reference check with known-safe loads. During testing, record ambient and engine temperatures, note deviations, and adjust readings accordingly. Use warm-up cycles only for procedure familiarity, not for final pressure verification. Maintain consistency, document all corrections, and proceed with caution.
Should You Test Both Cooling and Heating Cycles Separately?
Yes, you should test both cooling and heating cycles separately. Start with the cooling cycle, verify flow, pressure stability, and actuator movement. Then switch to the heating cycle, confirm valve positions, thermostat signals, and heater element response. Document readings for each cycle, compare to spec, and note any cross-effects. If results diverge, isolate the faulty segment, re-test, and proceed with repairs. Maintain proper safety, calibration, and repeatability throughout the procedure.
What Safety PPE Is Essential Beyond Gloves and Goggles?
You’ll need respiratory protection and thermal clothing beyond gloves and goggles. If you suspect fumes or dust, wear a properly fitted respirator and adjust workwear to guard against heat exposure. Check the environment for adequate ventilation before starting. Use a face shield for added eye protection when splash or radiant heat risk exists. Confirm a snug hood or flame-resistant clothing to minimize skin exposure, and maintain safe distance from hot components during testing.
Are There Signs a Thermostat Is Causing the Issue?
Yes, there can be thermostat issues. Look for thermostat symptoms such as inconsistent temperatures, short cycling, or failure to reach setpoint. To diagnose, use diagnostic tools like a multimeter to check sensor resistance and wiring continuity, and verify thermostat power and grounding. Inspect the relay and control board for signs of damage. If readings drift with ambient temp, replace the stat. Document findings and repeat tests after function checks to confirm or rule out thermostat faults.