How to Prevent Rodent and Pest Stale Fluids After Long Storage When Parked
To prevent rodent and pest stale fluids after long storage, start by cleaning and sealing the storage area and your vehicle interior. Elevate shelves, seal gaps, and remove clutter to cut hiding spots. Use breathable covers and neutral deodorizer, then deploy non-toxic repellents and ultrasonic devices near entry points. Check seals, drains, and vents regularly, and keep air flowing after parking. Establish a simple post-storage routine to monitor odors and freshness; more tips await you if you continue.
Prep the Storage Area to Deter Pests and Odors
To deter pests and odors, start by organizing and inspecting the storage area: remove clutter, seal gaps, and guarantee shelves are off the floor. You objective is a tidy, accessible space that minimizes hidden corners for critters. Begin with a quick sweep: relocate unnecessary items, label containers, and verify lids are secure. Inspect walls, baseboards, and vents for openings; seal with appropriate material and confirm door seals stay intact. Choose practical storage materials that resist moisture and stains, preventing odors from lingering. Elevate shelves to improve airflow and make cleaning straightforward. Place pest traps strategically away from stored goods, and keep a clear path for routine checks. Maintain a routine schedule to reassess cleanliness, odors, and potential moisture pockets. By staying proactive, you protect your freedom to store confidently, without fear of infestation or stale smells invading your space.
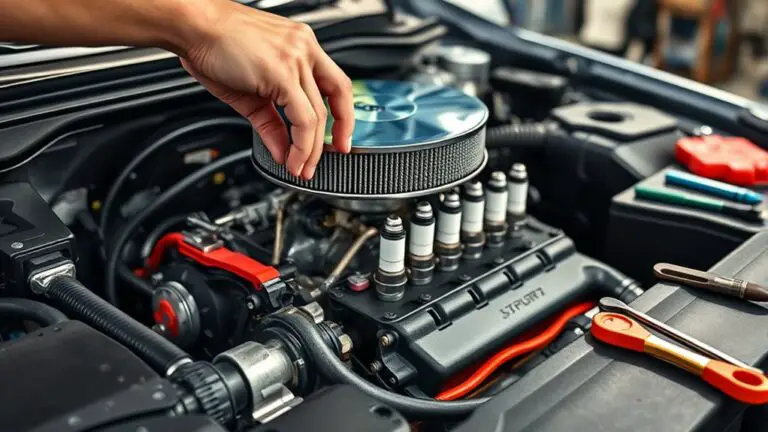
Clean and Seal the Vehicle Interior Before Storing
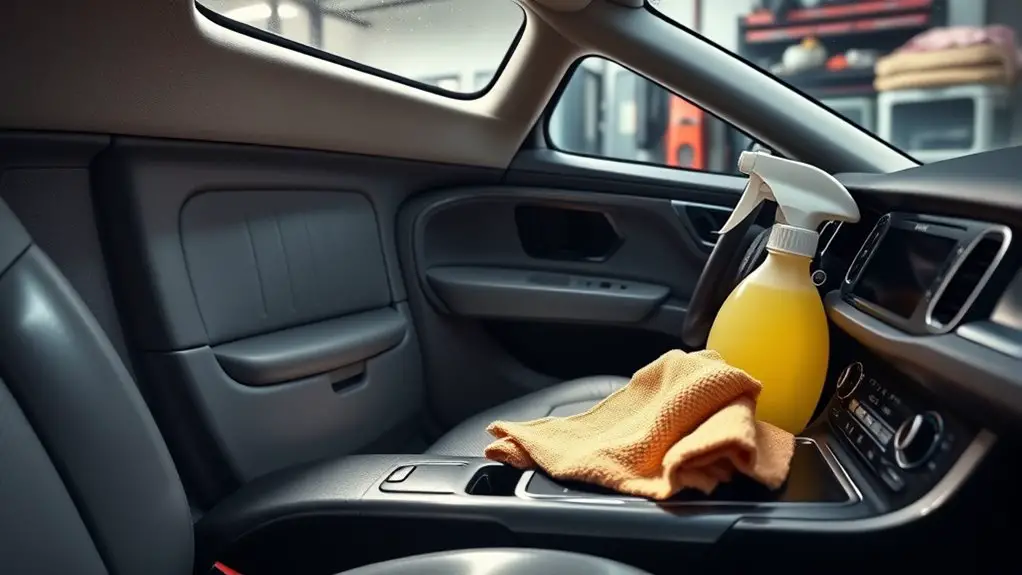
Start by cleaning the interior thoroughly before storage, targeting every surface and crevice. Seal the interior tight to block pest access, then ventilate and sanitize the space to reduce lingering odors. This proactive routine—clean, seal, vent, sanitize—helps prevent stale fluids and keeps your vehicle ready for long-term storage.
Clean Before Storage
Before you store a vehicle, clean and seal the interior to prevent lingering odors and pest attractants. A quick, deep cleaning sets a solid baseline for storage tips and future freshness. Start with removing trash, wiping surfaces, and vacuuming mats; target crevices where crumbs hide. Air out the cabin, then apply a neutral deodorizer. Seal seats and fabric with breathable covers to deter dust and pests. Use a damp microfiber for stubborn spots, then dry completely. Regular, deliberate prep reduces odors and makes a future inspection easier.
| Step | Action | Outcome |
|---|---|---|
| 1 | Clear debris | Lowers attractants |
| 2 | Vacuum & wipe | Clean surfaces |
| 3 | Deodorize & cover | Fresh, protected interior |
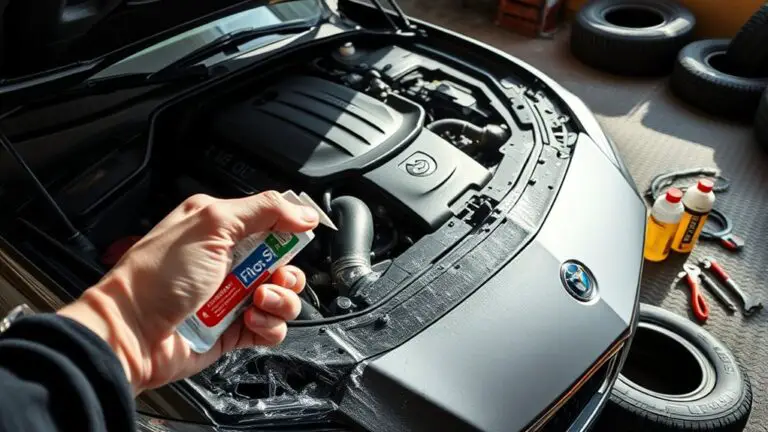
Seal Interior Tight
When sealing the interior, start by confirming all cleaning steps are complete and dry—then close off entry points to keep dust, odors, and pests from creeping back in. You’ll achieve lasting protection by focusing on tight seals and thoughtful interior care. Inspect door seams, cargo gaps, and window frames, replacing worn weatherstripping as needed. Apply interior insulation where there’s exposure to temperature swings, keeping moisture out and reducing condensation. Use sealant sprays in corners and behind panels to lock fibers and fibers away from pests. Verify floor mats are dry and vents aren’t obstructed. Test closures with a gentle latch check, then store with full confidence, knowing interior insulation and tight seals contribute to a fresher, safer parked environment.
Vent and Sanitize Space
Vent and sanitize space: to prep for storage, start by airing out the interior to purge odors and stale air, then wipe down all surfaces with a mild disinfectant and let them dry completely. You’ll boost air circulation by opening doors and windows when possible, and use ventilation systems to move fresh air through vents. After surfaces dry, wipe seals and dashboards, then vacuum carpets and seats to remove debris that could attract pests. Check for lingering smells and repeat light cleaning if needed. Ascertain the interior feels clean, devoid of moist spots, and free of sticky residues. A fresh, dry cabin supports long-term peace of mind, reducing odors and pests, while preserving your vehicle’s interior freedom and readiness for storage.
Choose Effective Deterrents to Keep Rodents Away
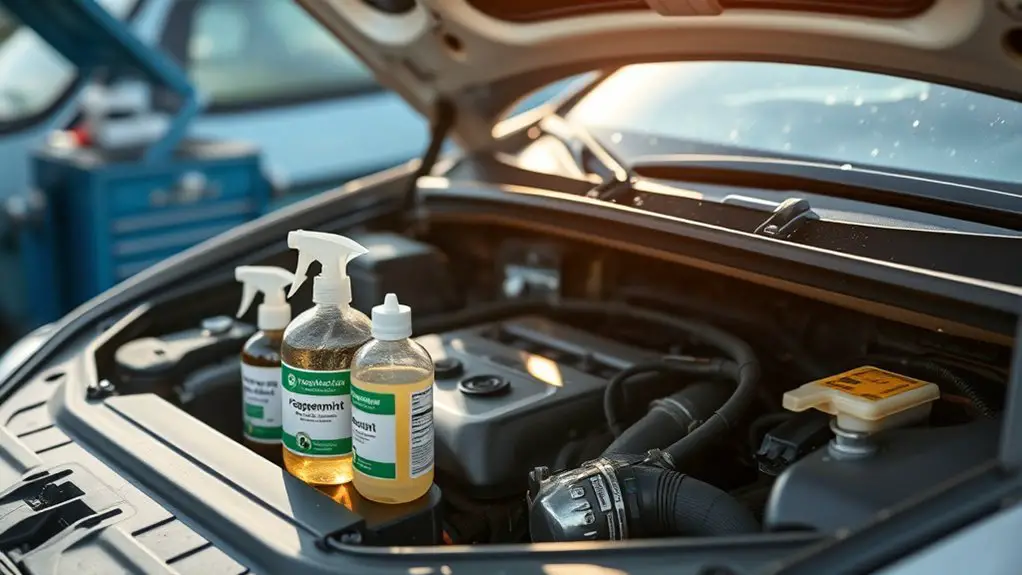
To keep rodents at bay, start with a practical mix of deterrents that address both entry points and ongoing activity. You’ll create a simple system that minimizes appeal and disrupts habits, so you stay in control.
- natural repellents near doors and storage gaps
- ultrasonic devices placed to cover dark corridors
- clear, memorable routines that break continuous gnawing patterns
Choose a blend you can trust: combine smell-based, non-toxic repellents with devices that emit high-frequency signals, not just sound. Position repellents at likely entry zones and along walls, then activate ultrasonic units where motion or heat shows activity. This dual approach reduces the chance of lurking rodents and signals that you’re watching. Reassess weekly to adjust placement and effectiveness, keeping the space feeling safe and free. Your proactive setup supports lasting peace of mind and a cleaner, more independent space.
Inspect and Maintain Seals, Drains, and Vents
Now that you’ve set up deterrents, it’s time to extend your control by inspecting and maintaining seals, drains, and vents. You’ll verify seal integrity on entrances, lids, and access points, looking for gaps, cracks, or softened edges. Clean surfaces, reseal where needed, and replace worn gaskets to keep pests out and fluids contained. For drains, inspect each trap and pipe for blockages, leaks, or slow drainage; remove debris, tighten fittings, and test flow after cleaning. Vent openings should be free of obstructions and proper screens in place to prevent backdrafts while allowing air exchange. Document findings and schedule routine checks so you stay proactive rather than reactive. Prioritize seal integrity and drain maintenance as your first line of defense against contamination. With clear, deliberate actions, you preserve safety, preserve freshness, and reclaim the freedom of confident storage, even after long periods parked.
Establish a Routine Post-Storage Inspection and Ventilation
You should establish a routine post-storage inspection and ventilation plan to keep air fresh and pests at bay. Schedule regular checks of ventilation effectiveness and note any blockages or odors during each cycle. Keep the process tight and proactive so issues are caught early and corrective actions are quick.
Post-storage Ventilation
Post-storage ventilation should start as soon as storage is complete, with a quick check to guarantee any confined odors, moisture, or stale air are addressed before reintroducing goods. You’ll establish airflow management and moisture control as core habits, not afterthoughts, so smells don’t linger and residues don’t accumulate. Keep doors slightly ajar or fans on low to promote fresh circulation, but avoid strong drafts that disturb stored items. Monitor ambient conditions with simple metrics, adjusting ventilation time to match occupancy and season. Schedule a brief post-storage window, then confirm all scent and humidity concerns are resolved before you bring items back online.
- Fresh air sweep
- Gentle airflow adjustments
- Timed, concise checks
Routine Inspection Plan
Establishing a routine post-storage inspection and ventilation guarantees spaces stay fresh and pests stay out. You’ll implement a practical routine that fits your pacing and environment. Start with an inspection schedule that covers weekly checks for odors, dampness, and signs of intrusion, then scale to monthly thorough evaluations. Use a concise inspection checklist to track vents, seals, drainage, and interior surfaces. Prioritize immediate action on any leak, mold, or pest activity; delay invites trouble. Allocate simple, repeatable processes: air out, verify fan operation, clean debris, and reseal gaps. Document findings, deadlines, and responsible parties so momentum doesn’t stall. Keep it lightweight but thorough, so your setup remains compliant, efficient, and ready for rapid response whenever you park.
Quick Cleanup and Odor Prevention After Retrieval
After retrieval, start with a quick cleanup to prevent lingering odors: first, remove any obvious waste or moisture, then seal contaminated items in a sturdy bag or container. You’ll curb odor spread by acting fast and staying organized, then proceed with targeted odor elimination steps.
- Gather and isolate lingering residues in breathable containers, label clearly, and discard safely
- Wipe surfaces with a mild, effective cleaner, then ventilate to refresh the area
- Reassess storage seals, replace compromised closures, and establish a fresh odor elimination routine
Quick cleaning requires a steady rhythm: tackle hotspots first, then expand to adjacent areas. Odor elimination hinges on removing scent sources, drying damp zones, and introducing clean air. Maintain a proactive stance: keep containment ready, document any irregular smells, and reset storage practices before park returns. Your freedom comes from predictable, disciplined cleanup that prevents recurrence. Stay vigilant in monitoring moisture and waste, and enforce robust sealing to safeguard against future odor resurgence.
Frequently Asked Questions
What Causes Stale Fluids to Linger After Long Storage?
Stale fluids linger because fluid degradation and concentration changes invite lingering odors. You’ll notice chemical reactions, evaporation, and microbial activity gradually altering texture and scent. You’re also attracting pest attraction when residues remain. To stop this, you inspect for leaks, seal containers tightly, clean surfaces, and store in cool, ventilated areas. You routinely rotate stock, log usage, and dispose of old fluids. This proactive approach minimizes buildup, preserving freshness and freedom in your space.
How Often Should You Recheck Stored Vehicle Seals?
You should recheck stored vehicle seals every 3 to 6 months. This seal maintenance cadence helps you spot wear, cracks, or leaks early and stay proactive. Keep a simple checklist: inspect for stiffness, moisture, or gaps, and test closures. Maintain records to track storage frequency and condition. If you notice issues, reseal or replace promptly, then reset the schedule. This approach supports your freedom to trust your stored vehicle when you need it most.
Can Natural Deterrents Harm Vehicle Materials?
Natural repellents can be safe for most materials, but some formulations may sting rubber, plastics, or finishes. You should test a small area first and follow label directions. When you apply, keep it off electricals and fabrics. For vehicle maintenance, choose mild, biodegradeable options and recheck seals regularly. If you notice damage, switch to nonabrasive methods. Stay proactive, document changes, and keep your ride clean to support long-term freedom and protection.
Do Drains Require Specialized Cleaners for Pests?
Drain maintenance can be done with standard cleaners; you don’t need exotic formulas. Start with a enzyme-based cleaner to break down organic buildup, then flush with hot water. For pest prevention, seal entry points and keep drains covered when parked. Regularly inspect for leaks and odors, and schedule preventive maintenance as needed. You’ll feel capable, in control, and free, knowing your system stays clean and pest-free.
Is Ventilation Needed During Short-Term Retrievals?
Ventilation is not strictly required for every short term retrieval, but it helps. You’ll benefit from some air exchange to reduce stale odors and moisture buildup during short term storage. If you open vents or doors briefly, you promote ventilation benefits without exposing contents to pests. Plan ahead: run fans only as needed, close promptly, and document timing. This proactive approach keeps spaces fresher while you retrieve what you need.