How To Remove Plasti Dip With WD40
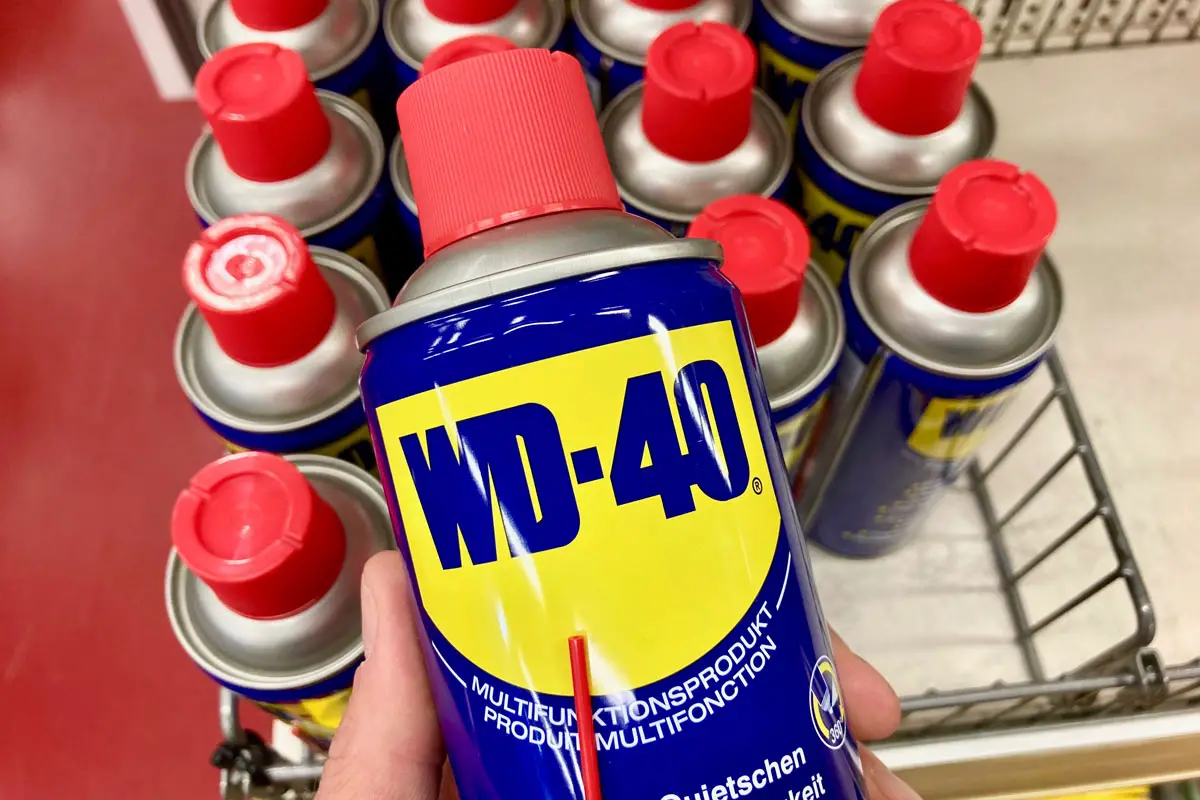
Removing Plasti Dip from your vehicle can be a tedious and time-consuming task. Luckily, there is a simple solution: WD-40. WD-40 is a versatile product that can be used for various purposes, including removing Plasti Dip. In this article, we will discuss the benefits of using WD-40 for this task and the safety precautions you should take.
Benefits of using WD-40 to remove Plasti Dip
- Efficiency: Using WD-40 to remove Plasti Dip is a quick and efficient method. The spray lubricant helps loosen the bond between the Plasti Dip and the surface, making it easier to peel off.
- No damage to the surface: WD-40 is gentle on most surfaces, so you don’t have to worry about it causing any damage to your vehicle’s paint or finish. However, it is always recommended to test the product on a small, inconspicuous area before applying it to the entire surface.
- Cost-effective: WD-40 is an affordable solution compared to other specialized products designed for removing Plasti Dip. It is readily available at most hardware stores or online.
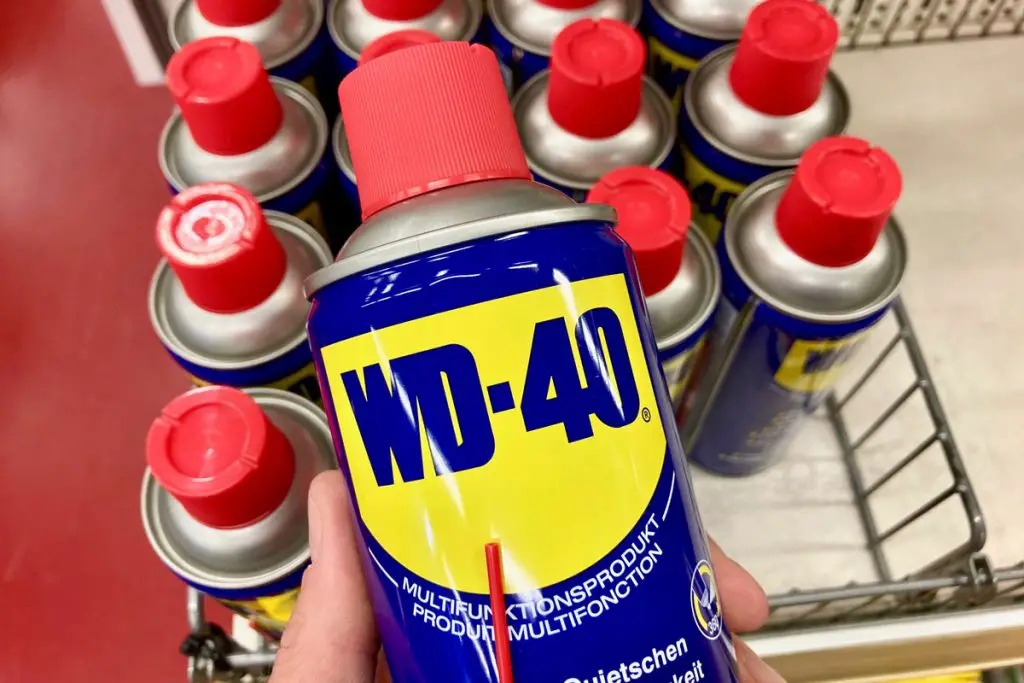
Safety precautions when removing Plasti Dip with WD-40
- Ventilation: When working with any chemicals, including WD-40, it is important to ensure proper ventilation. Work in a well-ventilated area or wear a mask to avoid inhaling fumes.
- Eye and skin protection: Wear protective goggles and gloves while applying WD-40 to protect your eyes and skin from any potential irritation.
- Read the instructions: Before using WD-40, read and follow the instructions on the can carefully. This will ensure you use the product correctly and safely.
- Clean up: After removing the Plasti Dip, make sure to clean any residual WD-40 from the surface using soap and water or a suitable cleaning product.
In conclusion, using WD-40 to remove Plasti Dip offers several benefits, including efficiency, surface safety, and cost-effectiveness. However, it is essential to follow safety precautions to protect yourself and your vehicle during the process.

Gather the Materials
List of materials needed: WD-40, microfiber cloth, plastic scraper, soap and water
Removing Plasti Dip from your car or other surfaces can be a daunting task, but with the right materials and technique, it can be done effectively. Here is a list of materials you will need to get started:
- WD-40: This multi-purpose lubricant and cleaner is essential for loosening the Plasti Dip and making it easier to remove.
- Microfiber cloth: Using a soft microfiber cloth will help prevent scratches on your vehicle’s surface while removing the Plasti Dip.
- Plastic scraper: A plastic scraper is ideal for gently scraping off the softened Plasti Dip without damaging the underlying surface.
- Soap and water: After removing the Plasti Dip, it is important to wash the surface thoroughly to remove any residue.
Now that you have gathered all the necessary materials, let’s move on to the next steps in the removal process.
Note: Before proceeding with the removal process, it is recommended to test WD-40 on a small, inconspicuous area to ensure it does not damage or discolor the surface.
With these materials at hand, you are ready to start removing the Plasti Dip from your car or any other surface. Remember to use caution and take your time to avoid any damage to the underlying surface.

Prepare the Area
Before you begin the process of removing Plasti Dip from your vehicle or any other surface, it’s important to prepare the area properly. This will ensure that you have a clean and safe work environment.
Clean the surface and surrounding areas for better visibility
To start, clean the surface where the Plasti Dip is applied using soapy water and a sponge or cloth. This will remove any dirt, grime, or debris that may be on the surface. It’s important to have a clean surface to work with so that you can better see the Plasti Dip and ensure that it is being removed evenly.
Next, you’ll want to protect the surrounding areas from any potential damage. Cover nearby surfaces with plastic sheeting or newspaper to prevent any accidental overspray or splatters from getting onto them. This will also make cleanup easier once you’re finished.
Taking the time to properly prepare the area before removing Plasti Dip will make the process smoother and more efficient. It will also help minimize any potential damage to your vehicle or surrounding surfaces.
After preparing the area, you’re ready to move on to actually removing the Plasti Dip. There are several methods you can use, including using WD-40. However, it’s important to do this in a well-ventilated area and follow all safety precautions outlined by the manufacturer.
Spray WD-40 on the Plasti Dip
Removing Plasti Dip from any surface can be a daunting task, but fortunately, there is a handy solution: WD-40. This versatile product not only has multiple uses around the house, but it can also help you remove Plasti Dip effectively. Here’s how you can do it:
Apply WD-40 generously on the Plasti Dip, focusing on one area at a time
- Start by spraying a generous amount of WD-40 directly onto the Plasti Dip. Make sure to cover the entire area that you want to remove.
- Allow the WD-40 to penetrate the Plasti Dip for a few minutes. This will help loosen up the dip and make it easier to remove.
- Use a plastic scraper or your fingers to peel off the loosened Plasti Dip. Start from one edge and gently lift it away from the surface.
- If there are any stubborn areas that are difficult to remove, you can reapply WD-40 and let it sit for a few minutes before attempting to scrape it off again.
- Repeat this process for each section until all the Plasti Dip is successfully removed. Be patient and take your time to ensure that you don’t damage the underlying surface.
- Once all the Plasti Dip is removed, clean the surface thoroughly with soap and water to remove any residue left behind by WD-40.
Remember to always test a small and inconspicuous area before applying WD-40 on a larger surface to ensure that it doesn’t cause any damage or discoloration.
By following these steps, you can effectively remove Plasti Dip from your desired surface using WD-40.
Let WD-40 Soak
If you want to remove Plasti Dip from a surface, using WD-40 can be an effective method. Here are the steps to follow:
Allow WD-40 to soak into the Plasti Dip for a few minutes
- Spray WD-40 on the Plasti Dip: Apply a generous amount of WD-40 directly onto the Plasti Dip. Make sure to cover the entire affected area.
- Let it sit: Allow the WD-40 to soak into the Plasti Dip for a few minutes. This will help loosen and dissolve the material, making it easier to remove.
- Scrape off the Plasti Dip: After letting it soak, use a plastic scraper or your fingers to gently scrape off the Plasti Dip from the surface. Be careful not to scratch or damage the underlying material.
- Repeat if necessary: Depending on how thick or stubborn the Plasti Dip is, you may need to repeat the process multiple times. Apply more WD-40 and let it soak for a few minutes before scraping off again.
- Clean and rinse: Once you have removed most of the Plasti Dip, clean the surface with a mild soap and water solution to remove any remaining residue. Rinse thoroughly with water.
- Dry and assess: After cleaning, make sure to dry the surface completely. Check for any remaining traces of Plasti Dip and repeat the process if necessary.
It’s important to note that WD-40 may not completely remove all types of Plasti Dip, especially if it has been applied in multiple layers or allowed to cure for a long time. In such cases, professional assistance may be needed for complete removal.
Begin Removing Plasti Dip
Plasti Dip is a popular rubberized coating used to change the color of cars, accessories, and various surfaces. However, there may come a time when you want to remove the Plasti Dip and revert back to the original surface. One effective method to accomplish this is by using WD-40.
Gently scrape off the softened Plasti Dip using a plastic scraper
- Start by spraying WD-40 generously over the Plasti Dip. Allow it to sit for about 5-10 minutes to soften the coating.
- Once the Plasti Dip has softened, take a plastic scraper and gently scrape off the loosened material. Be careful not to apply too much pressure as this could damage the underlying surface.
- If there are any stubborn areas where the Plasti Dip is not coming off, you can reapply WD-40 and repeat the scraping process until all the coating is removed.
- After scraping off the majority of the Plasti Dip, use a clean cloth or sponge soaked in warm soapy water to wipe down the surface and remove any remaining residue.
- Rinse the area with water and dry thoroughly.
It’s important to note that using WD-40 to remove Plasti Dip may vary depending on factors such as temperature, thickness of the coating, and how long it has been applied. If you encounter any challenges during the removal process, you can seek professional assistance or consult with experts in automotive care.
With these steps, you can effectively remove Plasti Dip from your vehicle or other surfaces using WD-40. Remember to always take caution to avoid damaging underlying surfaces and follow safety instructions provided by the manufacturer when using WD-40 or any other products.

Repeat as Needed
Reapply WD-40 and repeat the scraping process if necessary
If the first round of using WD-40 and scraping doesn’t completely remove the Plasti Dip, don’t worry. You can repeat the process to ensure a thorough removal.
- Reapply WD-40: Apply another coat of WD-40 to the area that still has Plasti Dip residue. Let it sit for a few minutes to soften the coating.
- Scrape Again: Take your plastic scraper or credit card and gently scrape off the remaining Plasti Dip. Be careful not to apply too much pressure to avoid damaging the surface underneath.
- Clean the Surface: Once you have removed the remaining Plasti Dip, clean the surface with a mild soap and water solution. This will help remove any lingering WD-40 residue and ensure a clean finish.
- Dry and Assess: Allow the surface to dry completely and assess if there is still any Plasti Dip that needs to be removed. If so, repeat the process of applying WD-40 and scraping until all traces of Plasti Dip are gone.
Remember to always work in a well-ventilated area and wear protective gloves when handling chemicals like WD-40. It’s also a good idea to test a small, inconspicuous area before using WD-40 on larger surfaces to ensure compatibility with the material.
In conclusion, removing Plasti Dip with WD-40 can be an effective method to restore the original look of your surfaces. With patience and proper technique, you can achieve a clean and pristine finish.

Clean the Surface
Wash the area with soap and water to remove any residue
Before you start removing the Plasti Dip, it’s important to clean the surface thoroughly. This will ensure that there are no dirt, dust, or other contaminants that could interfere with the removal process. Here’s how you can do it:
- Start by washing the entire area with soap and water. This will help remove any loose debris or dirt.
- Use a sponge or soft cloth to scrub the surface gently. Make sure to pay extra attention to any areas where the Plasti Dip is peeling or coming off.
- Rinse the area thoroughly to remove any soap residue.
- Dry the surface completely using a clean towel or cloth.
Once you’ve cleaned the surface, you’re ready to start removing the Plasti Dip using WD-40.
Note: It’s important to test the WD-40 on a small, inconspicuous area before applying it to the entire surface. This will help ensure that it doesn’t damage or discolor the material underneath the Plasti Dip.
Remember to work in a well-ventilated area and wear gloves and eye protection for your safety.
Apply WD-40
- Spray a generous amount of WD-40 onto the Plasti Dip. Make sure to cover the entire area that you want to remove.
- Let the WD-40 sit on the Plasti Dip for about 5-10 minutes. This will allow it to penetrate and loosen the adhesive properties of the Plasti Dip.
- Use a plastic scraper or your fingers to gently peel off the softened Plasti Dip. Start from one edge and work your way towards the center.
- If there are any stubborn spots or residue left, reapply WD-40 and let it sit for a few more minutes before attempting to remove it again.
- Once you’ve removed all the Plasti Dip, clean the surface again with soap and water to remove any remaining WD-40 residue.
Remember to follow the instructions on the WD-40 label and take necessary precautions when using chemicals for removal.

Conclusion
Overall, using WD-40 to remove Plasti Dip can be an effective method if done correctly. It offers a convenient and easy way to remove the dip without causing damage to the underlying surface. However, it is important to follow the necessary precautions and take proper care while using WD-40.
The effectiveness of using WD-40 to remove Plasti Dip
Using WD-40 to remove Plasti Dip has been found to be quite effective. The powerful solvent properties of WD-40 help break down the rubbery texture of Plasti Dip, making it easier to peel off. It is recommended to spray a generous amount of WD-40 on the area covered with Plasti Dip and allow it to sit for a few minutes before peeling off.
Additional tips and recommendations for best results
To achieve the best results when removing Plasti Dip with WD-40, consider the following tips:
- Protect surrounding surfaces: Before applying WD-40, cover any nearby surfaces or areas that you don’t want the solvent to come into contact with.
- Test in a small area: Before applying WD-40 to the entire surface covered with Plasti Dip, test it on a small inconspicuous area first to ensure it doesn’t cause any damage.
- Use a plastic scraper: To avoid scratching the surface underneath, use a plastic scraper or your fingers to gently peel off the softened Plasti Dip.
- Clean residue: After removing the dip, clean any remaining residue with a mild detergent and water solution or a plastic-safe cleaner.
- Rinse and dry: Rinse the area thoroughly with water and dry it completely before applying any new coatings or finishes.
By following these tips, you can effectively remove Plasti Dip using WD-40 while minimizing the risk of damage or unwanted side effects.

