How to Reseal a Bumper Clips to Avoid Seal Failure Around Doors
You should start by inspecting the bumper seam and clips for gaps, misalignment, corrosion, or missing fasteners. Clean the joint with a solvent and wipe dry, then prep surfaces to remove debris. Apply a thin, even bead of a polyurethane- or silicone-compatible sealant, align the seam, and fasten with a controlled pattern to distribute load. Clamp during cure and verify seating with light tests. If issues persist, you’ll uncover more detailed steps ahead.
Assessing the Seal and Clip Condition
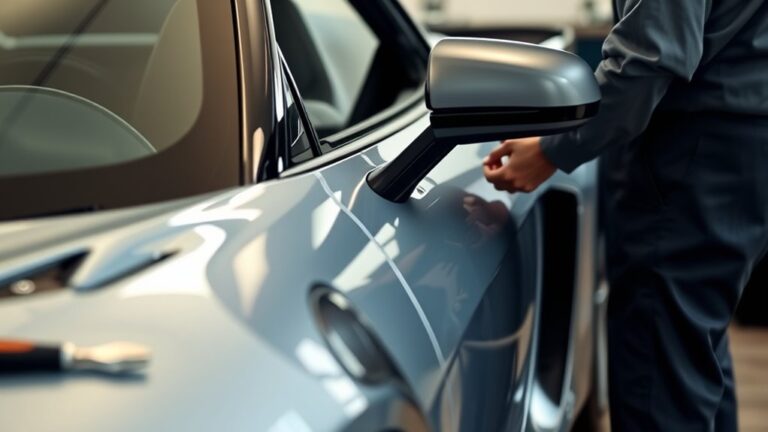
To assess the seal and clip condition, start with a visual inspection of the bumper seam and surrounding hardware to identify any gaps, deformation, or misalignment. You’ll evaluate seal integrity by checking for caking, cracking, or tearing at joints where the bumper meets the body. Examine the areas where clips engage the panel; note missing, warped, or loose clip types, and compare to factory spec if available. Inspect mounting points for corrosion, wear, or elongation of fastener holes that could shift alignment. Look for uneven gaps between the bumper and adjacent panels, which indicate improper seating or clip failure. Verify that retainers hold the bumper firmly without excessive play. Document findings with concise notes and photos. Prioritize issues that would compromise water sealing or wind noise. Plan corrective steps from least invasive to most robust, ensuring replacements match original clip types and that seal integrity is restored before load-bearing tests.
Tools and Materials You’ll Need

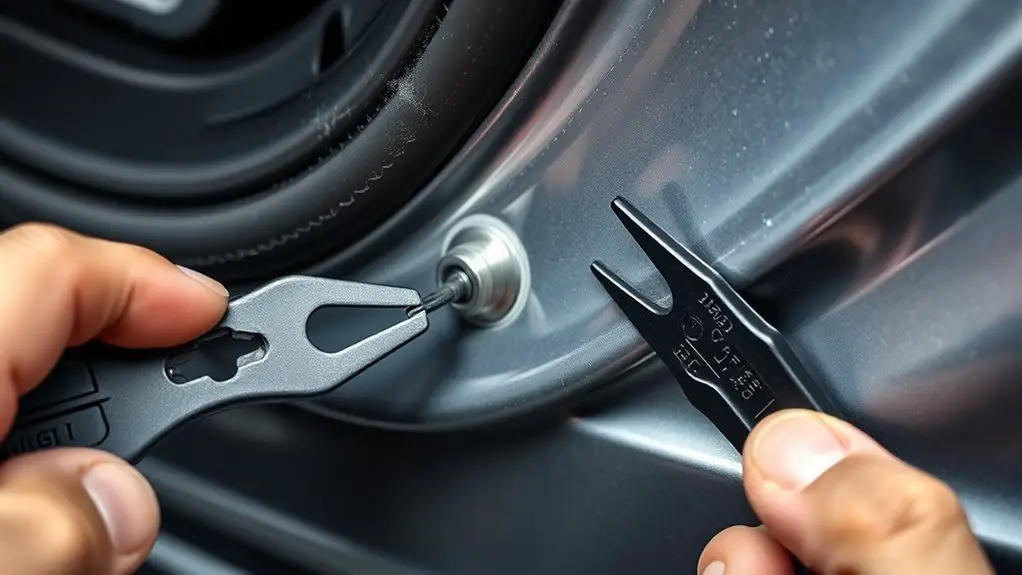
You’ll need a concise set of tools and materials tailored to reseal and reclip the bumper without damaging adjacent panels. Gather hand tools: trim removal pliers, a soft-faced mallet, and a small pry bar to minimize leverage on painted edges. Include a clean workspace, microfiber cloths, and masking tape to protect surrounding surfaces during work. For adhesion, select a suitable sealant options based on your bumper type—polyurethane or silicone-compatible formulations are common, with a curing time you can manage. Have alcohol or solvent wipes for quick surface prep, plus an isopropyl alcohol bottle for degreasing. Keep a flexible scraper and a brush or nozzle applicator for even sealant distribution. For replacement clips, carry a spare clip kit compatible with your vehicle model. Include an inspection light or headlamp to verify seating depth. This setup supports bumpers repair efficiency, minimizes repeat work, and preserves finish.
Cleaning and Preparing the Surface
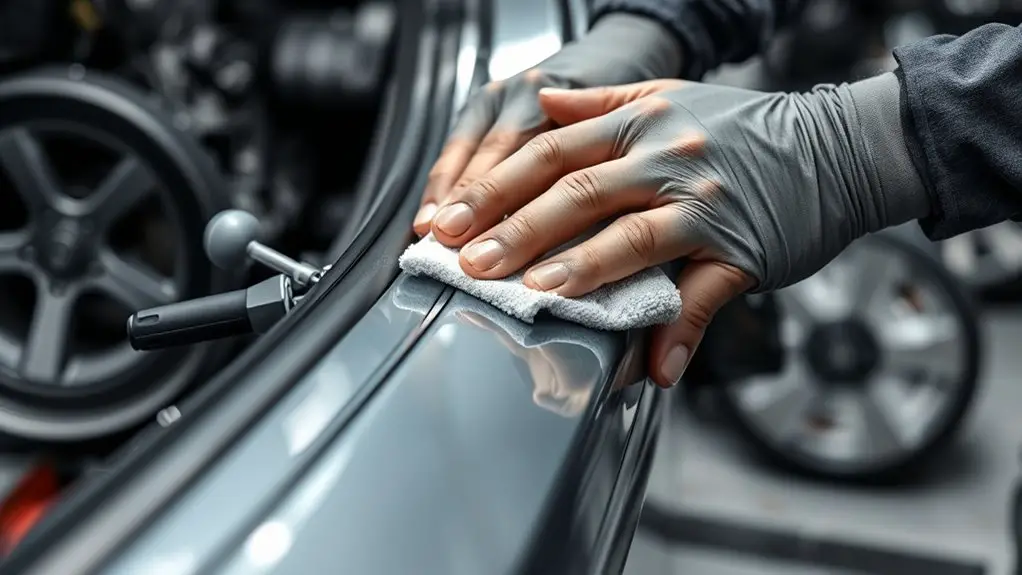
Begin by inspecting the bumper joint and surrounding surfaces for dirt, debris, and old sealant, then remove loose material with a clean, soft-bristle brush or a microfiber cloth. You’ll then assess the surface condition for cracks, glazing, or glossy layers that could impair adhesion. Use a solvent or isopropyl alcohol to wipe remaining residue; avoid harsh abrasives that could damage substrates. Dry thoroughly before proceeding. If corrosion or pitting is present, address it per manufacturer guidance to prevent compromise of the new sealant. Condition of the mating surfaces directly influences surface preparation and adhesive selection, so document any deviations that may affect bonding performance. Select primers and cleaners compatible with both the bumper material and the chosen adhesive. Ascertain the area remains dust-free during cure windows. Avoid contamination by handling only with clean gloves and tools. This preparatory phase minimizes bond failure risk and informs adhesive selection for durable sealing outcomes.
Applying and Securing the New Seam
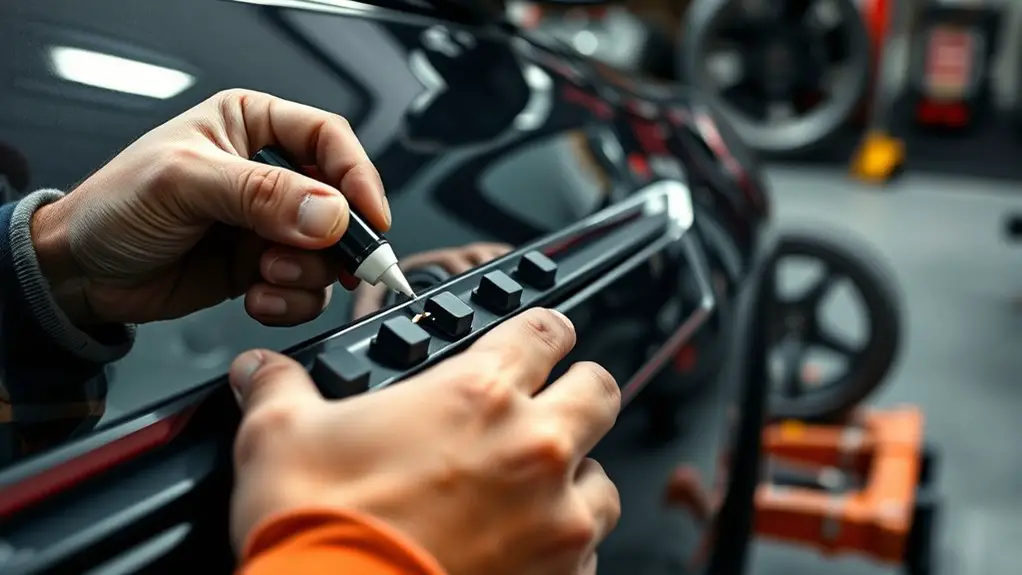
Carefully align the new seam with the prepared joint, ensuring full contact along the mating surfaces before seating any retaining fasteners. You proceed with methodical seam application techniques to establish a uniform bond along the bumper edge. Maintain consistent pressure across the seam to prevent gaps and stray adhesive pockets. Use manufacturer-recommended adhesive or sealant compatible with the bumper material, applying a thin, even bead that fills the joint without overflowing.
Next, verify proper seating by closing the gap with controlled clamp pressure during cure time, avoiding distortion of the seam profile. After initial cure, perform a light post-cure check to confirm continuous contact and surface flushness. For securing methods, position fasteners as specified by the design, alternating pattern to distribute load evenly. Do not overtighten; snug engagement is sufficient to maintain seal integrity without risking material damage. Document any deviations from expected cure or alignment for traceability and future maintenance planning.
Testing and Maintaining Your Sealed Bumper Clips
Following the seating and curing steps, proceed to testing and maintenance of the sealed bumper clips to assure long-term performance. You will perform targeted tests and apply concise maintenance tips to confirm integrity and reliability. Use controlled pressure, inspect seams for gaps, and verify door alignment after cycles to detect shifting. Document results and repeat tests periodically to assure ongoing performance. Apply testing methods that measure elasticity, bond strength, and leak resistance, then record readings for trend analysis. Maintenance tips include cleaning contact surfaces, resealing promptly if adhesive shows signs of wear, and replacing clips that fail any test. Schedule routine inspections after extreme temperature swings or heavy use. Implement a quick-check routine before seasonal use to prevent failures during peak hours.
| Step | Action | Expected Outcome |
|---|---|---|
| 1 | Visual inspection | No gaps or cracks |
| 2 | Pressure test | Stable seal |
| 3 | Door cycle check | Consistent alignment |
Frequently Asked Questions
How Long Does Resealing Typically Last Before Redoing It?
Approximately every 5 to 7 years, depending on climate and exposure. You should monitor for cracks, lifting, or leaks and refresh sooner if you notice gaps. Resealing frequency hinges on your sealant durability and substrate condition. Use a compatible automotive or weather-sealant, clean surfaces, and apply evenly. Maintain your findings with regular inspections, especially after seasonal shifts. If you see peeling or adhesion loss, re-seal promptly to prevent moisture ingress and preserve door integrity.
Will Resealing Affect Door Alignment or Gaps?
Yes, resealing can affect door alignment if you don’t maintain consistent gaps. You’ll want to verify that door alignment stays within spec and that the seal sits evenly along the frame; otherwise seal failure may recur. Follow precise steps: inspect hinges, adjust latching, and confirm uniform pressure along the seam. Use correct adhesive and cure times, then recheck gaps. If gaps shift, re-seat the panel before final cure to prevent door misalignment.
Can I Reseal Without Removing the Bumper Clips Entirely?
Yes, you can reseal without removing bumper clips fully. Start with gentle loosening of clip edges to expose seal lines, then apply incremental resealing techniques along the periphery. Inspect for gaps, then re-seat clips to maintain alignment. Use Bumper clip maintenance steps to avoid damage, and guarantee surface prep is clean and dry. Follow precise, procedural steps, maintain control, and document each contact point. This approach supports freedom in repair while preserving door seal integrity.
Are There Alternative Sealants Compatible With Automotive Plastics?
Are there alternatives? Yes. You can use epoxy adhesives or silicone sealants compatible with automotive plastics. For a precise fix, clean surfaces, roughen slightly, and apply only within manufacturer-temp ranges. Epoxy provides strength but can become rigid; silicone offers flexibility and resistance to vibration. Follow curing times exactly, assemble before full tack, and avoid venting trapped air. Test fit first, then seal with minimal bead to prevent squeeze-out. You’ll gain durable, freedom-ready performance.
Is Professional Inspection Necessary After Resealing Fails Again?
Yes, a professional inspection is advisable if resealing fails again. You should schedule a diagnostic to confirm seal integrity, identify recurring seal failure sources, and verify adjacent components for misalignment or damage. Expect a stepwise assessment: surface prep, sealant compatibility check, clamping/curing verification, and leak testing. If failure persists, use documented measurements and failure analysis to guide repairs. You’ll gain confidence from thorough evaluation and targeted, repairable solutions.