How to Reseal a Fog Lamp to Avoid LED Module Failure
To reseal a fog lamp and protect the LED module, start with a careful inspection for moisture, corrosion, and damaged seals. Remove the old gasket, clean mating surfaces with isopropyl alcohol until matte and dry, and guarantee edges are straight. Choose a heat- and UV-stable sealant compatible with the housing, then apply a continuous bead and assemble in a cross pattern to avoid squeeze-out. Cure fully, test for leaks, and keep a maintenance log for ongoing protection. More steps ahead will help you finish confidently.
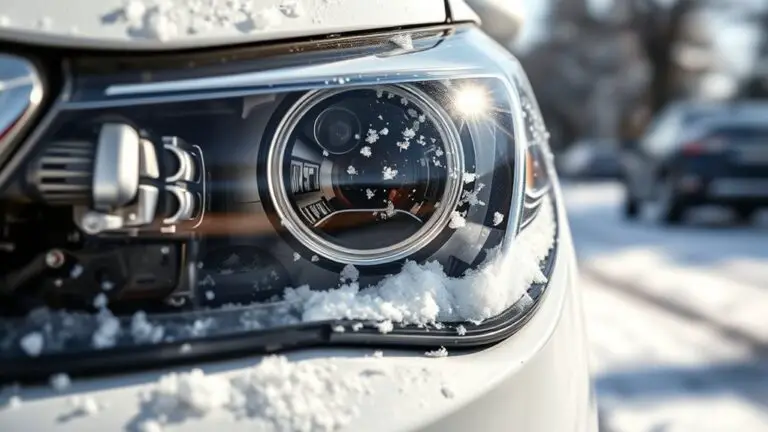
Inspecting the Fog Lamp for Signs of Moisture and Damage
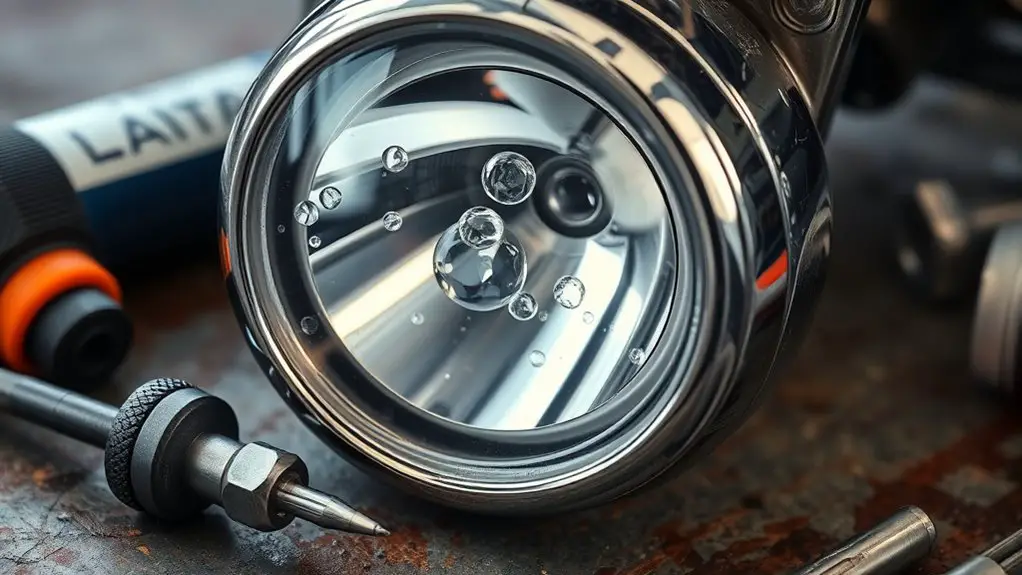
Start by inspecting the fog lamp housing and surrounding area for any signs of moisture, condensation, or discoloration. You’ll scan seals, lens edges, and mounting points with steady focus, noting any softening of materials or moisture beads. This moisture detection check is your first guardrail against hidden failures. You’ll listen for irregular sounds when the unit is powered, and you’ll observe fogging that persists after drying attempts, which can indicate seal compromise or venting issues. As you proceed, log temperature differentials across the housing and compare them to ambient conditions; abnormal readings may reveal trapped moisture or condensation paths. For damage assessment, inspect screws, clips, and gaskets for cracks, corrosion, or movement. Mark any areas that require further attention, even if moisture is momentary. Conclude with a concise summary of findings, prioritizing restoration steps that preserve fog lamp integrity and reduce long‑term risk.
Choosing the Right Sealant and Tools for the Job
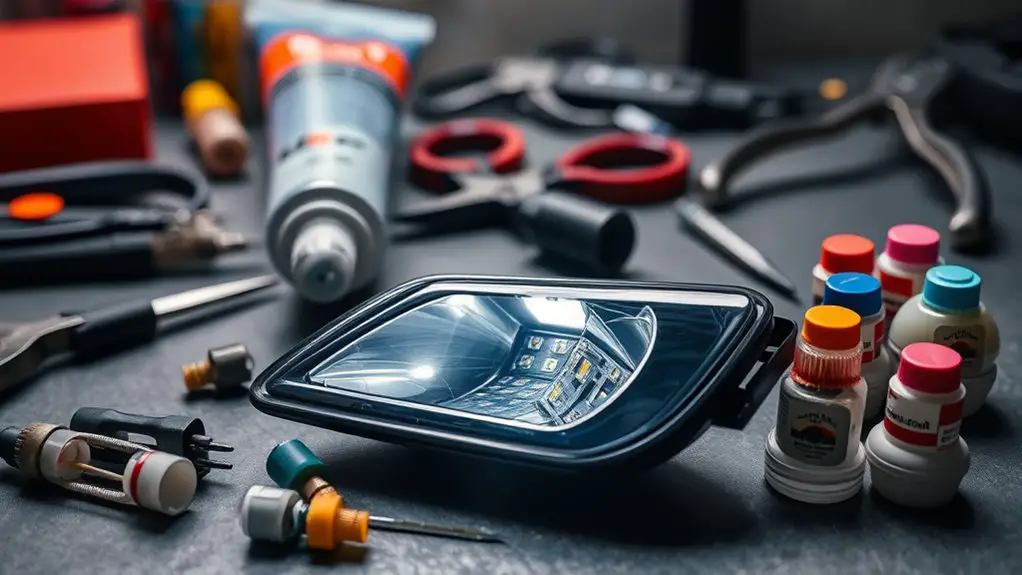
Selecting the right sealant and tools is essential to restore fog lamp integrity without causing further damage. You’ll choose sealant types that suit both the housing material and exposure conditions, guaranteeing chemical compatibility and long-term adhesion. Consider heat resistance, UV stability, and elasticity to accommodate temperature cycling without cracking. For tool selection, opt for precision applicators, calibrated syringes, and a clean, lint-free workspace. A razor or small scraper helps pre-clean joints without gouging surfaces, while a microfiber cloth guards against particulate contamination. Use seam tape or masking film to protect adjacent areas during sealing. Ascertain a defect-free bead with controlled thickness, avoiding excessive extrusion that can trap air or debris. Surface preparation matters: dry, dry, dry; remove oils or residues, then test fit before final seal. Prioritize compatibility with LED modules to prevent conductive leakage or optical interference through gaps. Sealant types and tool selection should harmonize for reliable, durable sealing.
Preparing the Housing and Removing the Old Seal
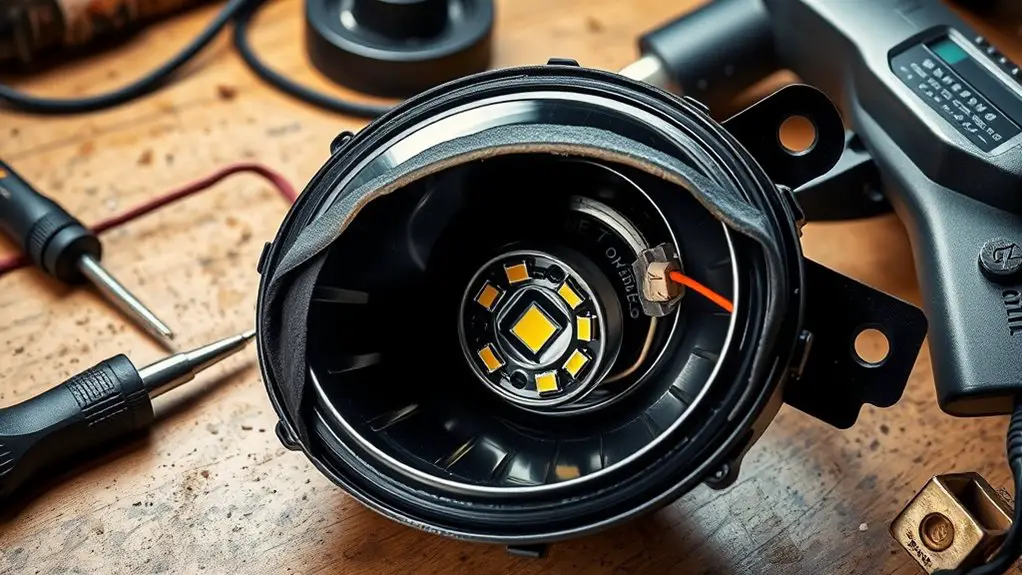
Before you apply new sealant, inspect the housing for damage and remove the old seal to secure a clean bonding surface. You’ll scan for cracks, corrosion, or warped mounting surfaces, then set aside torn seals. Use a plastic knife or nylon scraper to lift old gasket material without gouging metal or plastic. Clean all residue with isopropyl alcohol until the surface looks matte and dry. Verify the housing edges are straight and true, because misalignment invites leaks. Document any damage you find and decide if replacement parts are needed before proceeding. When you choose fog lamp materials, prioritize compatibility with your sealing techniques to avoid future failures. Dry-fit the components to verify fitment before applying sealant. Do not rush; precision now saves downtime later. Maintain a controlled workspace, protect exposed electronics, and guarantee all surfaces remain free of oils. This prepares you for a reliable, durable seal.
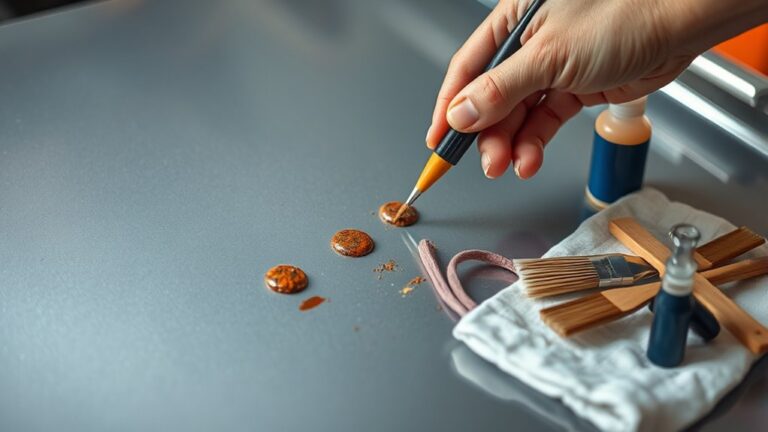
Applying the Sealant and Reassembling the Lamp
Apply the sealant in a continuous, bead-like motion along the mating surfaces, then press the housing halves together with even, uniform pressure to confirm a clean, gap-free seal. You’ll align edges carefully, avoiding tilts that could trap air. Apply a thin, consistent bead along the full length of the channel, stopping before corners to prevent squeeze-out. When you tighten screws or clamps, do it gradually in a cross pattern to maintain even coverage. Wipe excess adhesive promptly with a lint-free cloth, then inspect for uniform bead continuity around seams. As you reassemble, verify the lens and housing seats are flush and free of debris that could compromise adhesion. After closing, hold steady until the sealant begins to set, then store the unit in a dust-free area for the recommended cure time. This approach supports applying pressure responsibly, confirming adhesion and long-term reliability.
Testing for Leaks and Preventive Maintenance Tips
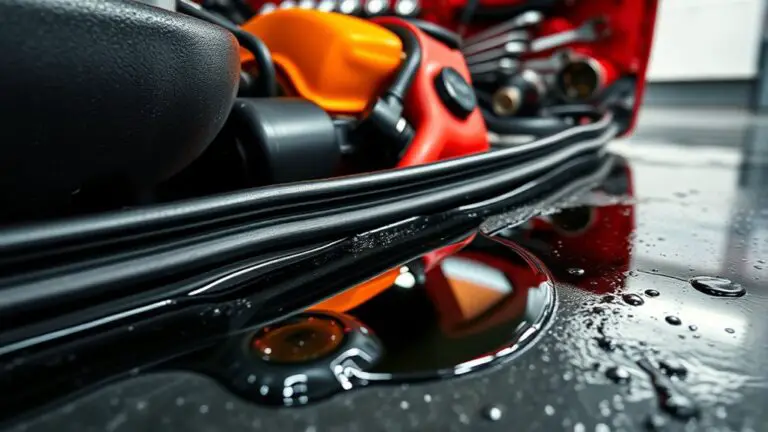
To test for leaks effectively, perform a controlled pressure check using the lamp’s approved method and equipment. You’ll verify seal integrity without guesswork, then document readings for future reference. Begin by isolating the housing and, if applicable, the electrical connections; confirm the system is at ambient temperature. Use a calibrated pressure source and a suitable gauge, watching for stable pressure over a defined interval. If the gauge shows a drift or a drop, recheck seals and fittings before proceeding. For leak detection, apply soapy solution or an approved tracer to all joints and seams, then observe for bubbles indicating a leak. Moisture control matters throughout—keep the environment dry as you test, and inspect for condensation post-test. Schedule preventive maintenance: replace seals at recommended intervals, test annually, and maintain a log of findings. Consistent documentation supports reliable operation and reduces the risk of moisture-related LED module failure.
Frequently Asked Questions
Can Fog Lamp Resealing Affect LED Warranty Coverage?
Yes, resealing can affect warranty coverage. If you tamper with the fog lamp seal, manufacturers may deny claims under warranty terms. You’ll want to preserve documentation and follow strict guidelines to avoid voiding coverage. When you reseal correctly, you help protect the LED lifespan and keep warranty terms intact. If you’re unsure, consult the OEM’s policy. You value freedom, but you also value clear, accountable practices that safeguard your investment.
How Long Does Sealant Cure for Fog Lamp Assemblies?
The curing time for fog lamp sealants depends on the sealant types you choose; most cure within 24 to 72 hours, though some fast-curing options set in 2–4 hours. You should follow the manufacturer’s curing time precisely before exposure to moisture or heat. Use curing time as your benchmark, not guesswork. When selecting sealant types, prioritize UV resistance and flexibility to maintain a tight seal and preserve LED module integrity.
Are Silicone-Based Sealants Compatible With LED Modules?
Did you know 72% of DIYers underestimate material compatibility? Silicone-based sealants can be silicone properties and still be LED compatible when using neutral-cure formulations. You should confirm thermal and electrical compatibility, avoid conductive additives, and test for outgassing. When you evaluate silicone properties, make sure the product is rated for automotive use and UV exposure. If LED compatibility isn’t stated, don’t rely on intuition—choose a proven, non-corrosive sealant and verify with a small test first.
Should Resealing Be Done With the Battery Disconnected?
Yes, you should reseal with the battery disconnected. This protects you from accidental shorts during resealing techniques and maintains electrical safety. You’ll work methodically: unplug, then verify no residual energy, clean surfaces, apply appropriate sealant, and reassemble. Keep the process controlled and deliberate, respecting electrical safety even if you crave freedom to improvise. Use precise measurements, avoid spills, and test before returning power.
What Are Common Post-Reseal Failure Indicators?
Common post-reseal failure indicators include moisture blur in the lens, dimming output, flickering, or unexpected LED color shifts. You’ll notice reduced brightness and erratic performance if seals aren’t perfect. Inspect seals for cracks, ascertain proper sealing material, and verify connections. Regular fog lamp maintenance helps sustain LED longevity, preventing corrosion. If you observe leaks, reseal promptly; otherwise, you preserve both performance and freedom to drive confidently.