How to Revive a Car After Long Storage With Minimal Rodent Damage While Parked
To revive a car after long storage with minimal rodent damage, start with a methodical exterior and interior inspection to identify bite marks, nests, leaks, and corrosion, then clear clutter and sanitize surfaces. Check the fuel system, lines, and tank for sediment or deterioration; replace filters and purge stale fuel. Inspect wiring for gnaw marks, confirm continuity, and replace damaged components. Test fluids, belts, and battery, then perform controlled starting procedures. Ongoing prevention tips will follow if you keep reading.
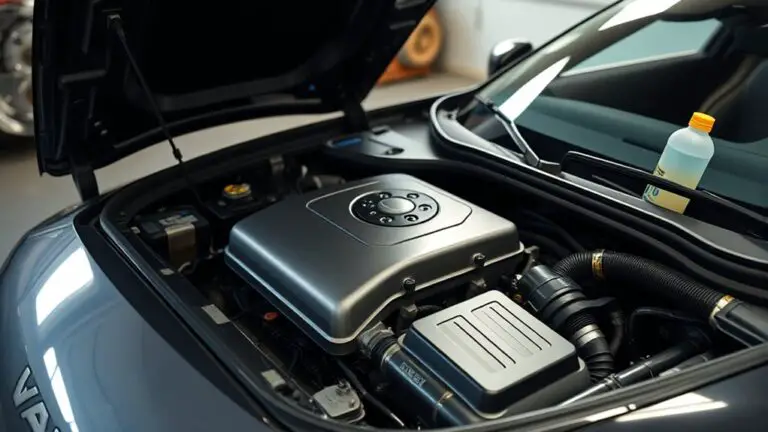
Assessing the Vehicle’s Condition After Storage
When evaluating a vehicle after storage, start with a methodical exterior and interior inspection to identify obvious issues and leaks. You’ll catalog visible corrosion, tire wear, fluid residue, and glass integrity, then compare findings to the vehicle history for discrepancies. Assess storage duration’s impact on seals, gaskets, and fasteners; note any deformation from prolonged inactivity. Check underbody for rust patterns, fluid drips, and mounting hardware condition, documenting mileage and service decissions influenced by prior storage. Identify battery status and electrical insulation wear, as well as fuel system components like lines and the tank’s condition. Examine belts, hoses, and vacuum lines for cracking or hardening, correlating results with maintenance records. Review ignition components and spark plugs in light of prior usage, ensuring compression expectations align with reported history. Synthesize data into a risk-adjusted plan: prioritize safety-critical repairs, allocate needed parts, and determine any immediate testing you’ll perform, guided by your vehicle history and storage duration insights.
Inspecting for Rodent Damage and Evidence
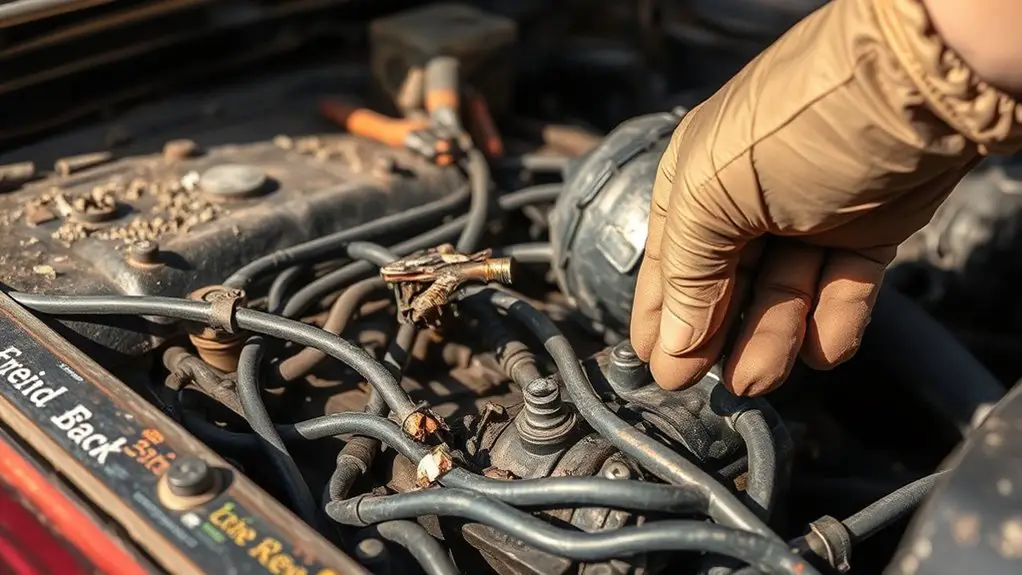
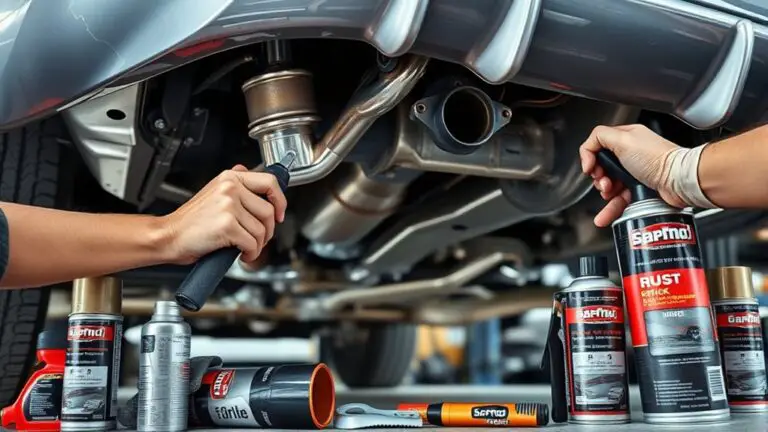
You’ll start by inspecting for signs of gnawing activity around accessible wiring harnesses, hoses, and insulation. Look for chewed wiring indicators, exposed conductors, and frayed loom coverings, then confirm any irregularities with a systematic wiring continuity check. Collect pest droppings clues and pest-entry evidence (holes, nests) to determine the extent of exposure and necessary remediation.
Signs of Gnawing Activity
Fresh gnawing marks on wiring insulation, hoses, and plastic components should be documented immediately, as they indicate rodent activity that can compromise electrical systems and fuel lines. You’re evaluating integrity, not guessing. Look for fresh shavings, small teeth impressions, and uneven surfaces. Focus on exposed harnesses, firewall grommets, and air intake ducts. Note any nesting materials tucked within crevices, or pileups near fuel lines and connectors. Record locations with photos and a rough count of affected components. Compare with past storage conditions to gauge activity. If gnaw marks are present, treat as a priority: isolate power, avoid triggering circuits, and plan remediation. Maintain caution to prevent secondary damage during inspection and subsequent repair.
- Fresh gnaw marks and shavings near wiring
- Exposed insulation and chewed hoses
- Nesting materials in hard-to-reach spots
- Damaged or loose fasteners around the engine bay
- Evidence of recent activity timing (dust, debris)
Chewed Wiring Indicators
Chewed wiring indicators require a systematic inspection to assess extent and risk. You’ll map suspected routes from the engine bay toward the cabin, noting accessible looms and harness junctions. Look for chewed insulation, exposed conductors, and discolored insulation that signals overheating or moisture intrusion. Use a lighted mirror and magnifier to trace sheathing integrity without dismantling components unnecessarily. Disconnect power before handling harnesses and test for continuity only after visual confirmation. Document locations with photos and precise measurements, then categorize damage by accessibility and risk to critical circuits. If you find signs of biting beyond superficial sheathing, plan wiring repairs with a professional, prioritizing high‑risk areas like fuel, ignition, and braking circuits. Avoid assumptions; verify with controlled resistance checks and replace damaged segments to restore reliable operation.
Pest Droppings Clues
Rodent activity leaves distinctive indicators that you should document and verify before any restoration work. In this phase, focus on pest identification techniques to confirm species, count findings, and map distribution. Gather samples of droppings carefully for screening and record age clues from texture and darkening. Use droppings analysis methods to differentiate fresh from old evidence, and note any staining, nesting residues, or gnaw marks near wiring and insulation. Maintain a methodical log with dates, locations, and conditions to guide remediation decisions and future prevention.
- Identify droppings characteristics, size, and clustering patterns
- Note moisture exposure and odor cues that alter interpretation
- Separate fresh versus aged samples for analysis
- Cross-check with activity signs like gnaw marks and nests
- Document conclusions for remediation planning
Safe Cleaning and Decluttering Before Start

Before you start the engine reactivation, perform a quick Pre-Start Clutter Check to clear loose items and guarantee clear access to essential components. Follow Safe Cleaning Steps to wipe down surfaces, remove debris, and neutralize any residues, using appropriate protective gear. Finally, handle Rodent Debris with care by disposing of contaminated material safely and inspecting for lingering nests or droppings that could affect starting reliability.
Pre-Start Clutter Check
Before starting the engine after a long storage period, perform a pre-start clutter check to verify the work area and engine bay are free of debris and obstructions.
- Inspect the workspace for loose tools, rags, and trip hazards, clearing them to support safe access
- Open the hood, visually scan for nesting material, collect droppings, and secure any uncertain items
- Verify that hoses, belts, and wiring aren’t pinched by clutter or stored objects
- Create a dedicated, clear path for jump starts or charging equipment if needed
- Confirm airflow paths are unobstructed to support proper ventilation and cooling
Result: deliberate pre storage preparation, clutter organization, and a controlled environment for a safe start.
Safe Cleaning Steps
To begin Safe Cleaning Steps, start by removing all loose debris from the engine bay and work area, then wipe down surfaces with a mild degreaser and lint-free cloths to prevent contamination of critical components. You’ll proceed with a focused sweep of the bay, dashboard, and footwells, avoiding any shortcuts that could invite corrosion or misalignment. Use cleaning supplies appropriate for automotive hardware, selecting products labeled safe materials to minimize residue. Wear gloves and eye protection, and ventilate the space as you work. Wipe electrical housings gently, never spraying directly into connectors. Dry all touched surfaces thoroughly before reassembly. Document contamination levels and discard waste in sealed bags. Conclude with a quick one-minute inspection of harnesses and fasteners for looseness, ensuring readiness for the restart.
Rodent Debris Handling
Rodent debris handling begins with a careful move from cleaning surfaces to inspecting for signs of nesting and infestation. You’ll map a clean path, then isolate debris and waste for controlled removal, preventing spread. Prioritize containment, use gloves, and discard in sealed bags to minimize exposure. Evaluate surfaces for droppings, nesting fibers, and chewed wiring; document findings for future rodent prevention and debris removal planning. After removal, sanitize with appropriate cleaners, focusing on high-touch areas and gaps. Dry thoroughly to deter moisture-driven harboring. Finish with a final sweep, reseal compartments, and store tools to avoid recontamination. This approach supports rodent prevention and guarantees debris removal is complete, safe, and ready for the next diagnostic phase.
- Begin containment and proper PPE
- Isolate and bag waste securely
- Inspect for nesting indicators
- Sanitize, then dry all areas
- Seal access points and store tools
Fuel System Evaluation and Refresh
If the car has sat unused, start with a careful assessment of the fuel system: inspect the tank, lines, and hoses for signs of corrosion, cracking, or leaks, and note fuel quality and age. Check the condition of the fuel cap seal and venting, then look for signs of sediment at the tank outlet. Evaluate fuel lines for stiffness, deformation, or swelling, replacing any suspect segments. Remove the fuel filter, inspect for metal shavings or varnish, and test flow to confirm unobstructed passage. If fuel quality is degraded, drain or bypass compromised fuel, and plan a staged refresh with fresh gasoline or approved ethanol blend consistent with manufacturer guidance. Treat the fuel system as a closed loop: purge stale fuel, replace the filter, and verify pressure and pump operation during initial starts. Document observations, and perform a controlled start to confirm stable idle, smooth throttle response, and no leaks. Guarantee future storage includes stabilized fuel and protected lines.
Electrical System Check and Wiring Safety
With the fuel side checked and the system stabilized, you can proceed to the electricals. You’ll verify wiring insulation integrity and inspect for rodent gnaw marks while keeping hazards in check. Systematically trace circuits from the battery to major loads, looking for exposed conductors, brittle insulation, and loose connectors. Prioritize high-current paths, junctions, and harnesses, and document any damage for repair or replacement. Use a light source, mirror, and magnifier as needed to catch hidden issues behind panels. Deactivate the power before touching terminals, and reseal connections to prevent future exposure. Replace corroded terminals and damaged fuses with OEM or equivalent parts to guarantee reliable behavior. Keep a clean, labeled wiring diagram for future diagnostics. Confirm color codes and continuity with a multimeter, and test ground integrity to avoid stray currents. Ascertain proper routing to minimize chafing and heat buildup.
- Inspect electrical components for damage and wear
- Check wiring insulation and harness routing
- Test circuits with power off, then live
- Replace damaged connectors and corroded terminals
- Map and verify continuity and grounds
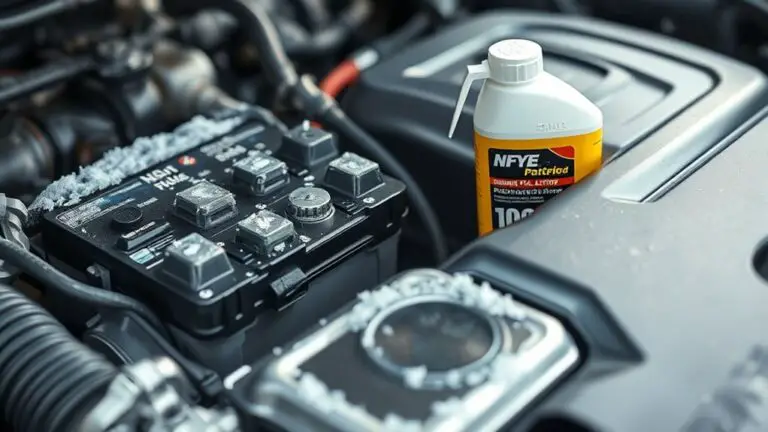
Fluids, Belts, and Battery: Quick Refresh
Before proceeding, verify the engine is cool and the battery is disconnected; start by rejuvenating fluids, belts, and the battery with a concise, methodical check. You inspect fluid types and levels first: coolant, engine oil, transmission fluid, brake fluid, and windshield washer, noting color, odor, and contamination. Replace or top up as needed, using manufacturer specs, and record levels. Next, inspect serpentine and accessory belts for cracks, glazing, or glazing, and replace if tensioning is incorrect or wear is present. Check the battery: terminals clean, corrosion-free, clamps secure, battery fluid intact, and voltage within spec; perform a static voltage check and, if needed, perform a capacity test to ascertain reliable cranking. Ascertain connections are dry and free of rodent debris, then re-secure the battery. Document maintenance and readiness, confirming fluid integrity and belt condition, and verify that the battery maintenance routine has been completed before the next phase.
Starting Procedures and System Testing
After confirming fluids, belts, and the battery are in good order, proceed to start the vehicle and verify system readiness. You’ll perform a controlled engine crank, listen for a clean ignition, and observe idle behavior. Begin with key or fob, guarantee fuel delivery is steady, and verify the ECU reports normal sensor readings. If the engine hesitates, apply a brief shot of starting fluid according to your product’s safety guidelines, then recheck intake and compression. Confirm the ignition system is firing across all cylinders by monitoring spark and timing with appropriate scan tools. Do not exceed factory specs; avoid prolonged cranking. Once running, test charging, alternator output, and electrical parasitics while the engine warms to operating temperature. Standby for diagnostic codes and confirm throttle response and vacuum integrity before driving.
- Confirm starting fluid use adheres to safety guidelines
- Verify ignition system timing and spark across cylinders
- Check electrical charging and alternator output
- Monitor engine temperature and sensor readings
- Confirm throttle response and vacuum integrity
Prevention Tips to Keep Animals Out Next Time
To prevent critters from entering after storage, implement a layered approach that combines physical barriers, habitat modification, and routine inspections. Start with durable seals around doors, undercarriage gaps, and vent openings, selecting materials rated for rodent resistance. Install door sweeps, steel wool-filled gaps, and wire mesh that’s small enough to deter entry without impeding airflow. Next, remove attractants: eliminate nesting substrates, food residues, and standing water; prune vegetation that touches the vehicle; and store other attractants away from the area. Apply habitat modification by trimming ground cover and sealing crevices in nearby structures that could harbor rodents. Establish a maintenance cadence: conduct monthly visual checks, quarterly pest-trapping audits, and post-storage revalidation of seals. Use preventive measures like deterrent placements near entry points and periodic scent-based or electronic animal deterrents where appropriate. Document findings, adjust deterrent placement, and maintain readiness for rapid re-entry without compromising protection.
Frequently Asked Questions
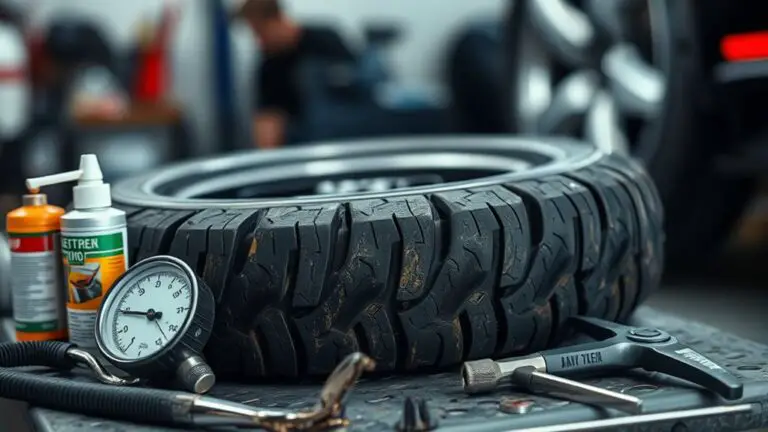
How Often Should You Rotate Tires After Long Storage?
You should rotate your tires every 5,000 to 7,500 miles, or as recommended by your vehicle’s manual, after long storage. This keeps tread wear even and prevents flat spots. During storage tips, install correct tire pressures and check for settled alignment before driving. When you resume driving, recheck lug torque and balance. Regular tire maintenance after storage protects handling, fuel economy, and safety while preserving your freedom to explore.
Can Rodent Damage Affect Airbag System Sensors?
Yes, rodent nests can affect airbag sensors, causing airbag malfunction. You should inspect the harnesses and sensor connectors for gnawed insulation and chewed wiring, especially near the front pillars and under the seats. Use a multimeter to verify continuity and check for corrosion. Replace damaged wires, secure harnesses away from rodents, and clear any nesting areas. After repair, relearn or reset sensors per your service manual and test the system with a professional scanner.
Is Engine Oil Degradation a Risk After Storage?
Yes, engine oil degradation is a risk after storage. You’ll want to check for viscosity shifts, varnish, and contaminants because storage effects can accelerate oxidation. You assess the oil’s condition with a dipstick and consider an oil change if it looks dark, gritty, or smells strange. You’ll reset the engine by using fresh oil, replacing the filter, and rechecking levels to guarantee lubrication remains reliable and predictable.
Are Aftermarket Fuel Stabilizers Harmful to Modern Engines?
Are aftermarket fuel stabilizers harmful to modern engines? No, when used as directed they’re generally safe and can benefit storage or seasonal use. You should assess fuel stabilizer benefits against your fuel blend and injector cleanliness goals. Expect neutral to slight engine performance impacts: most modern systems aren’t harmed, and stabilized fuel helps prevent varnish and gum. Follow dosage, quality, and manufacturer guidance to preserve performance without risking sensor or pump issues.
Should You Replace Alternator Belts if They Look Fine?
“An ounce of prevention beats a pound of cure.” Should you replace alternator belts if they look fine? Yes, you should schedule a belt inspection during routine maintenance, because visuals can miss cracks or glazing. Maintain a precise, methodical approach: check tension, listen for squeal, measure wear, and replace if any deviation found. These belt maintenance tips protect system reliability, save you future downtime, and support your freedom to drive with confidence.