How to Revive a Car After Long Storage With Minimal Paint Damage From Sun
After long storage, start by evaluating how sun faded the clear coat and paint. Check for hazy panels, chalky residue, and color gaps between sunlit and shaded areas. Clean thoroughly with a two-bucket wash, microfiber towels, and clay only if needed. Use mild polish to revive gloss, then apply a thin wax to protect edges and bare panels. Keep exposure minimal and schedule regular maintenance; more tips await if you keep going.
Assessing Sun Exposure on Clear Coat and Paint
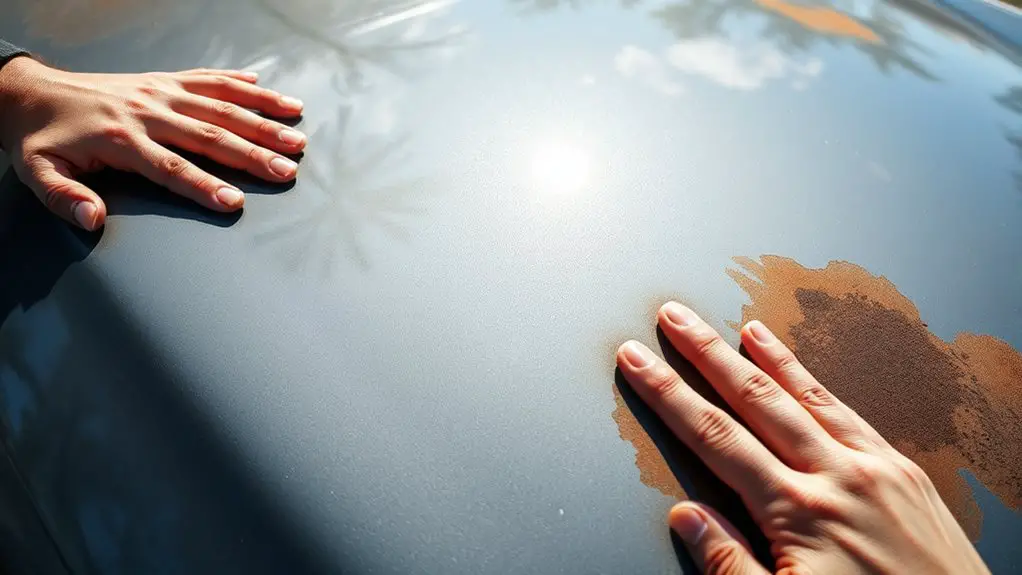
Sun exposure can visibly age your clear coat and paint, causing clearer signs like fading, cloudiness, and micro-damage if ignored. You’ll notice uneven gloss and color shifts after season-long sun exposure, signaling sunlight impact on surface integrity. Begin with a quick walkaround: check for hazy panels, chalky residues, and fine scratches that emphasize starved clarity. Compare shaded vs. sunlit areas to gauge degradation depth. Run a finger over edges and curves; heat-softened clear coat can reveal micro-damage sooner than you expect. Document color uniformity, then note any peeling or clear coat craze that wasn’t there before storage. Assess primer and panel seams for edge lifting from UV-driven stress. If you see accelerated fade or obvious dulling in high-UV zones, plan a targeted restoration approach post-storage. This assessment helps you predict maintenance needs and prioritize treatments by sunlight impact and paint degradation without overhauling the entire finish.
Cleaning Techniques to Remove Surface Contaminants
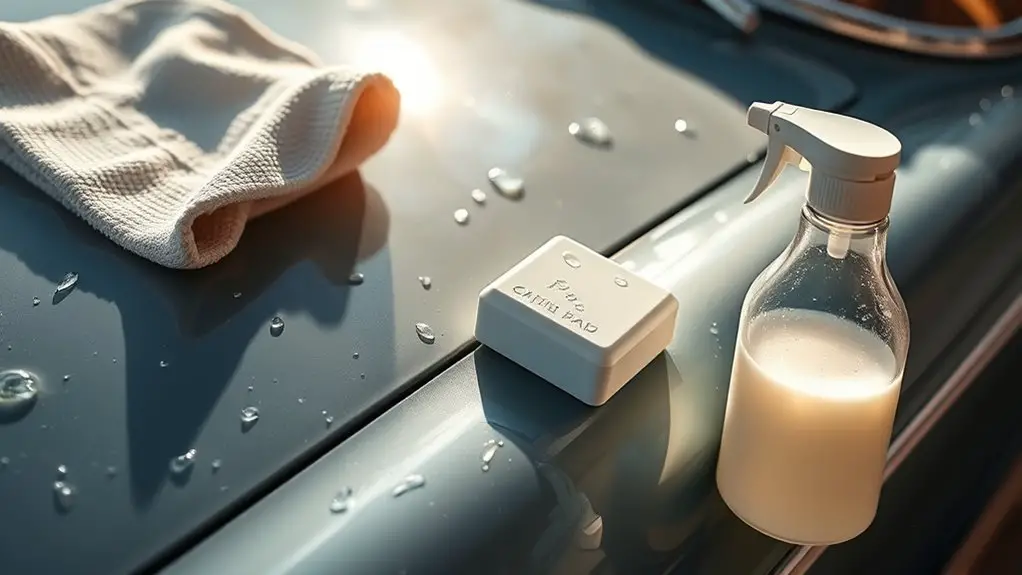
Before you start, gather essential tools: microfiber towels, a two-bucket wash setup, car-safe shampoo, and a gentle clay bar or clay mitt. You’ll remove surface contaminants without scratching the finish by using a deliberate, methodical wash routine. Focus on preventing micro-scratches while preserving glossy paint through controlled friction and clean rivers of rinse water.
Key steps
1) Separate wash and rinse zones to keep dirt off your mitt.
2) Use two buckets with grit guards and clean water for every pass.
3) Inspect after each pass and clay only if you still feel high spots or roughness.
Note on products: choose mild cleaning products designed for automotive finishes; harsh detergents can strip protective layers. The goal is consistent, light agitation to lift particles rather than grind them in. When finished, dry with a plush microfiber to avoid water spots and set the stage for a smooth, contaminant-free surface.
Evaluating Paint Smoothness and Oxidation Level
Evaluating paint smoothness and oxidation level is about turning observations into a plan: you’ll assess texture, clarity, and color depth to determine what restoration steps are needed.
Here’s a practical snapshot to guide your paint inspection and oxidation assessment:
| Texture | Clarity | Color depth |
|---|---|---|
| Smoothness; micro-mounds | Haze; clarity of reflections | Richness; depth of hue |
| Rough patches | Faded edges | Overall vibrancy |
| Feels gritty; sanding tests | Dulling spots | Consistency across panels |
You’ll use a simple finger test and light angles to catalog variability. Note oxidation spots, chalky residues, and peeling indicators. Decide whether to focus on gentle polishing, targeted oxidation removal, or prep for clear-coat protection. Keep track of differences between panels to plan a balanced approach. Document the findings for your paint inspection log, then translate them into a concrete sequence: clean, test polish, verify, then layer protective coatings. This straightforward method keeps you in control, enabling informed choices about restoration steps without overcommitting.
Choosing Mild Polishes for Faded Finishes
Choosing mild polishes for faded finishes is about selecting gentle products that restore color and gloss without removing clear coat or risking micro-marring. You want options that minimize risk while delivering noticeable improvement, so focus on polish selection and how it interacts with your clear coat. Use mild abrasives to refine surface texture without aggressive scratching, and choose formulas that break down evenly under standard buffing speeds.
Choosing mild polishes preserves clear coat while reviving color and gloss with controlled, even abrading action.
1) Inspect finish depth and choose a product labeled as mild or surface-safe, testing on a hidden area first.
2) Pair polish with a soft applicator and a low-speed polisher to control cut and heat generation.
3) Confirm restorable gloss before moving to protection, and document results to guide future sessions.
Safe Clay Bar and Waxing Methods
You’ve got the basics covered from polishing, now it’s time to fine‑tune the finish with safe clay bar work and proper waxing. Start with a clean, cool surface and a dedicated clay bar kit. Use generous lubrication—speed up with a spray that won’t degrade wax. Work small, about a quarter of the panel at a time, using light, overlapping strokes. If the clay feels gritty, fold it and re‑knead, or replace it to avoid marring. After claying, wipe clean with a microfiber towel and inspect for remaining contamination. Waxing tips: apply a thin, even coat in a shaded area, allow appropriate cure time, then buff with a clean, soft pad or microfiber. Choose a durable synthetic or carnauba blend for sun exposure. Maintain your results with periodic follow‑ups and a fresh wax cycle after washing. Clay bar techniques and waxing tips keep the finish smooth, protected, and ready for sunseason drives.
Restoring Color With Non-Corrosive Treatments
You’ll start with non-corrosive options that protect the finish while restoring color, so you don’t risk etching or staining the surface. Consider safe color restoration methods that are gentle on clear coats and compatible with your car’s wax or sealant layer. We’ll cover practical, proven options that you can apply without harsh chemicals, keeping the process simple and repeatable.
Non-Corrosive Options
Non-corrosive options for restoring color focus on gentle, non-abrasive treatments that protect metal and paint while reviving luster. You’ll avoid harsh scrubs and solvents, leaning on safe formulas that respect gloss and structure. Choose solutions that minimize risk to clear coats while delivering color boost, curb flare, and depth. Emphasize control, not aggression, so you keep freedom to enjoy your car without aggressive restoration steps.
1) Non corrosive cleaners for routine refresh and light grime removal, paired with microfiber care to preserve shine.
2) Eco friendly options that balance performance with environmental responsibility, reducing harsh runoff.
3) Simple seal and shine routines that extend color life without deep abrasives, maintaining flexibility for future steps.
Safe Color Restoration
Even with non-corrosive methods, restoring color safely starts with a measured plan: assess the paint’s condition, pick gentle products, and apply them with controlled, even motions.
Color repair techniques focus on uniform coverage without rubbing hard or over-wetting. Start with a mild polish, test in an inconspicuous area, and dilute as needed. If color lift appears, switch to a conditioning glaze rather than abrasive compounds. Maintain steady hands, use microfiber, and wipe in straight, overlapping passes. Protect surrounding panels with masking if needed, and monitor heat—avoid direct sun.
Table: deeper meaning for you
| Principle | Action |
|---|---|
| — | — |
| Patience | Apply evenly |
| Protection | Use proper products |
| Verification | Inspect after each step |
Paint protection hinges on consistency and restraint.
Protecting Bare Panels and Edges From Further Damage
You’ll want to start with Bare Panel Protection, using clean, corrosion-resistant coatings and breathable primers to deter moisture intrusion. Next, apply Edge Guarding Tactics like protective seals, corner bumpers, and careful masking to minimize chips at exposed edges. Finally, plan Sun-Damage Prevention by parking strategically, using UV-resistant films, and cleaning regularly to slow fading and wear.
Bare Panel Protection
Bare panels and edges are vulnerable after long storage, so protect them immediately to prevent rust, chipping, or paint lifting. You’ll want a simple plan that focuses on bare panel maintenance and edge protection to keep the finish strong without overthinking it.
- Clean and dry: wipe surfaces, remove dust, and dry promptly to stop moisture from creeping in.
- Inspect and seal: look for chips or halos; touch up with compatible primer and paint where needed, then seal with a thin clear coat.
- Store smart: park away from direct sun, and use breathable covers that don’t trap heat or moisture.
Edge Guarding Tactics
When you’re guarding bare panels and edges after storage, the focus shifts to active protection strategies that stop damage before it starts. You’ll implement simple, relentless edge protection to block sun, moisture, and friction from reaching vulnerable rims. Use sturdy edge guards or tape along vulnerable seams, and keep fasteners clean to avoid chafing. Apply panel shielding in high-risk zones—near doors, fenders, and trunk edges—so any flex or minor impact is absorbed away from paint. Maintain a tight seal on protective films and recheck adhesion after washing. Prioritize durable materials with UV resistance and avoid over-tensioning that could peel. Regularly inspect corners and moldings, replacing worn guards promptly to sustain long-term edge protection and maintain a pristine surface.
Sun-Damage Prevention
Sun damage can quietly undermine exposed panels after storage, so start with proactive shielding that blocks UV rays and minimizes heat buildup. You’ll protect bare edges by choosing materials with real sun protection and by monitoring exposure hours. Apply paint sealants where edges rub or flex, then recheck after a few days to confirm you’ve minimized heat soak. This approach keeps color stable and reduces micro-cracking risk, letting you reclaim your finish without surprises.
- Prioritize sun protection by covering vulnerable panels during peak sun hours and deburring rough edges to prevent heat spots.
- Use a paint sealants layer on exposed seams to extend film integrity and ease future maintenance.
- Reassess regularly—adjust coverage if you notice fade, edge curl, or moisture intrusion.
Quick Fixes for Minor Scratches and Micro-marring
Minor scratches and micro-marring are common after storage, but you don’t have to live with them. You can address small imperfections quickly with direct, practical steps. First, assess scope: only light scratches or tiny swirl marks? If the answer is yes, start with a microfiber pad and a precision-grade polish. Use a light hand and small circular motions, then wipe clean to evaluate progress. For minor scrapes, consider scratch removal products designed for clear coats; follow manufacturer directions and work in a shaded area. When you need a more definite fix, apply a thin layer of touch up techniques or clear-coat pen to level the surface, then blend with the surrounding finish. Always test on an inconspicuous area first. Maintain discipline: clean, dry surfaces empower accurate application. Finish with a protective wax or sealant to reduce future marring. These quick fixes keep your finish looking intentional, not luck-driven.
Maintenance Plan to Extend Fresh Look
A fresh look after storage isn’t just about quick fixes—it hinges on a straightforward maintenance routine you can follow. You’ll protect the finish by sticking to a simple cadence: wash, inspect, and apply protection before driving regularly again. A concise maintenance schedule keeps paint preservation steady and predictable, reducing long-term wear.
1) Establish a weekly wash with a gentle soap and microfiber mitt, dry with a plush towel, and inspect for chips or swirls that need attention.
2) Apply a lightweight protective layer every 6–8 weeks, focusing on edges, peaks, and seals to minimize sun impact and dust buildup.
3) Schedule a quarterly evaluation of seals, trim, and wheels; address any UV fading signs promptly to preserve color depth and gloss.
Adopt this approach as a habit, not a one-off chore. It gives you freedom to enjoy your car without constant, heavy maintenance, while keeping the paint preservation visible and durable.
When to Consider Professional Refinishing Options
If you’re weighing refinishing, start by recognizing when to call in pros, such as complex paint flaws, clearcoat failure, or uneven color that you can’t correct at home. Look at indicators like severe rust, deep scratches, or bubbling—these signal that professional refinishing may be required. Then consider cost versus benefit, comparing professional results and warranty against DIY fixes and potential long-term resale value.
When to Seek Professionals
When deciding whether to seek professional refinishing, assess the extent of the damage and your goals: minor scratches or dulling might be doable at home, but deep rust, multiple color mismatches, or faded clear coats usually call for expert help to prevent further harm.
- professional assessment: a quick/accurate diagnosis saves time, cost, and risk of mistakes.
- advanced techniques: professionals bring controlled repair, blending, and protective coatings that aren’t DIY friendly.
- decision criteria: if you notice rust through, bubbling, or color drift beyond touch-ups, time to involve a shop.
Choosing professionals preserves value, guarantees durable results, and lets you pursue your freedom with confidence. Schedule a consultation to review repaint scope, warranty options, and expected turnaround.
Indicators for Refinishing Needed
Rough edges, color mismatches, or a dull, uneven finish are clear indicators that refinishing may be worth considering. When you perform a paint inspection, look for clear separations between panels, peeling clearcoat, or fisheyes that won’t blend out with polishing. Refinishing signs also include stubborn fading in sun-exposed areas, chalky film, and powdery texture that resists wax. If you notice orange-peel texture or blotchy color after a thorough wash, it’s a strong signal to evaluate professional options. Don’t chase minor blemishes with aggressive polishing; you’ll risk thinning the clear and exposing primer. If the issue spans several panels or the color doesn’t match across the car, you’ll benefit from a guided refinishing assessment rather than DIY fixes. Confidence grows when you trust a qualified technician.
Cost Vs Benefit Factors
Weighing cost against potential gains helps you decide if professional refinishing is worth it, especially after a long storage period when small defects can mask bigger issues. A clear cost analysis asks: are the repairs increasing resale value or personal satisfaction more than they cost? You’ll weigh time, travel, and repeat visits against improved finish, gloss, and protection. If defects are deeper than cosmetic, DIY may fail and delay recovery. Consider long-term durability and peace of mind from a factory-like finish.
- Assess whether the added value justifies the investment and time.
- Compare quotes, warranties, and the likelihood of needing follow-up refinishing.
- Factor potential resale impact and your personal standards for finish quality.
Frequently Asked Questions
How Soon Can You Drive After Applying Protective Coatings?
You can drive after the protective coating cures fully, typically when the manufacturer’s recommended cure time passes and you’ve avoided wet conditions. Don’t rush—irony aside, you’ll enjoy durable protection once it’s set. The coating’s protection benefits begin immediately, but full performance hinges on proper application timing and complete curing. Follow exact guidelines, avoid duties that could compromise bonding, and you’ll experience smoother rides, easier cleaning, and lasting shine as you pursue freedom on the road.
What Causes Halo Effects After Sunlight Exposure on Clear Coats?
Halo effects happen when sunlight breaks through uneven clear coat layers, revealing underlying pigmentation and micro-roughness. You’ll notice it as wispy, halo-like halos around edges or splotches after UV exposure. This occurs due to degradation of the clear coat and filler, causing light scatter. To minimize it, you’ll maintain proper washing, use aUV-blocking wax or sealant, and address any oxidation or scratches with careful polishing and a fresh, uniform clear coat finish.
Are DIY Clay Bars Safe on Modern Clear Coats?
Yes, a DIY clay bar can be safe on modern clear coats if you’re careful. You’ll want a light touch, plenty of lubrication, and a non-abrasive clay bar. Don’t press hard or stay on one spot; keep it moving and check for marring. If you feel snagging or the surface looks dull, stop and switch to a gentler method. Test on an inconspicuous area first, then proceed, preserving your clear coat.
Can Color Fade Be Reversed Without Repainting?
Yes, color fade can be reversed enough to refresh your finish, without a full repaint. Start with color restoration techniques like precise polishing and carefully chosen compounding to restore clear coat clarity. Follow with a quality glaze or dedicated color restorer to lift dullness. Use fading prevention methods afterward—UV protection, regular wax or sealant, and shaded parking. You’ll regain depth and gloss, while preserving freedom to enjoy your ride without drastic repainting.
How to Test if Clear Coat Is Compromised After Storage?
You can test if the clear coat is compromised by inspecting for dullness, fading, or transparency changes, and by performing a simple water bead test. In storage conditions, look for orange peel or cracking under UV exposure. Run your fingers over edges and panels to feel roughness or lifting. A slip‑and‑stick test with a small spray of cleaner helps reveal adhesion loss. If unsure, consult a pro before waxing or sealing.